
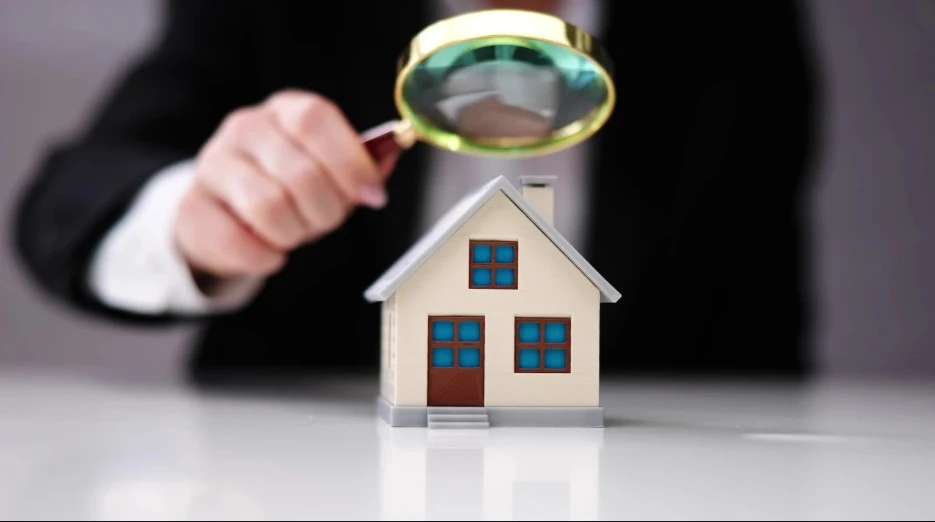
Buying a home is one of the biggest investments you’ll ever make — and naturally, you want everything to be perfect. You check the foundation, plumbing, roof, and wiring. You review inspection reports and negotiate repairs. But there’s one critical safety test too many buyers forget: radon testing.
Radon is an invisible, odorless, and tasteless radioactive gas that can seep into homes and cause severe health problems — including lung cancer. It doesn’t matter how new, beautiful, or structurally sound a house is — any home can have dangerous radon levels.
If you’re buying a home, skipping the radon test could put your family’s health — and your investment — at risk. Here’s why this simple step is so important and how to make sure your dream home is truly safe.
What Is Radon and Why Should Homebuyers Care?
Radon is a naturally occurring radioactive gas formed when uranium in soil, rock, and water breaks down. It moves upward through the ground and can enter homes through:
- Cracks in the foundation or basement floors
- Gaps around pipes, drains, or electrical wiring
- Construction joints and crawl spaces
- Sump pumps and unsealed openings
Once inside, radon can accumulate to hazardous levels, especially in tightly sealed, energy-efficient homes. Because it’s colorless and odorless, you won’t detect it without a test — and that’s exactly why it’s so dangerous.
The Health Risk: Why Radon Is More Than a Home Issue
Here’s what makes radon so alarming: it’s not just a building concern — it’s a serious health threat. According to the EPA and the World Health Organization:
- Radon is the second leading cause of lung cancer after smoking.
- It causes about 21,000 lung cancer deaths each year in the U.S. alone.
- For non-smokers, radon exposure is the #1 cause of lung cancer.
When inhaled, radon’s radioactive particles can damage lung cells over time. The longer and higher the exposure, the greater the risk. Even low levels can be harmful with continuous exposure — which is why testing before you buy is essential.
Why Radon Testing Should Be Part of Every Home Inspection
A standard home inspection checks for visible problems — roof leaks, electrical issues, plumbing defects — but it does not include radon testing unless you request it. That means if you don’t specifically ask for it, your dream home could have dangerous radon levels, and you’d never know.
Here’s why testing before closing is critical:
- 🏠 Health Protection: Testing ensures the air inside your new home is safe to breathe.
- 💰 Negotiation Power: If high radon levels are found, you can ask the seller to pay for mitigation or reduce the sale price.
- 🛠️ Prevent Future Costs: Fixing radon issues after buying can be more expensive and stressful.
- 📉 Protects Resale Value: A home with documented radon mitigation is more attractive to future buyers.
Skipping the test means taking on an invisible risk — one that could impact your health and finances for years.
How Radon Testing Works During a Home Purchase
Fortunately, radon testing is quick, easy, and inexpensive — especially compared to the cost of dealing with radon-related health problems later.
Here’s how it typically works:
1. Short-Term Radon Test (Most Common for Buyers)
- Duration: 2 to 7 days
- How it works: A small device is placed on the lowest level of the home (like the basement) to measure radon levels. After the test period, it’s sent to a lab for analysis.
- Why it’s useful: Provides fast results within your inspection period so you can make informed decisions before closing.
2. Long-Term Radon Test (Best for Accuracy)
- Duration: 90 days to 1 year
- How it works: Measures radon over an extended period, accounting for seasonal and environmental changes.
- Why it’s useful: Gives a more accurate average level — often used after purchase or if initial short-term results are borderline.
Even if you use a short-term test before buying, follow up with a long-term test once you move in for the most accurate picture of your home’s radon levels.
What the Numbers Mean: Interpreting Your Radon Test Results
Radon is measured in picocuries per liter (pCi/L). Understanding the results helps you know what steps to take next:
- Below 2.0 pCi/L: Low risk – generally considered safe.
- 2.0 – 3.9 pCi/L: Moderate risk – consider mitigation, especially for long-term exposure.
- 4.0 pCi/L or higher: High risk – EPA recommends taking action immediately.
Even at lower levels, reducing radon is a smart choice. No level is completely risk-free, and lowering concentrations as much as possible will help protect your health.
What If Your Dream Home Has High Radon Levels?
Finding high radon levels doesn’t mean you have to walk away from your new home. Radon mitigation is highly effective and usually not complicated.
Step 1: Negotiate With the Seller
If radon levels are elevated, you can request that the seller:
- Install a mitigation system before closing
- Reduce the home’s sale price to cover mitigation costs
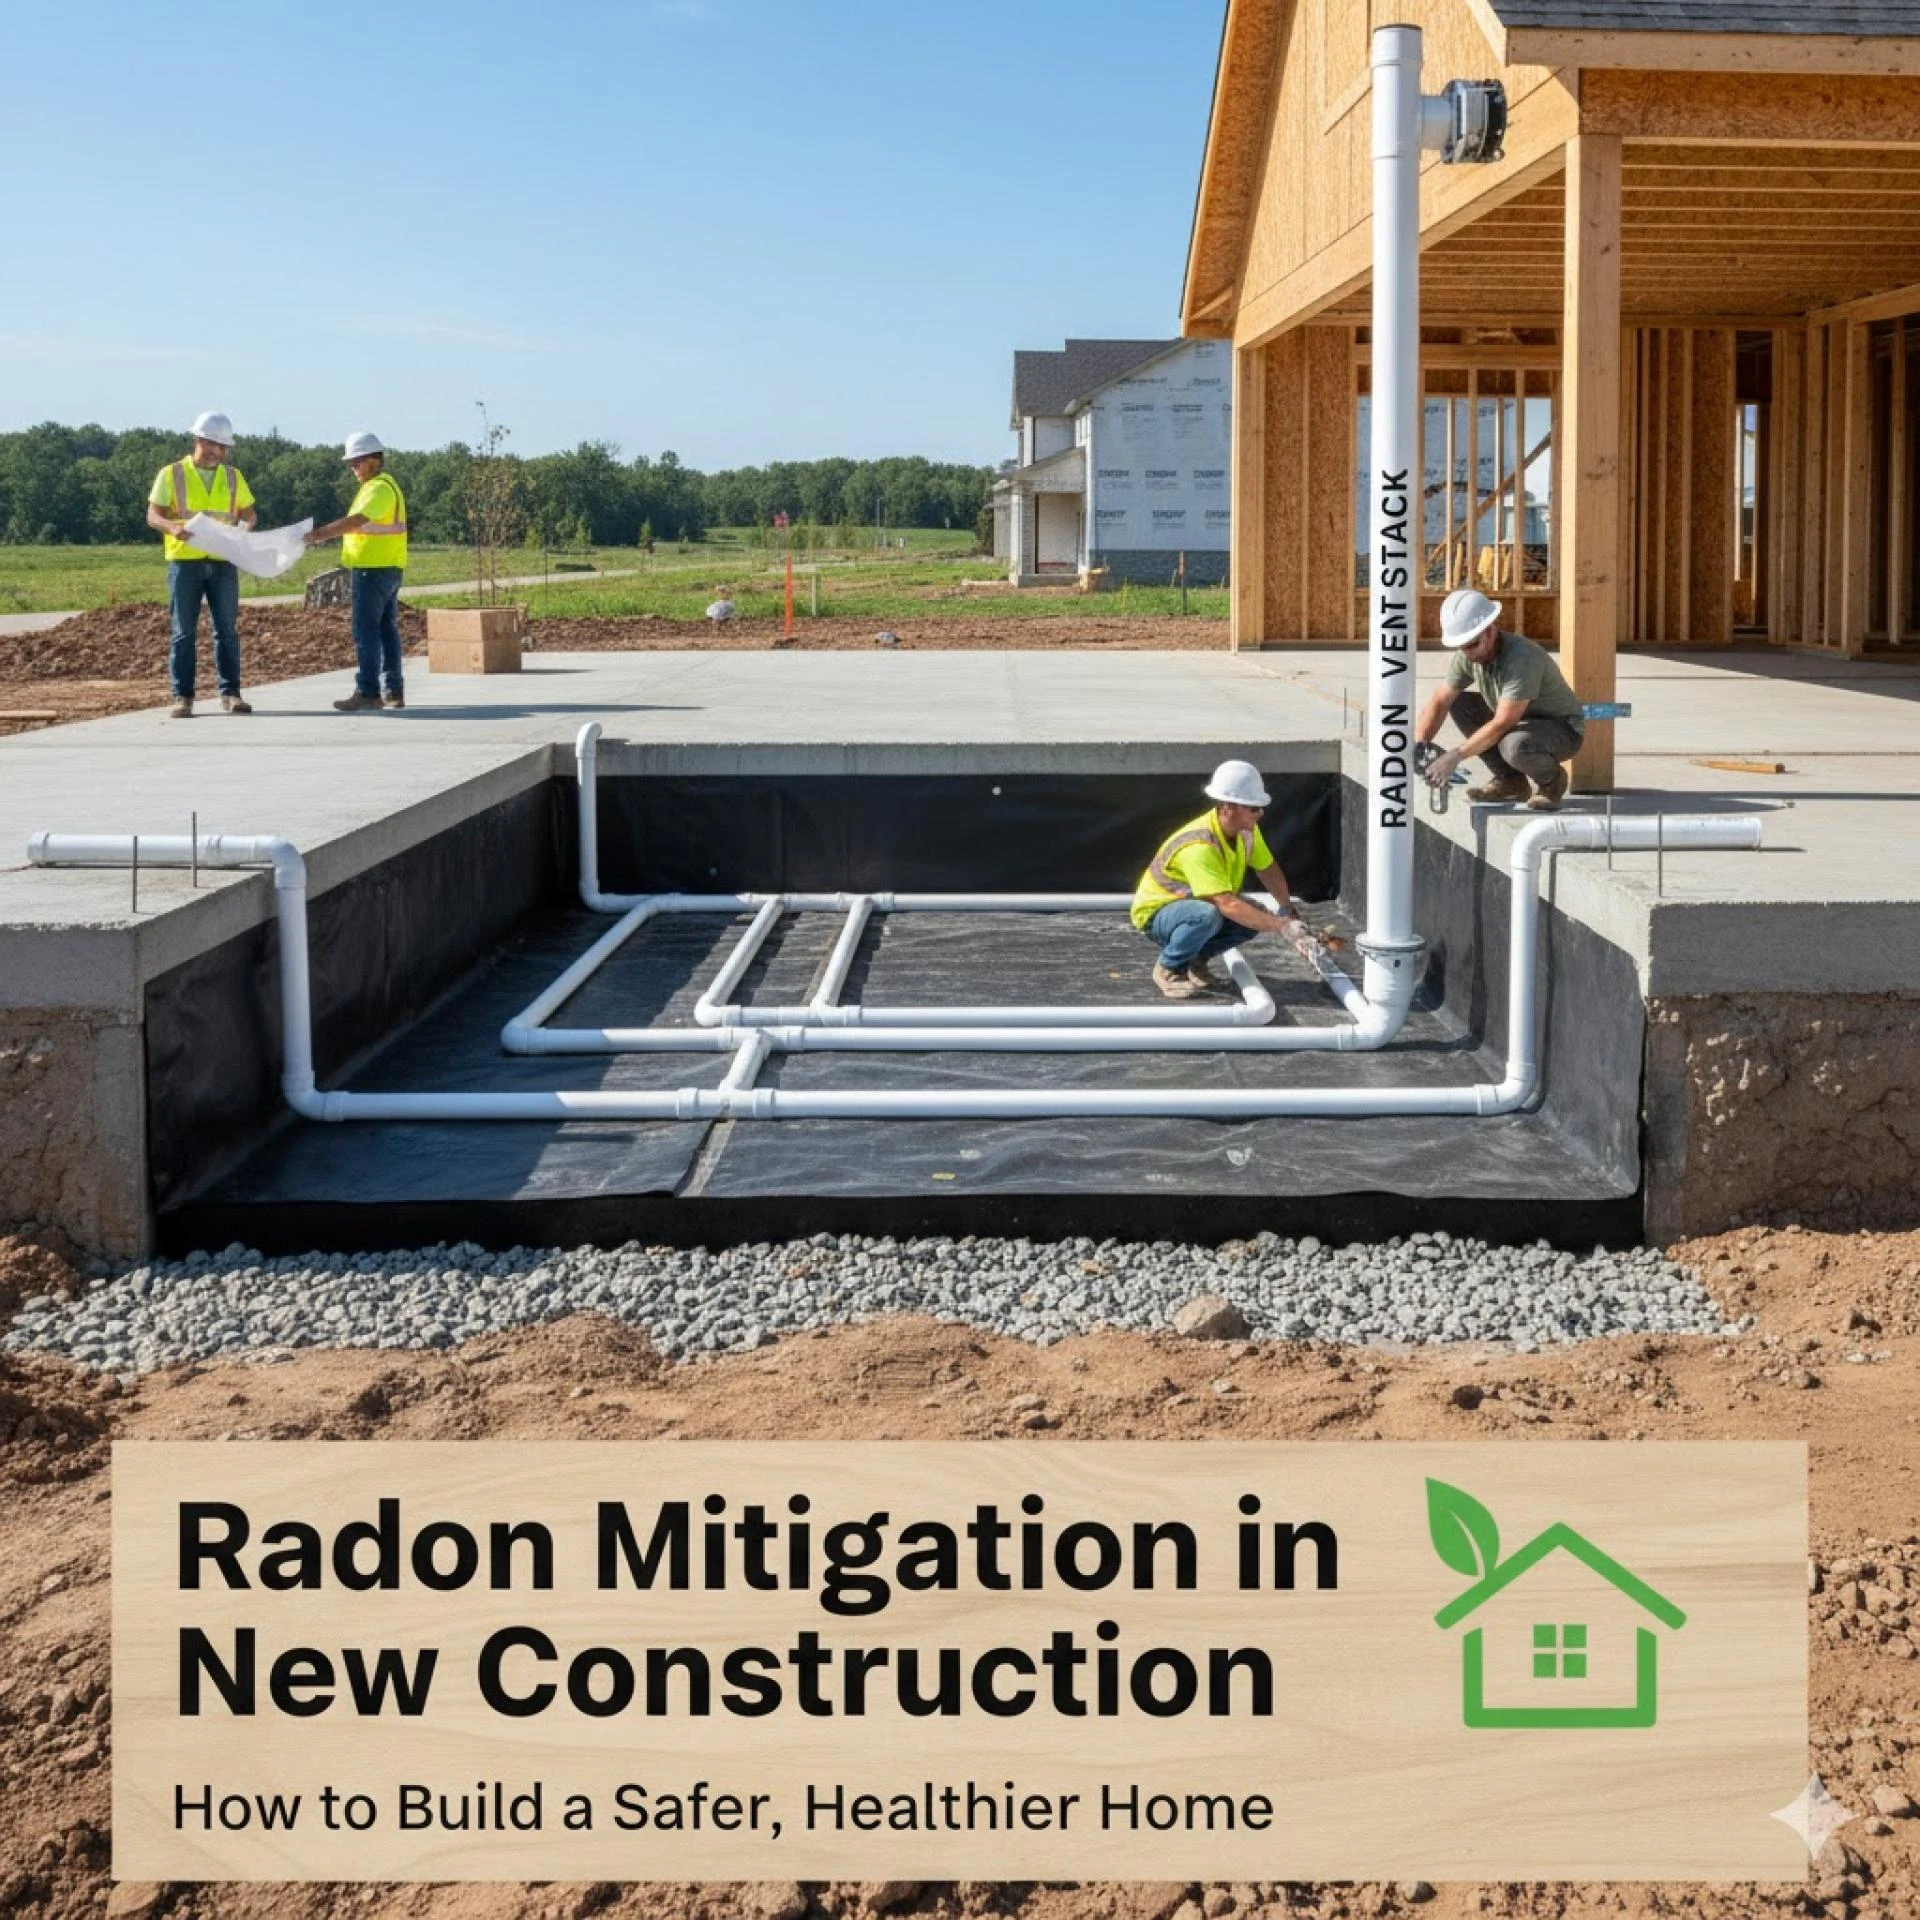
Step 2: Install a Radon Mitigation System
A professional system typically involves:
- A PVC vent pipe that draws radon from beneath your home
- A special fan that expels radon gas safely above the roofline
These systems can reduce radon levels by up to 99%, and most cost between $800 and $2,500 — a small price to pay for peace of mind and safety.
Why You Shouldn’t Skip Radon Testing — Even in New Homes
One of the biggest mistakes buyers make is assuming new construction means no radon risk. The truth is, radon can infiltrate any home, regardless of age, size, or location.
In fact, modern homes that are tightly sealed for energy efficiency can trap more radon indoors. That means your brand-new dream house could still have dangerous levels — and without testing, you’d never know.
DIY vs. Professional Testing: Which Should You Choose?
If you’re testing during a real estate transaction, professional testing is the smart choice. Here’s why:
- ✅ It’s more accurate and reliable.
- ✅ Results are documented and accepted in negotiations.
- ✅ Professionals can offer guidance on mitigation if needed.
DIY test kits are great for follow-up testing after you move in, but when buying a home, professional testing ensures you have the best data for important decisions.
Common Myths About Radon That Buyers Should Know
Let’s clear up some common misconceptions that stop people from testing:
- ❌ Myth: “Radon isn’t a problem in my area.”
- ✅ Fact: Radon is found in every state — even homes next door to each other can have different levels.
- ❌ Myth: “If the seller didn’t test, it must not be a problem.”
- ✅ Fact: Many sellers skip testing simply because they don’t know better.
- ❌ Myth: “I’ll test after I move in.”
- ✅ Fact: By then, you’ve lost negotiation power and might face costly mitigation alone.
The Cost of Testing vs. the Cost of Ignoring
Here’s the reality check:
- DIY test kits: $15–$30
- Professional radon test: $150–$300
- Mitigation system: $800–$2,500
- Lung cancer treatment: Over $150,000 — and the emotional toll is priceless
Testing before you buy is a small investment that protects your health, your wallet, and your home’s long-term value.
Conclusion: Make Radon Testing a Non-Negotiable
Your dream home should be a safe place — not one hiding an invisible, life-threatening danger. Radon testing is one of the simplest, most important steps you can take when buying a home. It’s fast, affordable, and can literally save lives.
Don’t let a beautiful kitchen or perfect backyard distract you from what matters most: the air you breathe inside your home. Before you sign the papers, make sure radon testing is part of your inspection checklist.
Because peace of mind isn’t just about four walls and a roof — it’s about knowing your home is truly safe from the ground up. Visit https://www.radonfortcollins.com to schedule your radon test and protect what matters most.


Sign in to leave a comment.