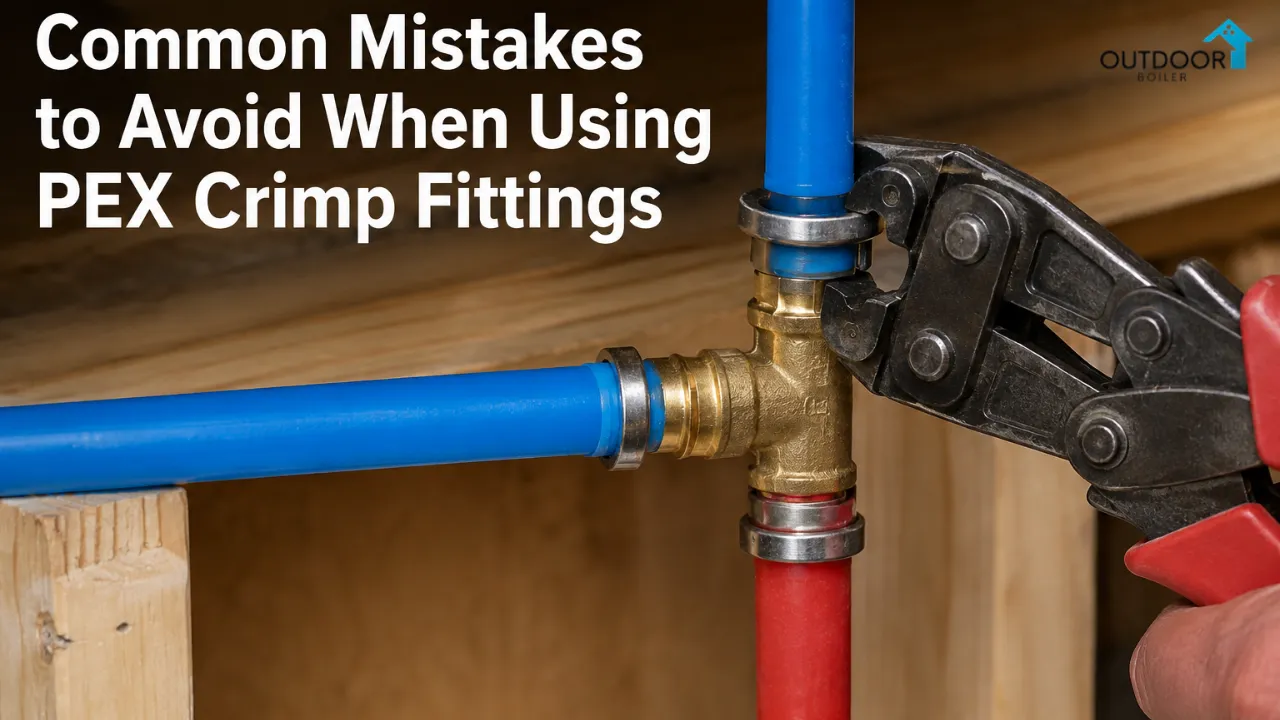

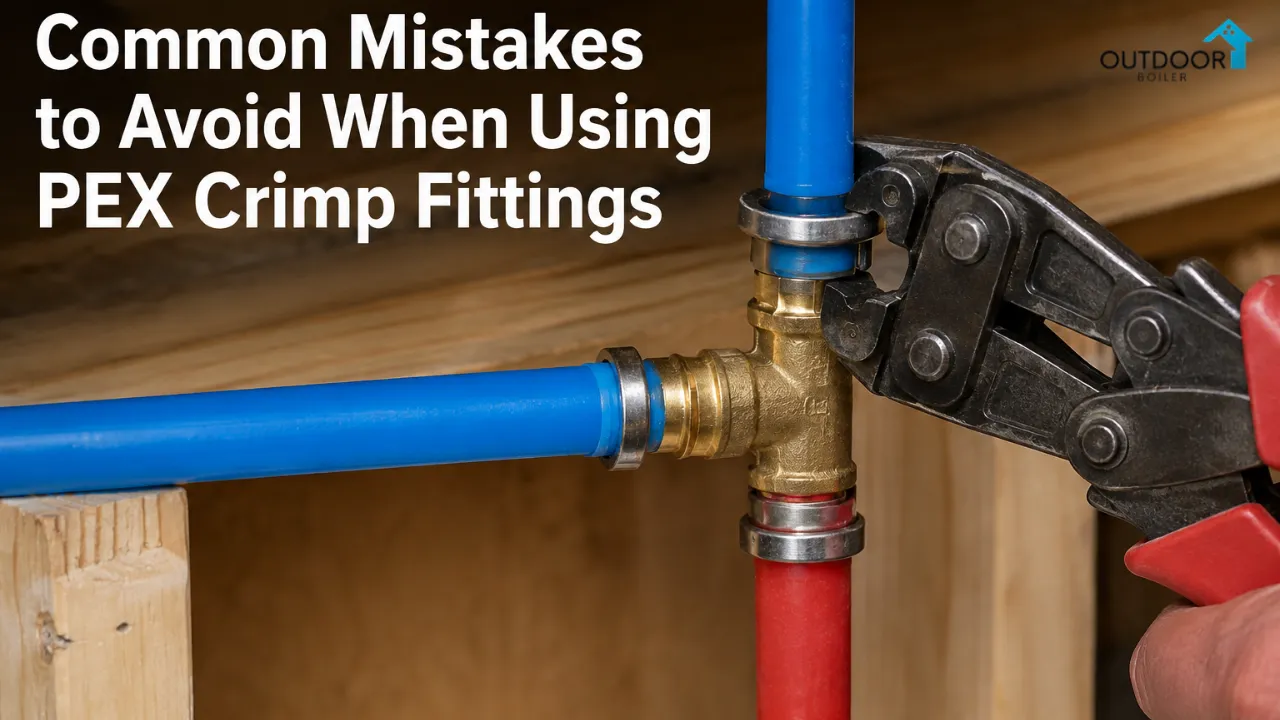
PEX crimp fittings can provide a dependable connection when the correct pipe, fitting, crimp ring, and installation technique are used. Most problems with PEX crimp fittings come from simple installation mistakes, such as using the wrong size components, making an uneven cut, or failing to create a proper crimp.
If you are planning to work with PEX crimp fittings, understanding the common mistakes ahead of time can help you avoid leaks, damaged components, and unnecessary repairs.
What Are PEX Crimp Fittings?
PEX crimp fittings are connection components designed to join PEX tubing to other sections of tubing, valves, or plumbing fixtures. A typical crimp connection uses an insert fitting, a copper or compatible crimp ring, and a crimp tool.
The fitting is inserted into the PEX tubing, while the crimp ring is positioned over the tubing and fitting connection. A properly sized crimp tool is then used to compress the ring around the tubing and secure the connection.
PEX crimp systems are commonly associated with ASTM F1807 brass insert fittings and ASTM F2159 plastic insert fittings. Manufacturer documentation also emphasizes using compatible components and connection methods for the specific PEX system being installed.
Why Proper Installation Matters
A PEX connection might look simple, but small installation errors can affect its performance.
A poorly made connection can result in:
- Water leaks
- Reduced system reliability
- Damaged tubing
- Damaged fittings or crimp rings
- Unnecessary plumbing repairs
- Water damage if a leak goes unnoticed
The good news is that many of these problems are preventable. Taking a little extra time to prepare the tubing, select the correct components, and inspect each connection can make a significant difference.
Common Mistakes When Using PEX Crimp Fittings
1. Using the Wrong Size Fitting
One of the most basic mistakes is pairing components that are not the correct size.
PEX tubing and fittings are available in several sizes. A fitting designed for 1/2 inch PEX should not be used with 3/4 inch tubing, for example.
The crimp ring also needs to correspond to the connection system and tubing size. Using mismatched components can prevent the connection from sealing correctly.
Before starting, check the markings on the PEX tubing, fitting, and crimp ring. If you are unsure about compatibility, consult the manufacturer's installation instructions.
2. Making a Crooked or Rough Cut
The quality of the cut can have a direct effect on the connection.
PEX tubing should be cut cleanly and squarely. A crooked cut can make it more difficult to seat the tubing properly over the fitting.
A rough or damaged end can also make installation more difficult. Instead of forcing the fitting into the tubing, make a fresh, clean cut with a tool designed for PEX.
This is a small step, but it is one of the easiest ways to improve the consistency of your connections.
3. Failing to Insert the Fitting Completely
Another common mistake is not pushing the fitting far enough into the PEX tubing.
The tubing needs to be properly seated on the fitting before the crimp ring is compressed. If the fitting is only partially inserted, the finished connection may not provide the intended seal.
After inserting the fitting, take a moment to check its position before crimping. Some fittings or manufacturers provide specific positioning instructions, so always follow the instructions for the particular product.
4. Placing the Crimp Ring Incorrectly
The location of the crimp ring matters.
The ring should be positioned according to the fitting manufacturer's instructions so that it properly secures the tubing around the fitting.
A ring that is too far from the fitting or positioned incorrectly may not create the intended connection.
This is why it is important not to rely solely on memory when working with different PEX systems. Connection requirements can vary between products.
5. Using the Wrong Crimp Tool
Not all crimp tools are interchangeable.
PEX crimp systems require a tool designed for the specific crimp ring and connection method. Using an unsuitable tool can result in an incomplete or improperly formed crimp.
Before beginning a project, confirm that your crimp tool matches the type and size of crimp ring you are using.
If the tool requires adjustment or calibration, follow the manufacturer's instructions rather than guessing.
6. Crimping at an Angle
The crimp tool needs to be positioned correctly around the crimp ring.
Crimping at an angle can produce an uneven connection. Instead of compressing the ring consistently, the tool may place excessive pressure on one area and insufficient pressure on another.
Position the tool squarely around the ring and make the crimp according to the manufacturer's recommended procedure.
7. Forgetting to Inspect the Finished Connection
Installing the fitting is not necessarily the final step.
Once a connection has been crimped, inspect it before moving on. Look for obvious signs of an uneven crimp, damaged tubing, or incorrect component positioning.
Some manufacturers also provide a go or no-go gauge for checking certain crimp connections. If a gauge is specified for the system you are using, follow the manufacturer's instructions for checking the connection.
An inspection takes only a few seconds and can help identify a problem before the plumbing system is put into service.
8. Reusing Damaged Components
PEX components should not be treated as disposable mistakes that can simply be reused after removal.
If a crimp ring, fitting, or section of tubing has been damaged during installation, replacing the affected component is generally safer than trying to make the same connection work again.
The cost of replacing a small fitting is usually much lower than dealing with a concealed leak later.
9. Ignoring Kinks in the PEX Tubing
PEX is flexible, but that does not mean it should be sharply bent or left in a damaged condition.
A kink can restrict water flow and potentially affect the integrity of the tubing. Depending on the type of PEX and the manufacturer's instructions, some kinks may be repairable while others require cutting out the damaged section.
Do not simply cover up a kink and assume it will resolve itself. Check the tubing manufacturer's recommendations before proceeding.
10. Mixing Connection Systems Without Checking Compatibility
PEX plumbing includes several connection methods, including crimp, clamp, expansion, and push fit systems.
These systems are not automatically interchangeable.
For example, a manufacturer may specify that a particular pipe is compatible with ASTM F1807 crimp fittings while also supporting other connection systems. Uponor's ResiPEX documentation, for example, lists compatibility with ASTM F1807 crimp connections along with other connection methods for its specified tubing.
Always check the product documentation rather than assuming that every PEX fitting works with every type of PEX pipe.
How to Make a Proper PEX Crimp Connection
While the exact procedure can vary by manufacturer, the basic process is straightforward.
Step 1: Measure the Tubing
Determine the required length of PEX tubing before making the cut. Avoid unnecessarily short sections that could make the connection difficult to position.
Step 2: Make a Clean Cut
Use a PEX cutting tool to create a clean, square cut.
Inspect the end of the tubing before continuing. If the cut is uneven or damaged, cut it again.
Step 3: Position the Crimp Ring
Place the appropriate crimp ring over the end of the tubing according to the manufacturer's instructions.
Step 4: Insert the Fitting
Push the fitting into the PEX tubing until it reaches the required position.
Do not force the fitting if the tubing or fitting appears damaged.
Step 5: Position the Crimp Tool
Place the correctly sized crimp tool around the crimp ring in the position specified by the manufacturer.
Make sure the tool is properly aligned before applying pressure.
Step 6: Complete the Crimp
Close the tool fully according to its instructions. Avoid partially crimping the ring or repeatedly squeezing it unless the tool manufacturer specifically instructs you to do so.
Step 7: Inspect the Connection
Check the completed connection carefully. If the system calls for a go or no-go gauge, use it according to the manufacturer's instructions.
Step 8: Test the Plumbing System
Before closing walls or making the connection inaccessible, test the plumbing system according to applicable plumbing requirements and the manufacturer's instructions.
Testing provides an opportunity to identify leaks while the connection is still easy to reach.
PEX Crimp Fittings vs. Other PEX Connection Methods
Crimp fittings are only one way to connect PEX tubing.
Other common connection methods include expansion fittings, clamp systems, and push fit connections. Each system has its own tools, fittings, and installation requirements.
For example, cold expansion systems are designed around the ability of certain PEX tubing to expand and return toward its original dimensions. Uponor explains that its cold expansion system is specifically designed for PEX A pipe and uses a different connection approach from ASTM F1807 crimp systems.
This is another reason to avoid mixing components simply because they appear physically similar. The connection method needs to match the pipe and fitting system.
Do PEX Crimp Fittings Work With Hot Water?
PEX can be used in hot water applications when the particular pipe and connection system are rated and approved for that application.
However, temperature and pressure limitations vary by product and application. Always check the specifications for the exact PEX tubing and fittings being used.
For example, Uponor states specific operating limitations for its ResiPEX tubing in domestic hot water applications and references ASTM F2023 for those conditions.
Never assume that because a fitting works with PEX for cold water it automatically has the same approved application for every hot water installation.
How to Prevent Leaks With PEX Crimp Fittings
The best way to prevent leaks is to focus on consistency during installation.
Before making a connection, check that:
- The PEX tubing is the correct type and size
- The fitting is compatible with the tubing
- The crimp ring is the correct size
- The tubing has a clean, square cut
- The fitting is inserted to the required position
- The crimp tool matches the connection system
- The crimp tool is positioned correctly
- The completed connection has been inspected
- The plumbing system has been properly tested
It is also worth keeping the manufacturer's installation instructions nearby, especially when working with an unfamiliar product.
Final Thoughts on PEX Crimp Fittings
PEX crimp fittings can be a practical connection method when the correct materials and installation procedures are followed. Most problems are not caused by the concept of crimp connections themselves, but by avoidable mistakes such as using mismatched components, making poor cuts, positioning the crimp ring incorrectly, or skipping the final inspection.
If you are planning a PEX plumbing project and need help choosing the right fittings, tubing, or connection method, visit our website at outdoorboiler.com. Getting the right information before starting can help you build a safer and more reliable plumbing system.




























Sign in to leave a comment.