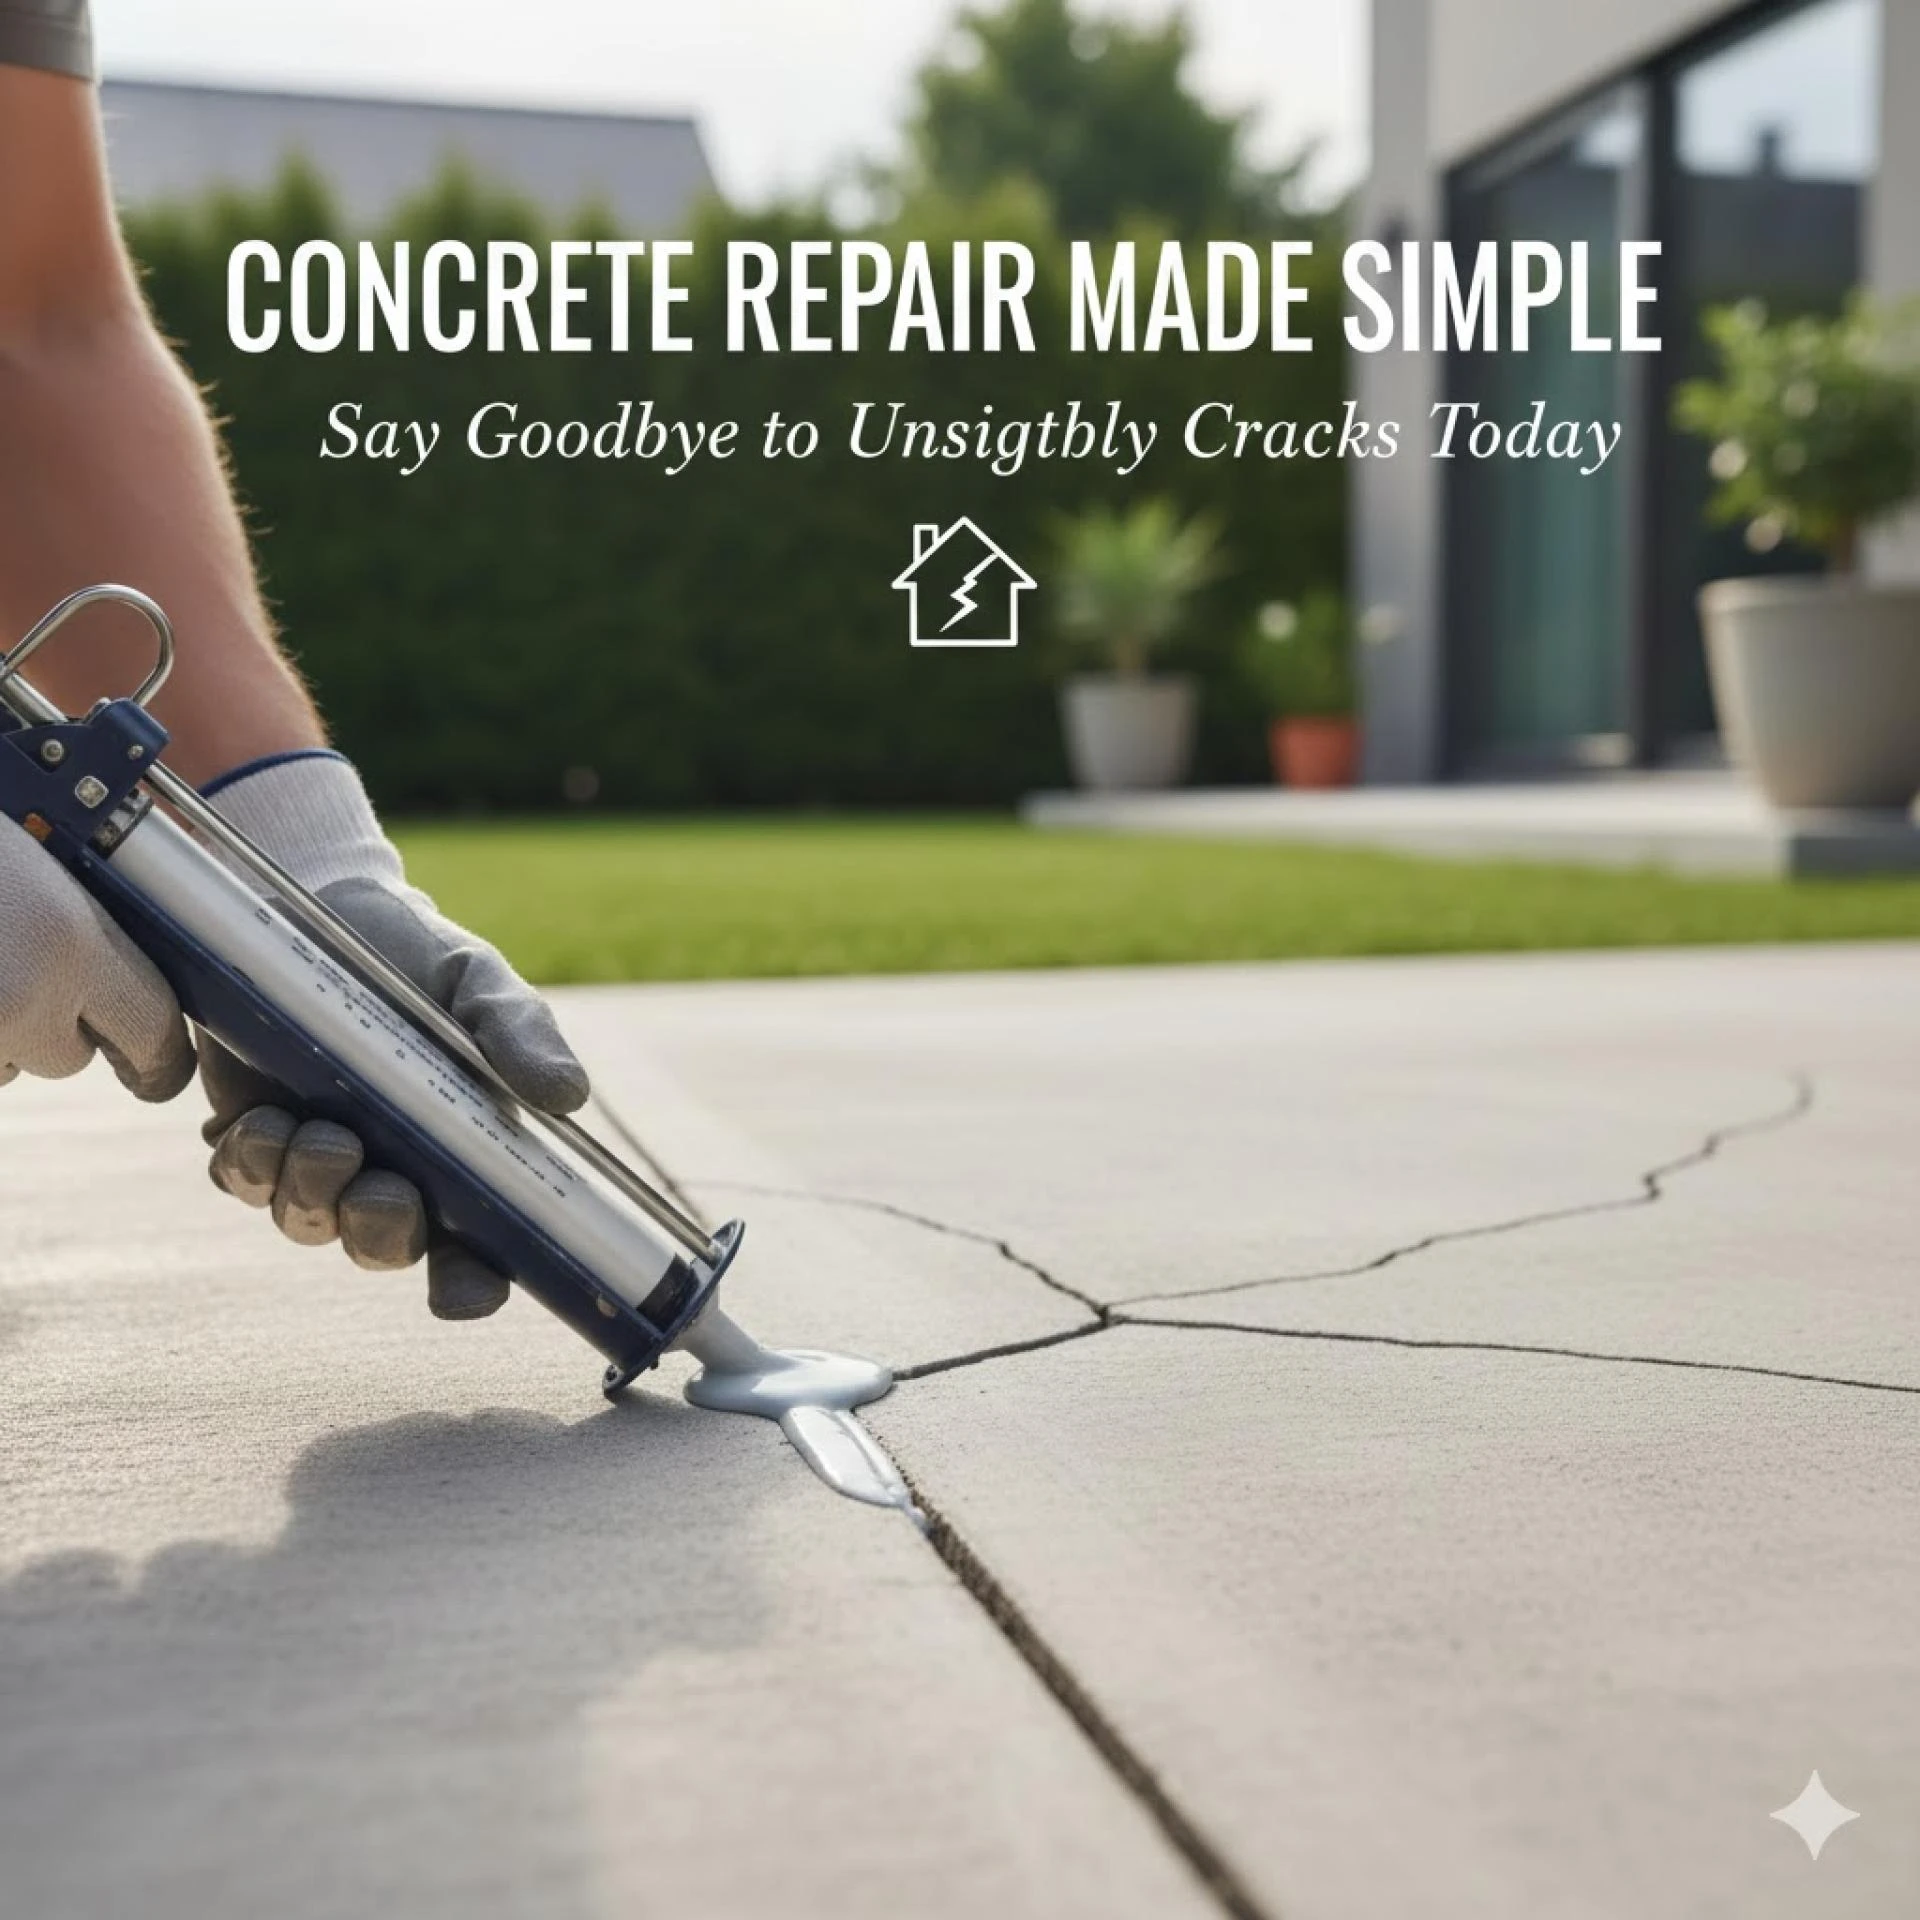
Concrete is often praised for its durability, strength, and long-lasting performance. But even the toughest surfaces eventually show wear and tear. If you’ve noticed cracks spreading across your driveway, sidewalk, patio, or foundation, you’re not alone. These cracks not only look unattractive—they can also grow into serious structural problems if left untreated. The good news? Concrete repair doesn’t have to be stressful, expensive, or complicated.
In this guide, we’ll walk you through simple, effective, and homeowner-friendly solutions to help you restore your concrete surfaces fast. Whether you’re dealing with hairline cracks or larger structural gaps, you'll learn exactly what to do, why it matters, and how to prevent future damage.
1. Why Concrete Cracks in the First Place
Before diving into repair strategies, it’s important to understand why concrete cracks. Even a perfectly installed slab can eventually show signs of distress. Common causes include:
1.1 Temperature Changes
Concrete expands in heat and contracts in cold. Without proper expansion joints, this movement can cause cracks.
1.2 Moisture Problems
Water is concrete’s worst enemy. Excess moisture beneath the surface can cause:
- Heaving
- Shrinkage
- Soil erosion
- Freeze-thaw cycles
All of these contribute to cracking.
1.3 Heavy Loads
Driveways, garage floors, and walkways take on significant weight. Over time, large vehicles or machinery can stress the slab.
1.4 Poor Installation
Inadequate reinforcement, wrong concrete mix, or improper curing can weaken concrete from the start.
Understanding the cause helps you choose the right repair method, ensuring long-lasting results.
2. The Different Types of Concrete Cracks
Not all cracks are the same. Some are cosmetic, while others signal deeper structural issues. Knowing the difference helps you avoid unnecessary repairs—or catch major problems early.
2.1 Hairline Cracks
Thin, shallow cracks that typically form during curing. They’re more of an eyesore than a structural concern.
2.2 Expansion Cracks
Usually appear when concrete expands and contracts without proper control joints.
2.3 Settlement Cracks
Caused by soil movement beneath concrete, often from erosion, poor compaction, or moisture changes.
2.4 Structural Cracks
Wide and deep cracks that may indicate serious foundation or slab instability. These require professional evaluation.
When diagnosing your cracks, note their width, depth, and pattern—this helps determine whether a DIY fix is safe.
3. Why You Should Repair Concrete Cracks Quickly
Ignoring cracks is one of the biggest mistakes homeowners make. Even small cracks can turn into big, expensive headaches.
3.1 Water Damage
Cracks allow water to seep in, leading to:
- Soil erosion
- Freeze-thaw expansion
- Rusting of rebar
- Mold and mildew
3.2 Structural Weakness
Over time, cracks grow wider and deeper, weakening the slab.
3.3 Decreased Curb Appeal
Cracked concrete makes your home look neglected and lower in value.
3.4 Costlier Repairs Later
A simple crack filler today costs a fraction of a full slab replacement later.
Repairing early saves time, money, and stress.
4. DIY Concrete Repair: What You Can Fix Yourself
Homeowners can handle many concrete repairs with the right tools and techniques. Here’s a breakdown of DIY-friendly options.
4.1 Repairing Hairline Cracks
Use:
- Liquid crack filler
- Concrete patching slurry
- Resurfacer for larger areas
Hairline cracks only require sealing—not rebuilding.
4.2 Fixing Small to Medium Cracks
If the crack is up to ½-inch wide:
- Clean out debris
- Apply patching compound or epoxy filler
- Use a putty knife to smooth
- Allow proper curing time
4.3 Resurfacing Old, Cracked Concrete
If the surface looks worn but remains structurally sound, resurfacing offers a near-new appearance.
Resurfacer benefits include:
- Fast application
- Slip-resistant finish
- Cost-effective makeover
4.4 Filling Cracks in Driveways and Sidewalks
Polyurethane-based crack fillers work best outdoors because they flex with temperature changes.
These products are:
- Weather-resistant
- Durable
- Easy to apply with a caulking gun
DIY repairs work best when cracks are minor. If your concrete shows signs of sinking or major shifting, it’s time to call a pro.
5. Professional Concrete Repair: When to Bring in the Experts
Some repairs simply require more experience, equipment, or expertise than a DIY job allows.
5.1 Large Structural Cracks
If cracks are wider than ½-inch or run deep, professional assessment is necessary to avoid worsening the problem.
5.2 Sunken or Uneven Concrete
Slabs that tilt, slope, or sink often need:
- Mudjacking
- Polyjacking (polyurethane foam injection)
These methods lift the slab back into place.
5.3 Foundation or Basement Cracks
These cracks may indicate:
- Hydrostatic pressure
- Structural failure
- Water intrusion
Professional-grade epoxy injections are often required.
5.4 Full Slab Replacement
If the slab is severely damaged or crumbling, replacement may be the only long-term solution.
6. Step-by-Step Guide: How to Repair Concrete Cracks
Here’s a simplified process anyone can follow for minor cracks.
Step 1: Clean the Crack
Remove:
- Loose debris
- Dirt
- Vegetation
- Old filler
- Dust
A wire brush or pressure washer works well.
Step 2: Widen the Crack Slightly
Use a chisel to open the crack so filler adheres properly. Create a V-shape for best results.
Step 3: Apply the Filler
Choose the appropriate filler (epoxy, latex, polyurethane), then apply using the manufacturer’s instructions.
Step 4: Smooth the Surface
Use a trowel or putty knife to blend the filler with surrounding concrete.
Step 5: Let It Cure
Allow full curing before walking or driving on the repaired area.
Step 6: Seal the Concrete
Using a concrete sealer helps prevent future cracking by:
- Reducing water absorption
- Protecting against stains
- Enhancing durability
7. Best Tools and Materials for Concrete Repair
Stock up on high-quality products to ensure long-lasting repairs.
7.1 Tools
- Caulking gun
- Wire brush
- Pressure washer
- Chisel and hammer
- Putty knife
- Trowel
7.2 Materials
- Epoxy filler
- Polyurethane crack sealant
- Concrete patching compound
- Concrete resurfacer
- Concrete sealer
Using the right tools can dramatically improve the success of your repairs.
8. How to Prevent Future Concrete Cracks
Prevention is easier—and cheaper—than repair. Here’s how to protect your concrete long-term.
8.1 Seal Your Concrete
Seal driveways, patios, and walkways every 2–3 years.
8.2 Address Drainage Issues
Poor drainage is a major cause of concrete deterioration.
Ensure that:
- Gutters point away from slabs
- Soil slopes away from structures
8.3 Avoid Overloading the Slab
Don’t park heavy vehicles on small driveways not designed for weight.
8.4 Maintain Joints
Fill expansion joints with flexible materials to prevent cracking.
8.5 Fix Cracks Immediately
Prompt repairs prevent the spread of damage.
9. Cost of Concrete Crack Repair
Concrete repair costs depend on crack size, slab condition, and whether you choose DIY or professional help.
9.1 DIY Repair Costs
- Crack filler: $10–$30
- Patching compound: $15–$40
- Resurfacer: $25–$60 per bag
9.2 Professional Repair Costs
- Crack injection: $350–$700
- Mudjacking: $500–$1,500
- Polyjacking: $750–$3,000
- Full slab replacement: $2,000–$5,000+
Investing in early repair prevents higher costs later.
10. Common Mistakes to Avoid When Repairing Concrete
Avoid these pitfalls to ensure your repair lasts:
❌ Skipping surface preparation
Debris prevents proper bonding.
❌ Using the wrong filler
Outdoor areas need flexible products.
❌ Ignoring underlying soil problems
If the soil is unstable, cracks will return.
❌ Applying filler in wet conditions
Moisture interferes with curing.
❌ Failing to seal after repair
This is crucial for long-term protection.
Conclusion: Restore Your Concrete and Keep It Looking New
Cracked concrete can make your home feel worn and neglected—but fixing it doesn’t have to be overwhelming. With the right tools, techniques, and preventive steps, you can restore your concrete quickly, affordably, and effectively. Whether you decide to tackle repairs yourself or call in a professional like https://www.concreteprosbend.com/, taking action now will save you time, money, and frustration later.
Say goodbye to unsightly cracks and enjoy smooth, strong, and beautiful concrete once again. Your home deserves nothing less.


Sign in to leave a comment.