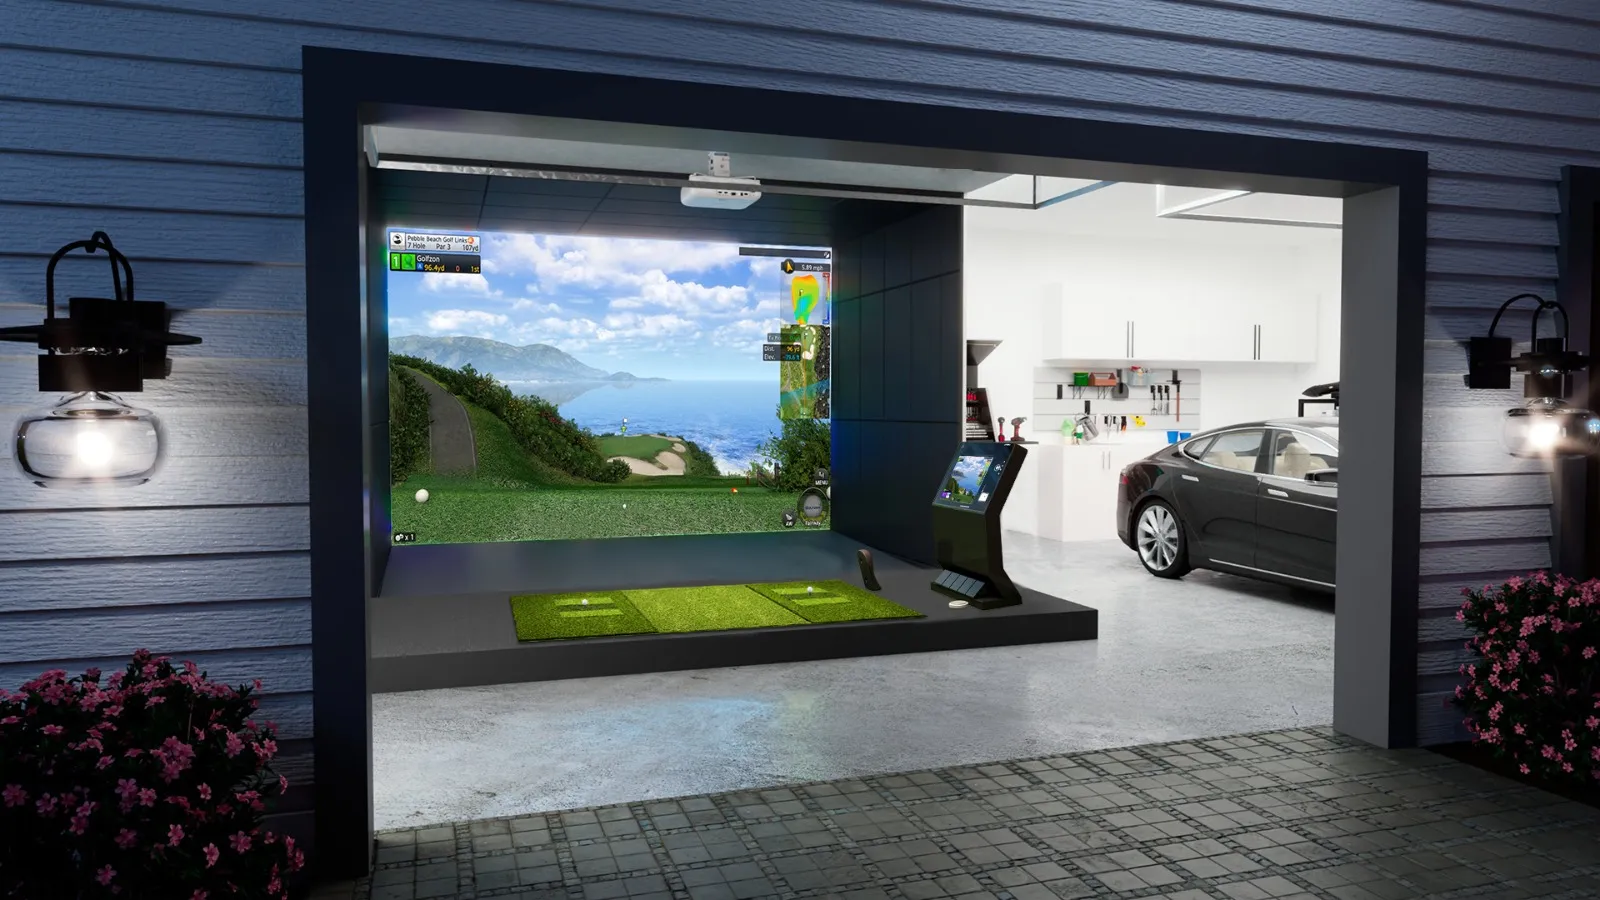

Most garages spend their lives housing cars, boxes of things nobody uses, and vague intentions to organize everything “at some point.” But for golfers, a garage is something else entirely, an untapped square footage just waiting to become a year-round practice space. A garage golf simulator doesn’t require a mansion or a contractor crew. It requires a clear plan, the right equipment, and an honest look at your ceiling height. Whether you’re starting with a budget or looking to turn garage into golf simulator, this guide gives you every garage golf simulator idea you need to make it happen with the right approach to redefine how you experience golf in garage setups at home.
Why Build a Garage Golf Simulator?
The most obvious answer is convenience, a golf simulator in garage means you can practice at 6 am or 10 pm, in January or July, without booking a tee time or driving anywhere. The year-round access removes the seasonal gap that quietly undoes months of swing development. Due to a simulator setup, you hit more balls, get more feedback & improve faster simply because the opportunity is always there when you want it. And doing deliberate, data-driven practice produces faster improvement than traditional range sessions, especially when you understand how do golf simulators work and provide real-time feedback.
Beyond the golf itself, a well-built garage golf setup adds genuine value to your home & your lifestyle. Friends can come over for simulator rounds, and kids can develop an interest in the game. An investment in a garage golf simulator pays back in entertainment, improvement, and the kind of home amenity people actually use. If you are passionate about golf or just want to add much more fun to your space, even a residential golf simulator setup can transform your garage into a dedicated practice & entertainment space.
Space & Equipment Required to Build Your Garage Golf Simulator
Before spending a dollar, spend ten minutes measuring. The single most common reason garage golf simulator setups underperform is poor space planning, or you don’t get the right equipment. Here’s what you actually need for a complete garage simulator setup.
Space
For a golf simulator garage setup, the first thing you should focus on is to have a minimum workable dimension. The widely considered ideal dimensions are 10-15 ft wide, 15-20 ft deep, and 9-10 ft high, so measure your space & plan accordingly. Always consider how much space you need for a golf simulator & take a slow practice swing with your driver in the exact hitting spot before finalizing anything.
Enclosure
A frame-and-net enclosure keeps errant shots from damaging walls, cars, and everything stored nearby. You get many options with regards to enclosure, you can get your hand on a budget enclosure, or you can go for premium options with side netting & turf flooring. For a DIY garage golf simulator, retractable enclosures are worth the investment, as they roll up when you need the garage back.
Impact Screen
The impact screen is your projection surface and your ball stop. Quality screens handle full driver strikes without tearing and display a crisp image. Get them right and position them with at least 1 ft of clearance behind them to absorb ball impact and reduce bounce-back.
Launch Monitor
This is the brain of the entire system; prioritize it above everything else. In garage setups, camera-based units work better than radar in tight spaces because they don’t need as much room depth behind the golfer. And with systems like Vision SP, you get launch monitors & simulators that are designed specifically for indoor environments where precision and space efficiency matter.
Projector
A short-throw projector is essential for most garages, they projects a large image from a short distance, keeping hardware out of your swing path. For better results, mount it on the ceiling, centered above the hitting area, & align it properly with your impact screen for a sharp, distortion-free display.
Hitting Mat
A quality mat protects your joints from the concrete garage floor and provides realistic turf feedback. So don’t cut corners here, as a thin mat causes wrist & elbow strain over time. Go for commercial-grade mats, as they last for years under heavy use.
A Step-by-Step Guide to Your Garage Golf Simulator Setup
Building a golf simulator in garage goes smoothly when you tackle it in order. Skipping steps is how expensive mistakes happen. Here’s how to set up a golf simulator in your garage from scratch. Try to keep these steps in mind as you build your garage golf simulator.
- Measure your garage: Record ceiling height, width, and depth precisely. Take a slow-motion practice swing with your driver in the intended hitting spot. If you clip anything, address it before ordering equipment.
- Choose simulator type: Decide between a camera-based or radar launch monitor based on your room depth. Also, decide between a permanent enclosure and a retractable setup based on whether you still need garage access for parking.
- Install screen and net: Mount the impact screen frame first, with the screen face leaving 1 ft of clearance from the back wall. Install side netting for full ball containment & anchor everything securely, as a loose screen during a full driver swing is a real problem.
- Set up the projector: Ceiling-mount the projector directly above and behind the hitting position. Confirm your throw distance matches your screen size before drilling anything. Short-throw models are the default choice for standard garage depth.
- Position the launch monitor: Place camera-based units to the side of the hitting mat according to the manufacturer’s specs. Radar units sit behind the golfer. Advanced setups like the Vision SP Plus provide enhanced tracking & immersive gameplay, making them ideal for serious home setups.
- Test and calibrate: Run several shots across different clubs and compare data against expected values. Adjust projector image alignment, mat position, and launch monitor angle until everything reads cleanly and the image fills the screen properly.
Garage Golf Simulator Ideas
Not every garage golf simulator looks the same, and that’s exactly the point. The right setup depends on your space, your budget, and how you want to use it. Here are some creative directions you can go for besides a common budget setup, each built around a different constraint or goal. Pick one golf simulator garage idea that suits you best.
Single-Car Garage Setup
A single-car garage is enough for a fully functional simulator if the ceiling hits 9 ft. Use a short-throw projector, a camera-based launch monitor, and a compact enclosure. You’ll have space for a small seating area along the wall, enough to invite a friend and call it a proper session. If you’re planning this level of setup, understanding how much a golf simulator costs helps you budget realistically before committing.
Dual-Use Garage (Parking + Simulator)
A retractable impact screen mounts to the ceiling and rolls down when it’s time to play, then disappears when you need the parking space back. Pair it with a roll-away hitting mat and a portable launch monitor, and you have a garage golf sim that doesn’t compromise the rest of the garage’s usefulness.
Luxury Man Cave Setup
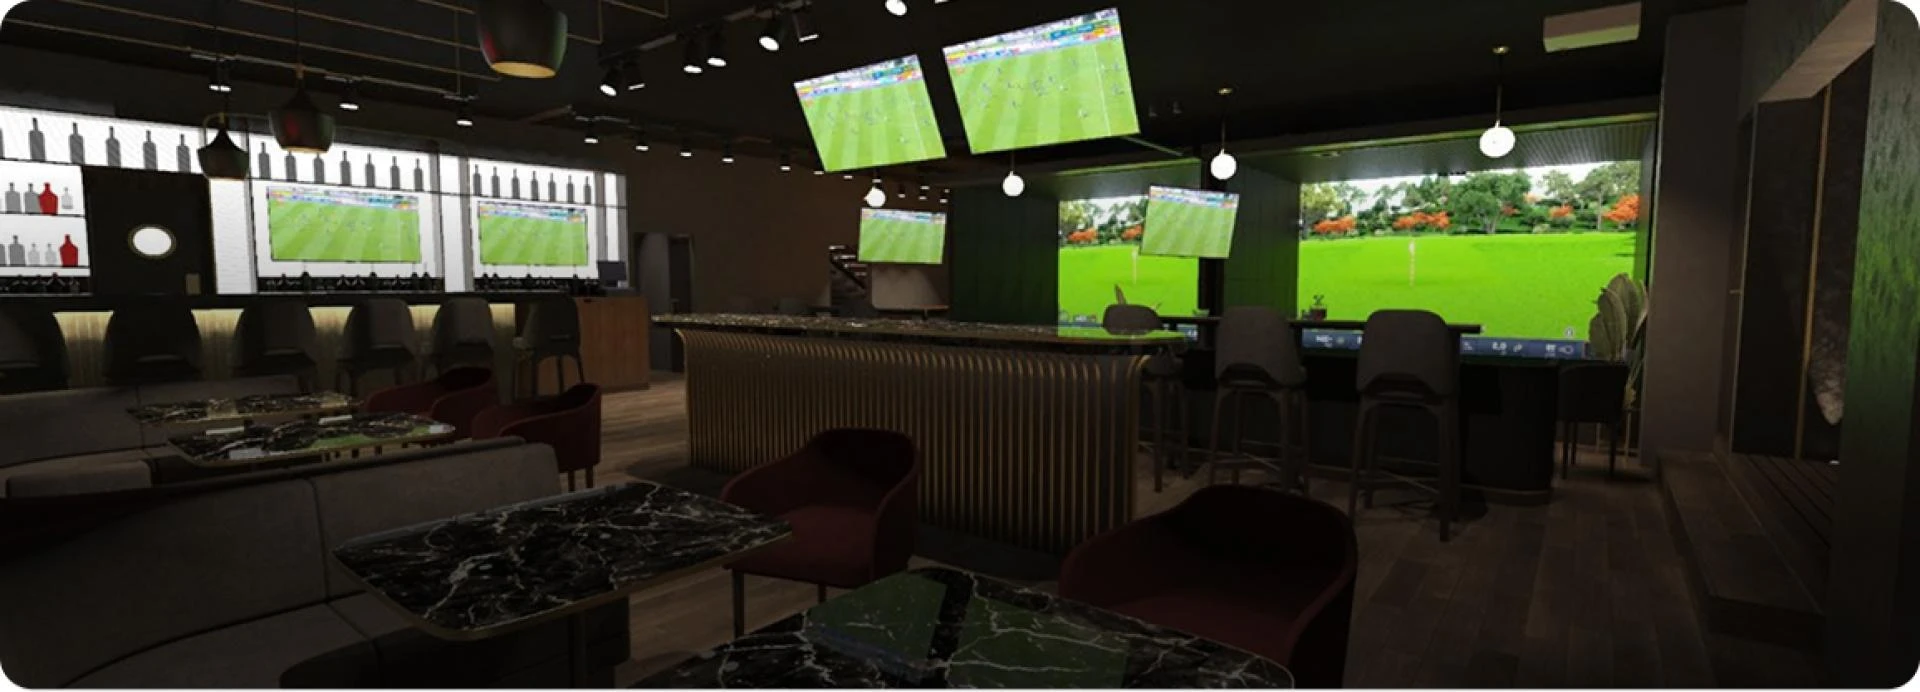
For those ready to go all-in, think a full enclosure with turf flooring, a 4K laser projector, a premium radar launch monitor, surround sound, a mini fridge, and wall-mounted displays showing shot data. The result rivals commercial golf simulator venues in every measurable way.
Common Mistakes to Avoid When Building a Garage Golf Simulator
When building a garage golf simulator for yourself, making certain mistakes is natural, but being already aware of mistakes that you might make keeps you from actually making them. The garage golf simulator diy community makes the same errors repeatedly, and most of them trace back to skipping the planning phase. So read below about some common mistakes & refrain from actually making them.
- Not measuring the ceiling height first. Measuring before ordering anything is necessary, but for ceiling height, it is non-negotiable.
- Buying the cheapest launch monitor is the mistake you should stay far away from. Wrong launch monitors lead to wrong data & waste your time with false feedback.
- Choosing the wrong projector throw ratio. A standard projector in a tight garage casts shadows and can’t fill the screen properly. So always use short-throw in spaces under 20 ft deep.
- An impact screen catches the ball coming straight, but not at sharp angles. Without side netting, a heel strike will find the wall eventually, or a window. So don’t skip side netting.
- Overhead fluorescent lights cause glare on the impact screen and can interfere with camera-based launch monitor tracking. So ensure you don’t end up with a poor lighting setup.
- Building too permanently, too fast. Start with a semi-permanent or retractable setup on your first build.
Conclusion
A garage golf simulator setup is one of the most rewarding projects a golfer can take on, & believe it, it’s far more achievable than most people assume. Thus, this was your guide on how to build a golf simulator in your garage. Just measure first, prioritize the launch monitor & mat, choose a setup style that fits your budget & space, and build toward the vision rather than just trying to achieve all of it at once. Your garage already has everything it needs to become your best practice tool. It’s just waiting for the plan & right execution, so turn your dreams into reality.
Originally published on gtbent.com
























Sign in to leave a comment.