
Custom T-shirts have become one of the easiest ways for anyone — from small business owners to sports teams, event organisers, or everyday creatives — to express their ideas. But if someone has never done it before, the process can feel a bit confusing. The good news? It’s actually much simpler than most people expect.

This guide walks through how people can customise a T-shirt with their own design, what methods they can choose, and why many Aussies turn to Garment Printing for everything from tees and hoodies to workwear, Hi Vis, sportswear, caps, and more.
Why Custom T-Shirts Are So Popular in Australia
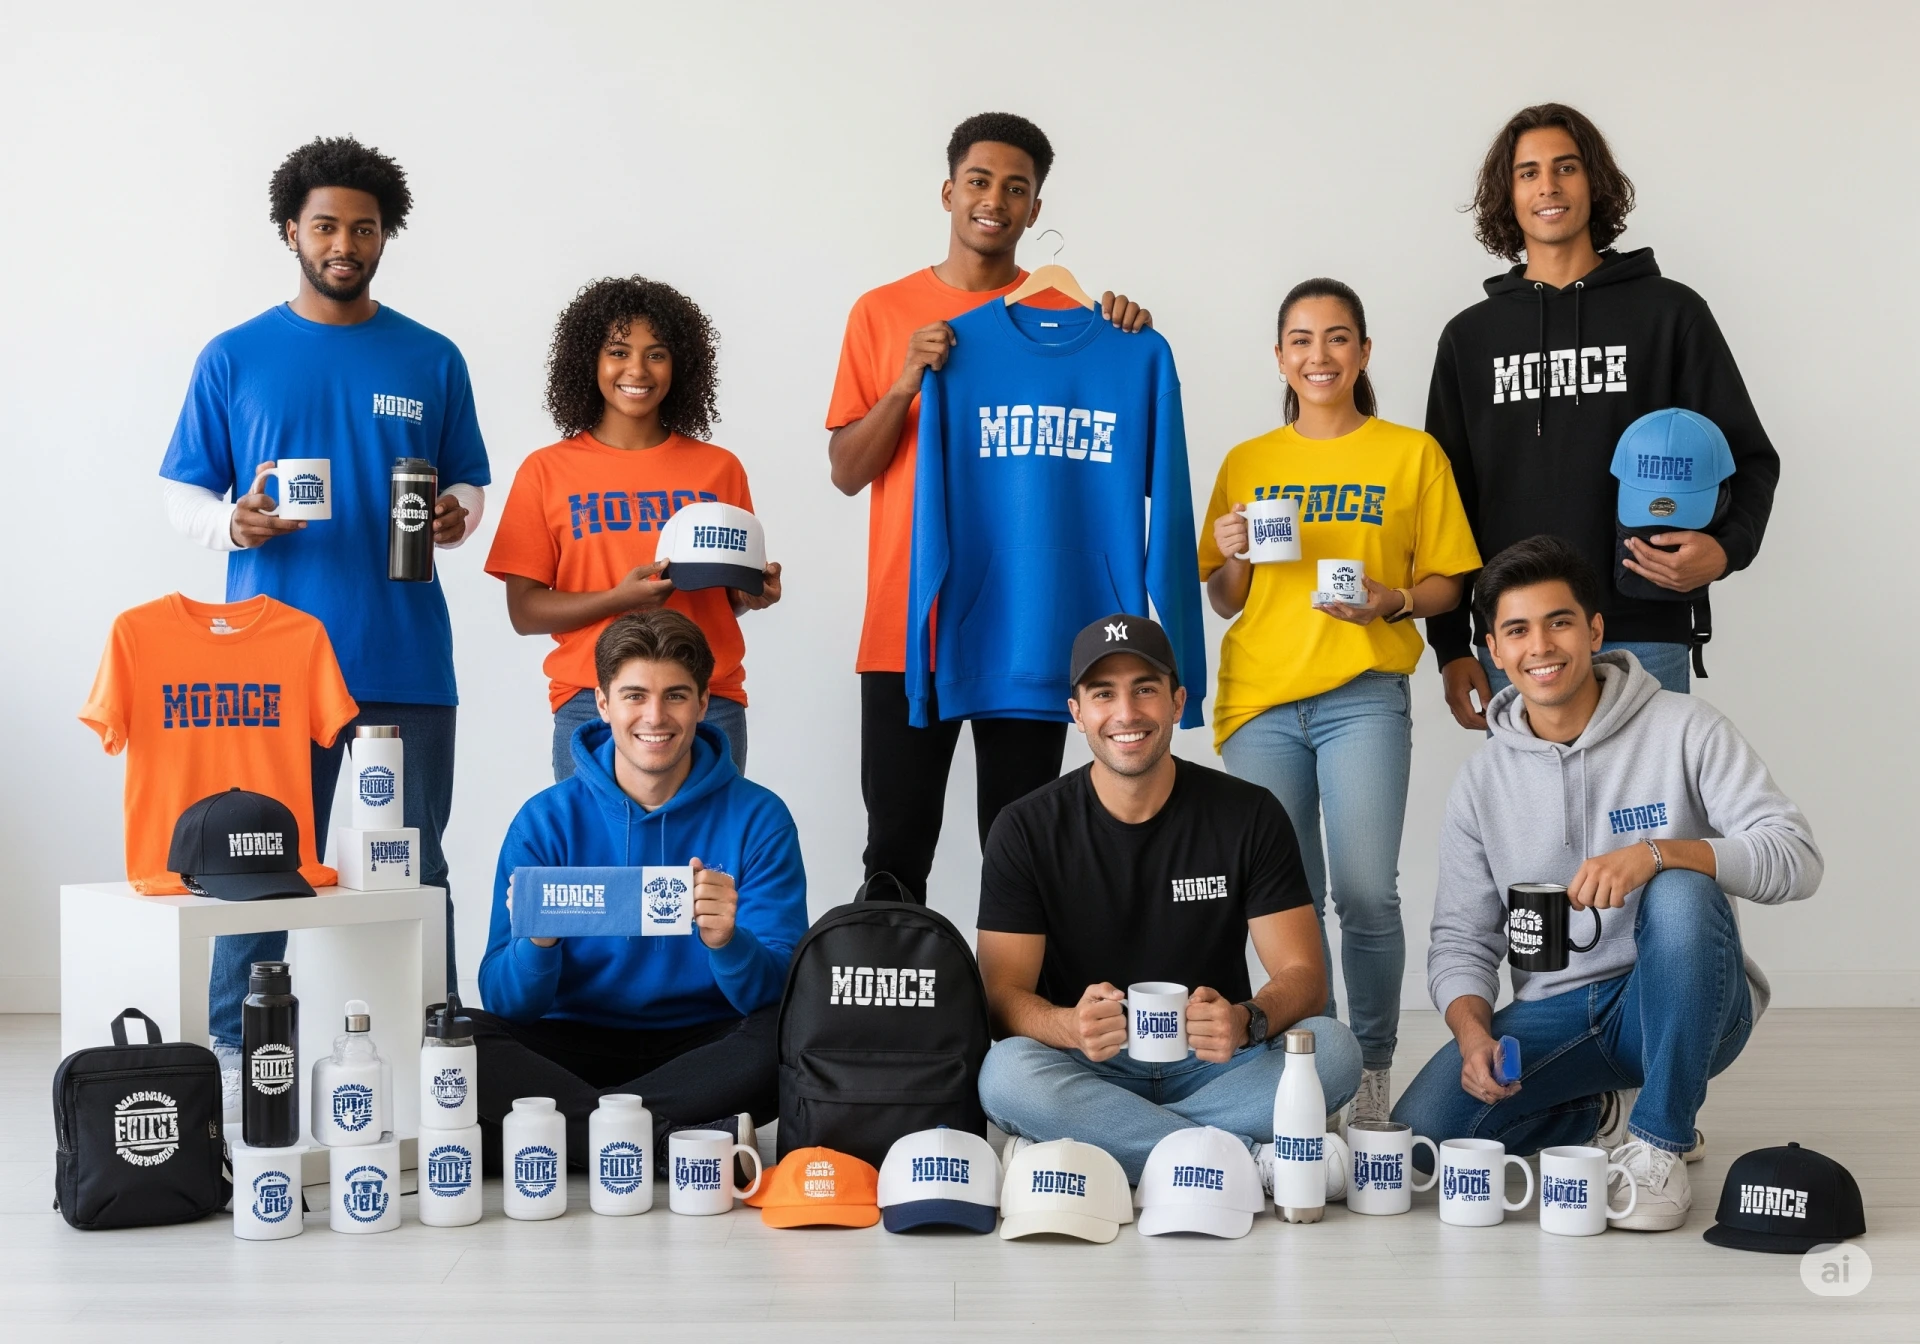
Australians love customised gear — whether it’s for a footy club, a local business, school events, charity runs, or simply a creative gift for someone special. Having control over the colours, artwork, logos, and even the placement of the design gives people the freedom to bring any idea to life.
Garment Printing sees this daily across their wide range of apparel like hoodies, jackets, T-shirts, vests, activewear, beanies, hats, caps, pants, shorts, sportswear, and teamwear. With no minimum order (no MOQ) and fast turnarounds, individuals and businesses can create exactly what they need, without stress.
Step 1: Pick the Right T-Shirt
Before adding a design, the right base T-shirt makes a big difference. Third-party designers often look for:
1. Fabric Type
- Cotton: soft, breathable, perfect for everyday wear
- Polyester: great for sportswear or sublimation printing
- Cotton-Poly Blends: comfortable and durable
2. Fit & Style
Some prefer classic crew necks, others want modern fitted cuts, oversized styles, or long-sleeve variations.
3. Colour Options
Choosing the right colour ensures the design looks as sharp as possible.
Garment Printing offers all these options, making it easier for creators to match their ideas with the right garment.
Step 2: Create or Upload a Design
When customising a T-shirt, individuals usually choose between:
1. Designing From Scratch
Using tools like Canva, Illustrator, or Procreate, they can draw logos, digital art, text-based graphics, or photo designs.
2. Uploading an Existing Logo or Artwork
Great for businesses, sports teams, influencers, or clubs that already have branding files.
Tips for Better Results
- Use high-resolution artwork (300 DPI recommended)
- Export files in PNG, PDF, or vector format
- Keep colours consistent with the brand or theme
Garment Printing accepts almost all common file types and even helps clean up or adjust artwork when needed, which is handy for people who aren’t graphic designers.
Step 3: Choose a Customisation Method
This is where people get creative. There are multiple ways to print or decorate a T-shirt, and each one suits a different type of design.
1. DTF (Direct to Film) Printing
A modern method that prints vibrant, full-colour graphics onto film and heat-presses them onto garments.
Best for:
- Small orders
- Colourful designs
- Photographic prints
- Complex artwork
2. DTG (Direct to Garment) Printing
A digital printer applies ink directly onto the fabric, similar to how a paper printer works.
Best for:
- Cotton garments
- Short runs
- High-detail artwork
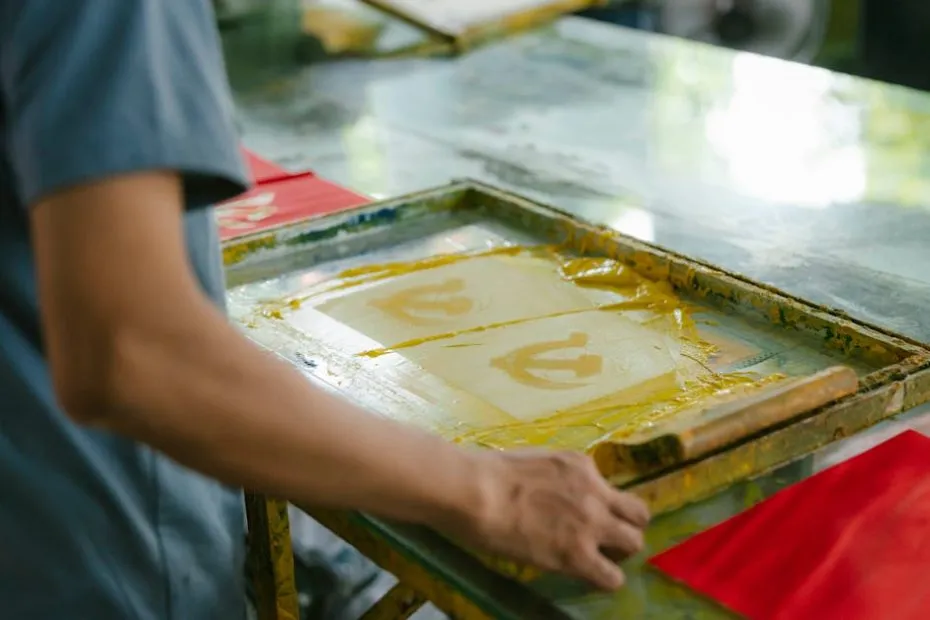
3. Screen Printing
A traditional method using stencils and ink layers. It’s long-lasting and ideal for bold, simple designs.
Best for:
- Large orders
- Simple logos
- Workwear
- Team uniforms
4. Embroidery
Instead of ink, threads are stitched into the fabric for a premium, long-lasting look.
Best for:
- Polo shirts
- Hoodies
- Caps and beanies
- Corporate and tradie uniforms
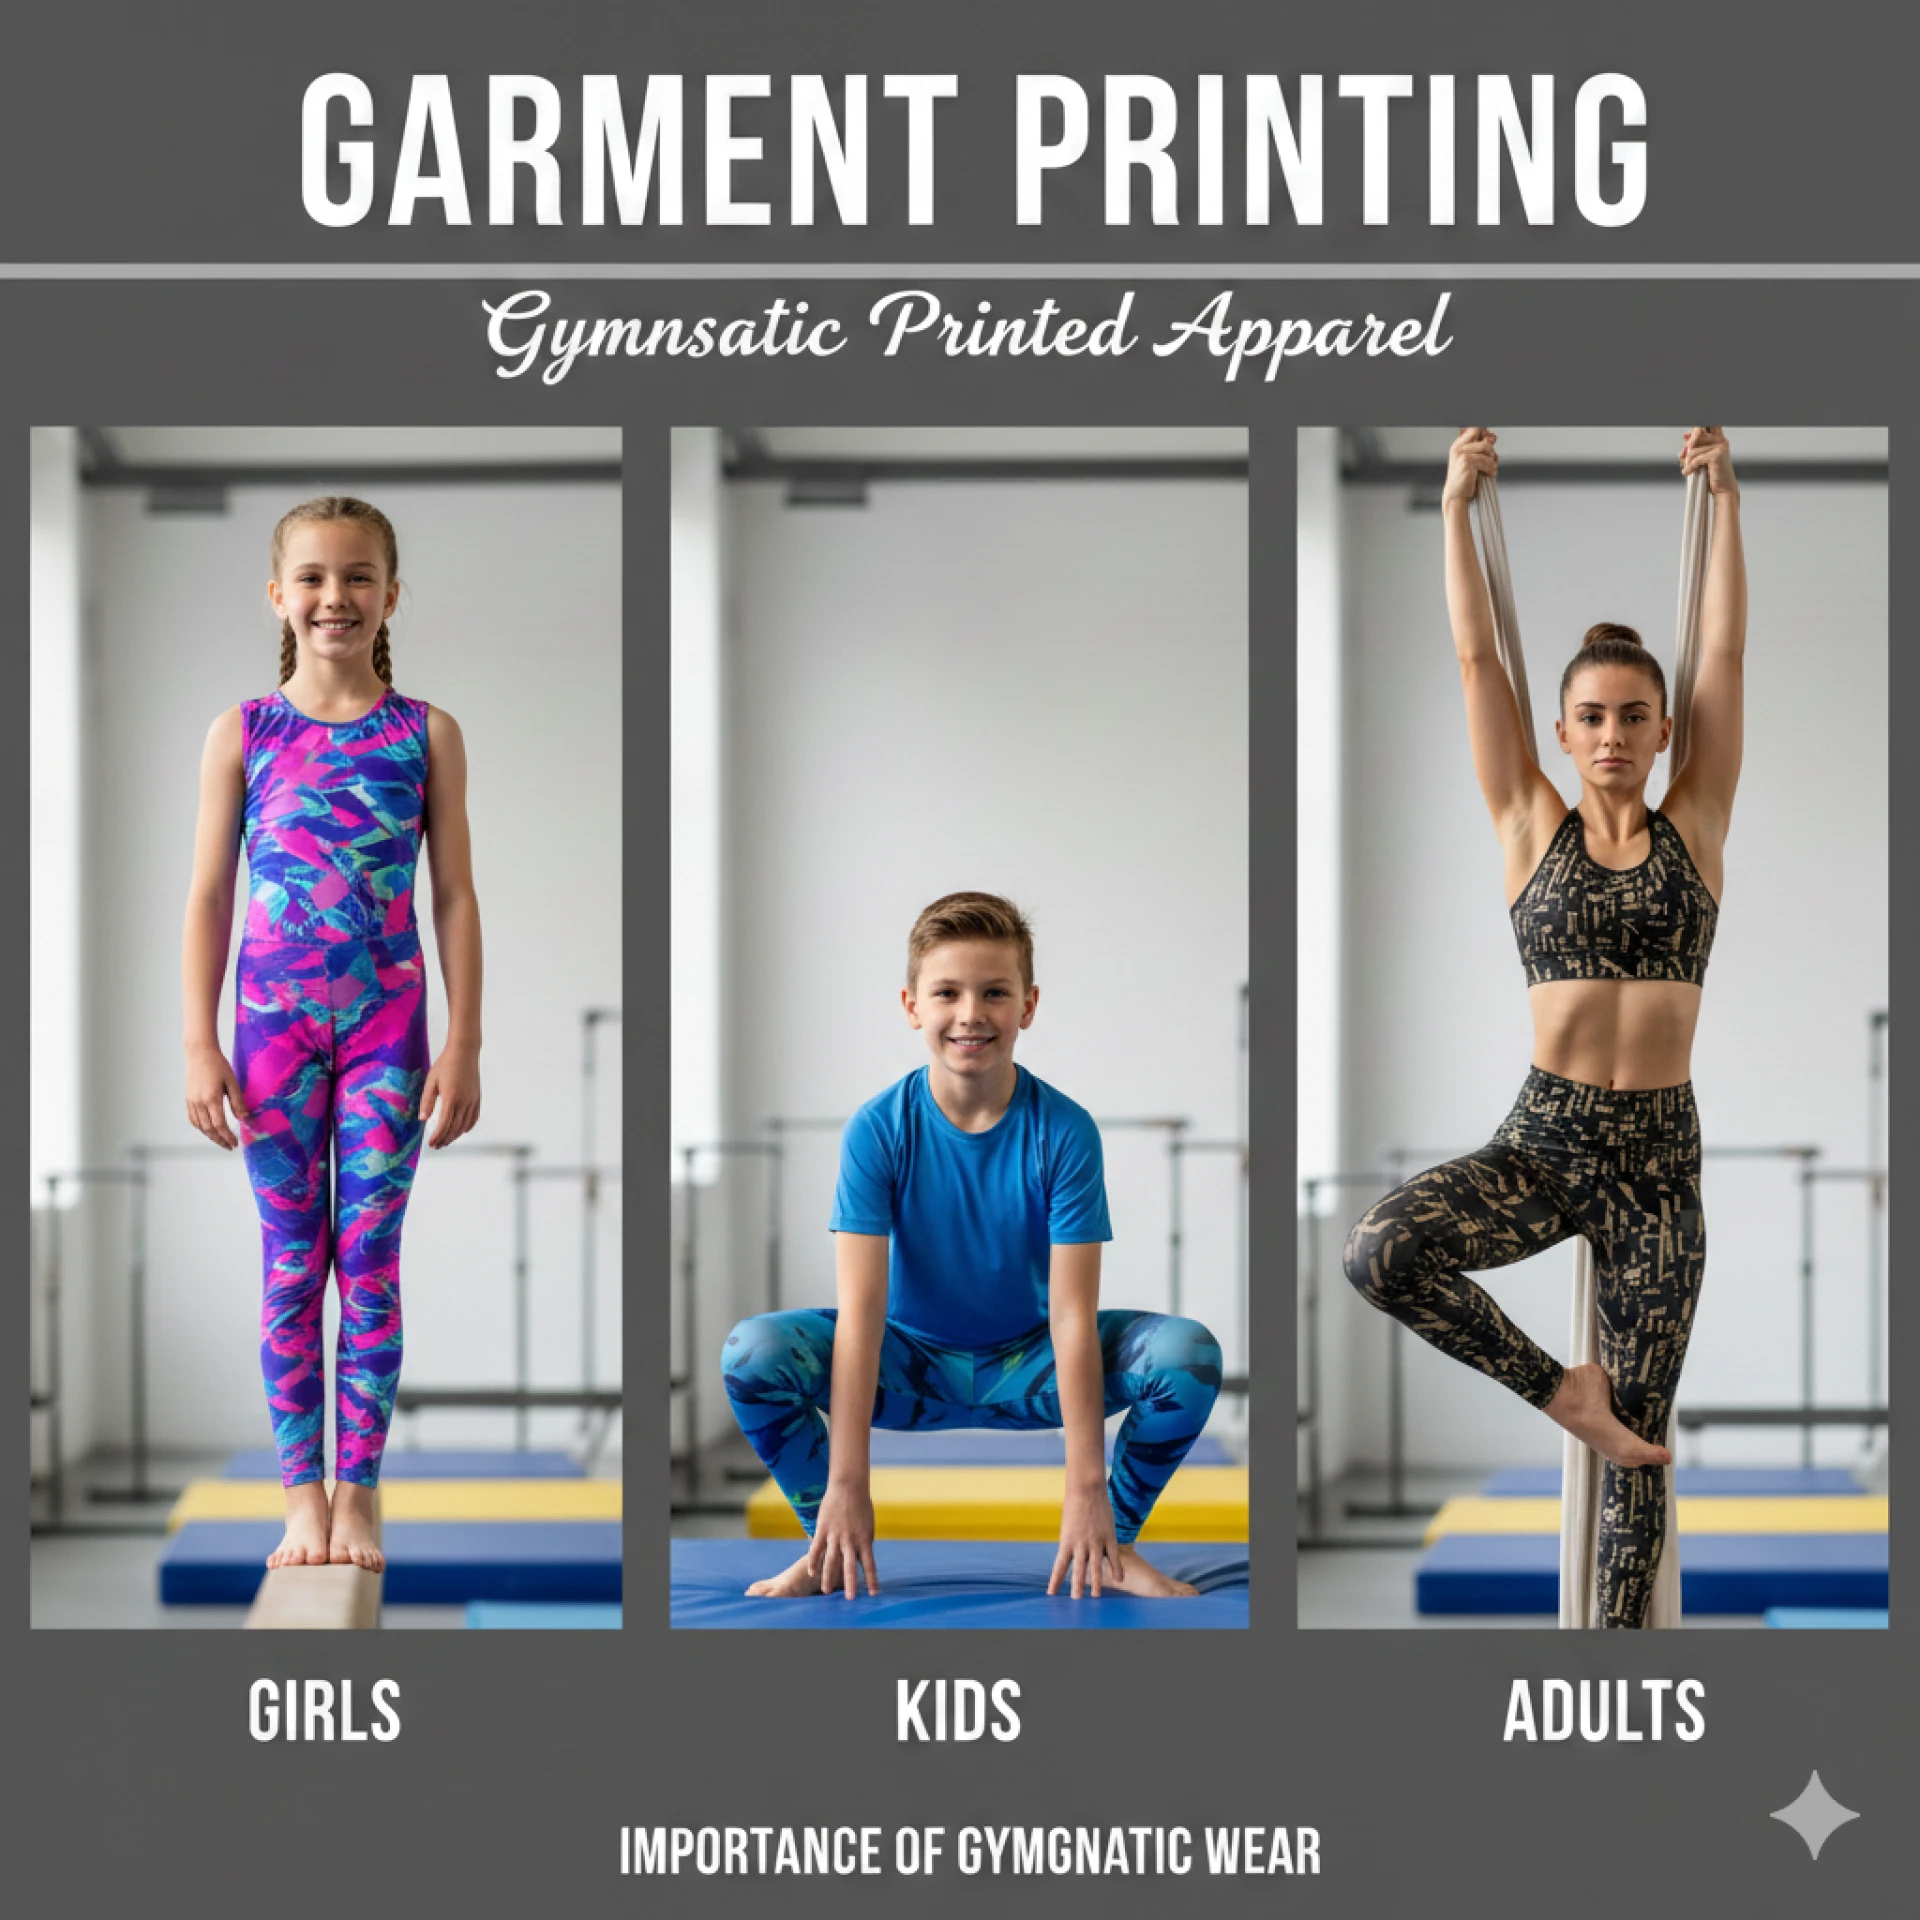
Garment Printing offers all these methods across their entire range — hoodies, jackets, tees, pants, shorts, hats, Hi Vis gear, activewear, sportswear, and workwear — making them a one-stop solution for both individuals and businesses.
Step 4: Decide on Placement
Common placements include:
- Front centre
- Left or right chest
- Back large print
- Sleeve print
- Hem or inside-neck label
Most creators test multiple mock-ups before choosing the final position.
Garment Printing provides digital previews, helping customers visualise the design before production begins.
Step 5: Place the Order — No Minimum Quantity Needed
One big barrier for many people is the fear that they need to order in bulk. But with Garment Printing, there’s no MOQ. Even a single personalised T-shirt is perfectly fine.
This makes customisation accessible for:
- Solo creators
- Small online businesses
- Start-up fashion labels
- Students
- Personal gifts
- One-off events
- Team captains needing a sample
There’s also support for dropshipping and affiliates, meaning creators who want to launch a clothing line can sell without managing inventory. Garment Printing produces and ships the orders directly to customers — an easy, low-risk way to start a brand.
Step 6: Review, Approve & Get It Delivered
Once the artwork, garment, and printing method are finalised, customers simply approve the final design. The printing team then gets to work.
Turnaround times are fast, and delivery is available Australia-wide. Whether someone’s in Sydney, Melbourne, Brisbane, Perth, Adelaide, Canberra, Hobart, or a regional town, they can get their custom T-shirts delivered to their door.
Why Many Aussies Choose Garment Printing
Here’s why more individuals, influencers, and businesses in Australia choose Garment Printing for their personalised clothing:
- No minimum orders (no MOQ)
- Wide garment range — hoodies, jackets, tees, vests, pants, shorts, Hi Vis, workwear, activewear, caps, hats, teamwear, sportswear
- Multiple printing methods — DTF, DTG, Screen Printing, Embroidery, Sublimation, Vinyl
- Dropshipping & affiliate options
- Australia-wide delivery
- Fast turnarounds
- Affordable pricing
- Friendly customer support
Whether someone wants a single T-shirt for a birthday gift or 200 shirts for a sports team, Garment Printing handles everything from design help to production.


Sign in to leave a comment.