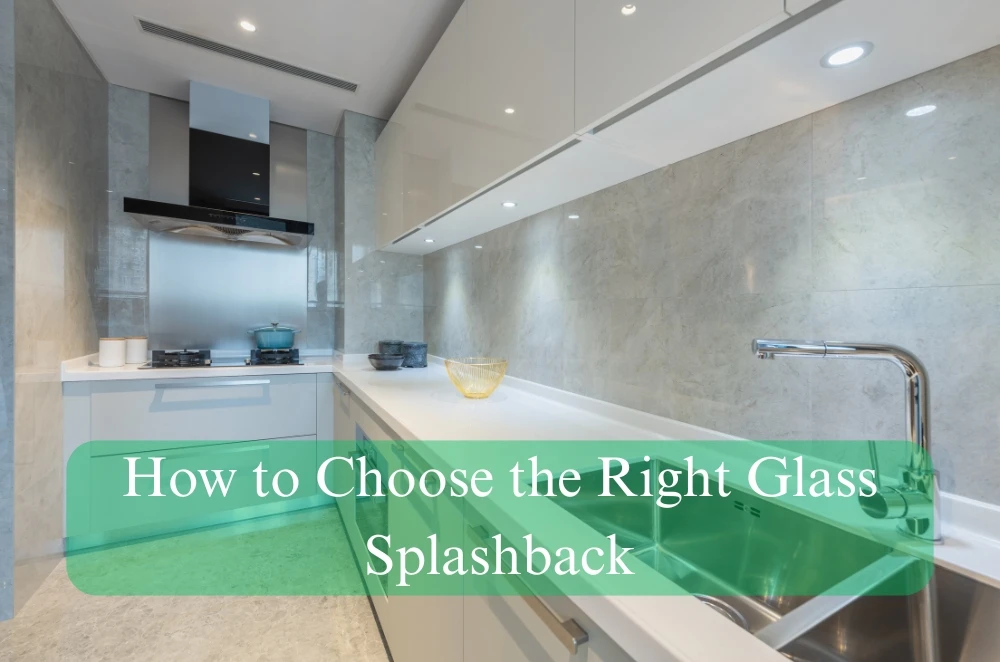
So, you're renovating. Or maybe starting from scratch. Either way — the splashback decision always seems like a small piece of the puzzle… until you actually have to make it. You scroll through styles, colour swatches start piling up, and before long, you're deep in installation specs you never knew existed.
That’s why the glass splashback is quickly becoming the quiet hero of the kitchen and bathroom world. It looks sleek. It cleans easily. It makes the whole space feel bigger and lighter — without ripping out cabinets or changing your entire layout.
But picking the right one? That’s where things can get tricky. So here’s what to consider before you lock it in.
Why glass splashbacks have become the go-to
Let’s rewind. A decade ago, tiles ruled. And they still have their place. But something’s shifted. More and more homeowners (and let’s be honest — interior designers too) are leaning toward glass. It’s not just the modern feel. It’s the practicality.
Here’s why glass is stepping up:
- You don’t need to scrub grout lines
- It’s waterproof, heat-resistant and hygienic
- You can colour-match or go bold with digital prints
- It reflects light — great for smaller kitchens or bathrooms
- It’s tough. With proper installation, it’ll last for years
There’s also less chance of visual clutter. One smooth surface. No awkward joins. Just clean lines that let everything else shine — especially in tight or high-use spaces.
Make it match: designing with your space in mind
Start with what you’ve already got. That benchtop colour, the floor tone, those cabinets — your splashback should tie it all together. Think of it as the background track to your kitchen’s main show. Subtle, but vital.
Tips that actually help:
- Use benchtop colours as a guide
- Mirrored finishes can bounce light around
- Frosted or matte glass cuts down fingerprints
- For bold cabinetry, aim for something calming and neutral
- And always check how it looks under natural and artificial light
One thing people overlook? Lighting position. Glass reflects. So if you’ve got undercabinet LEDs pointed straight at the splashback, you might get glare. Try diffused lighting or repositioning strips slightly further forward.
Don’t forget the compliance side of things
We all love a glossy kitchen photo. But behind the style? There’s structure. And if you’re dealing with cooktops — especially gas — the glass you choose needs to meet the right standards. Toughened safety glass is non-negotiable in these areas.
Take a few minutes to browse the official guide to renovations and additions in Australia. It’ll give you a clearer picture of what’s expected — especially if you’re project-managing your own reno.
A few basics to tick off before install:
- Check that the wall is flat and prepped
- Mark out power points and cooktop zones accurately
- Make sure the glass is cut before delivery
- Allow room for sealant curing (usually 24 to 48 hours)
- Don’t DIY unless you’re confident — silicone and safety glass aren’t forgiving
Glass vs… everything else
Still unsure? That’s fair. There are other good options out there — tiles, stainless, stone slabs. But glass tends to hit the balance point: stylish, safe, and (crucially) easy to keep clean.
When it comes to materials and performance comparisons, the rise of glass splashbacks has shifted how homeowners think about combining function with aesthetics. The shift reflects growing interest in surface hygiene, customisation, and the long-term benefits of seamless design.
Let’s break it down:
- Tiles: Timeless, but the grout can be a pain
- Acrylic: Cheap, lightweight — but not great with heat
- Stone: Stunning but heavier and pricier
- Stainless Steel: Industrial feel, but shows fingerprints easily
Glass kind of sits in the middle — good price point, low fuss, flexible enough to work in minimalist or eclectic settings.
Pick a finish that won’t date fast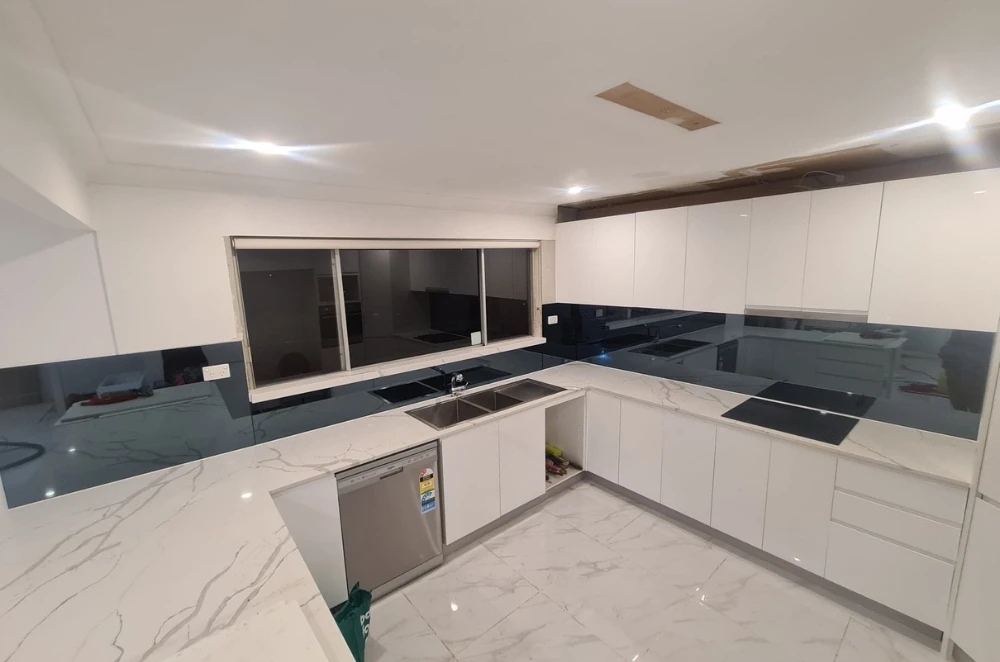
You might be tempted to go bold — and sometimes that works. But for splashbacks, less often turns out to be more, especially if your kitchen or bathroom has other eye-catching elements.
Colours and finishes that tend to go the distance:
- Classic whites or muted greys
- Mirror finishes for tight or dimly lit spaces
- Soft greens or blues to add calm
- Black for contrast — especially with white cabinetry
- Stone-look or printed textures for subtle detail
Before committing, ask yourself: Will I still like this in five years? If the answer’s shaky, it might not be the one.
Keeping it clean: the good news
The day your splashback goes in, you’ll see it. That fresh, reflective finish. But how do you keep it looking like that? Luckily, glass is one of the easiest surfaces to maintain — as long as you stay away from the scourers.
Realistic care tips:
- A microfibre cloth and some streak-free glass cleaner do the job
- Don’t leave splatters sitting too long — they bake on
- Warm soapy water works just as well for everyday grime
- Skip the abrasive pads — they’ll damage coatings over time
- If you’ve chosen a specialty finish, check the care guide
Bonus? No grout means no chance of mould creeping in. One wipe and done.
Final thoughts: function first, looks second (but both matter)
The right splashback should do two things: look good and make your life easier. It’s not just a design decision — it’s a daily-use surface. One that needs to hold up to heat, moisture, splashes, cleaning... the works.
So start with how you use your kitchen. Do you cook big meals every night? Eat on the run? Do you need light bounced in or colour balanced out? How much time do you really want to spend wiping things down?
Once you answer that, the rest tends to fall into place.
A good glass splashback won’t just add polish to your kitchen or bathroom — it’ll add peace of mind. No regrets. No maintenance headaches. Just a clean, modern finish that works.


Sign in to leave a comment.