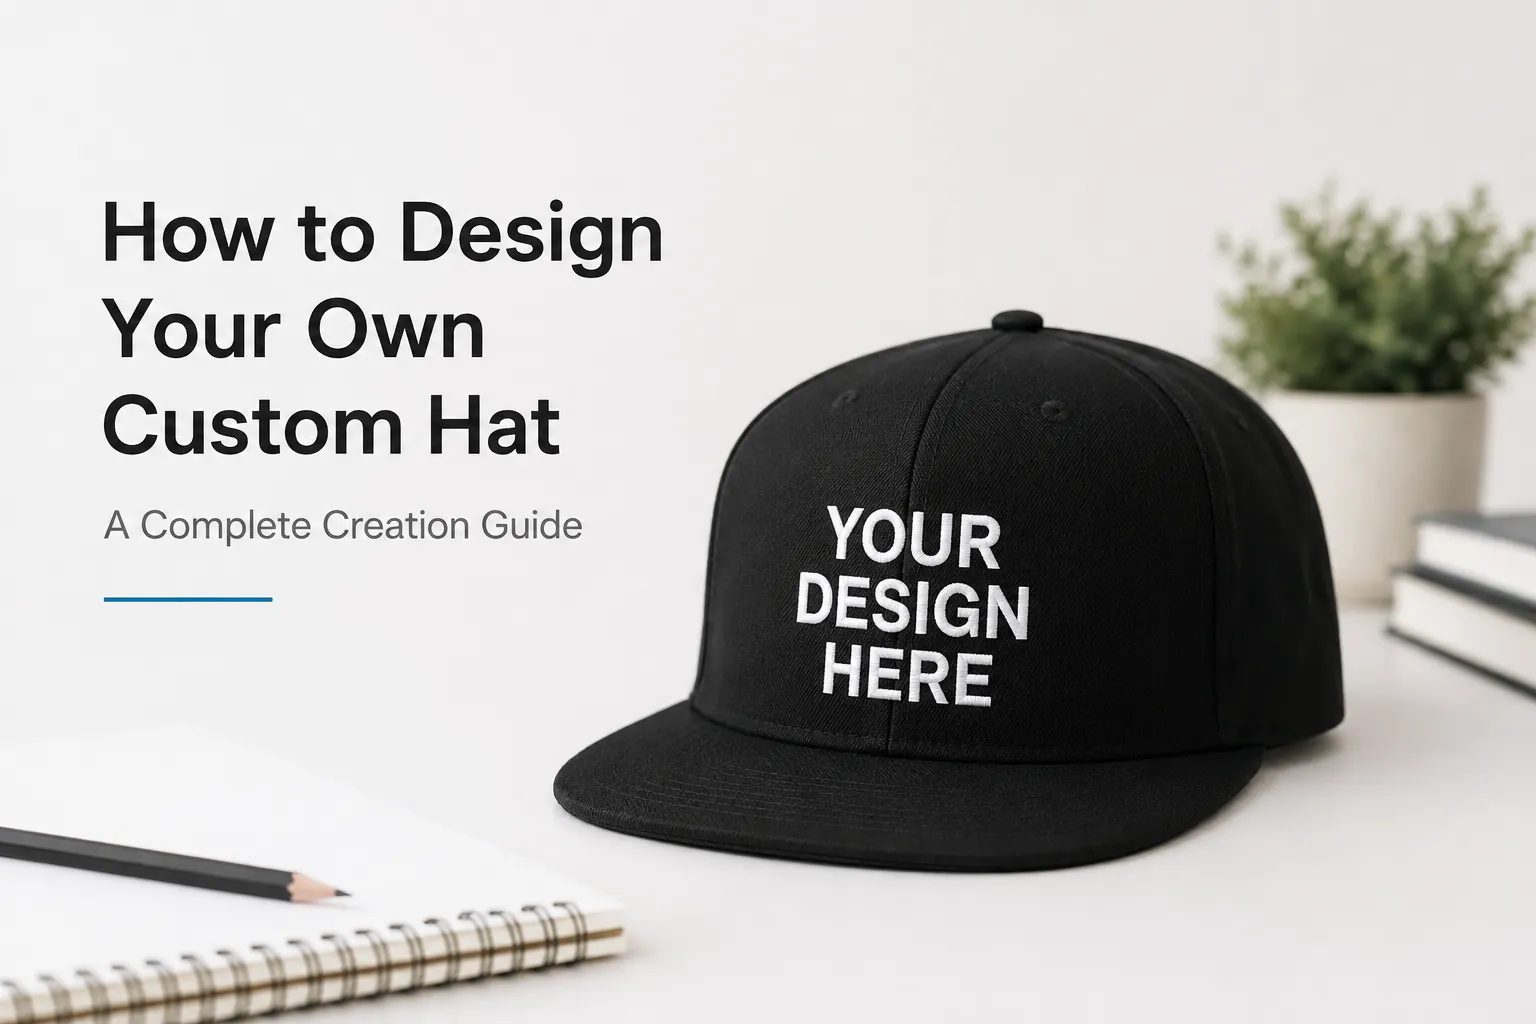
Designing a hat that people actually want to wear involves more than just uploading a file and hitting "order." In the 2026 custom apparel market, users are flooded with generic "swag." To stand out, your headwear needs to feel like a retail-quality product. This requires a deep understanding of design psychology, embroidery mechanics, and the physical constraints of different hat profiles.
Whether you want to design your own hat online for a brand launch or create custom embroidered hats for a corporate team, this guide walks you through the transformation from a blank cap to a brand essential.
1. Selecting the Right Hat Profile for Your Audience
Before you touch a design tool, you have to pick the right canvas. The shape—or profile—of the hat dictates who will wear it and how your logo will look.
- High-Profile Snapbacks: These have a structured, steep crown. They provide a large, flat surface ideal for custom snapback hats with bold, centered logos. This is the go-to for streetwear and athletic brands.
- Low-Profile Dad Hats: Unstructured and soft, these hats have a curved brim and a relaxed fit. They are perfect for personalized hats with smaller, understated designs.
- Trucker Hats: With a foam front and mesh back, custom trucker hats are the standard for outdoor and lifestyle brands. They offer high breathability and a vintage aesthetic.
- Performance Caps: Made from moisture-wicking materials, these are best for sports teams or fitness brands that require a lightweight, structured fit.
2. Decoration Methods: Choosing the Right Texture
In 2026, the "feel" of a hat is just as important as the look. Your choice of decoration should match the complexity of your artwork.
Hat Embroidery and 3D Puff
For most logo hats, embroidery is the premium choice. It adds a textured, raised feel that screams quality.
- Flat Embroidery: Best for detailed logos and small text.
- 3D Puff Embroidery: This uses a foam insert to create a sculptural, high-relief effect. It is a hallmark of high-end streetwear but works best with bold, simple shapes.
Custom Patch Hats
If your logo has incredibly fine detail or many colors, a custom patch hat is often the better route. Woven or leather patches allow for higher resolution than direct embroidery can achieve on a knit surface.
3. Mastering Logo Placement and Dimensions
Placement is what separates a "merch" hat from a "fashion" hat.
- The Sweet Spot (Front Center): For a standard custom embroidered hat, keep your logo within 2.25 inches tall and 4 inches wide. Anything larger will wrap too far around the curve of the head and look distorted.
- The Temple Placement (Side Panel): A small tonal logo (about 1 inch wide) on the side panel gives the same understated feel seen in premium golf brands. This is a "quiet luxury" move that makes the hat more wearable in professional settings.
- The Back Arch: This is the perfect spot for a website URL or a founding date. Keep this text small—roughly 0.25 to 0.5 inches tall—to maintain a clean look.
4. 5 Common Design Mistakes to Avoid
Even the best custom hat printing services can't fix a fundamentally flawed design. Avoid these "rookie" errors:
- Over-Complicating the Logo: Fine lines and tiny gradients often "bleed" together in thread. Simplify your shapes for maximum impact.
- Too Many Colors: Every new thread color adds weight and complexity. Stick to 3–4 colors for a cleaner, more professional look.
- Ignoring the Center Seam: On a 6-panel hat, a heavy seam runs down the middle. Ensure your digitizer uses "center-out" stitching so the needle doesn't deflect off the seam.
- Poor Color Contrast: A navy logo on a black hat might look cool on a screen, but it disappears in real life. Ensure your thread or ink colors "pop" against the fabric.
- Wrong File Format: Always use vector artwork (.AI, .EPS, or high-res .PDF). Raster images (.JPG) often result in jagged edges when converted for embroidery.
5. The Creation Journey: From Mockup to Sample
Don't jump straight into a bulk order of 500 units. Follow this workflow to ensure quality:
- Digital Mockup: Use an online design tool to visualize the placement.
- The "Sew-Out" Sample: Ask your provider for a photo of a test stitch on a similar fabric. This is where you check for "pull compensation"—ensuring the logo doesn't shrink or pucker the fabric.
- Ordering a Prototype: Especially for 3D puff embroidery, seeing a physical sample allows you to test the "wearability" and comfort of the hat.
Conclusion: Turning a Cap into a Brand Essential
A custom hat is a high-visibility "walking billboard" that sits at eye-level—the most noticed spot on the body. By choosing the right profile, mastering the dimensions, and avoiding common technical pitfalls, you create a product that people will keep for an average of 10 months or more. In the world of custom hat printing services, quality isn't an accident; it’s a result of deliberate design choices.
FAQ
- What is the best file for hat embroidery?
Always use vector files like .EPS or .AI to ensure the lines remain crisp.
- How many colors can I use in embroidery?
Most commercial machines handle up to 12–15 colors, but for a professional look, stick to 3–5.
- Why is my hat puckering?
This usually happens because of incorrect "pull compensation" in the digitizing file or a lack of stabilizer backing.
- Can I design my own hat online for just one unit?
Yes, many custom hat printing services now offer print-on-demand with no minimums.


Sign in to leave a comment.