Hair toppers are a wonderful way to add volume and cover thinning areas without committing to a full wig. But even the most beautiful hair topper can feel uncomfortable if it’s not installed the right way. The wrong fit can mean pinching clips, visible edges, or the dreaded shifting halfway through your day.
The good news?
With the right installation steps, you can feel comfortable and confident from morning coffee to bedtime tea.
This guide will walk you step-by-step through how to install a hair topper so it feels secure, natural, and light all day long.
How to Install a Hair Topper: A Step-by-Step Guide
The process can seem a little daunting if you’re new to hair toppers. But once you know these steps, it becomes quick and effortless.
Step 1: Choose the Right Base Size and Hair Type
Before we talk installation, the foundation is choosing the correct topper for you. Comfort starts with the right fit.
a) Base Size
The base should match the area of coverage required. An oversized base increases weight and tension, while an undersized base can fail to conceal thinning areas.
Measure your thinning area from front to back and side to side. Add about half an inch to each measurement so the clips attach to healthy hair outside the thinning zone.
b) Base Material
1. Lace Bases: Lace bases are breathable but more delicate, requiring careful handling to avoid damage.
2. Monofilament Tops: Monofilament tops are comfortable and mimic scalp appearance, creating a natural look.
3. Silk Bases: Silk bases are ultra-natural but a bit thicker, offering a realistic appearance while being less breathable..
c) Hair Type
Human hair toppers can be styled like your hair and often feel more natural. Synthetic ones are lighter, more affordable, and hold style longer.
A topper that’s too small will pull on your real hair; one that’s too big may feel bulky or loose.
Step 2: Prep Your Natural Hair
Before learning how to install a hair topper, try to take notes on how to prep your hair before installation.
A comfortable fit starts with good preparation. You want your natural hair to be neat and flat so the topper sits evenly on your head.
• Wash and Dry: Clean hair gives the clips something to grip without slipping.
• Detangle gently. Use a wide-tooth comb or soft brush to smooth out knots.
• Part Placement: Match your natural part to the topper’s part. If your topper has a free part, you can style it however you like.
• Smooth or Braid: If your natural hair is longer, you can braid or pin sections flat where the topper will sit. For short hair, just make sure it’s tangle-free.
Pro tip: If your hair is very silky or fine, gently backcomb the areas where the clips will attach for better hold. Avoid clipping directly on fragile areas to prevent irritation.
Step 3: Adjust and Align the Topper
Before snapping anything into place, you’ll want to get the position right.
• Place the topper over your thinning area and lightly hold it in place.
• Check the hairline alignment. It should sit where your natural hairline would be. Too far forward can look unnatural; too far back can expose thinning.
• Blend the lengths. Make sure the topper’s hair length works with your own, or be ready to trim or style it for a perfect look.
If it feels too far forward or back, adjust before you fasten any clips.
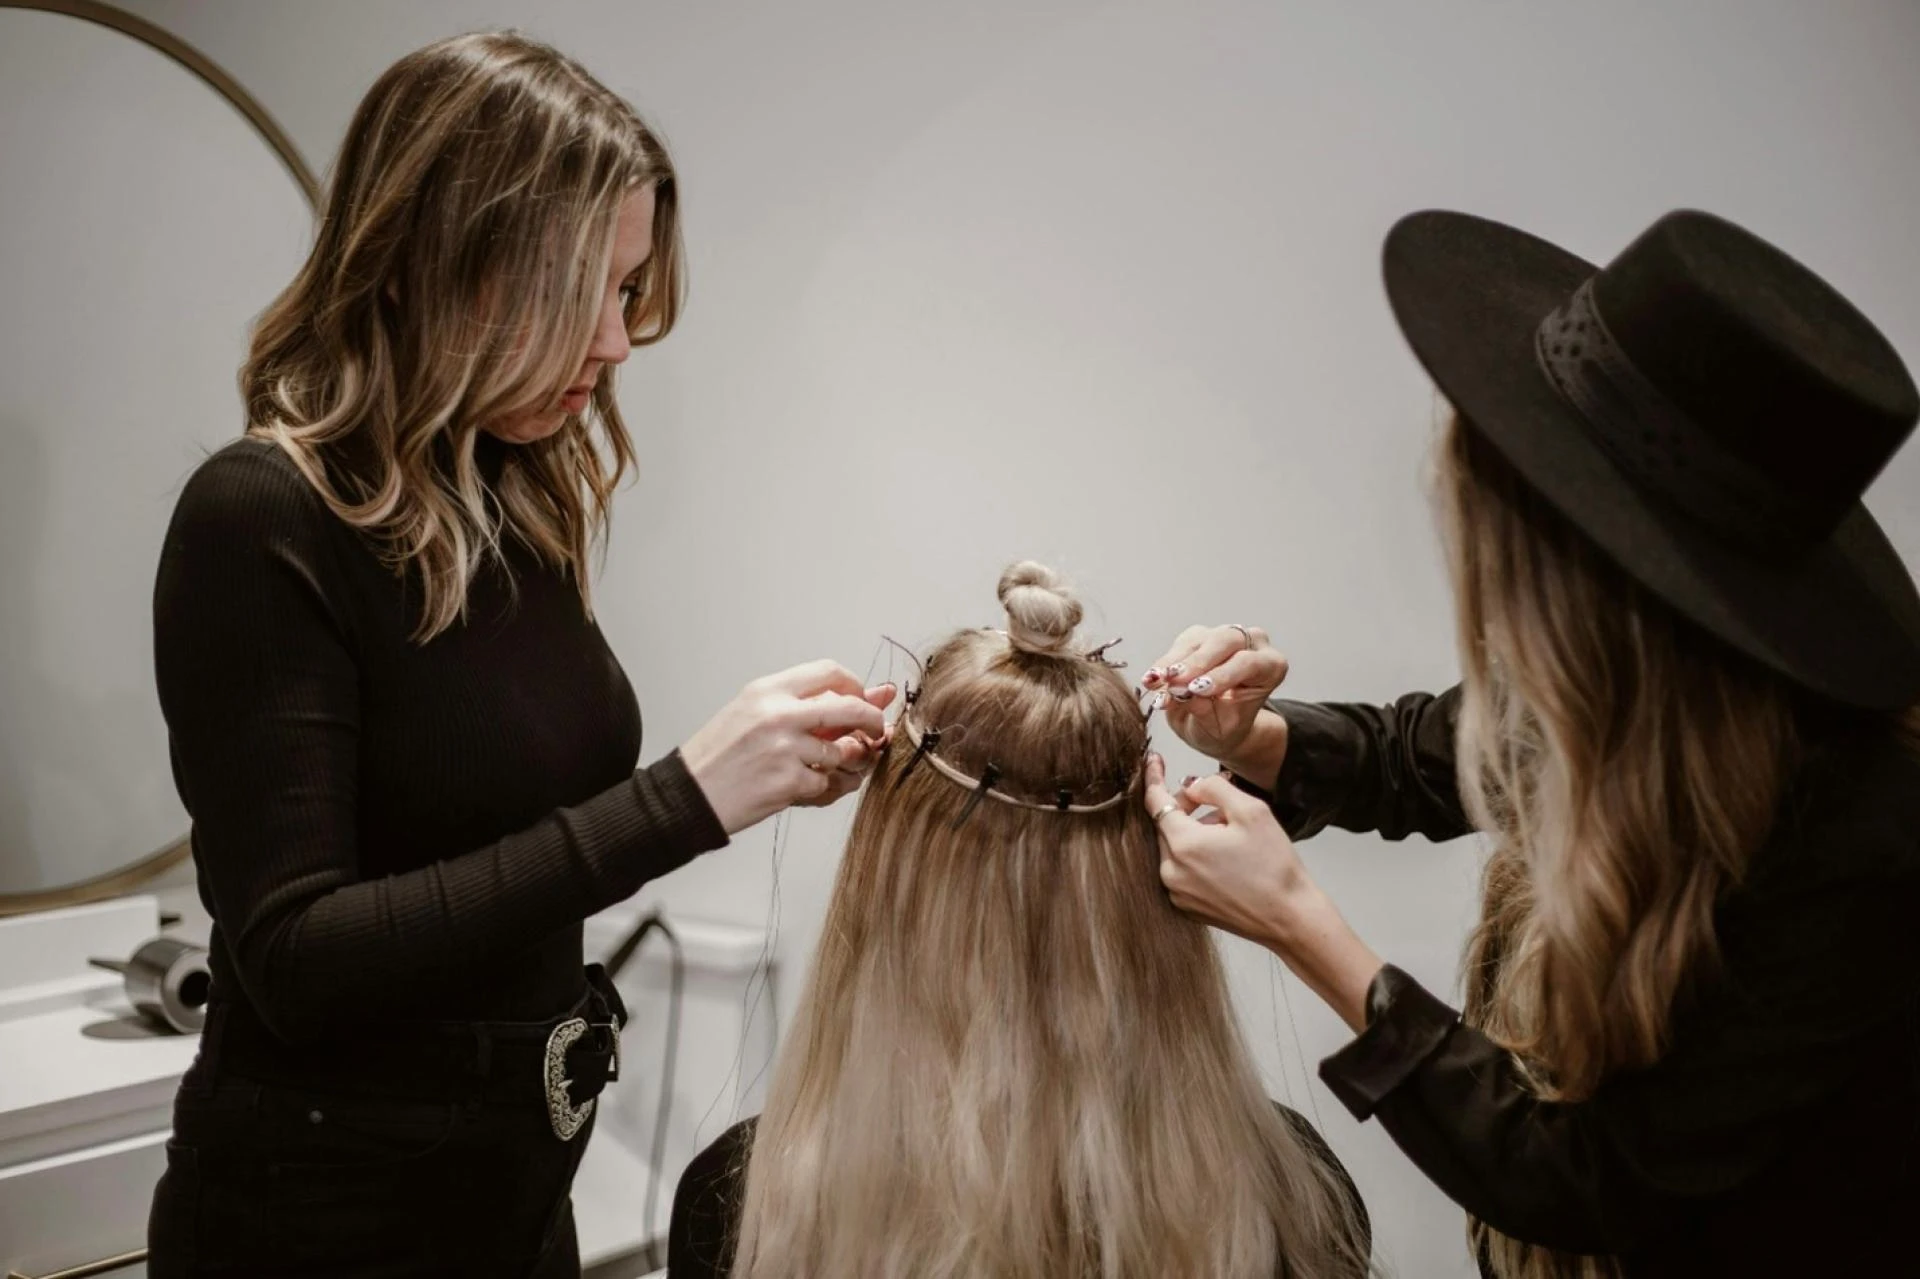
Step 4: Secure Without Stressing Your Scalp
One of the first things that you will learn about how to install hair toppers is not to stress your hair.
This is where a lot of people go wrong.
If you install too tightly, you’ll get that headache-y, ponytail-pulling feeling after an hour. Too loose, and you’re tugging at it all day to keep it in place.
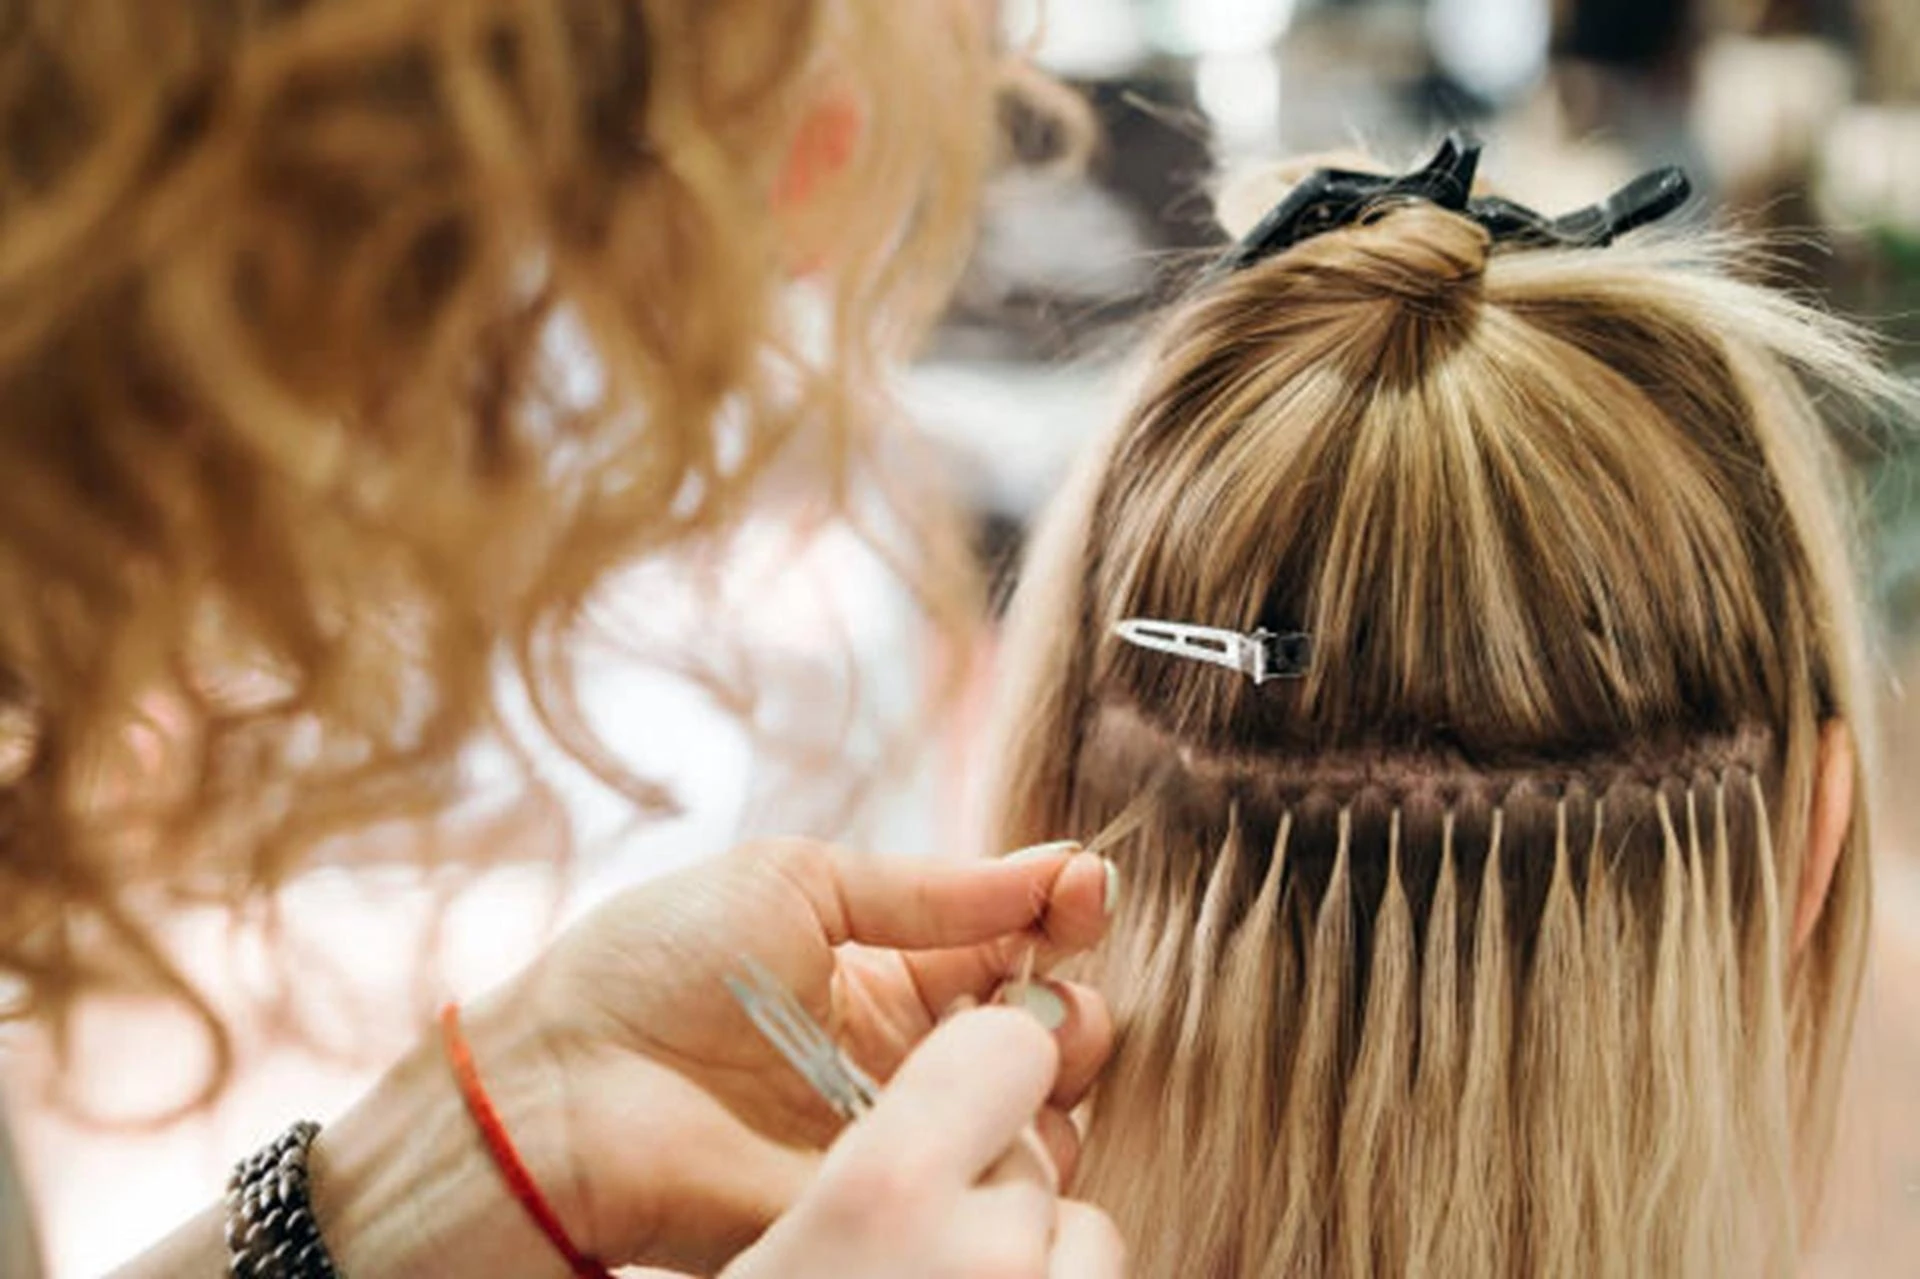
Here’s the technique for comfortable, secure attachment:
• Front Clip First: Lift the front section slightly, slide the clip into your hair, and snap it shut.
• Side Clips Next: Work symmetrically! Do one side, then the other, gently lifting the topper each time so you’re not pressing down hard on your scalp.
• Back Clips Last: These keep the topper anchored. Clip them into place while holding the topper steady to avoid shifting the front alignment.
How to Perform a Comfort Check?
Run your fingers under the topper edges. You should feel secure clips, but no sharp pressure points. If it feels tight, unclip and move it a millimeter or two to release tension.
Don’t push the clips closed too hard. If they don’t fit easily, try moving them around gently. Pushing too hard can break hair strands or cause headaches.
Step 5: Blend and Style
Even a perfectly placed topper can look “added” if you skip blending.
• Heat Style (Human Hair): Curl or straighten both your hair and the topper together so the textures match.
• Finger Comb (Synthetic): Use your hands instead of a brush to maintain fiber integrity and blend layers.
• Use a Root Powder or Spray: If there’s a slight line where your hair meets the topper, lightly dust with root concealer to soften the transition.
Step 6: Maintain All-Day Comfort
Once installed, the goal is to forget you’re wearing it.
These habits help:
• Check Once, Then Leave It Alone: Resist constant mirror checks. Secure toppers rarely shift.
• Bring a Mini Clip Comb: Just in case you need a quick re-secure after a windy commute.
• Mind the Heat: If you’re outdoors in summer, breathable base materials and light styling products will help prevent overheating.
• Scalp Breaks: If possible, remove the topper for a few minutes mid-day to let your scalp breathe (great if you have a private office or car).
Mistakes That Can Ruin Comfort
When learning how to install a hair topper, it’s just as important to know what not to do:
• Placing it too close to your hairline. This can make it obvious and uncomfortable.
• Clipping with too much tension. Causes soreness and potential hair damage.
• Neglecting texture blending. Even the best-positioned topper looks unnatural if the textures don’t match.
• Wearing it for too long without breaks. It can irritate your scalp over time.
Final Thoughts
Mastering how to install a hair topper is a mix of preparation, correct placement, and gentle handling. Once you’ve practiced a few times, it’ll become easier for you. T
The right installation means your topper feels like part of you. This means no pinching, no slipping, just effortless style and confidence.
Do you need expert hair topper installation or perhaps want sew-ins to give your hair good length and volume? Don’t worry, we have got you covered. Visit Length in a Day. Give us a call or visit our website to book your appointment.


Sign in to leave a comment.