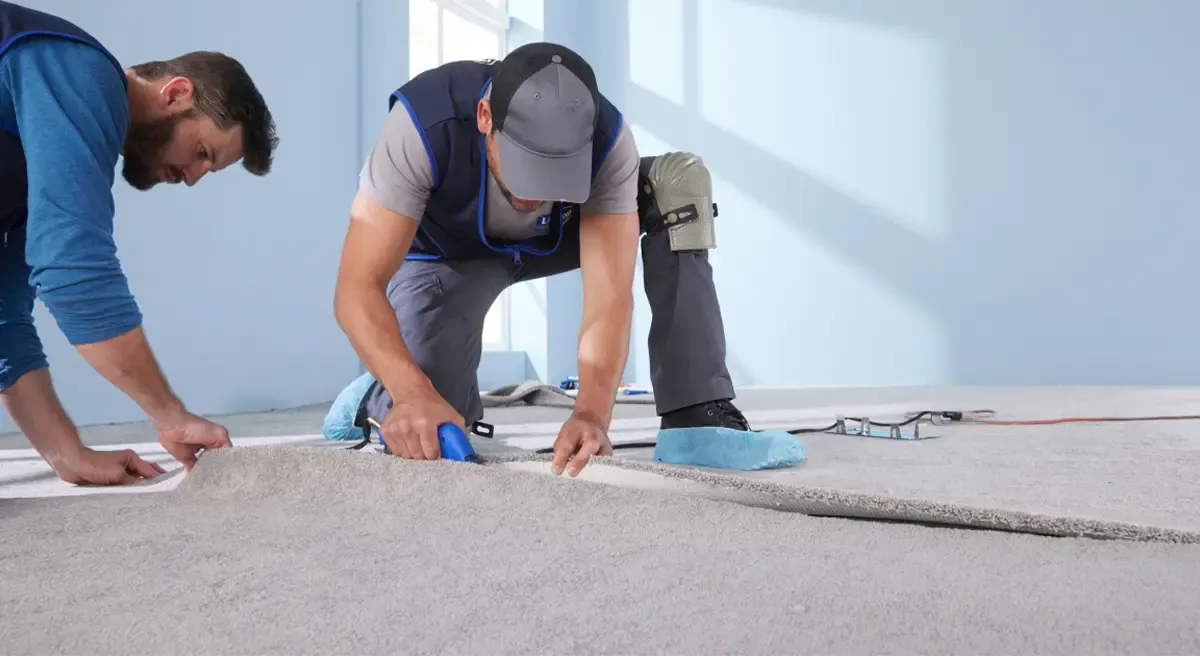

Installing carpet looks intimidating, but with the right tools and a clear sequence to follow, you can get a flawless, wrinkle-free finish without hiring a pro. This step-by-step guide covers everything from measuring the room to the final trim, so your carpet installation turns out tight, clean, and built to last.
Why DIY Carpet Installation Is Worth Considering?
Hiring a flooring contractor is convenient, but it isn't cheap, labor alone can add several dollars per square foot to your project. Installing carpet yourself cuts that cost out entirely, and the skills involved (measuring, stretching, seaming, trimming) aren't difficult to learn even if you've never tackled a flooring project before.
The trade-off is time and physical effort: a power stretcher and knee kicker both require some muscle, and a full room can take a half-day to a full day depending on its size and shape. If you're outfitting a bedroom, home office, or even a multi-room renovation, the process below applies whether you're working with broadloom carpet rolls or smaller remnant pieces that need seaming, including Carpet Installation in Dubai projects.
Tools and Materials You'll Need
Before you start, gather everything so you're not making mid-project trips to the hardware store. A typical carpet installation requires:
- Carpet (purchase 10-15% more than your calculated square footage to account for cutting waste and pattern matching)
- Carpet padding/cushion
- Tack strips (also called gripper strips)
- Knee kicker
- Power stretcher
- Carpet knife or utility knife
- Chalk line and tape measure
- Seaming tape and a seaming iron
- Carpet roller or seam roller
- Stapler (for securing padding)
- Wall/edge trimmer
- Knee pads and work gloves
Renting a power stretcher and knee kicker from a flooring or tool rental shop is usually cheaper than buying them outright, especially for a one-time project.
Step 1: Measure the Room and Calculate Your Carpet Needs
Start with accurate measurements. Record the length and width of the room, including any closets, alcoves, or irregular sections, then multiply length by width to get the square footage. Since carpet is typically sold by the square yard, divide your total square footage by nine to convert. Always round up and add your waste allowance, underestimating is the single most common mistake first-time installers make, and running short mid-project means a delay while you order more material that may not match the dye lot.
While you're at it, measure the room's perimeter as well. This tells you how much tack strip you'll need, since strips are commonly sold in four-foot lengths.
Step 2: Remove the Old Flooring and Prep the Subfloor
A clean, dry, level subfloor is the foundation of a professional-looking carpet job, any bump, gap, or stain in the subfloor will eventually telegraph through the new carpet. Pull up the existing carpet, padding, and any remaining staples or nails. If you're removing a different type of flooring like vinyl or laminate, you may need a pry bar or floor scraper to get it up cleanly.
Once the subfloor is exposed, vacuum thoroughly and inspect for damage. Patch holes, sand down high spots, and address squeaks by adding extra screws into the joists. If you're installing over concrete, confirm the slab is dry, excess moisture under carpet can lead to mold and odor problems down the line. Wood subfloors should be solid and free of soft or rotted sections before you proceed.
Step 3: Let the Carpet Acclimate
This step gets skipped often, and it shouldn't be. The carpet expands and contracts slightly with temperature and humidity, so unroll it in the installation room (or at least bring it inside) and let it sit for at least 24 hours before cutting or fitting it. Acclimation reduces the risk of wrinkles, buckling, or shrinkage appearing days or weeks after installation.
Step 4: Install the Tack Strips
Tack strips anchor the carpet around the perimeter of the room. Nail them down roughly half an inch from the wall, with the angled pins pointing toward the wall, this gap gives you room to tuck the carpet's edge later. On a wood subfloor, strips are nailed in; on concrete, you'll need masonry nails or an adhesive made for that purpose. Skip tack strips at doorways and closet openings, where a transition strip will handle the edge instead.
Step 5: Lay the Carpet Padding
Padding (also called cushion) extends the life of your carpet and adds underfoot comfort, so don't skip it even if it's tempting to save a step. Roll out the padding perpendicular to the direction you plan to lay the carpet, and trim it to fit right up against the tack strips, padding should never overlap onto the strips themselves. Staple the padding to the subfloor every six inches or so along the edges and seams, and use padding tape to join any sections where two pieces of padding meet.
Step 6: Roll Out and Position the Carpet
With the padding down, unroll the carpet across the room, leaving a few extra inches of overlap along each wall. Take your time aligning the pattern (if there is one) and squaring the carpet to the room before you commit to any cuts. A rough trim at this stage, cutting away the bulk of the excess at the corners, makes the carpet much easier to maneuver as you move into stretching and seaming.
Step 7: Seam Multiple Pieces Together
If your room is wider than a single roll of carpet, you'll need to join two or more pieces. Position the edges so they butt together without overlapping, then slide seaming tape underneath the joint with the adhesive side facing up. Run a heated seaming iron slowly along the tape, keep it on the tape itself rather than the carpet fibers, to activate the adhesive, then press the two edges firmly together with a seam roller. A well-done seam should be virtually invisible once the carpet pile is brushed back into place.
Step 8: Stretch and Secure the Carpet
This is the step that separates an amateur-looking job from a professional one. Wrinkles and loose spots almost always trace back to inadequate stretching.
Start with the knee kicker. Position it about three inches from one wall, with the toothed head gripping the carpet, and use your knee to push it forward, this hooks the carpet onto the tack strips along that first wall. Work your way along the entire wall this way.
Next, bring in the power stretcher. Anchor it against the wall you just secured, extend the stretcher head to the opposite side of the room, and use the lever to pull the carpet taut before hooking it onto the tack strips on that far wall. Move around the room in sections, alternating between the stretcher and knee kicker, until the carpet is drum-tight with no visible ripples. This is the step where a rented power stretcher genuinely earns its cost, hand-stretching alone almost never achieves the same tension, and a poorly stretched carpet tends to develop bumps and creases within months.
Step 9: Trim the Edges and Tuck Them In
Once the carpet is fully stretched and secured on all sides, use a wall or edge trimmer to cut away the excess material along the perimeter, leaving just enough to tuck neatly into the gap between the tack strip and the wall. A flat-blade tool like a stair tool or putty knife works well for pressing the edge down into that gap, giving you a clean, finished line that sits flush against the baseboard.
Step 10: Add Transition Strips and Final Touches
Where carpet meets another flooring type, hardwood, tile, or a different room's carpet, install a transition strip to cover the seam and prevent fraying or lifting at the edge. If you removed baseboards earlier in the project, this is the point to reinstall them, since many manufacturers recommend mounting baseboards after the carpet so the edge tucks underneath cleanly.
Finish by vacuuming the entire surface thoroughly to lift any leftover fibers, dust, or debris from the installation process. Avoid heavy foot traffic and hold off on moving furniture back in for at least 24 hours, giving the carpet time to settle into its final position.
Common Mistakes to Avoid
A few recurring errors account for most carpet installation problems:
Skipping the stretching step or relying only on a knee kicker leads to loose carpet that wrinkles and wears unevenly over time, a power stretcher isn't optional for anything beyond a very small room. Installing over an uneven or damp subfloor causes problems that surface weeks or months later, so don't rush the prep stage. Underbuying material is another frequent issue; always round up and include your waste allowance rather than cutting it close. Finally, rushing the seaming process by skipping the iron-activated tape or pressing seams unevenly results in visible lines that are hard to fix after the fact.
How Long Does Carpet Installation Last?
Carpet typically lasts anywhere from five to fifteen years depending on the quality of the fiber, foot traffic, and how well it's maintained. High-traffic hallways and living rooms wear faster than bedrooms, so factor that into your choice of carpet type and pile if you're installing in a busy area. Regular vacuuming, prompt stain treatment, and keeping the room out of direct, prolonged sunlight will all extend the life of your new floor.
Final Thoughts
Installing carpet yourself takes patience and the right set of tools, but it's a project well within reach for a motivated DIYer. The keys to a result that looks professionally done come down to thorough subfloor prep, proper acclimation, and, above all, stretching the carpet correctly with a power stretcher rather than relying on muscle alone. Take it one step at a time, don't rush the seaming or trimming stages, and you'll end up with a carpet installation that holds up for years and looks like it was done by a pro.


























Sign in to leave a comment.