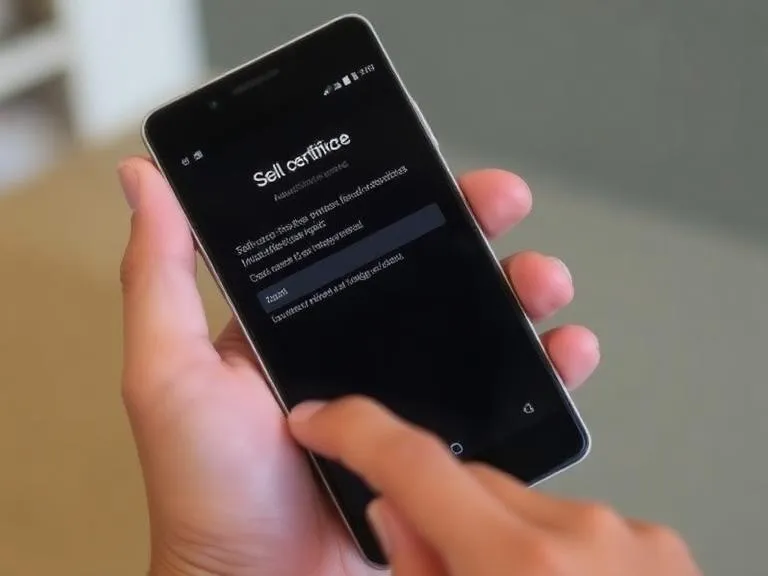
To install an SSL certificate on an Android phone, first download the certificate file (usually .crt, .cer, or .p12) to your device storage. Then open Settings, go to Security or Security & Privacy, and tap Encryption & Credentials or Install a Certificate. Select the downloaded certificate file, enter the required password if prompted, and follow the on-screen instructions to finish installation. Once installed, the certificate is stored in your trusted credentials and can be used for secure Wi-Fi, VPN, email, or other encrypted connections depending on its configuration.
What is an SSL Certificate?
A digital certificate that encrypts a communication between a user device & a server is an SSL (Secure Socket Layer) certificate. SSL has since evolved to TLS (Transport Layer Security), even though the name of the protocol is usually referred to as SSL. On Android phones, SSL certificates play an important role in:
- Securing browsing sessions (HTTPS websites).
- Securing the app communications based on an encrypted API.
- When connecting to corporate networks, email servers, or VPNs, ensure trust.
- Check the servers to make sure that you are connecting to the correct domain.
In the absence of SSL, attackers could intercept sensitive information like login credentials, payment data, and emails.
Why Do You Need to Install an SSL Certificate on Android?
Although Android automatically accepts the SSL certificates of the world-wide recognized certificate authorities (CAs), there are cases when you might be forced to install an SSL certificate manually:
- Corporate or enterprise networks – VPNs, email servers, or internal applications are common applications of corporate or enterprise-generated private SSL certificates.
- Self-signed certificates – Developers testing apps with self-signed SSL need to install them on Android devices.
- Custom security requirements – Advanced users may want to add their own trusted certificates.
- Root certificates – Occasionally, you need to install a root CA certificate to trust a chain of SSL certificates.
How to Install an Android Phone With an SSL Certificate? Step-by-Step Guide
Here is the complete step-by-step guide to installing an SSL certificate on an Android device. (Note: The steps can be slightly different, depending on your version of Android and the phone manufacturer.)
Step-1: Get the SSL Certificate
- Download the certificate file from the provider or your IT administrator.
- The most common formats are .crt, .cer, .pem, or .p12 (when it has a private key).
- When they sent you the certificate through email, download it to your phone.
- Rather, move it out of your computer via a USB or cloud.
Step-2: Save the Certificate on your Android
Store the certificate file in your downloads folder or any storage that is available.
Ensure you remember the location of the file.


Sign in to leave a comment.