If you use gas in your home or rental property in London, a gas safety inspection is one of the most important steps you can take to ensure safety and legal compliance. For landlords, these inspections are a legal requirement every 12 months, but even homeowners benefit from regular checks to prevent dangerous leaks, carbon monoxide poisoning, or appliance failures.
Preparing your property before the inspection can make the process quicker, smoother, and more effective. In this guide, we’ll explain exactly how to get your property ready, so you can pass the inspection without unnecessary delays or extra costs.
Why Preparation Matters
A gas safety inspection involves a qualified Gas Safe registered engineer checking your appliances, pipework, and ventilation to ensure they are safe and working efficiently. By preparing in advance, you can:
- Avoid failed inspections caused by simple issues
- Reduce inspection time by making access easy
- Ensure your appliances are clean and functioning
- Demonstrate responsibility as a landlord or homeowner
- Save money on follow-up visits
Step-by-Step Guide to Preparing Your Property
1. Understand What the Inspection Covers
A standard gas safety inspection includes:
- Checking gas appliances like boilers, cookers, and fires
- Testing pipework for leaks
- Inspecting flues and chimneys
- Ensuring adequate ventilation
- Checking gas pressure and appliance efficiency
Knowing this helps you focus on the areas that need preparation.
2. Clear Access to All Gas Appliances
Gas engineers need to inspect each appliance closely. Move any furniture, boxes, or clutter blocking access to:
- Boilers (often in kitchens, airing cupboards, or utility rooms)
- Gas meters
- Gas fires
- Cookers and ovens
- Flues and ventilation openings
Tip: If your boiler is in a loft, make sure there’s safe access with good lighting.
3. Check Appliances for Obvious Issues
Before the engineer arrives, do a quick check for:
- Loose or damaged appliance fittings
- Pilot lights that won’t stay lit
- Unusual noises from your boiler or cooker
- Smell of gas or burning smell If you notice a gas smell, stop preparing and call the National Gas Emergency Service at 0800 111 999 immediately.
4. Ensure Ventilation Is Unblocked
Proper ventilation prevents dangerous gas build-up and allows appliances to work efficiently. Check that:
- Air vents are open and clean
- Chimneys and flues are not blocked
- Extractor fans are working (if applicable)
5. Keep Previous Inspection Records Handy
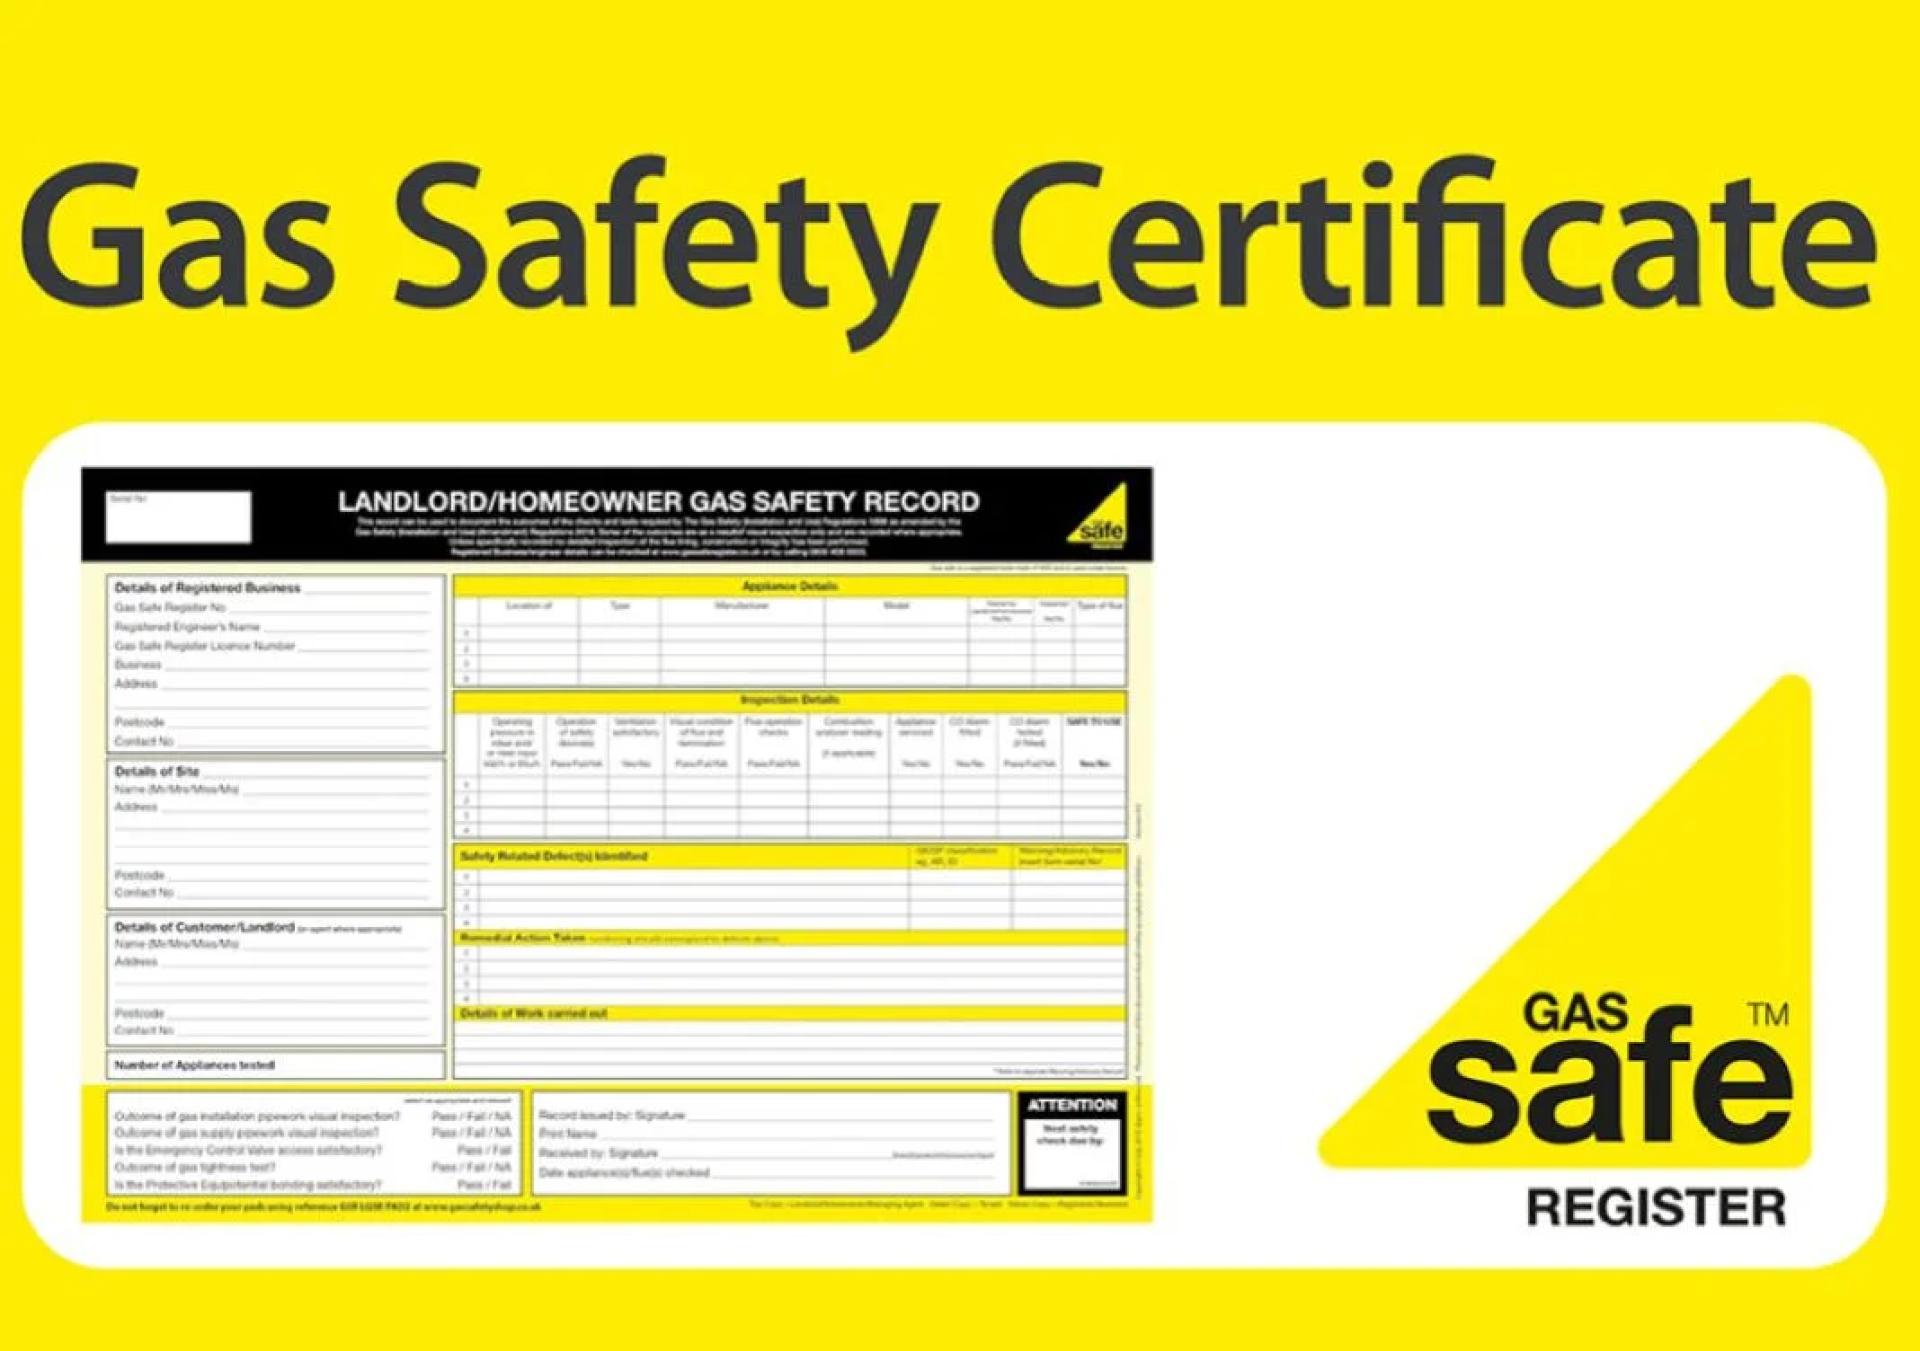
For landlords, you must provide your Gas Safe engineer with:
- The last Gas Safety Certificate (CP12)
- Any repair or maintenance records Having these ready helps the engineer see if previous issues were resolved.
6. Test Carbon Monoxide Alarms
Carbon monoxide (CO) is a deadly, invisible gas that can be produced by faulty gas appliances. Test your CO alarms to ensure they’re working before the inspection. If you don’t have them installed, consider adding them—it’s a valuable safety measure and may even be a legal requirement in some cases.
7. Remove Pets and Ensure a Safe Workspace
Pets can get stressed or be at risk during an inspection. Keep them in another room or with a neighbour during the visit. Also, ensure there’s good lighting and no trip hazards for the engineer.
8. Arrange for Someone to Be Present
If you’re a landlord and can’t be there, make sure a tenant or authorised person is available to let the engineer in and answer any questions. This ensures the inspection goes ahead without delays.
Tips for Landlords in London
If you rent out your property, you are legally responsible for arranging an annual gas safety check and providing tenants with a valid Gas Safety Certificate within 28 days. To prepare efficiently:
- Schedule the inspection well before the expiry date to avoid lapses
- Coordinate with tenants early to agree on a convenient time
- Use the same Gas Safe engineer each year to maintain consistency
- Keep copies of certificates for at least two years
Common Reasons for Failing a Gas Safety Inspection
Even well-maintained homes can fail due to:
- Blocked ventilation or flues
- Damaged gas pipes
- Faulty boiler components
- Poorly maintained cookers or fires
- Leaks caused by loose fittings
By following the preparation steps above, you can minimise the chances of failure.
What Happens After the Inspection
At the end of the inspection, the engineer will:
- Issue a Gas Safety Certificate (CP12) if everything passes
- Provide a list of faults or concerns if the property fails
- Recommend repairs or adjustments for safety and efficiency
If your property fails, arrange repairs immediately and book a re-inspection to regain compliance.
The Benefits of Being Well-Prepared
- Faster Inspections: Less time wasted clearing space or searching for records.
- Lower Costs: Avoids the need for multiple visits.
- Better Compliance: Reduces the risk of fines or tenant disputes.
- Peace of Mind: Confidence that your property is safe for everyone inside.
Conclusion
Preparing your property for a gas safety certificate in London is straightforward but crucial. By ensuring clear access, checking for obvious problems, maintaining proper ventilation, and keeping records ready, you make the process smoother for your engineer and safer for your occupants.
Whether you’re a landlord meeting legal requirements or a homeowner taking preventative measures, these steps can save time, money, and—most importantly—lives.


Sign in to leave a comment.