In today’s hybrid work environment, having a reliable and smart video conferencing device is no longer optional—it’s essential. The meetingbar a40, developed by Yealink, is a powerful all-in-one solution tailored for modern video communication. Whether you're a remote worker, educator, or business executive, understanding how to set up the meetingbar a40 properly can make all the difference in achieving seamless collaboration.
This guide walks you through every critical step, from unboxing to advanced configuration, ensuring your setup is optimized for performance, clarity, and security.
What is the meetingbar a40?
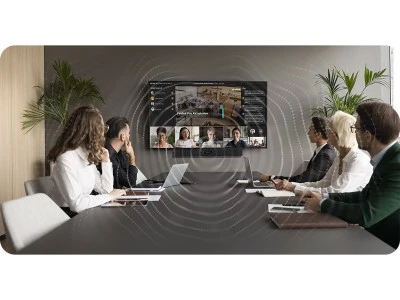
The meetingbar a40 is an advanced video conferencing bar that combines high-quality audio, ultra-HD video, and built-in AI for intelligent framing and noise reduction. Ideal for medium to large conference rooms, the a40 supports multiple conferencing platforms like Zoom, Microsoft Teams, and Google Meet.
Key Features
- Dual 48MP cameras for panoramic coverage
- Built-in speakers and microphones with echo cancellation
- AI-powered auto-framing and speaker tracking
- Plug-and-play installation
- Secure admin interface for configuration
Its versatility, high performance, and minimal setup make it a go-to device in the meetingbars product lineup.
Why Choose meetingbar a40 for Video Conferencing?
Here’s why the meetingbar a40 stands out:
- All-in-One Design: Eliminates the need for external cameras, microphones, and speakers.
- Smart Collaboration Tools: AI-driven tracking, voice enhancement, and auto framing for seamless meetings.
- Cross-Platform Compatibility: Works natively with leading platforms—ideal for businesses with mixed tech environments.
- Enterprise-Grade Security: Keeps your meetings safe with encrypted transmission and secure logins.
Unboxing the meetingbar a40
When you receive your meetingbar a40, you’ll find everything needed for installation in the box. This includes:
- meetingbar a40 device
- Power adapter
- Wall mount and brackets
- HDMI and Ethernet cables
- Remote control
- Quick start guide
First Impressions: The device feels solid and premium, with intuitive ports and minimal cabling—designed for simplicity and elegance.
Initial Setup Process
Let’s walk through setting up the meetingbar a40 from scratch.
Powering On the Device
- Connect the power adapter to a reliable socket.
- Plug into the rear power port of the a40.
- The LED light will blink blue during boot-up and stay solid when ready.
Connecting to Display
- Use the included HDMI cable to connect the a40 to your conference room display.
- Select the correct input source on your display.
Network Configuration
- Wired: Plug an Ethernet cable into the LAN port.
- Wireless: Use the remote to access Wi-Fi settings during setup.
For the best performance, a wired connection is recommended.
Installing and Updating Firmware
Keeping the meetingbar a40 firmware up to date ensures optimal performance and security.
Update Steps:
- Access the admin panel via the IP address (shown on-screen).
- Log in using default credentials or your configured admin user.
- Go to the Maintenance section and select Firmware Update.
- Follow the prompts or upload the latest firmware file from Yealink’s official support.
Updates include security patches, feature upgrades, and bug fixes.
Configuring Audio and Video Settings
Fine-tuning your device ensures top-quality output.
- Camera Resolution: Adjust up to 4K if supported by your display.
- Microphone Sensitivity: Tailor to room size.
- Noise Suppression: Enabled by default—ensure it’s active for busy environments.
- Speaker Calibration: Perform a test call to optimize volume and echo settings.
Integrating with Your Preferred Video Conferencing Platform
meetingbar a40 supports:
- Zoom Rooms: Log in with admin credentials, select as default system.
- Microsoft Teams Rooms (MTR): Use Teams admin center to link your device.
- Google Meet: Use the companion app or browser mode.
You can switch between platforms via the settings menu.
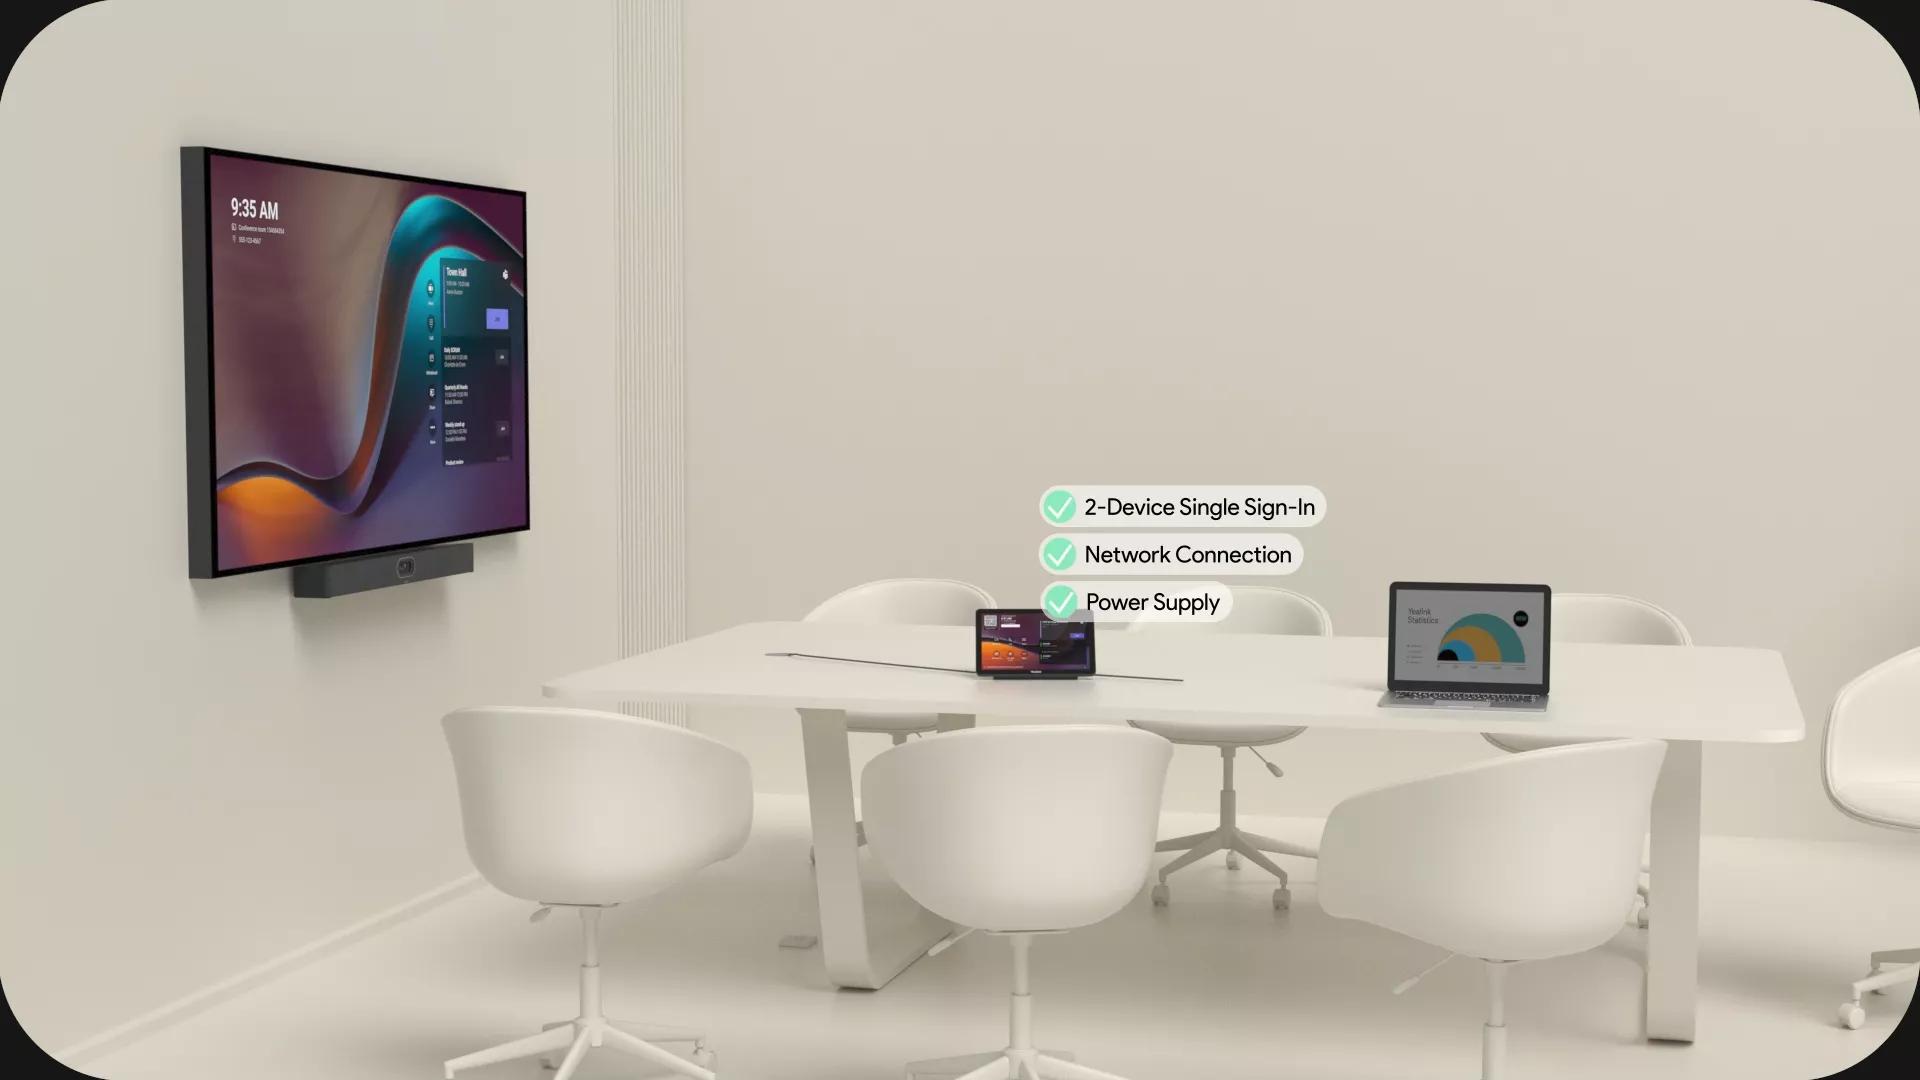
Managing Settings via Web Interface
You can remotely configure your meetingbar a40:
- Find the device IP on-screen.
2.Access via browser on the same network.
3.Log in to the admin dashboard.
From here, you can:
- Manage devices
- Configure SIP settings
- Assign meeting IDs
- Set reboot schedules
Troubleshooting Common Issues
Issue: No Display Output
- Check HDMI connection
- Switch display source
- Restart device
Issue: Audio Delay
- Test on different platform
- Adjust microphone settings
- Update firmware
Issue: Network Disconnects
- Use a wired connection
- Restart router and device
- Contact IT for IP conflicts
Optimizing Video Conferencing Experience
Beyond the tech, the room setup matters.
- Lighting: Ensure front-facing lighting to avoid shadows.
- Background: Neutral or branded backgrounds maintain professionalism.
- Acoustics: Use carpets or acoustic panels to reduce echo.
- Positioning: Mount the meetingbar a40 at eye level for natural angles.
These details improve both user experience and viewer engagement.
Security and Privacy Features
Security is a non-negotiable. The meetingbar a40 supports:
- Data Encryption: End-to-end AES encryption.
- Access Controls: Multi-user permission settings.
- Password-Protected Admin Interface: Ensure secure remote access.
Always change default login credentials immediately after setup.
Maintenance and Support
Keep your device running smoothly:
- Regular Cleaning: Wipe the lens and microphones weekly.
- Check Firmware Monthly: Stay updated for performance boosts.
- Manufacturer Support: Access documentation and live support through Yealink or your meetingbars vendor.
Conclusion
Setting up your meetingbar a40 correctly is essential to unleashing its full potential. From initial unboxing to integrating with top conferencing platforms, the process is straightforward and designed for scalability. With smart AI features, robust compatibility, and reliable performance, it’s no wonder meetingbars are a leading choice for businesses worldwide.
FAQs
1. Can the meetingbar a40 be used in a small room?
Yes, but it’s optimized for medium to large spaces. Consider the a20 for compact areas.
2. Does it require a separate computer?
No. It’s an all-in-one device with built-in operating system and conferencing apps.
3. How do I switch between Zoom and Teams?
Use the settings menu to change the platform, or perform a factory reset for clean reconfiguration.
4. What resolution does the meetingbar a40 support?
Up to 4K Ultra HD, depending on your display compatibility.
5. Is it wall-mountable?
Yes, mounting brackets are included in the box.
6. Can I control it remotely?
Yes, through the web interface using its IP address.


Sign in to leave a comment.