If you work in advertising, garment heat transfer, vinyl signage, or DIY crafts, you’ll already know just how valuable a Cutter Plotter is. This machine is built for precision, allowing you to cut intricate vector graphics, lettering, and custom designs with ease.
But to get professional results every time, you need to set up and use your Cutter Plotter correctly. In this guide, we’ll cover everything from installation to finishing so you can maximise performance and extend the life of your machine.
Installation and Setup
- Stable Positioning – Place your Cutter Plotter on a flat, solid surface to minimise vibration.
- Power & Connections – Connect the power lead and link via USB, serial, or Bluetooth. Check that the drivers are installed properly.
- Software Setup – Use compatible design software such as Artcut, SignMaster, or FlexiSIGN. Make sure your files can be sent to the machine without errors.
- Material Preparation – Vinyl, reflective film, heat transfer film, card, and thin plastic sheets are commonly used. Ensure all materials are flat, clean, and crease-free before loading.
Blade, Pressure & Speed Settings
- Blade Adjustment – Only 0.3–0.8 mm of the blade should extend—just longer than your material thickness. Too much exposure risks cutting through backing; too little won’t cut cleanly.
- Pressure Settings – Adjust according to the material:
- Vinyl: 40–80 g
- Heat Transfer Film: 60–120 g
- Reflective Film: 150–250 g
- Speed Settings – For small fonts or detailed graphics, keep speed low (10–20 cm/s). For larger, simple designs, medium speed (40–60 cm/s) is more efficient.
Preparing Your Design
- Vector Graphics Only – Cutter Plotters follow vector paths, so use formats like AI, EPS, or SVG (not JPGs or PNGs).
- Output Settings – Double-check cutting paths, alignment, and mirroring (mirroring is crucial for heat transfer applications).
- Layout Efficiency – Arrange your designs to minimise wasted material.
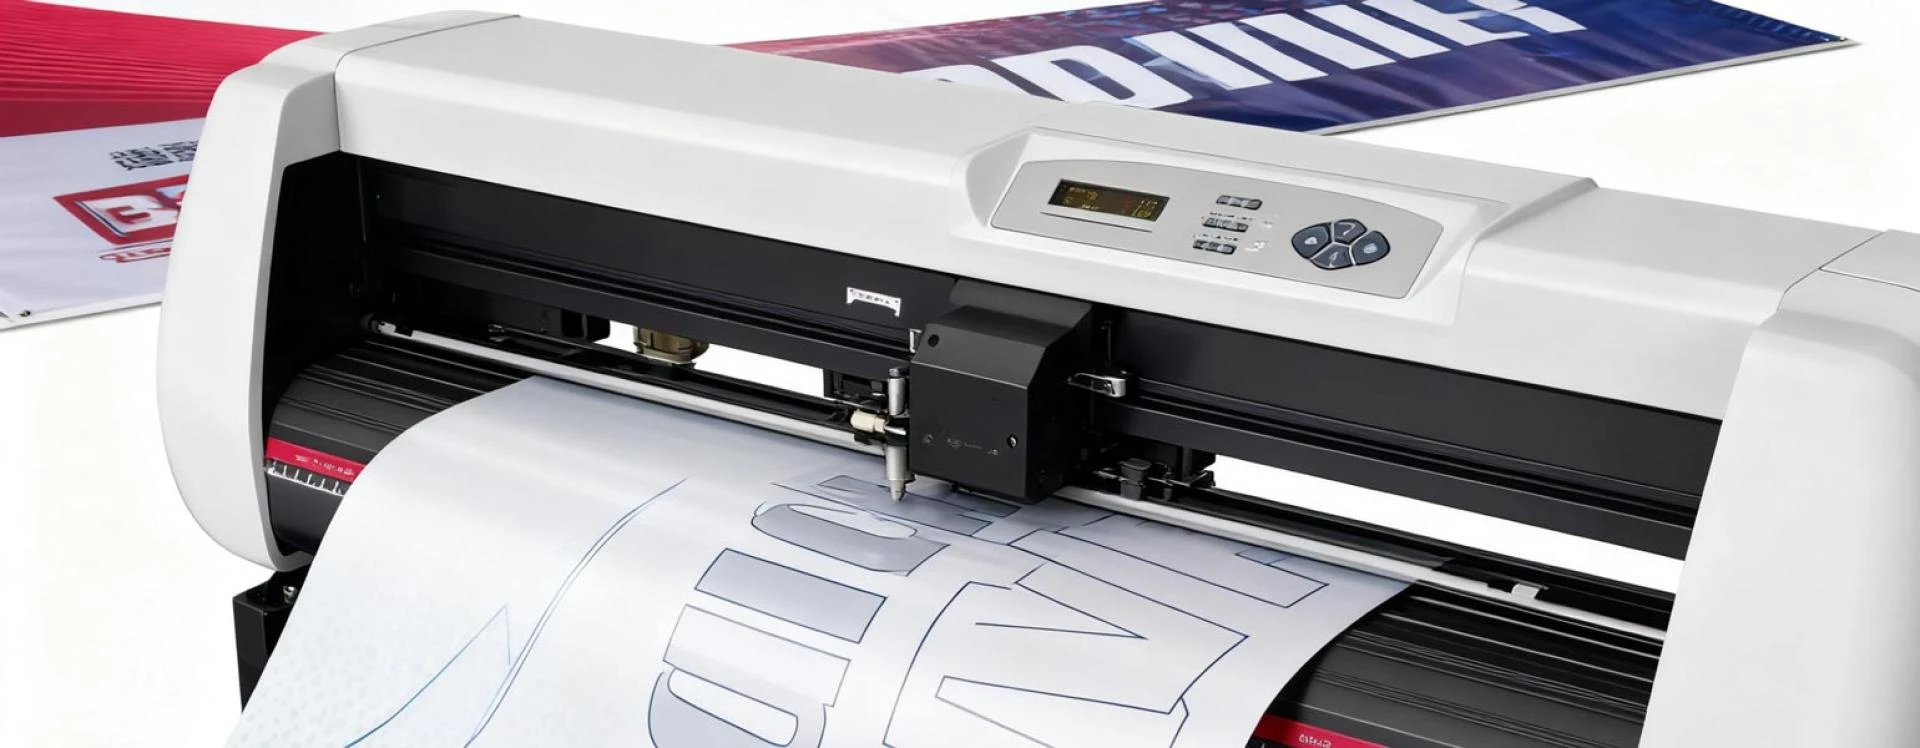
Cutting Process
- Load the chosen material under the pinch rollers and adjust for a firm grip.
- Set the origin point carefully to avoid blank cuts.
- Send the file to the machine via your software.
- Monitor the cutting process to catch any feeding or alignment issues early.
After Cutting
- Weeding – Use a weeding tool or tweezers to remove excess vinyl, leaving only your final design.
- Transfer Tape – Apply clear transfer tape to lift the design and position it for application.
Pro Tips from Signzworld
- Replace cutting blades regularly to maintain sharp, precise results.
- Always perform a test cut to fine-tune speed and pressure before large jobs.
- For small or delicate lettering, use transparent transfer tape or static vinyl sheets to maintain design accuracy during transfer.
Final Thoughts
A Cutter Plotter is an essential machine for sign makers, heat transfer printers, and craft enthusiasts. By following the correct setup, blade adjustments, and operating techniques, you’ll:
- Save time and materials
- Improve accuracy and quality
- Extend the life of your equipment
With the right care and proper workflow, your Cutter Plotter will deliver professional-grade results project after project.


Sign in to leave a comment.