The growing demand for energy-efficient and sustainable solutions in modern households has led to an increasing adoption of solar water heating systems. These systems are eco-friendly, cost-effective in the long run, and highly durable when designed with the right components. A critical element in ensuring the efficiency of such systems is the piping. Choosing the correct piping material, particularly CPVC pipes for hot water, plays a decisive role in the system’s overall performance and lifespan.
This article provides a comprehensive step-by-step guide to installing solar water heater pipes using CPVC material, explaining why it is considered the gold standard for thermal stability, safety, and reliability.
Why CPVC is the Right Choice for Solar Water Heating
Before diving into the installation steps, it is essential to understand why CPVC is preferred for solar water heating over other materials. Unlike metal pipes that corrode or plastic pipes that deform under high temperature, CPVC is engineered to withstand elevated temperatures and pressure variations.
The use of the CPVC plumbing system ensures resistance to scaling, corrosion, and microbial growth. This not only reduces maintenance costs but also guarantees the safe transportation of heated water from solar collectors to storage tanks. Moreover, CPVC maintains integrity at temperatures up to 93°C, making it highly reliable.
By integrating hot and cold water pipes in one cohesive setup, households can maximize efficiency and reduce installation complexities. Another advantage is the longevity offered by durable CPVC pipes, which outperform conventional piping materials in terms of service life.
Tools and Materials Required
To carry out a proper installation of CPVC piping for solar water heating, prepare the following materials:
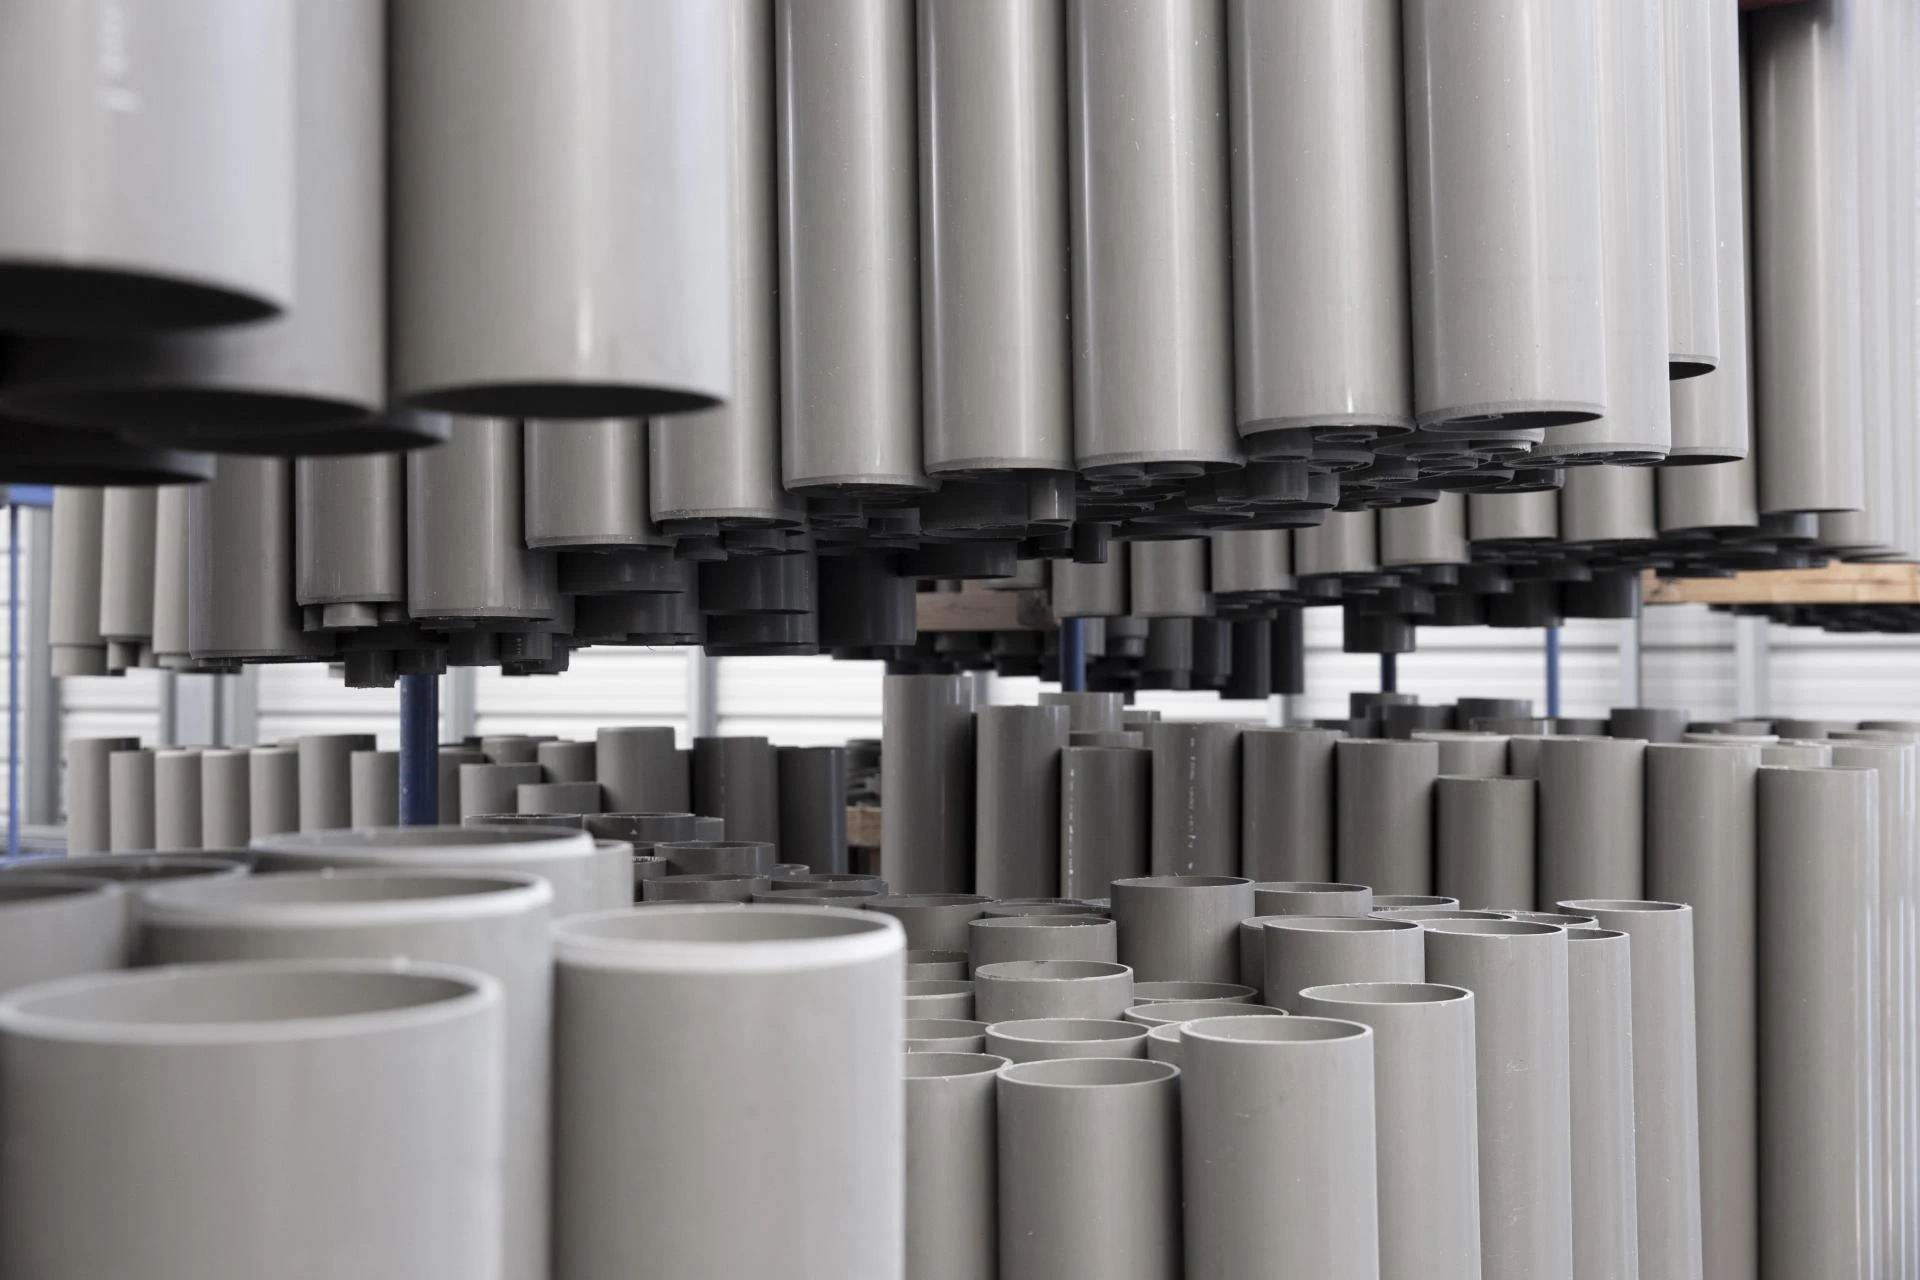
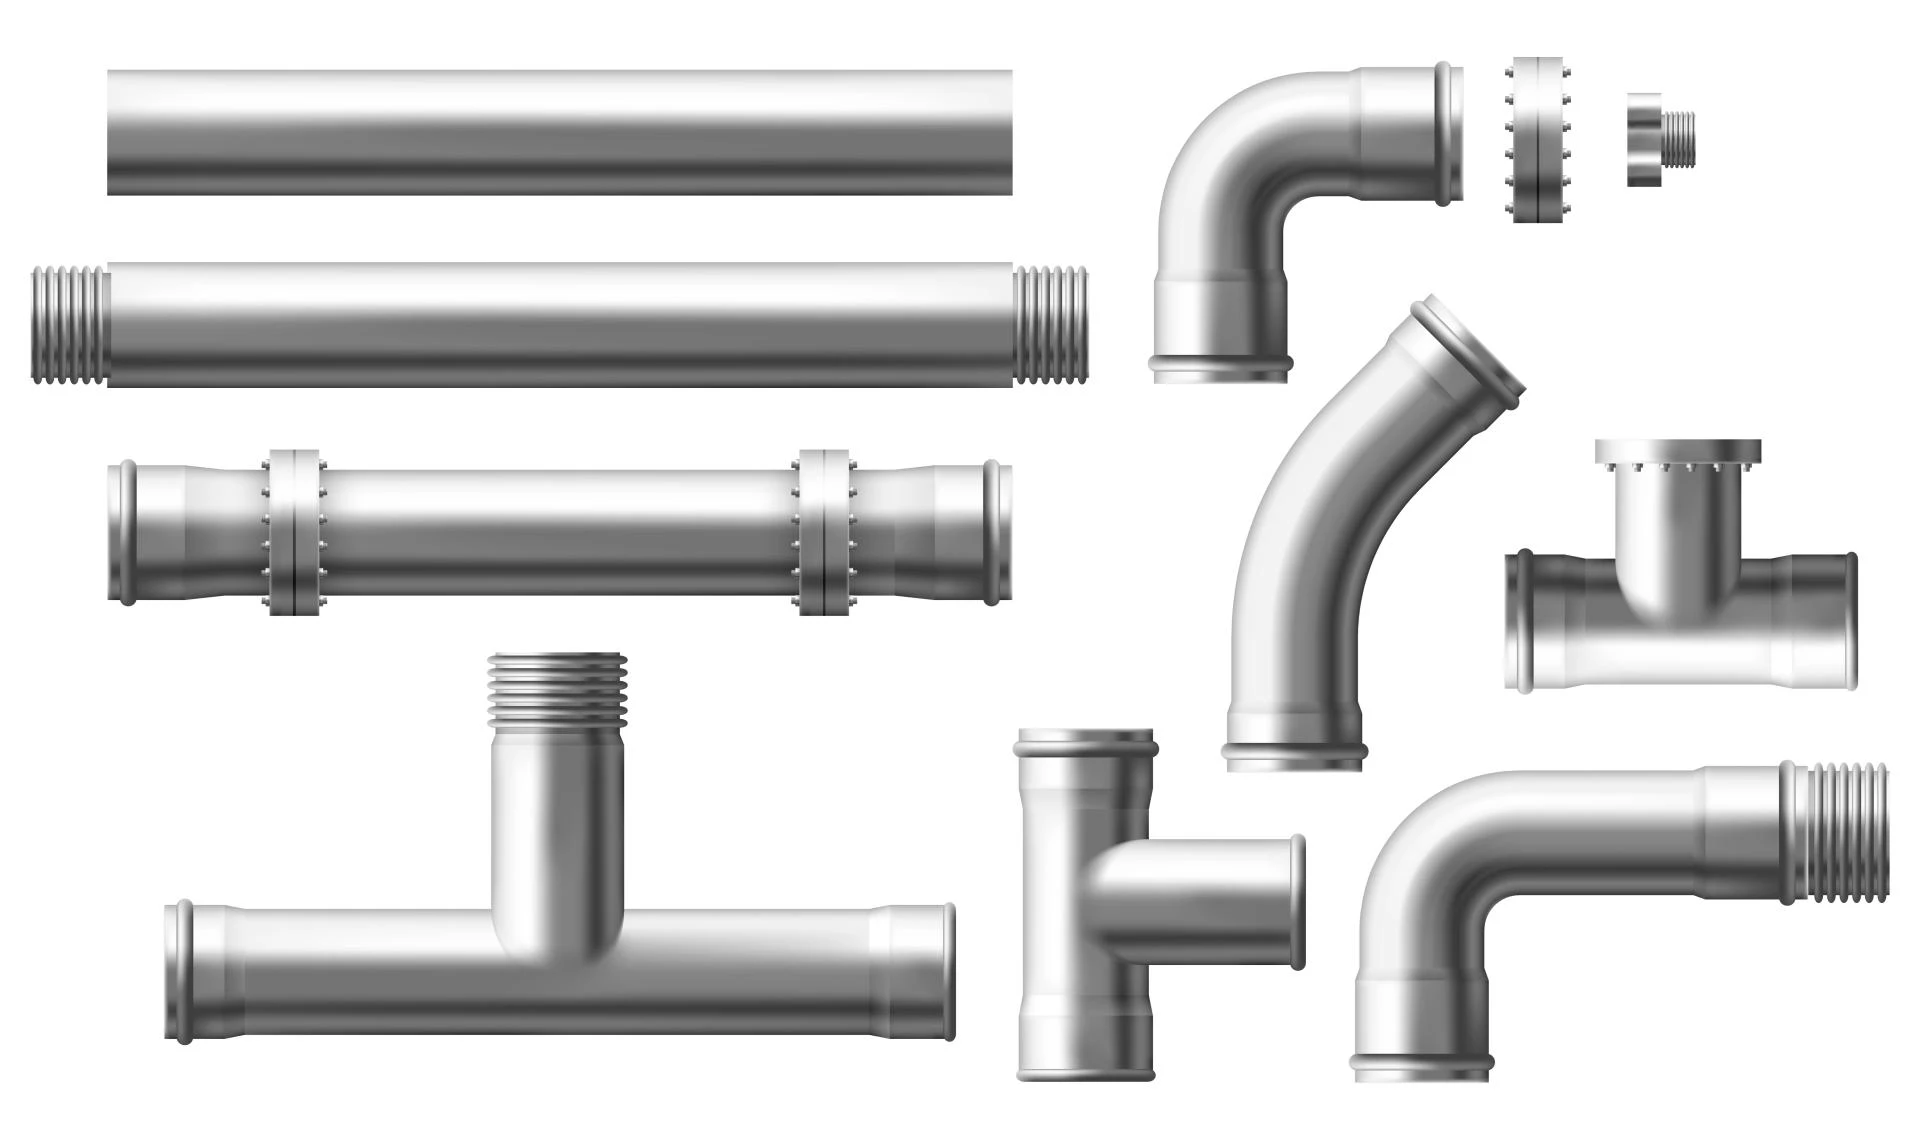
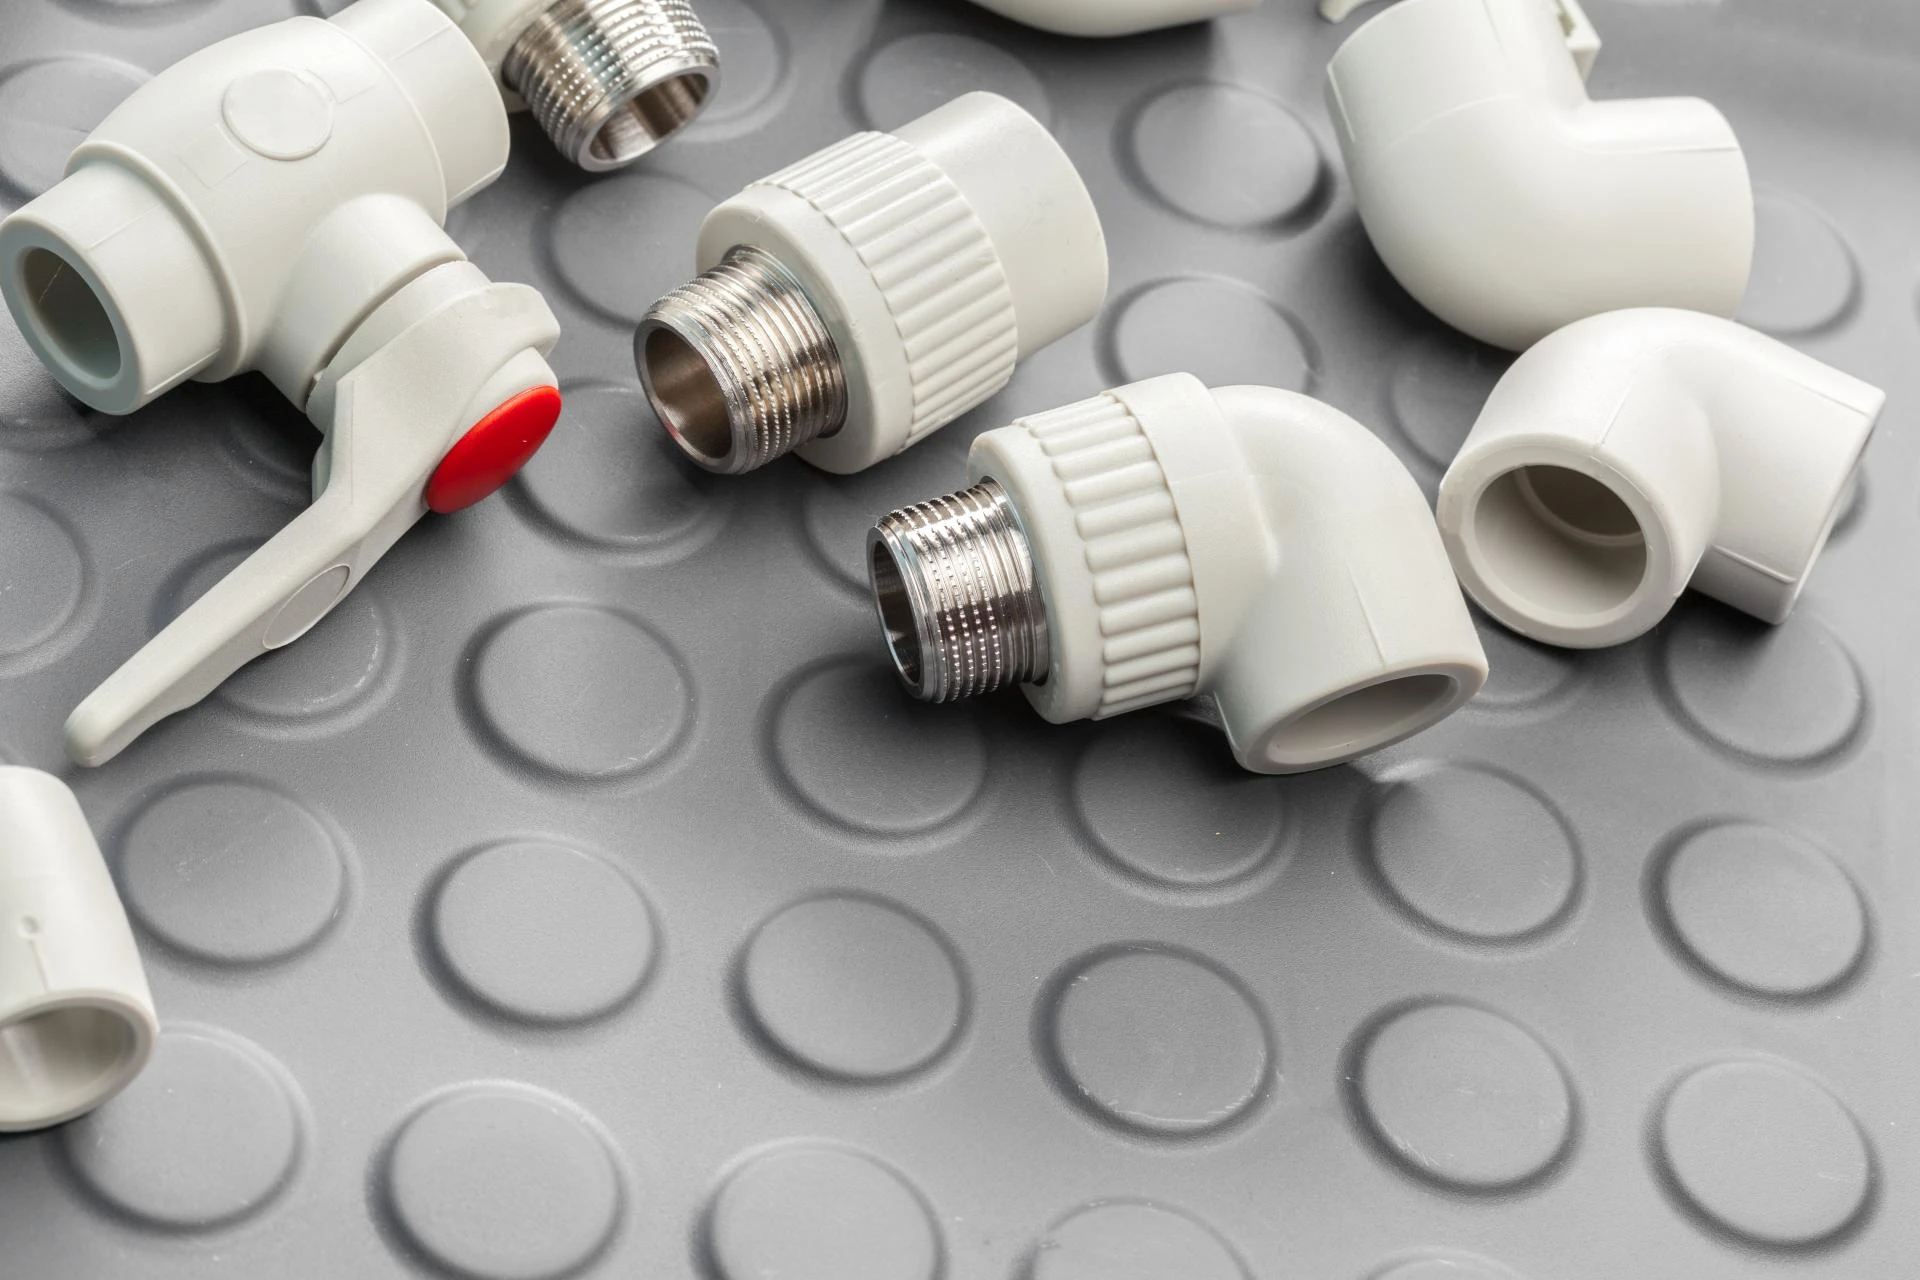
- CPVC pipes and fittings
- Pipe cutter or fine-toothed hacksaw
- Deburring tool or sandpaper
- CPVC solvent cement
- Measuring tape Marker
- Insulation material for external piping
- Safety gloves and goggles
Ensuring that you have the right set of tools avoids mid-installation delays and contributes to the precision of the CPVC plumbing system.
Step-by-Step Installation Guide
Step 1: Planning the Layout
The first step involves designing the piping layout. A clear plan should include the positioning of the solar collectors, the hot water storage tank, and the pathways for hot and cold water circulation. The efficiency of solar water heater pipes depends heavily on minimizing unnecessary bends and ensuring proper gradient for gravity-fed flow or pump-assisted circulation.
Step 2: Measuring and Cutting Pipes
Using a measuring tape, calculate the exact lengths of CPVC pipes for hot water required. Mark the cut points with a marker and cut them using a pipe cutter or hacksaw. Ensure the cut is square for accurate fitting. After cutting, smoothen the edges with sandpaper or a deburring tool to avoid burrs that may obstruct water flow.
Step 3: Dry Fit the System
Before applying cement, it is important to dry fit the entire system. Connect the pipes and fittings temporarily to verify alignment, gradient, and length accuracy. At this stage, check if the hot and cold water pipes align correctly with the storage tank and collector inlets/outlets.
Step 4: Solvent Cement Application
Once satisfied with the dry fit, disassemble the connections and apply CPVC solvent cement to both the pipe end and the fitting socket. Quickly push and rotate the pipe a quarter turn into the fitting for a secure joint. Wipe off any excess cement. Repeat this for all joints across the CPVC plumbing system. Allow at least 24 hours of curing time before subjecting the pipes to water pressure.
Step 5: Insulation of External Piping
Since solar water heating systems often run pipes outdoors, proper insulation is essential. Use high-quality insulation material to wrap around the durable CPVC pipes exposed to sunlight and varying weather conditions. This minimizes heat loss and protects the piping against ultraviolet radiation.
Step 6: Connecting to the Solar Collector and Tank
Next, connect the solar water heater pipes to the inlet and outlet of the solar collector. Ensure the hot water outlet is connected to the top of the storage tank, while the cold water return line feeds into the bottom of the collector. This setup ensures an efficient thermosiphon or pumped circulation, depending on the system design.
Step 7: Pressure Testing
Before putting the system into operation, conduct a hydrostatic pressure test. Fill the entire CPVC plumbing system with water and pressurize it to the system’s rated level. Inspect joints for leaks and re-cement if necessary. Pressure testing ensures reliability and safety once the system is fully functional.
Step 8: Commissioning the System
Finally, open the valves to allow water circulation between the collector and the storage tank. Monitor the first heating cycle to confirm that CPVC pipes for hot water maintain their integrity under operational conditions. Check for heat losses, flow efficiency, and temperature consistency.
Maintenance Tips for Longevity
The efficiency of solar heating depends not only on proper installation but also on periodic maintenance:
- Inspect insulation every six months.
- Clean the solar collector surface for maximum heat absorption.
- Check joints in the hot and cold water pipes annually for signs of leakage.
- Replace worn-out insulation promptly.
- Flush the system once a year to prevent sediment buildup.
With these steps, durable CPVC pipes can perform flawlessly for decades, ensuring the household enjoys uninterrupted access to hot water with minimal energy costs.
Advantages of Using CPVC in Solar Water Heating
- Thermal Resistance – The ability of CPVC pipes for hot water to withstand up to 93°C ensures safe delivery without deformation.
- Durability – The long service life of durable CPVC pipes makes them ideal for long-term projects.
- Corrosion-Free – Unlike metals, CPVC does not rust or scale.
- Ease of Installation – Solvent cement joining in a CPVC plumbing system makes installation faster compared to welding metal pipes.
- Cost-Efficiency – Reduced maintenance and long lifespan bring overall affordability.
By combining these benefits, CPVC stands out as the most efficient choice for solar water heater pipes. Discover the foremost advantages of CPVC piping through a focused advantages section that highlights practical strengths. Ori-Plast is well respected for delivering durable, performance-driven products.
Common Mistakes to Avoid
- Using incorrect solvent cement not designed for CPVC.
- Exposing uninsulated hot and cold water pipes to direct sunlight.
- Ignoring pressure testing before commissioning.
- Overlooking alignment during dry fitting.
Avoiding these mistakes ensures smooth functioning and extends the reliability of the CPVC plumbing system.
Final Thoughts
The installation of CPVC piping in solar water heating systems requires precision, planning, and technical correctness. By following the step-by-step process—from layout planning to insulation and pressure testing—you can ensure optimal system performance. The ability of CPVC to withstand high temperatures, resist corrosion, and remain durable over time makes it the most suitable choice for sustainable water heating solutions.
For homeowners and installers alike, investing in a robust CPVC solution is not only about meeting today’s hot water needs but also about ensuring long-term efficiency. Leading manufacturers like Ori-Plast have already set benchmarks in quality, ensuring that customers receive piping systems designed for reliability. When correctly installed, Ori-Plast CPVC piping provides unmatched safety, durability, and energy efficiency for solar water heating systems. Discover the complete range of innovative CPVC piping solutions in the dedicated fittings section.


Sign in to leave a comment.