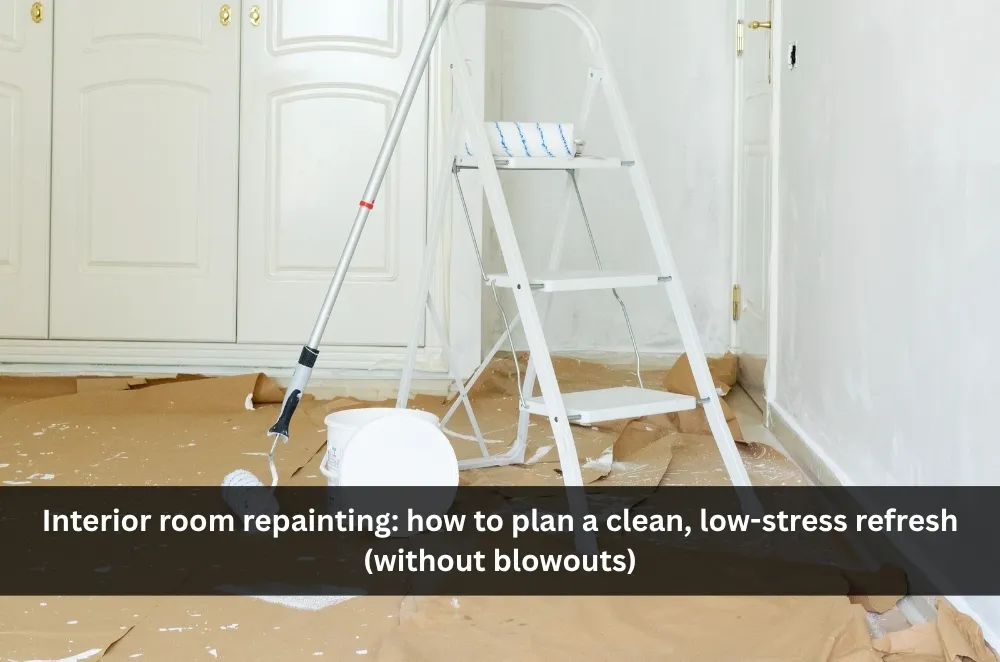
Interior repainting gets talked about like it’s a quick cosmetic job: pick a colour, roll it on, done.
But most of the frustration comes from everything around the colour, prep, finishes, timing, and what’s actually included when someone says “repaint the room”.
If the goal is a room that feels cleaner, brighter, and easier to live in, the planning matters as much as the painting.
Why room repaints go sideways
An interior room repainting service for a creative interior wall painting ideas usually runs into trouble for one of two reasons: the surface wasn’t ready, or the scope wasn’t clear.
Tiny cracks, old patch jobs, or greasy marks can sit quietly on the wall for years, then the fresh finish shows them off like a spotlight.
The other trap is assuming the job is “standard” when every room has its own quirks: high traffic, steam, harsh sun, kids’ fingerprints, or a feature wall that needs different handling.
When people feel ripped off, it’s often not because anyone tried to be difficult; it’s because nobody wrote down what “good” looks like before work started.
A repaint doesn’t need to be dramatic to be well done.
It just needs decisions made in the right order.
The decisions that matter more than choosing a colour
Colour is emotional, so it gets all the attention, but these are the choices that decide whether you’ll be happy in six months.
Finish (sheen) based on real life, not mood boards
A flat, soft-looking wall can be beautiful until it’s the hallway that gets bumped every day. Higher-sheen finishes tend to clean easier, but they can also highlight lumps and unevenness under downlights or strong morning sun.
Wall condition and the “standard of finish”
There’s a difference between a refresh and a reset. A refresh accepts a few minor dings and lived-in marks; a reset means patching, sanding, and smoothing until the surface looks more like new.
Light changes everything
A colour that reads warm and creamy in the shop can look dull at home, or flip cooler under LED lighting. Test in the room, on more than one wall, and check it morning, afternoon, and night.
Ventilation, odour, and timing
Some homes can throw open windows for days; others can’t because of noise, weather, or security. If the space is small or you’re repainting a bedroom, low-odour planning and sensible scheduling can save a lot of discomfort.
Scheduling around how you actually live
If someone works from home, if pets get anxious, or if kids nap mid-day, the “we’ll just do it all at once” approach can become chaos. Sequencing rooms so the home stays usable makes the whole project feel calmer.
Good planning is mostly removing surprises.
That’s the difference between “a few days of inconvenience” and “why did we start this”.
A room-by-room scope that stops the back-and-forth
A practical scope answers four questions: what surfaces, what condition, what finish, and what level of prep.
The easiest way to do this is to treat each room like its own mini-project.
Start with a simple note for each space: walls, ceiling, trim/doors, and any special areas (feature wall, panelling, built-in shelving). Then add what you already know is wrong: stains, flaking paint, cracks, old hooks, dents behind doors.
Now define prep in plain English. “Prep included” is meaningless unless it’s tied to outcomes: Are holes being filled? Are repairs being sanded flush? Are stained areas being sealed? Are rough sections being smoothed so they don’t telegraph through the new finish?
This is also where expectations should get honest. If the walls have lots of old repairs or heavy texture, a smoother result usually means more time spent before the first coat goes on.
Next, choose finishes by zones, not by vibes. Hallways, living areas, and kids’ rooms generally need more wipeability than a spare bedroom. Wet areas come with their own constraints: steam, airflow, and product suitability.
Then think about protection and access like it’s part of the job (because it is). What furniture needs shifting, what can stay put, and what needs covering, floors, blinds, vents, built-ins, and anything you’d be gutted to see splattered.
Finally, write down what’s not included. Inside wardrobes? Inside cupboards? Garage entry doors? Old adhesive removal? Painting over specialty finishes? Clear boundaries prevent mid-job decisions made under pressure.
If a room needs a clearer scope before booking, the Sydney Paintmasters interior repainting guide is a useful reference for what’s typically included and what to clarify upfront.
Operator Experience Moment
The fastest way a repaint turns stressful is when the real wall condition only becomes obvious after everything’s been moved and the first coat goes up. A repair that looked “fine” can suddenly cast a shadow once the new sheen hits it, and now you’re deciding between living with it or expanding the prep mid-stream. The calmer projects are the ones where someone walks the room early, calls out the ugly bits, and agrees on the standard before a drop sheet hits the floor.
Common mistakes people make (and how to dodge them)
Treating sampling as a formality.
A tiny swatch can lie, especially in bright rooms or under cool LEDs. Larger test patches in a few spots give a truer read and stop the “why is it green at night?” moment.
Forgetting that sheen changes the look.
People pick a colour, then later discover the chosen finish makes the wall look different in the same light. Decide finish first, then choose colour within that reality.
Assuming coverage is predictable.
Dark-to-light changes, stain cover-ups, or painting over mismatched old paint can take more coats than expected. It’s not a scandal; it’s just how surfaces behave.
Skipping repairs because they’re ‘minor’.
Fresh paint can make small dents look sharper because the surrounding wall is now uniform. If the goal is a tidy, “finished” look, repairs should be part of the plan, not an optional extra discovered on the day.
Leaving trims and ceilings out by default.
New walls beside tired trims can make the whole room feel half-done. Even if trims aren’t being repainted, they should be cleaned, checked, and considered in the final look.
Planning the work like drying time equals completion.
Paint can feel dry quickly but still be soft underneath. Rushing furniture back hard against walls, scrubbing too soon, or taping over fresh paint can ruin the finish after the hard work is done.
Most repaint regret is preventable.
It just needs a bit more thinking up front than people expect.
A simple 7–14 day plan that keeps it manageable
Days 1–2: Decide what “done” looks like in each room.
Refresh or reset, and how fussy you want to be about surface perfection.
Days 2–4: Walk the rooms and list surfaces and problems.
Walls, ceiling, trims/doors, plus stains, cracks, flaking, and old repairs.
Days 4–6: Choose finishes by traffic level.
Wipeability where hands touch, softer finishes where walls don’t get punished.
Days 6–8: Sample colours properly in the real room.
Check in different light and at night under your actual bulbs.
Days 8–10: Map out disruption.
Which room first, where furniture goes, and how you’ll keep airflow moving.
Days 10–14: Lock the scope.
Prep standard, number-of-coats assumptions, inclusions/exclusions, protection, access constraints, and timing.
A short plan beats a long wish list.
It’s easier to follow, and it’s harder to ignore.
Local SMB mini-walkthrough (Sydney, NSW)
If it’s an apartment or strata building, check lift bookings, working hours, and hallway protection rules before dates get set.
If the property has tight street parking or clearways, plan where vehicles and materials can actually go on the day.
If the week looks humid or wet, allow breathing room, Sydney drying times can drag when airflow is limited.
If the home is older (common in inner suburbs), expect layered paint histories and slightly uneven surfaces that need extra prep to look crisp.
If the repaint is for leasing or sale, confirm the scope early so there’s no scramble in the final week.
If there are kids or pets in the home, sequence rooms so there’s always one calm, usable zone.
Practical opinions
Prep quality matters more than premium paint.
Choose finishes by wear-and-tear, then pick colour.
A written scope beats “we’ll figure it out”.
Key Takeaways
- Good room repaints are won in the scope: surfaces, prep standard, and finishes.
- Decide early whether you want a refresh or a reset, because that choice controls time and cost.
- Test colours in the actual room and under your own lighting, not under shop lights.
- Plan sequencing so the home stays liveable while work happens.
Common questions we hear from Australian businesses
Q1) How far ahead should an interior repaint be booked?
Usually… earlier is better if there are fixed deadlines like inspections, move-ins, or renovation trades stacking up. A practical next step is to pick a target week, then work backwards to finalise the scope, finishes, and access plan. In Sydney, strata approvals, lift bookings, and parking constraints can add extra coordination time.
Q2) Is it worth doing ceilings and trims, or just the walls?
It depends… on how aged the ceiling and trims are compared to the walls and how “complete” the room needs to feel. A practical next step is to stand at the doorway and look at the room as one picture, if trims are chipped or ceilings are yellowed, new walls can make them stand out. In many Sydney homes with older paint layers, trims may also need more prep to look clean rather than lumpy.
Q3) What causes patchy or uneven-looking walls after repainting?
In most cases… it comes down to uneven absorption (especially around repairs), missed sealing, sheen mismatch, or coverage challenges when changing colour dramatically. A practical next step is to note whether the patchiness clusters around patched areas (prep/primer issue) or across broad sections (coverage/application issue). In Sydney’s humid stretches, slower drying and limited airflow can also affect how the finish settles.
Q4) How can disruption be reduced while people are still living in the home?
Usually… the calmest approach is staging: one area at a time, with clear rules on what gets moved, what gets covered, and when a room becomes usable again. A practical next step is to map a room order that protects sleep and work, keeping at least one bedroom and one living area functional throughout. In Sydney apartments, noise rules and lift booking windows can also shape the sequencing more than people expect.


Sign in to leave a comment.