There is a certain charm to a room with classic architectural details. The subtle shadows cast by paneling on a wall, the clean lines framing a doorway, or the decorative touch of a chair rail can transform a plain space into one of distinction. For years, achieving this look required significant skill with a miter saw, meticulous measuring, and often, a frustrating amount of trial and error. Today, the interior wall molding kit has democratized this element of design. These pre-cut or easily assembled systems allow homeowners to bypass the most technical aspects of carpentry and focus on the creative vision, making the addition of elegant trim work an accessible and rewarding weekend project.
The Allure of Wall Molding in Modern Interiors
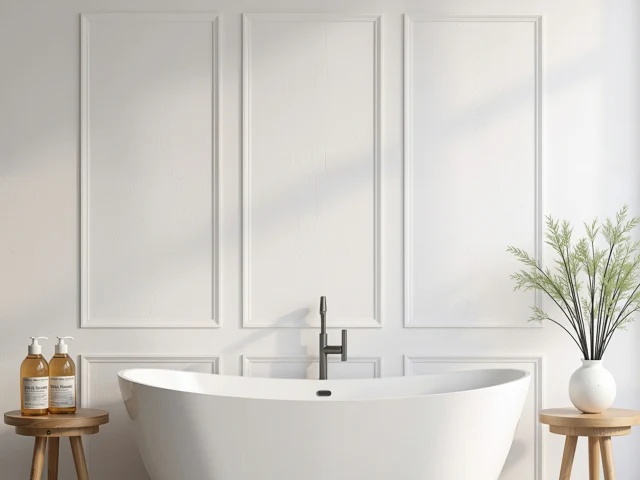
Wall molding, in its various forms like wainscoting, picture rails, and board and batten, is experiencing a powerful resurgence in interior design. In an era where many homes are built with clean, minimalist drywall expanses, adding molding introduces texture, depth, and a sense of history. It breaks up large, blank walls, giving the eye something interesting to land on and creating a more curated, intentional feel. Beyond pure aesthetics, molding serves a functional purpose. Chair rails protect plaster from scuffing, and paneling can add a layer of insulation and durability to high-traffic areas. Whether your home leans toward the crisp lines of modern farmhouse, the ornate details of Victorian revival, or the simplicity of transitional style, there is a molding profile that can anchor the entire room's design, adding perceived value and undeniable character.
Deconstructing the Components of a Molding Kit
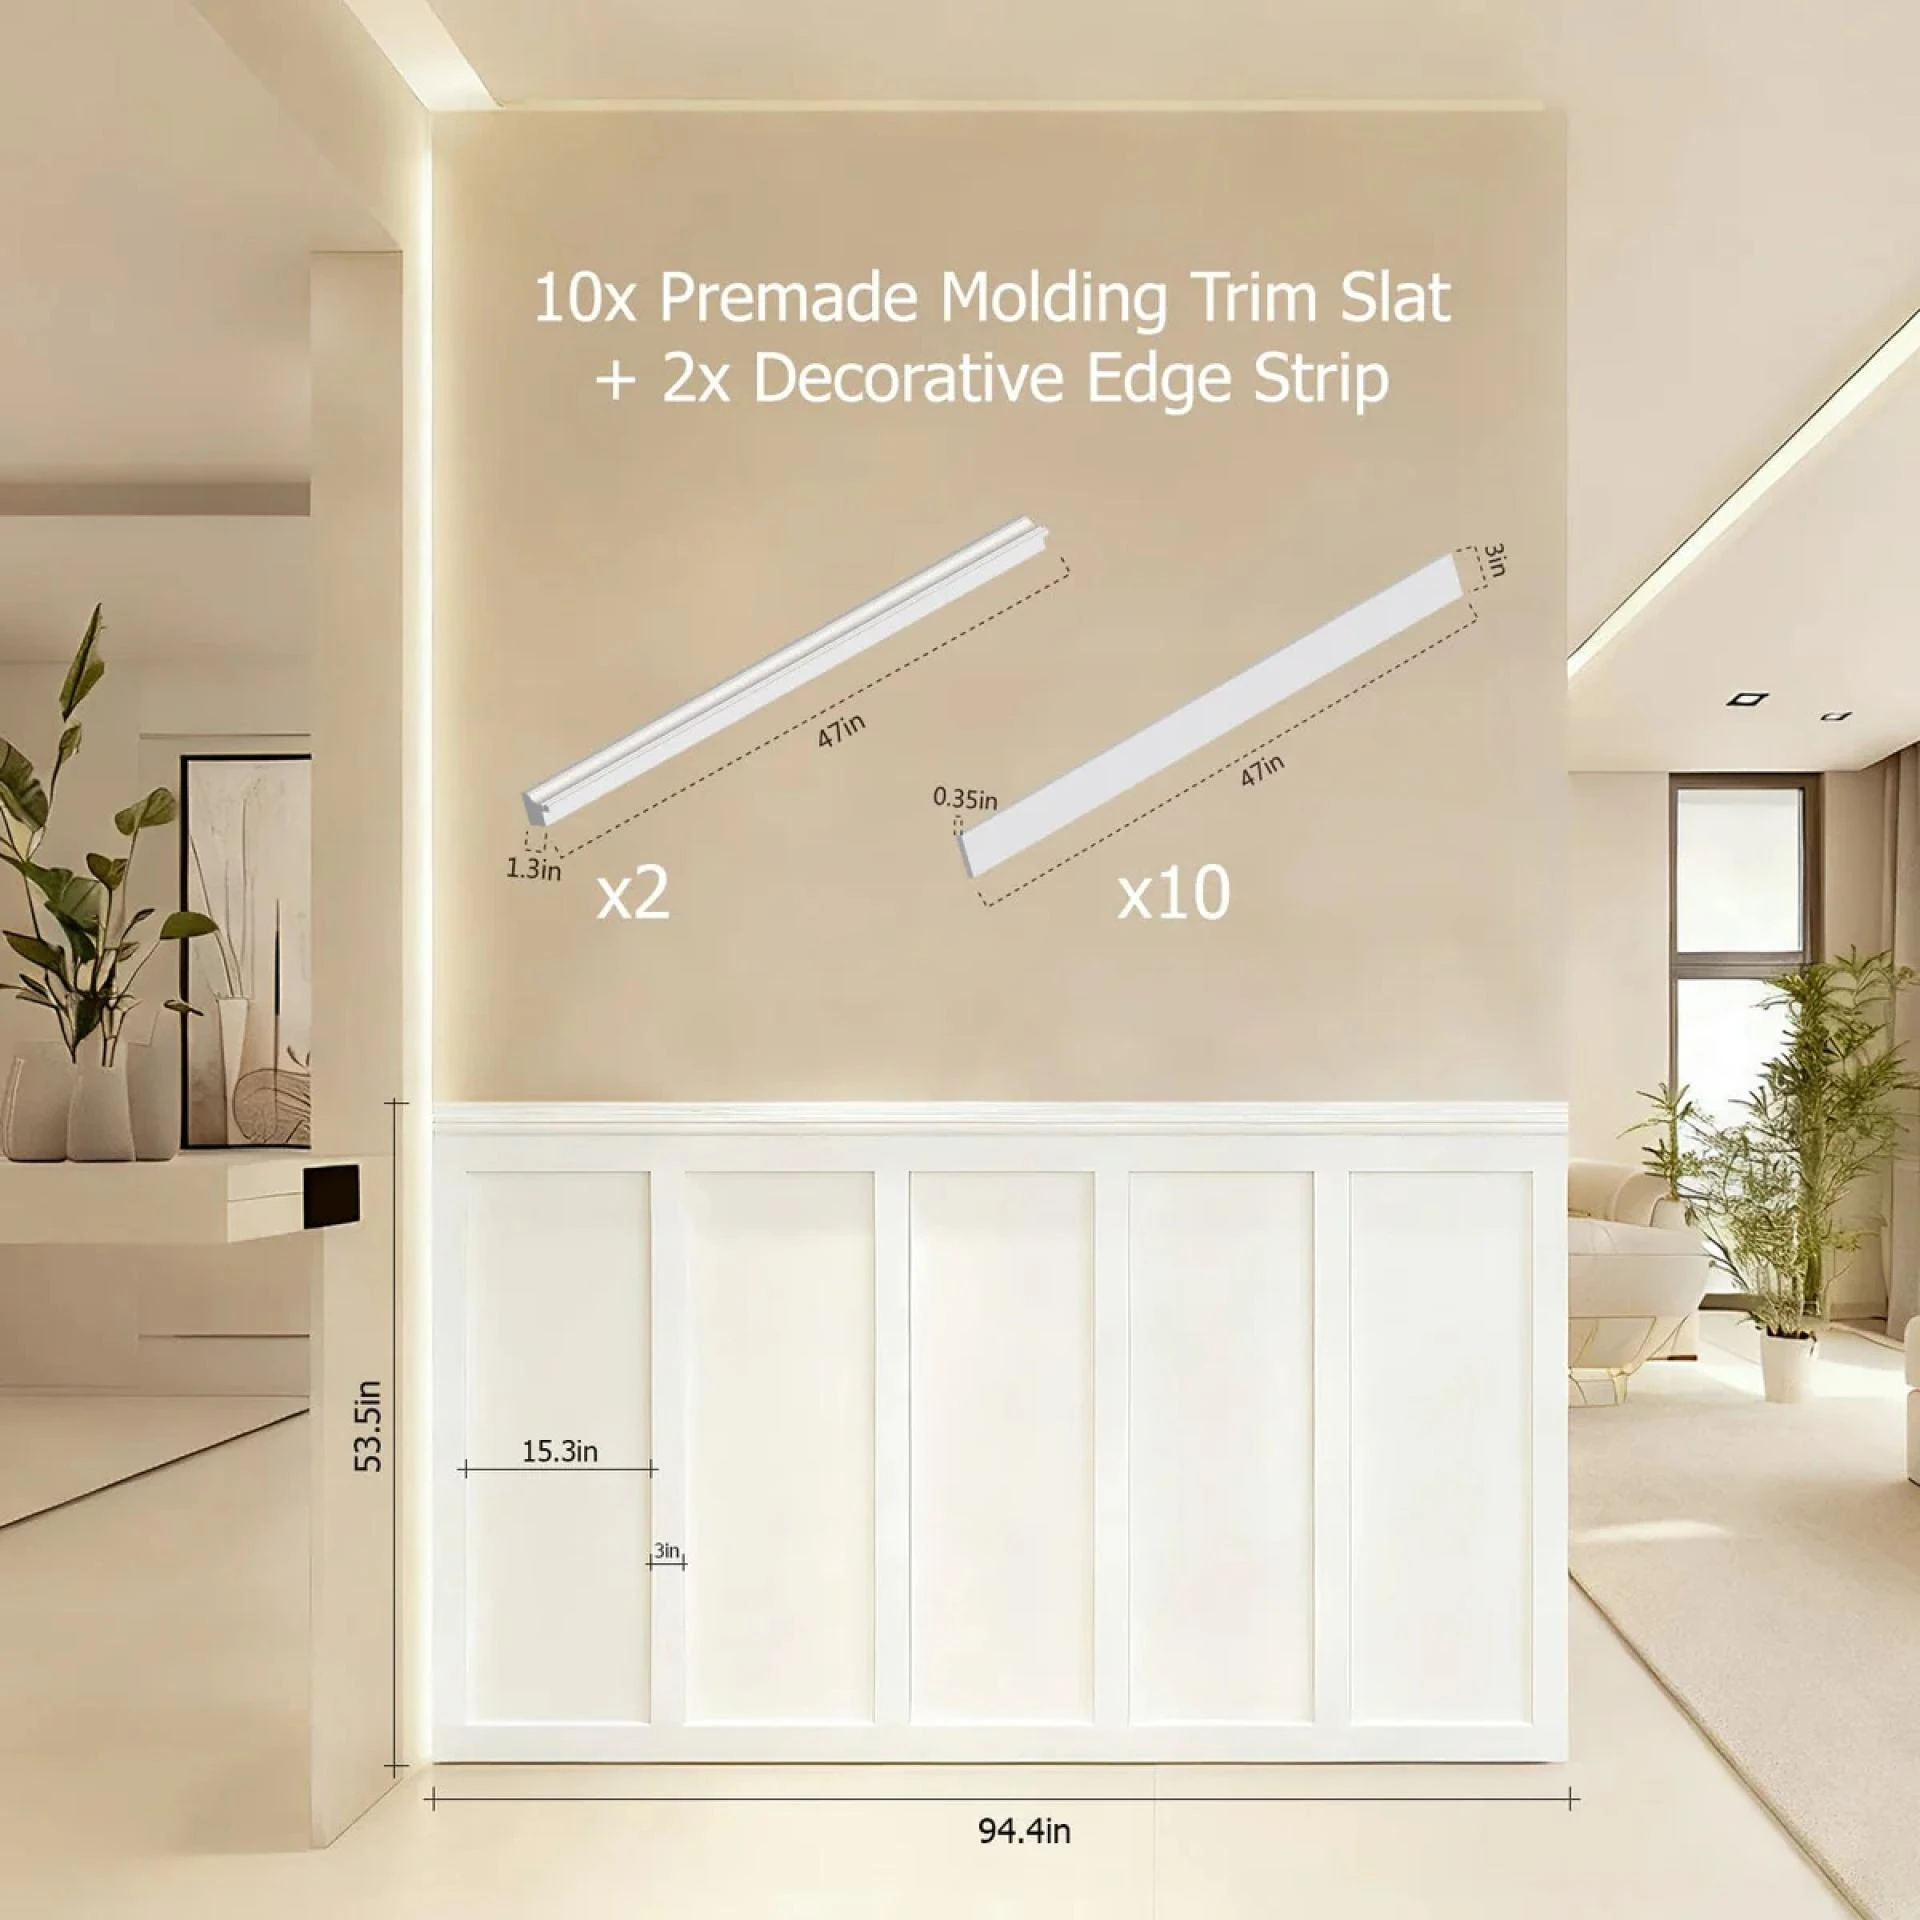
To understand the appeal of a kit, it helps to know what is typically inside the box. A comprehensive interior wall molding kit is designed to be a one-stop shop for your project. It usually consists of several key components. The primary elements are the lengths of molding themselves, which are often made from lightweight yet durable materials like polyurethane or high-density polystyrene, resistant to moisture and warping. You will find the main panels or "sticks" that create the grid, along with shorter pieces for rails. Beyond the trim, the kit includes the essential connectors and corner blocks. These pre-formed blocks are a game-changer for DIYers, as they eliminate the need for complex 45-degree angle cuts at each corner. Instead, the straight molding pieces simply butt into these decorative blocks, creating a professional finish with minimal effort and tools.
The Practical Perks of a Pre-Engineered System
Why choose a kit over sourcing materials individually? The answer lies in simplicity and precision. The most significant advantage is the elimination of complex angle cutting. Traditional wood molding installation is a geometry puzzle where every corner must be cut perfectly to achieve a seamless joint. A kit simplifies this with corner blocks and engineered alignment features. Many systems also include templates for spacing or even pre-marked placement guides, ensuring your panels are perfectly level and evenly spaced across the entire wall, a task that is deceptively difficult to eyeball. Furthermore, these kits are designed for easy installation with strong construction adhesives rather than nail guns, making them a true DIY option that minimizes tool investment and wall damage. This pre-engineered approach shifts the challenge from technical carpentry to creative layout and careful planning.
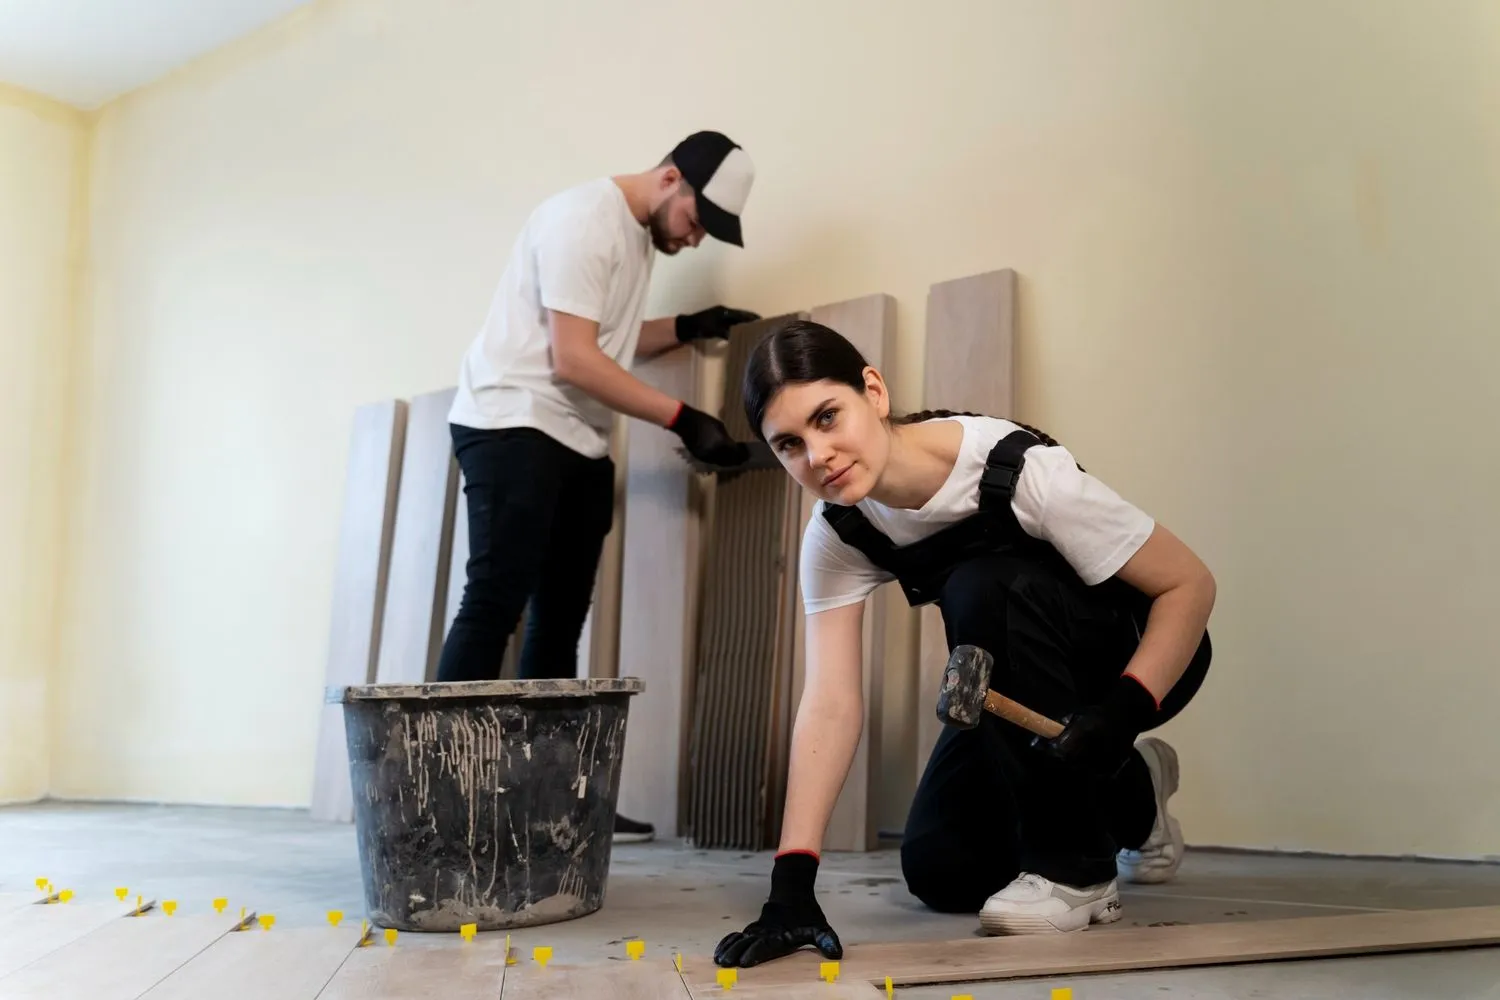
A Step-by-Step Guide to DIY Installation
Installing a wall molding kit is a process that rewards patience and precision. It begins long before any adhesive is applied. First, gather your tools: a tape measure, a level, a pencil, a fine-tooth saw (a miter box or power miter saw is helpful for any necessary straight cuts), sandpaper, painter's caulk, and a strong construction adhesive suitable for your wall type and the molding material. The first step is to plan your layout on the wall with a level and pencil, marking the placement of all panels and rails. This is your blueprint and the most critical phase for ensuring a symmetrical result. Once you are satisfied, cut any pieces to the required lengths. Next, apply the adhesive to the back of the molding and press it firmly onto the wall along your guide marks. Use painter's tape to hold the pieces in place as the adhesive cures. After the adhesive has set, the finishing touches begin. Fill any gaps where pieces meet with a high-quality paintable caulk, and sand any rough edges smooth. Finally, apply a coat or two of primer and your chosen paint color to unify the new molding with the wall, creating a seamless, built-in look.

Selecting the Perfect Style for Your Home
The market offers a diverse range of molding kit styles, ensuring you can find one that complements your home's architecture. For a traditional or colonial aesthetic, look for classic panel molding with raised or recessed profiles that mimic historical millwork. If your home has a Craftsman influence, you might opt for a cleaner, more substantial style with square edges and simple geometric patterns. For those drawn to a modern or minimalist look, consider a kit that creates large, simple rectangles on the wall, often using flat stock that almost floats against the surface, adding geometric interest without ornate detail. In smaller spaces like powder rooms or hallways, a full wainscoting kit that covers the lower third of the wall can make the area feel more grand and finished. Considering the scale of your room is also vital; taller walls can handle wider panels, while smaller rooms benefit from more delicate proportions.
Beyond the Living Room: Versatile Applications
While the living room and dining room are classic choices for molding, these versatile kits can enhance nearly any space in the home. In an entryway or foyer, molding makes a powerful first impression, instantly signaling a well-considered design. A bedroom can be transformed into a serene retreat by adding a paneled accent wall behind the bed, creating a built-in headboard effect without the cost of custom furniture. In a home office, molding adds a layer of professionalism and sophistication. Even bathrooms and laundry rooms, often overlooked in terms of architectural detail, can be made to feel like part of the main house. Using a moisture-resistant polyurethane kit in these spaces adds warmth and elegance, proving that good design has no boundaries and that a simple kit can be the key to unlocking a home's full decorative potential.


Sign in to leave a comment.