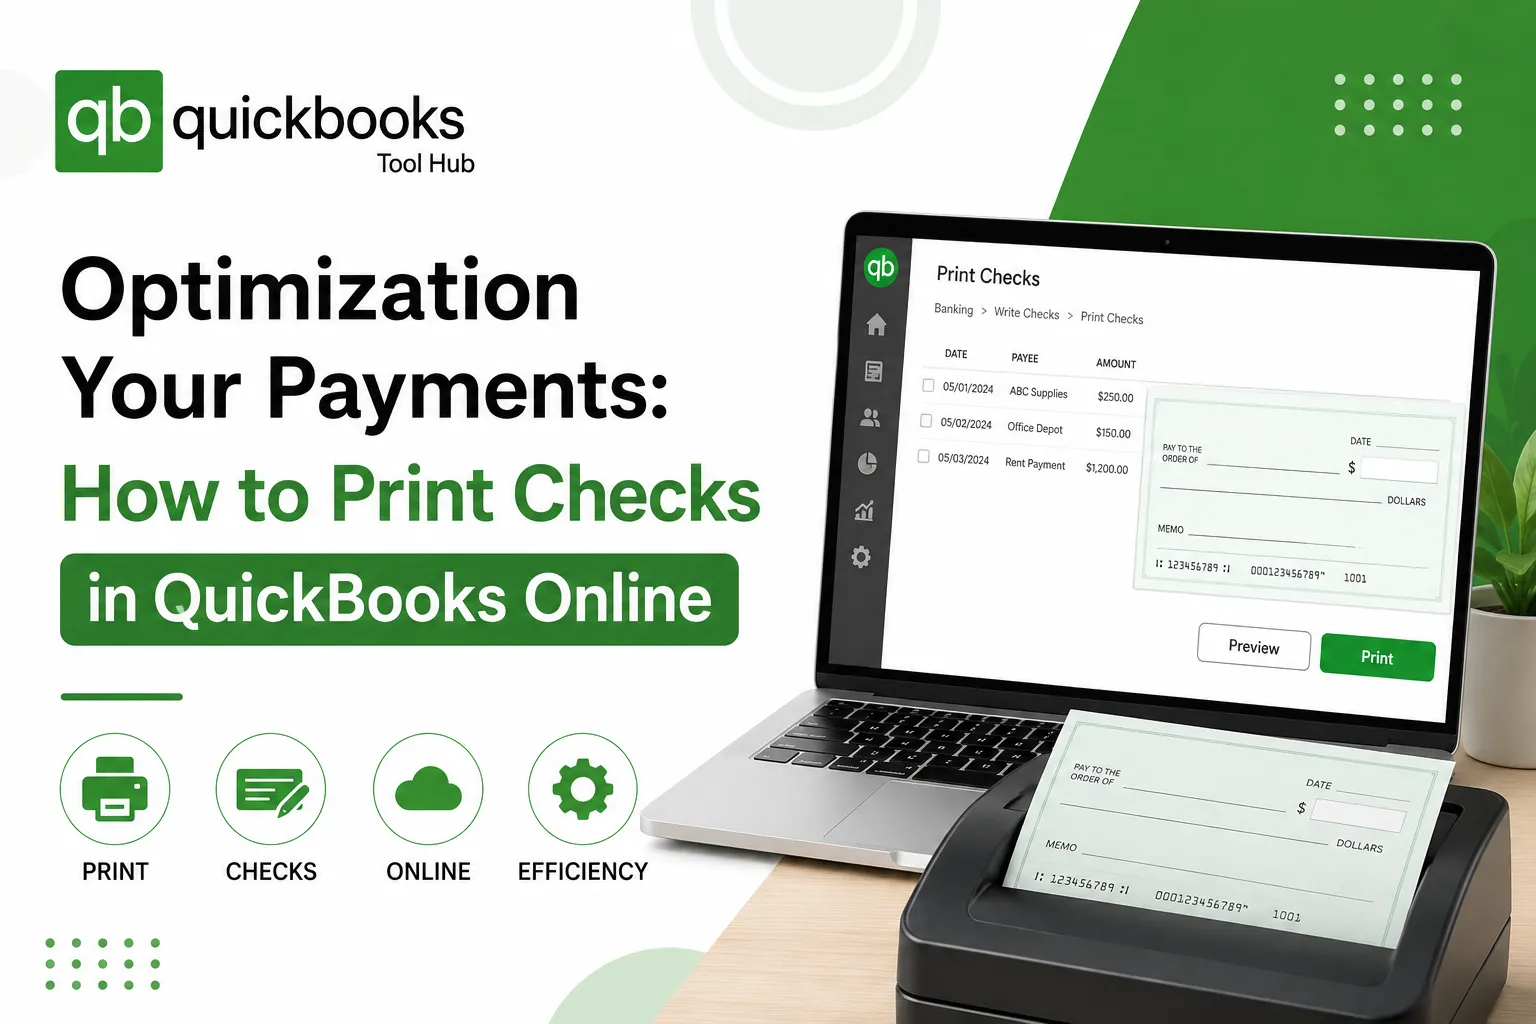

For many modern businesses, the digital transformation has moved most transactions to the cloud. However, the physical check remains a cornerstone of professional financial management. Whether you are dealing with traditional vendors, specific government entities, or specialized payroll requirements, the ability to produce a high-quality, professional check remains a critical skill.
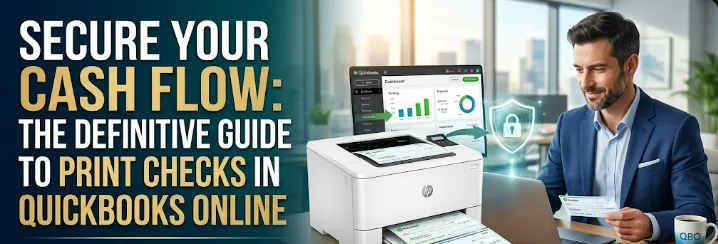
If you are using QuickBooks Online, mastering the check-printing workflow is about more than just putting paper in a tray; it is about ensuring data integrity, maintaining professional appearance, and streamlining your accounts payable process. This guide provides an exhaustive look at how to Print Checks in QuickBooks Online while avoiding common pitfalls.
Why Physical Checks Still Matter in a Digital World
While bank transfers and digital wallets are fast, physical checks offer a unique set of advantages for a growing business:
- Documentation: Voucher checks provide an immediate physical record (the stub) for both the payer and the payee.
- Control: Physical checks require a manual signature, providing an extra layer of internal control over large outflows of cash.
- Universal Acceptance: Every bank and business entity is equipped to handle a check, making it the ultimate "fallback" payment method.
Choosing and Loading Your Check Stock
Before you open your software, you must have the correct stationery. Standard office paper is not suitable for checks because it lacks the security features (such as watermarks and micro-printing) required to prevent fraud.
Check Styles
- Voucher Checks (Highly Recommended): These are the gold standard for business. The check is located at the top of the page, followed by two detachable stubs. One stub is for your records, and the other is for the vendor, detailing exactly which invoices are being paid.
- Standard Checks: These feature three checks per page. They are more economical but do not provide room for itemized payment details.
- Wallet Checks: Smaller versions often used by sole proprietors who need to write checks on the go.
Tip: When loading your printer, always ensure the "face" of the check is oriented according to your printer’s manual. Most laser printers require checks to be face-down, while many inkjets require them to be face-up.
Perfecting the Alignment
Nothing looks less professional than a check where the "Pay to the Order of" text is floating into the date box. To avoid wasting expensive stock, you must perform a calibration.
The Alignment Process
- The Blank Paper Trick: Instead of using a real check for your first test, use a standard piece of white paper.
- The Overlay Method: Once the test page prints, place it on top of a real check and hold them up to a bright light. This allows you to see exactly where the text falls relative to the lines on the check.
- Fine-Tuning: If the text is off, go to the Print Setup menu within your accounting software. You will see a grid where you can drag a "letter" to a new position. Moving this letter tells the software to shift the entire print block horizontally or vertically.
The Batch Printing Workflow
Efficiency is found in batching. Rather than printing a check every time you enter a bill, use the "Print Later" feature to process all your payments at once.
Step 1: Queueing the Transactions
When entering a payment, check the box labeled Print Later. This adds the transaction to a virtual queue. This is particularly useful for payroll runs or end-of-month vendor settlements.
Step 2: Accessing the Queue
Navigate to your "Print Checks" list. Here, you will see every check you have marked for later printing. You can sort these by date, vendor name, or amount.
Step 3: Verifying the Starting Number
This is the most common area for errors. Look at the very first check currently sitting in your printer tray. Note the pre-printed number on that check. Enter this number into the Starting Check Number field in the software. If these don't match, your digital ledger will fall out of sync with your physical records, making bank reconciliation a nightmare later.
Step 4: The Final Print
Select the checks you wish to print and click the preview button. This will generate a PDF document. Review this PDF on your screen to ensure all names and amounts are correct before sending the command to the printer.
Advanced Printer Settings for 2026
Modern web browsers like Chrome, Edge, and Safari often try to "auto-format" PDFs to make them fit on a page. This is the enemy of check printing. To ensure 100% accuracy, adjust these settings in your print dialog:
- Scale: Set this to 100% or Actual Size. Never use "Fit to Page" or "Shrink to Fit," as this will cause the text to drift further out of alignment the further down the page you go.
- Paper Size: Ensure the setting is "Letter" (8.5" x 11") rather than "A4," as even a slight difference in paper length will ruin the alignment of the second and third stubs.
- Margins: Set margins to None or Default. Do not use "Minimum" or "Wide" margins.
Troubleshooting Frequent Errors
What if a Check Jams?
If your printer eats a check, you must Void that check number in your software immediately. This keeps your check sequence intact for auditing purposes. You can then re-issue the payment using the next available check number in your stack.
What if the Ink is Faded?
Checks are often printed on treated paper that is slightly more "slick" than standard paper. If you are using an inkjet printer, allow the checks to sit in the output tray for at least 60 seconds to prevent smudging. For laser printers, ensure your "Toner Save" mode is turned off to ensure the MICR (magnetic ink) lines are dark enough for bank scanners to read.
Summary Checklist for Printing Checks
- Verify the Check Stock is loaded correctly (Face up/down).
- Ensure Starting Check Number matches the physical paper.
- Set Browser Print Scale to 100%.
- Print a Test Page on blank paper if it's your first time this month.
- Review and Sign the checks immediately after printing to ensure accuracy.
By following this structured approach to Print Checks in QuickBooks Online, you transform a potentially frustrating technical task into a smooth, professional routine. This not only keeps your vendors happy but ensures your financial records remain pristine for tax season and beyond.




















Sign in to leave a comment.