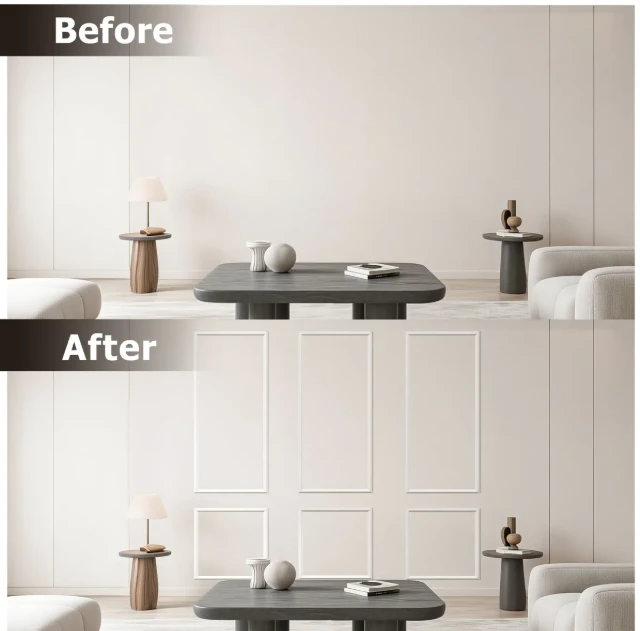
Peel and stick wall molding kits have revolutionized home decor by offering a quick, mess-free way to add elegant trim without the hassle of traditional methods. These innovative kits come with pre-cut pieces of polyurethane or foam molding that adhere directly to walls using strong, removable adhesive backing, perfect for renters or anyone avoiding permanent changes. Imagine transforming a bland living room wall into a sophisticated focal point in under an hour—no tools, no nails, no ladders required. Ideal for beginners, they mimic high-end crown molding, chair rails, or wainscoting at a fraction of the cost and time, making stylish upgrades accessible to everyone.
Why Choose Peel and Stick Over Traditional Molding
Traditional molding installation demands precise cutting, nailing, caulking, and painting, often leading to damaged walls and hours of cleanup. Peel and stick alternatives eliminate these headaches with self-adhesive strips that stick firmly yet peel off cleanly, preserving your surfaces. They're lightweight, flexible enough to contour to minor wall imperfections, and available in finishes from matte white to metallic gold, blending seamlessly with modern or classic interiors. Homeowners love how these kits deliver professional results without hiring contractors, saving both money and frustration on DIY projects.
Unboxing and Preparing Your Kit Essentials
Starting with your peel and stick wall molding kit feels exciting, like opening a gift for your home. Most kits include 10-20 feet of molding strips, corner connectors, adhesive promoters for tricky surfaces, and simple instructions with template guides. Before diving in, clean your walls thoroughly with mild soap and dry them completely to ensure maximum adhesion—dust or grease can sabotage the stick. Gather basic tools like a level, utility knife for trimming, and painter's tape for marking lines; no power tools needed, keeping the process beginner-friendly and low-stress.
Step-by-Step Guide to Flawless Application
Applying the molding peel and stick wall molding kit starts with measuring and marking your wall's perimeter using the kit's transferable templates, which act like stencils for straight, even lines. Peel off the backing from a strip, press it firmly into place starting from one corner, and smooth out bubbles with a plastic card or cloth as you go. Overlap ends slightly for seamless joints, using included connectors for crisp 90-degree turns, then step back to check alignment with a level. The whole wall typically takes 30-60 minutes, allowing you to admire instant elegance while the adhesive cures fully overnight.
Creative Design Ideas to Elevate Any Room
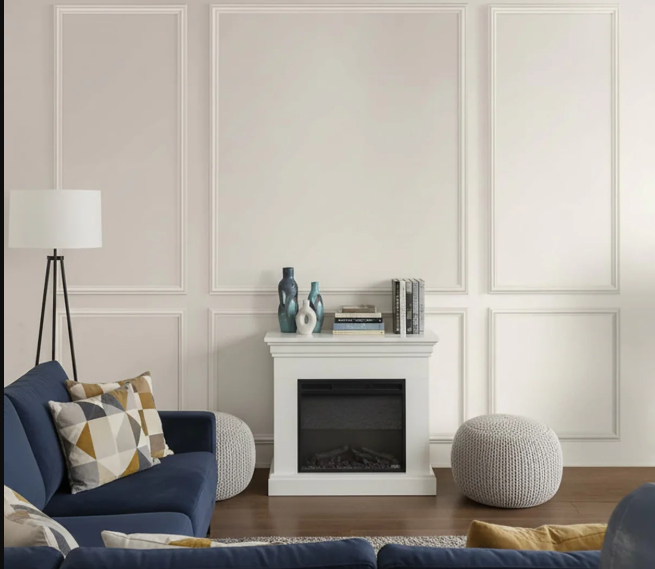
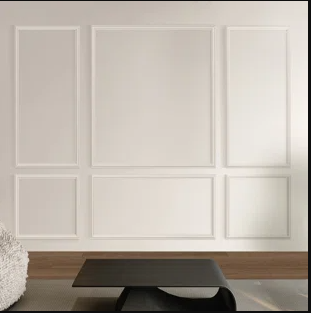
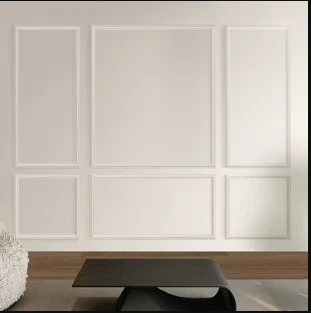
These kits shine in creative applications beyond basic borders—try layering strips for textured panels in a dining room or creating geometric patterns on an accent wall for a contemporary twist. In bedrooms, frame headboards with delicate chair rails; in kitchens, outline backsplashes for subtle definition without tile work. Mix widths and profiles, like combining thin ledges with bold crowns, to craft custom looks that reflect your style, turning ordinary spaces into personalized havens without committing to bold paint colors or furniture swaps.
Maintenance Tips for Long-Lasting Beauty
Keeping your peel and stick molding pristine is straightforward, as its durable, paintable surface resists everyday wear far better than you'd expect from adhesive decor. Dust lightly with a microfiber cloth weekly, and spot-clean stains with a damp sponge and mild cleaner—avoid harsh chemicals that might weaken the bond. If edges lift slightly over time, a dab of extra adhesive from the kit restores hold; most hold up for years in humid or high-traffic areas, proving they're not just temporary fixes but reliable style staples.
Benefits for Renters and Temporary Homes
Renters rejoice: these kits offer landlord-approved upgrades that remove without residue, letting you personalize apartments or short-term rentals effortlessly. Unlike screwed-in trim that leaves holes, peel and stick leaves walls pristine, ideal for frequent movers or staging homes for sale. They're lightweight for easy transport, affordable under $50 per kit, and versatile across textures from smooth drywall to lightly textured plaster, empowering you to refresh spaces on a whim without voiding leases or facing security deposit disputes.
Comparing Costs and Value to Pro Installations
At first glance, peel and stick kits seem budget-friendly, but their true value lies in slashing labor costs—professional molding jobs can run $5-10 per linear foot plus materials, totaling thousands for a room. A full kit covers 20 feet for $30-60, delivering comparable aesthetics with zero waste or skill barriers. Over time, they outperform cheap alternatives like foam stickers by staying put longer and looking more authentic, making them a smart investment for frequent decorators chasing that custom-built vibe on everyday terms.
Future Trends in Adhesive Wall Decor Innovations
Looking ahead, peel and stick molding kits are evolving with smart tech integrations, like glow-in-the-dark strips for ambient lighting or eco-friendly biodegradable adhesives from recycled materials. Manufacturers are experimenting with magnetic backings for rearrangeable designs and app-guided AR templates for perfect virtual previews. As sustainability drives demand, expect more color-shifting, UV-resistant options that adapt to lighting, ensuring this nail-free hero remains a cornerstone of effortless, innovative home styling for years to come.


Sign in to leave a comment.