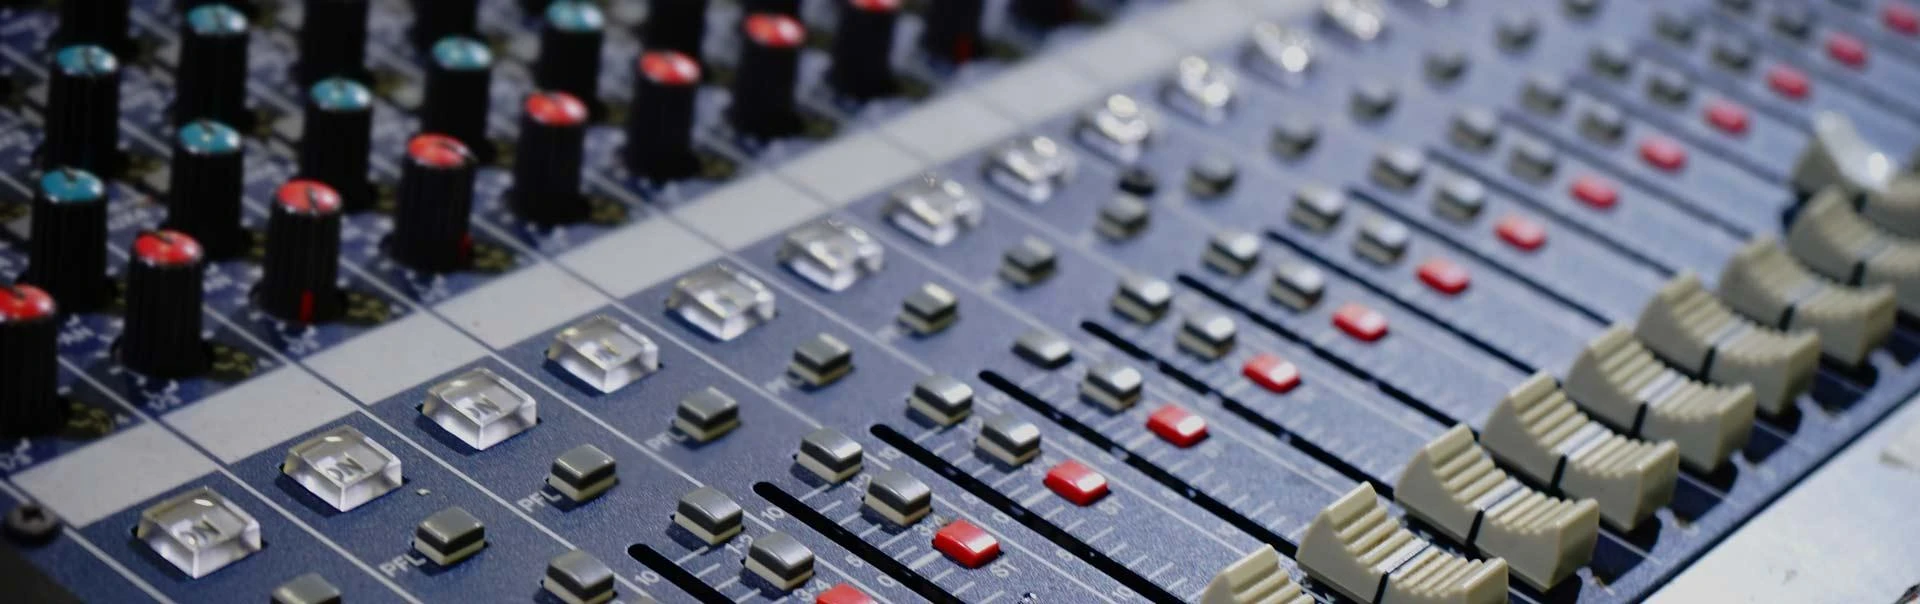
A proper microphone setup can make the difference between amateur audio and professional-quality sound. Whether you’re recording music, podcasts, or voiceovers, the way you handle your studio mic setup determines clarity, warmth, and precision. While having the right microphone is essential, equally important are placement, environment, and accessories. This guide will walk you through everything you need to know about creating the perfect recording environment.
Mastering Your Microphone Setup for Clear Audio
Choosing the Right Microphone for Your Needs
Not all microphones are created equal. The best studio mic setup depends on what you’re recording. Here are the most common types:
- Dynamic microphones – Durable, great for live vocals and instruments.
- Condenser microphones – Sensitive, ideal for vocals, podcasts, and detailed recording.
- Ribbon microphones – Vintage sound, warm tone, often used in studios.
Your choice impacts how well your microphone setup captures the nuances of your voice or instrument.
Preparing Your Recording Space
Before adjusting your studio mic setup, focus on your environment. Background noise, echo, and room reflections can ruin even the best recordings. Consider these steps:
- Use acoustic panels or foam to absorb sound.
- Choose a quiet space away from street noise and appliances.
- Add rugs, curtains, and furniture to reduce reverb.
A well-treated room enhances the effectiveness of any microphone setup.
Proper Microphone Placement
The position of your mic is crucial in achieving the best results. Small changes in placement can dramatically affect your sound quality.
Vocal Recording Placement
For vocals, place the microphone about 6–12 inches away from your mouth. Use a pop filter to minimize plosives (“p” and “b” sounds). Tilt the mic slightly off-axis to avoid harsh frequencies.
Instrument Recording Placement
Different instruments require unique positioning:
- Acoustic guitar: Aim the mic around the 12th fret, not the sound hole, for balanced tones.
- Drums: Use multiple mics, but start with one overhead and one on the kick.
- Piano: Place a pair of condenser mics inside the lid for depth and detail.
Understanding these variations ensures a professional studio mic setup for any recording situation.
Essential Accessories for Microphone Setup
Accessories can make or break your recording quality. Consider these tools:
- Pop filter – Reduces plosives in vocal recordings.
- Shock mount – Isolates the mic from vibrations.
- Mic stand – Keeps the mic steady and at the right angle.
- Audio interface – Connects your microphone to your computer while preserving sound quality.
A complete microphone setup includes these accessories to maintain consistency in recordings.
Testing and Adjusting Levels
Even the best studio mic setup requires testing. Always run a test recording before beginning your session. Adjust input gain so the signal is strong but not peaking. Aim for -12 dB to -6 dB levels to prevent distortion.
Monitoring with headphones helps detect background noise, sibilance, or distortion that you can correct immediately.
Maintaining Your Microphone
Taking care of your gear extends its lifespan and keeps your sound consistent.
- Store mics in cases when not in use.
- Avoid moisture and dust buildup.
- Use windscreens or covers for protection.
A maintained microphone setup is a reliable one.
Final Thoughts
Setting up the perfect microphone setup is about more than just plugging in your mic. The right studio mic setup considers environment, placement, accessories, and testing. With proper adjustments, you can achieve studio-quality sound for podcasts, voiceovers, and music recording.
FAQs
Q1: What is the best microphone setup for beginners?
For beginners, a condenser microphone with a pop filter and audio interface is a great start. Keep placement simple and focus on reducing background noise.
Q2: How important is room treatment for studio mic setup?
Room treatment is vital. Even the best microphone will pick up unwanted reflections and noise if your space isn’t properly treated.
Q3: Can I use a USB microphone for professional recordings?
Yes, USB microphones are convenient and improving in quality. However, for a professional studio mic setup, an XLR microphone with an interface offers more flexibility and higher fidelity.
Q4: How far should I stand from the microphone?
Typically, 6–12 inches for vocals. Instruments may require different placements depending on their size and sound characteristics.
Q5: Do I need multiple microphones for a home studio?
Not necessarily. One quality condenser microphone can handle most tasks, but having more allows flexibility for different recording scenarios.


Sign in to leave a comment.