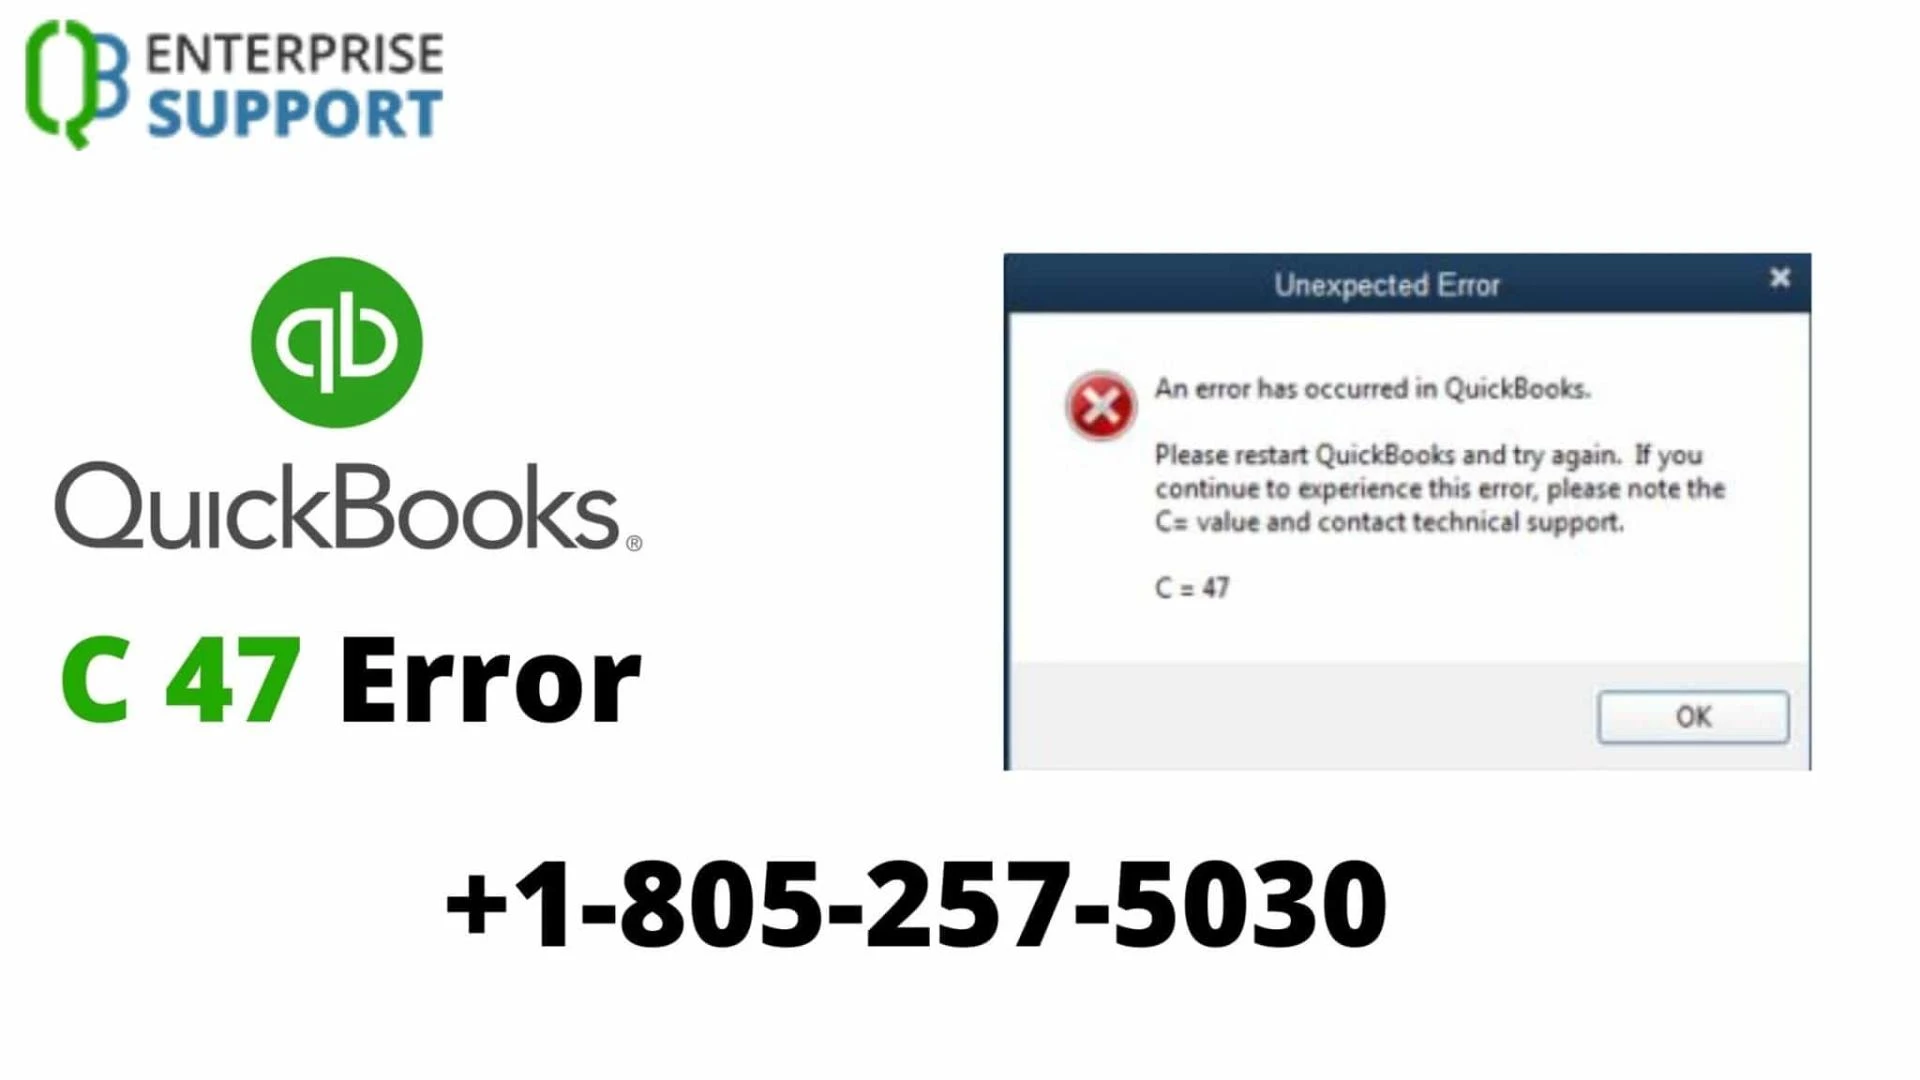
QuickBooks C 47 Error
QuickBooks software functions based on multiple algorithms and codes. These codes can put your accounting software into errors. quickbooks error c 47 can be spotted when you post any payment to your customers. However, by restarting the QuickBooks program, the error can be easily resolved. Unfortunately, this trick does not seem to work in every case. If you are confronting the QuickBooks C 47 error message, we suggest you go to the depth and find out the main cause of the error. By doing so, you can easily fix the issue occurring in QuickBooks. Read this guide to know more.
In this particular guide, you will read about a brief description of the C 47 QuickBooks error, its main causes, and several ways to troubleshoot the error.
what is C 47 QuickBooks Error
QuickBooks C 47 error occurs due to the misconfigured Internet Explorer. The error can also be displayed when cleaning up the Windows server. As a result, your accounting software fails to locate the transactions. Due to the presence of this error, you may not be able to process the same time update. Generally, users encounter such issues when they remove any transaction from the report.
How to fix QuickBooks C 47 Error
It’s no secret that the QuickBooks Desktop software is prone to a variety of errors and issues, but you should also understand that any computer accounting program, including QuickBooks Desktop software, is certain to have these kinds of errors and issues. Many of these concerns, however, may be easily handled by using Intuit’s solutions or tools. You may read and implement the methods below to fix the problem by using some of the manual issues:
Solution 1: Updating QuickBooks to the latest version:
You’ll be prompted to update your file to the most recent version when you initially open your business in a newer version of QuickBooks, such as 2021. Please note that your company file will no longer work with the previous version of the program after upgrading to the 2021 version. Before starting with the update, make sure that all users of the firm who will be upgraded to the 2021 version have logged out.
On your desktop, launch the program version 2021.
If you don’t have a company file open, select Open or Restore Company from the File menu in the edition’s top left corner.
Select the option to open a company file from the drop-down menu. Then, on the following screen, select Next.
If you have a backup company file (QBB) rather than a
quickbooks lgb file , choose to Restore a backup copy (QBW).
Select the option for a local backup now.
A popup will display after that, searching your computer for the company file.
Once you’ve found it, click on it to select it, then click Open to upgrade the file from the window.
Applying these updates will help you to update the QuickBooks Desktop software and that may resolve this issue for you but if in case it doesn’t work for you or if your software is already updated to the latest version then you must try the following solution.
Solution 2: Run the ‘Rebuild Data’ Utility:
Before you can use the QB Verify and Rebuild data utility, you must first use the Verify data tool. Follow the steps outlined below to ensure the accuracy of your accounting data.
In QuickBooks, go to Files>Utilities.
From the options menu, choose Verify Data.
If the program finds no errors, the company file is in good form, and Rebuild Data is not necessary.
If you see the message “Your data has lost integrity” on your screen, the file is damaged and needs to be fixed.
These are the steps that will run the ‘rebuild data’ but you need to make sure that after running this verify tool, you must run the verify tool and for that, you need to read the next solution.
Solution 3: Run the ‘Verify’ Utility:
Follow the steps below to run the Rebuild tool while keeping all of the safety precautions in mind.
Return to the QuickBooks main menu and select Files>Utilities.
From the drop-down option, select Rebuild Data.
Now click OK in the information window.
Make sure you follow the on-screen directions and make the appropriate decisions.
Check how long it takes QuickBooks to rebuild data, and then click OK when the message Rebuild has completed appears.
Applying the steps of both the last solutions will help you to run and verify the tool and that eventually will help you to fix the QuickBooks Error Code C47. These are some of the solutions that may help you fix QuickBooks Error Code C=47. If you’re still having trouble fixing the problem, try running a scan using the QuickBooks Tool Hub or QuickBooks File Doctor, both of which are Intuit-developed tools that may help you fix such a small issue. You may acquire these tools for free from Intuit’s official website, and if you still can’t correct it, you should engage a professional. Ignoring tiny problems can lead to QuickBooks Won’t Stop, which can be a huge issue for you to overcome, so please make sure you fix any error you encounter.
Read Also:- Fix quickbooks error code 20
Summary
To summarise, QuickBooks Desktop software can help you manage your business’s finances and is one of the few accounting systems that also handle timely tax payments and payroll services. As previously indicated in this blog, the error is susceptible to a range of errors and issues, one of which is QuickBooks Error Code C=47.
This whole blog was written to help you understand how to solve QuickBooks Error Code C=47, which is a small error that can be easily fixed by using some of the manual solutions provided above, so make sure you read and apply them if you’re having the same issue and want to help yourself. I hope you found my blog to be informative and that the time you spent reading it was worthwhile.
0


Sign in to leave a comment.