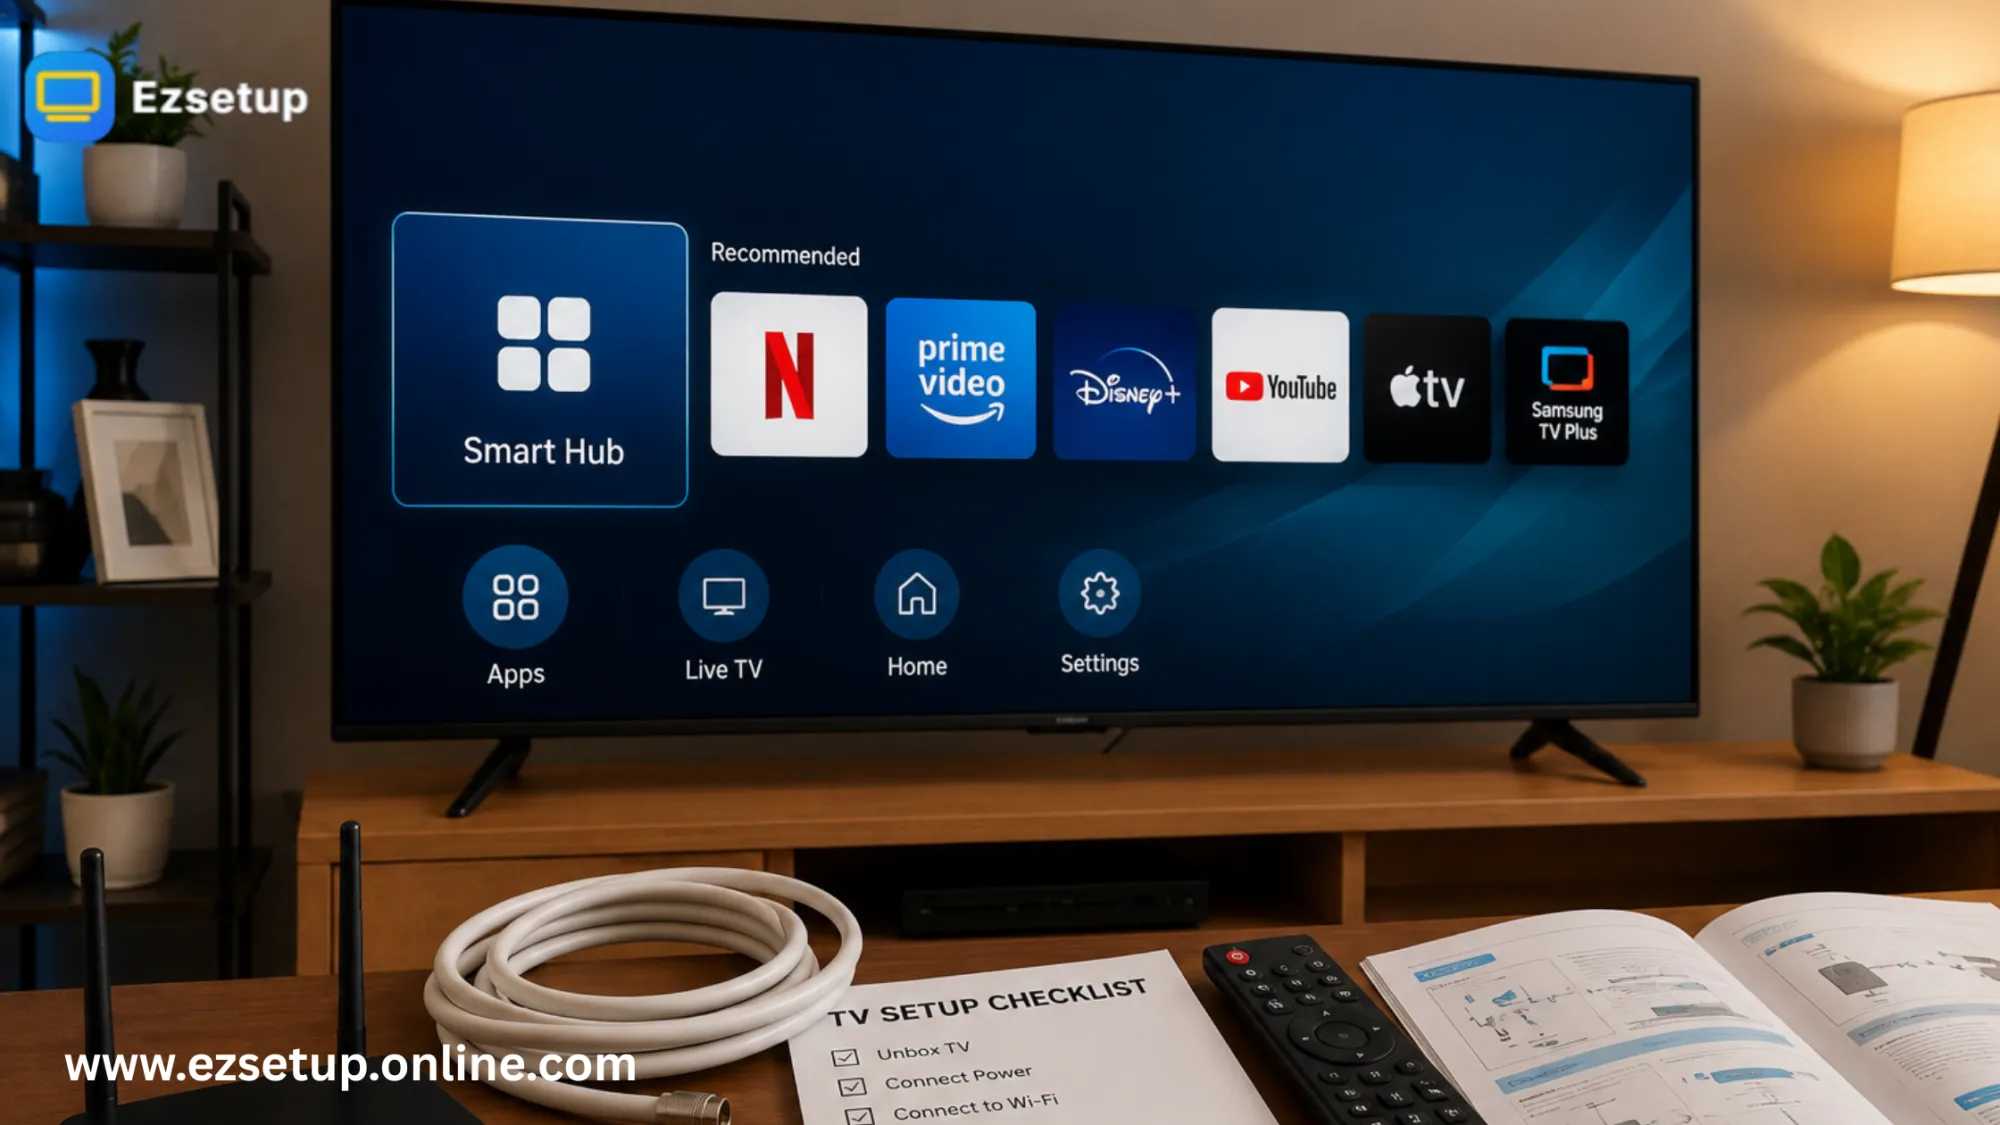

Buying a new Samsung TV is exciting, but setting it up for the first time can feel confusing if you’ve never done it before. Fortunately, the process is simple when you follow the right steps. Whether you want to connect to Wi-Fi, scan local antenna channels, or personalize your viewing experience, this guide covers everything you need.
A proper TV setup helps you enjoy better picture quality, smoother streaming, stronger network performance, and easy access to your favorite apps from the very beginning. This guide is designed for first-time users and explains every step in simple language without unnecessary technical terms.
Whether you’ve purchased a Samsung Smart TV for your living room, bedroom, or office, this complete guide will help you get everything set up and running smoothly.
Why Proper Samsung TV Setup Matters
Many people simply plug in their TV and start watching. However, taking a few extra minutes during the initial setup ensures that your television performs at its best.
A complete setup helps you:
- Connect to the internet securely
- Receive available software updates
- Scan local antenna channels
- Access streaming apps
- Improve picture and sound quality
- Personalize your viewing preferences
- Enhance overall performance
A well-configured television also reduces future troubleshooting and provides a smoother entertainment experience.
What You’ll Need Before You Begin
Before starting the installation, make sure you have:
- Samsung TV and power cable
- Samsung remote control with working batteries
- Stable Wi-Fi connection
- HDMI cable (if connecting external devices)
- TV antenna (if using free over-the-air channels)
- Samsung account (optional but recommended)
Having everything ready makes the process much easier.
Step 1: Position Your Samsung TV Correctly
Choose a location that offers comfortable viewing while protecting your television.
Consider these tips:
- Place the TV on a stable surface.
- Leave enough ventilation around the TV.
- Avoid direct sunlight on the screen.
- Keep it close to a power outlet.
- Position it at eye level for comfortable viewing.
If wall mounting, ensure the bracket is securely installed and supports your TV model.
Step 2: Connect the Power and Turn On the TV
Connect the power cable to the television and plug it into a reliable electrical outlet.
Insert batteries into the remote and press the Power button.
When the TV starts for the first time, you’ll usually see the Welcome screen that begins the initial setup wizard.
Simply follow the on-screen instructions.
Step 3: Select Your Language and Region
Samsung TVs ask you to choose:
- Language
- Country or Region
- Time Zone
Selecting the correct region ensures your TV receives the appropriate services, available apps, and local channel information.
Step 4: Connect the Samsung TV to Wi-Fi
Connecting to Wi-Fi unlocks the full Smart TV experience.
Follow these steps:
- Open Settings.
- Select Network.
- Choose Wireless.
- Pick your Wi-Fi network.
- Enter the password.
- Wait for confirmation.
Once connected, your TV gains access to:
- Streaming services
- Software updates
- Voice assistants
- Smart features
- Samsung services
If your Wi-Fi signal is weak, move the router closer or use an Ethernet cable for a more stable connection.
Step 5: Update the TV Software
Software updates improve:
- Security
- Speed
- Compatibility
- Performance
- Bug fixes
To check for updates:
Settings → Support → Software Update → Update Now
Installing updates during the initial TV setup helps ensure that your Samsung TV runs the latest features and fixes before you begin using it regularly.
Never unplug the television while an update is being installed.
Step 6: Scan Antenna Channels
If you’re using an antenna instead of cable, you’ll need to scan available broadcast channels.
Connect the antenna to the ANT IN port on the TV.
Then:
Settings → Broadcasting → Auto Program
The television will search for available local channels automatically.
Depending on your location, you may receive:
- News channels
- Sports channels
- Entertainment
- Local programming
- Educational channels
If reception is poor, reposition the antenna and scan again.
Step 7: Organize Your Channels
Once scanning finishes, you can customize your channel list.
Many Samsung TVs allow you to:
- Delete unwanted channels
- Mark favorites
- Rearrange channel order
- Hide unused channels
Organizing channels makes daily viewing much more convenient.
Step 8: Sign In to Your Samsung Account
Although optional, signing in provides additional features.
Benefits include:
- App synchronization
- Cloud services
- Device management
- Personalized recommendations
- Faster app installation
If you don’t already have an account, you can create one directly on the TV.
Step 9: Install Your Favorite Streaming Apps
Open the Samsung App Store and download the apps you use most.
Popular choices include:
- Netflix
- YouTube
- Disney+
- Prime Video
- Apple TV
- Spotify
Install only the apps you regularly use to keep your home screen organized.
Step 10: Adjust Picture Settings
Factory settings are not always ideal for every room.
Consider adjusting:
Picture Mode
Choose:
- Standard
- Movie
- Dynamic
- Filmmaker Mode
Brightness
Lower brightness in dark rooms.
Increase it for bright living spaces.
Contrast
Maintain natural detail without making images appear overly sharp.
Sharpness
Moderate sharpness usually produces the most realistic picture.
These small adjustments significantly improve your viewing experience.
Step 11: Optimize Sound Settings
Good sound is just as important as picture quality.
Explore settings like:
- Standard
- Adaptive Sound
- Amplify Mode
If using a soundbar:
- Connect via HDMI ARC
- Or use Optical Audio
Samsung TVs automatically detect many compatible sound systems.
Step 12: Connect External Devices
Most households connect additional devices.
Examples include:
- Gaming consoles
- Blu-ray players
- Streaming sticks
- Cable boxes
- Laptops
Simply connect the HDMI cable and select the appropriate input source.
Samsung usually labels newly connected devices automatically.
Step 13: Enable Smart Features
Modern Samsung TVs include several useful smart functions.
You can activate:
- Voice assistant
- Screen mirroring
- SmartThings
- Mobile device connection
- Multi View (supported models)
These features make everyday use more convenient.
Common Samsung TV Setup Problems and Solutions
Even simple installations can occasionally run into small issues.
Wi-Fi Won’t Connect
Try:
- Restarting the router
- Restarting the TV
- Re-entering the password
- Moving closer to the router
No Channels Found
Check that:
- The antenna is securely connected.
- The correct input source is selected.
- Auto Scan completes fully.
Remote Isn’t Responding
Try:
- Replacing batteries
- Pairing the remote again
- Removing nearby wireless interference
Apps Are Missing
Ensure:
- Internet connection is active.
- Software is updated.
- The correct region is selected.
Helpful Tips for First-Time Samsung TV Owners
To get the best long-term experience:
- Keep software updated.
- Use a surge protector.
- Clean the screen with a microfiber cloth.
- Avoid leaving static images on-screen for long periods.
- Restart the TV occasionally for optimal performance.
These simple habits can help maintain your television for years.
Practical Example
Imagine you’ve just purchased a Samsung Smart TV for your family room.
You connect the power cable, join your home Wi-Fi, update the software, scan antenna channels, install YouTube and Netflix, adjust the picture for your room lighting, and connect a gaming console through HDMI. Completing the TV setup this way ensures that every feature is ready to use from day one without needing to revisit the settings later.
Frequently Asked Questions (FAQs)
1. How do I connect my Samsung TV to Wi-Fi?
Go to Settings → Network → Wireless, select your Wi-Fi network, enter the password, and wait until the connection is confirmed.
2. Why can’t my Samsung TV find antenna channels?
Make sure the antenna is connected properly, select the correct input source, and run the Auto Program channel scan again. Adjusting the antenna’s position can also improve reception.
3. Should I update my Samsung TV during the initial setup?
Yes. Installing the latest software improves security, fixes bugs, enhances performance, and ensures compatibility with the newest apps and features.
4. Can I use my Samsung TV without creating a Samsung account?
Yes. The TV will still function normally, but signing in gives you access to app synchronization, personalized recommendations, and additional smart features.
5. What should I do if my Samsung TV remote stops working?
First, replace the batteries. If the issue continues, repair the remote with the TV or restart the television. Also, check for objects that may block the remote signal.
Conclusion
Setting up your Samsung TV for the first time is easier than many people expect. By following each step carefully—from connecting to Wi-Fi and scanning antenna channels to updating the software and adjusting picture settings—you can enjoy the full capabilities of your Smart TV with confidence. Many users also look for trusted online resources like EzSetup when they need easy-to-follow guidance for common Smart TV installation questions and troubleshooting tips.
Taking a little extra time during installation ensures smoother performance, better picture quality, improved connectivity, and a more enjoyable entertainment experience for years to come.
Disclaimer:
EzSetup is an independent support resource and is not affiliated with, endorsed by, authorized by, or sponsored by Samsung or any other TV manufacturer, streaming platform, or technology company. All product names, trademarks, and brand names are the property of their respective owners and are used solely for identification and informational purposes.
























Sign in to leave a comment.