Before any building, bridge, highway, or airport runway is constructed, one crucial question must be answered: Is the ground strong enough to support it? The answer comes from a detailed soil and rock testing procedure, which forms the foundation of geotechnical investigation.
Soil and rock are natural materials, and their properties can vary significantly from one location to another. If ignored, weak soil or fractured rock can lead to settlement, cracks, or even structural collapse. That’s why engineers rely on soil and rock testing to understand strength, durability, and suitability before construction begins.
Why Soil and Rock Testing is Important
Proper testing ensures that structures are safe, durable, and cost-effective. Here’s why it matters:
- ✅ Safety – Prevents foundation failures by identifying weak soil or unstable rock.
- ✅ Design Accuracy – Provides engineers with essential parameters for foundation design.
- ✅ Durability – Ensures roads, runways, bridges, and buildings last longer.
- ✅ Cost Efficiency – Reduces risks of cracks, settlement, and costly repairs.
- ✅ Regulatory Compliance – Meets engineering standards and construction codes.
In short, geotechnical investigation is the first and most critical step in any infrastructure project.
The Soil and Rock Testing Procedure
The procedure typically involves three key stages:
- Sampling and Site Exploration
- Field Testing of Soil and Rock
- Laboratory Testing of Soil and Rock
Let’s break down each stage.
1. Sampling and Site Exploration
Testing starts with collecting soil and rock samples from different depths at the construction site. Proper sampling is critical because it represents the actual ground conditions.
Soil Sampling Methods
- Disturbed Samples – Collected using augers or split-spoon samplers; used for classification tests (grain size, Atterberg limits).
- Undisturbed Samples – Taken with Shelby tubes or thin-walled samplers; essential for strength and compressibility tests.
Rock Sampling Methods
- Core Drilling – Cylindrical rock samples are extracted using rotary drills.
- Block Sampling – Large intact blocks are cut for detailed analysis in the lab.
2. Field Testing of Soil and Rock
Field tests provide on-site results about soil and rock properties. They help engineers make immediate decisions and guide laboratory tests.
Common Field Tests for Soil
- Standard Penetration Test (SPT): Determines soil density and strength by measuring resistance to penetration.
- Cone Penetration Test (CPT): Uses a cone penetrometer to measure soil resistance and layering.
- Plate Load Test: Assesses soil’s load-bearing capacity and settlement.
- Permeability Test (Field): Checks water flow through soil at site conditions.
Common Field Tests for Rock
- Schmidt Hammer Test: Estimates rock surface hardness.
- Point Load Test: Provides quick estimation of rock strength.
- Seismic Refraction Test: Uses wave velocity to study rock depth and quality.
These tests are quick but often supported by laboratory testing of soil and rock for detailed analysis.
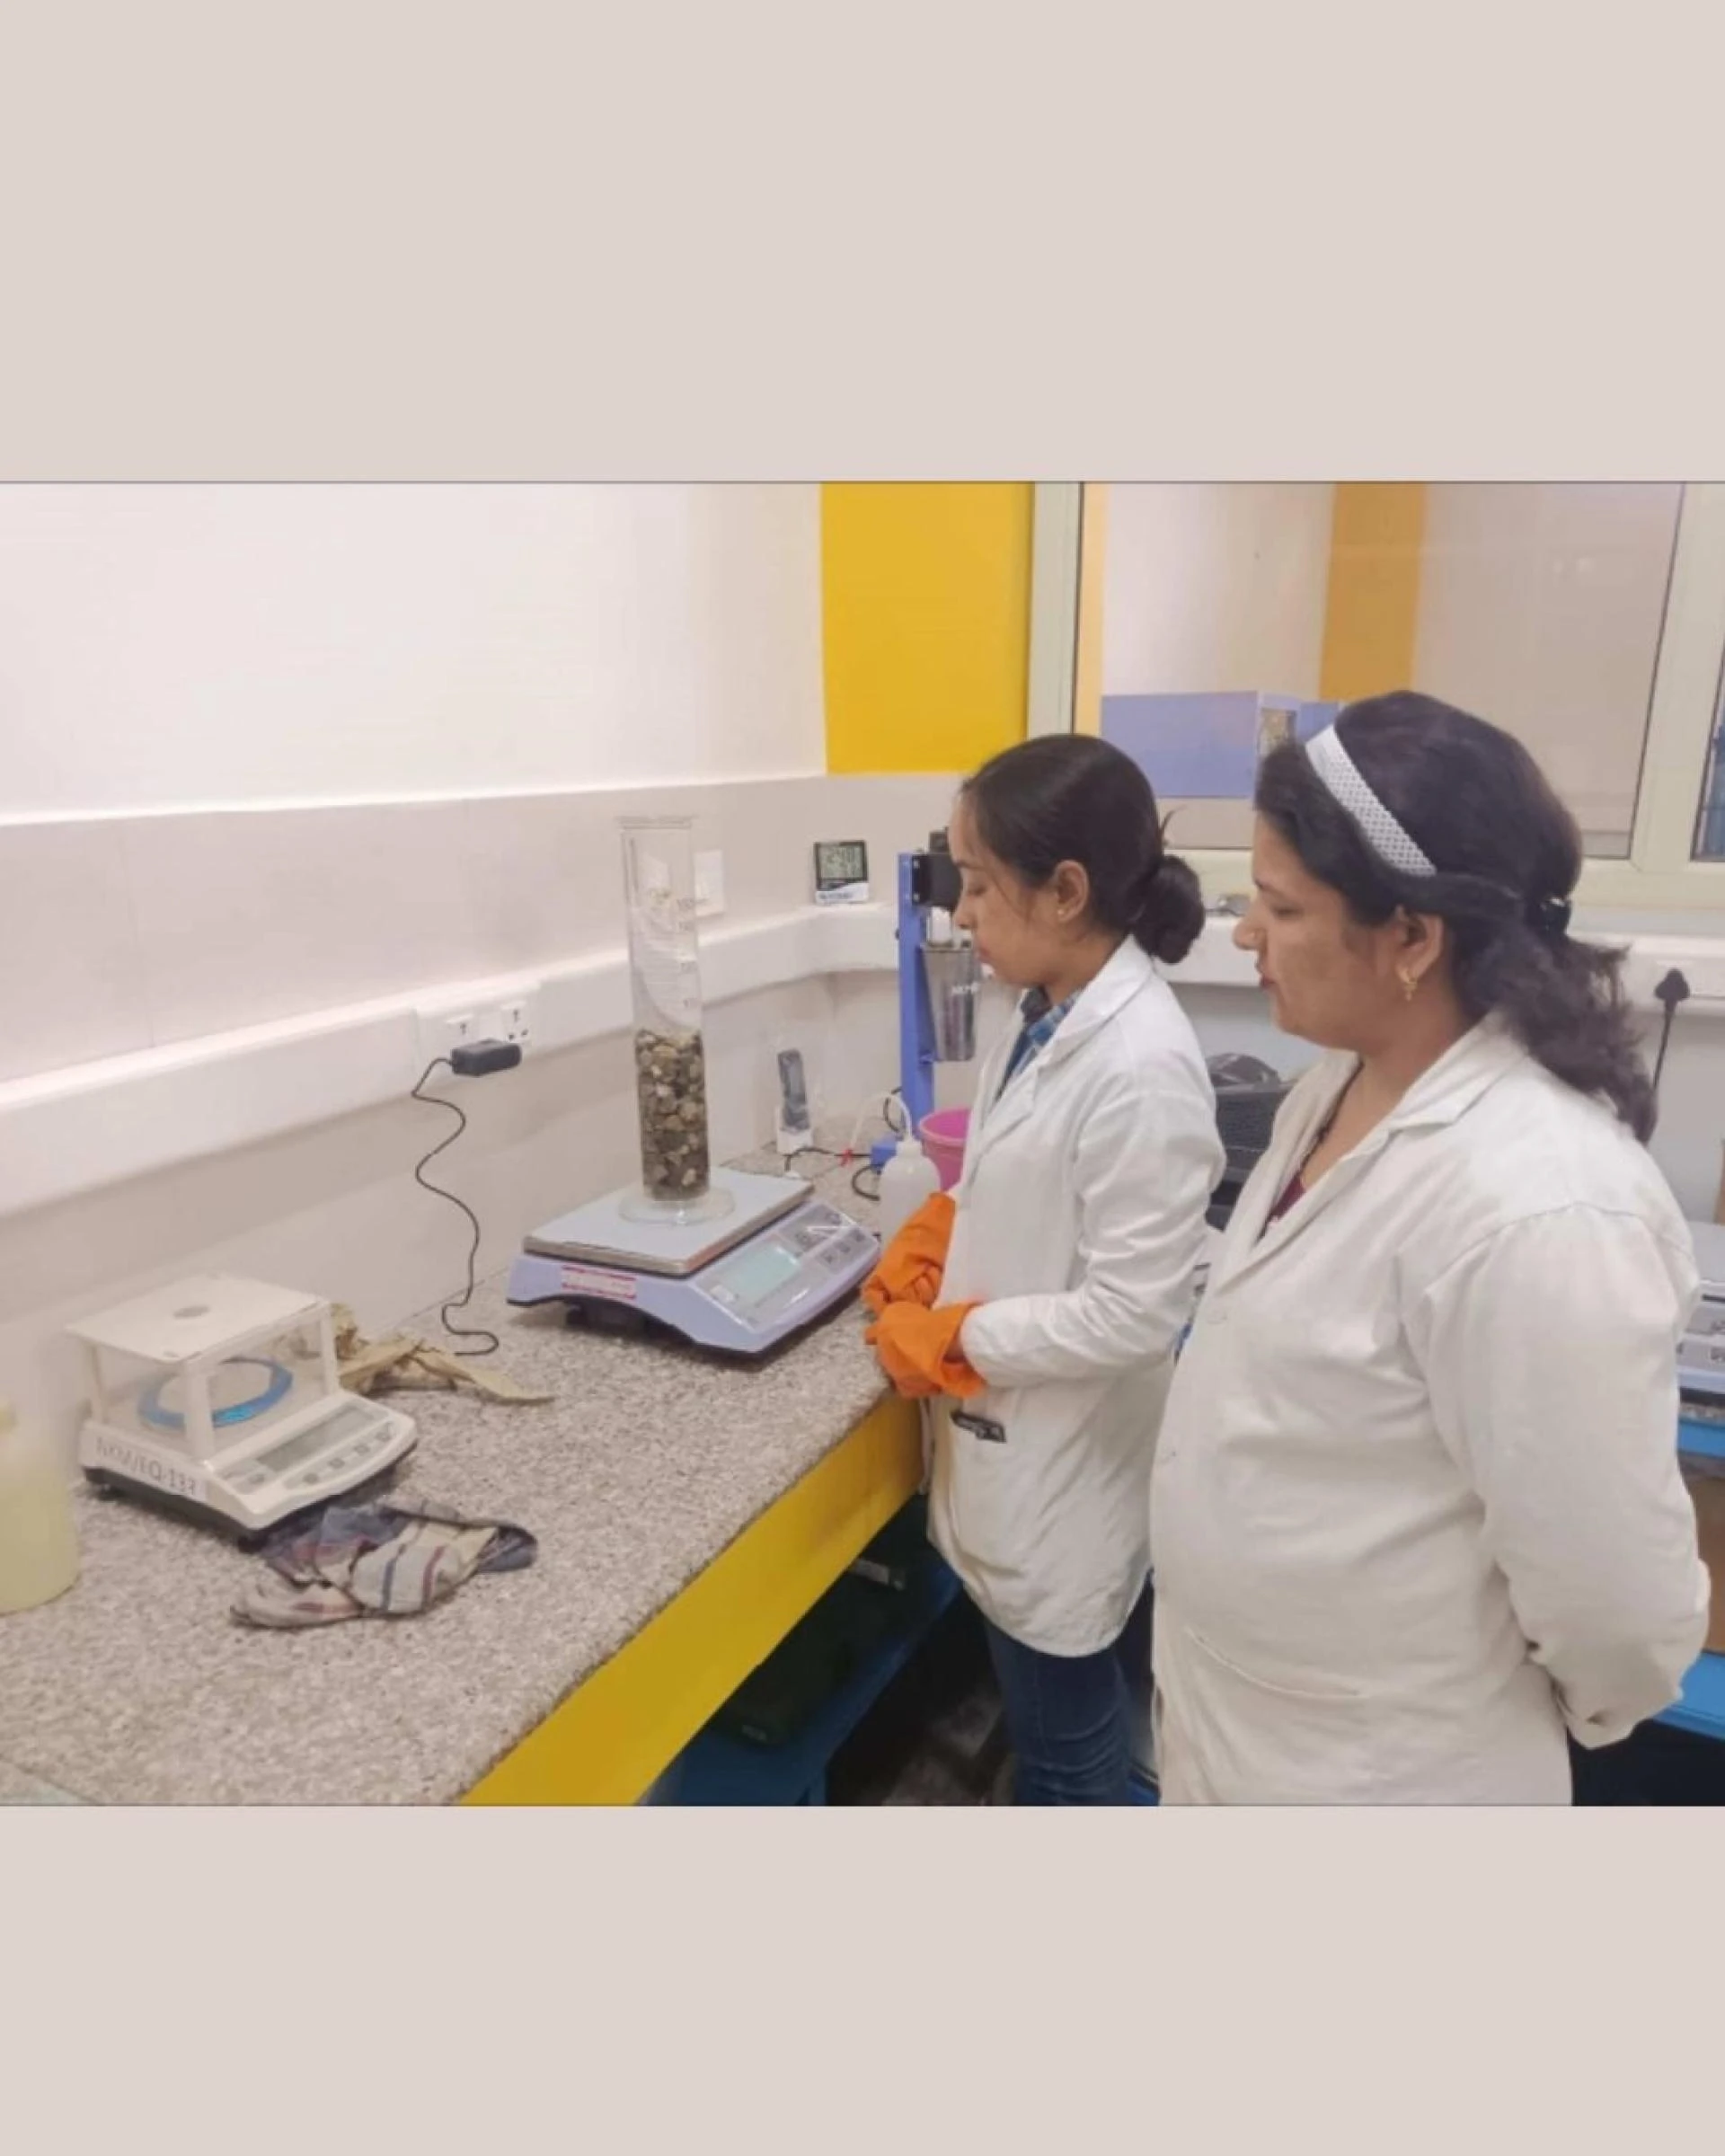
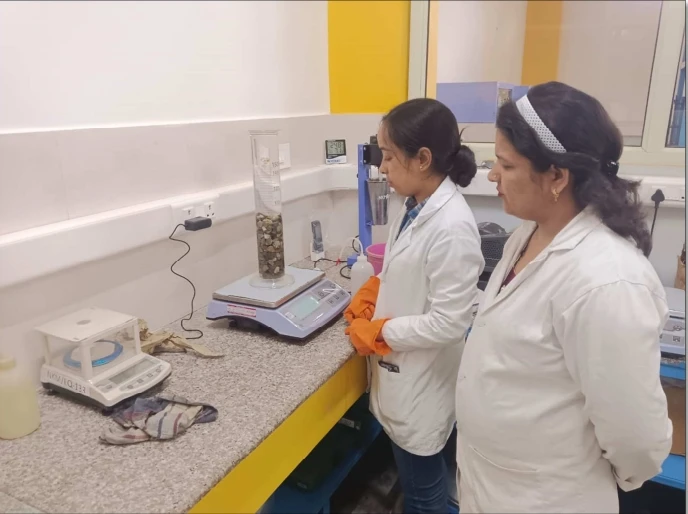
3. Laboratory Testing of Soil and Rock
Laboratory tests provide controlled and precise measurements of soil and rock behavior.
Soil Laboratory Tests
- Moisture Content Test: Determines natural water content in soil.
- Atterberg Limits Test: Defines soil behavior at different moisture levels.
- Grain Size Analysis: Classifies soil into sand, silt, clay, or gravel.
- Proctor Compaction Test: Finds optimal moisture content for maximum compaction.
- Direct Shear Test: Measures soil shear strength.
- Triaxial Shear Test: Provides advanced soil strength data under pressure.
- Consolidation Test: Predicts settlement under loads.
- Permeability Test (Lab): Studies water movement through soil samples.
Rock Laboratory Tests
- Uniaxial Compressive Strength (UCS): Measures rock’s compressive strength.
- Brazilian Tensile Test: Determines rock’s tensile strength.
- Slake Durability Test: Tests rock resistance to weathering.
- Density and Porosity Test: Assesses durability and water absorption.
- Triaxial Compression Test: Evaluates rock’s behavior under pressure.
These tests are crucial for designing stable and safe foundations.
Best Practices for Accurate Testing
To ensure reliable results, engineers follow these best practices:
- Use undisturbed samples for sensitive tests.
- Combine field and laboratory testing of soil and rock for complete data.
- Record groundwater levels during sampling.
- Follow international standards like ASTM, IS, or BS codes.
- Use calibrated equipment and skilled personnel.
- Involve experienced geotechnical engineers for data interpretation.
Conclusion
The soil and rock testing procedure is the foundation of safe construction. From sampling to field testing and laboratory testing of soil and rock, each step provides vital data for designing reliable structures.
Without testing, projects risk settlement, cracking, or failure. With proper geotechnical investigation, engineers can build durable, safe, and cost-effective infrastructure.
FAQs
1. Why is soil and rock testing necessary in construction?
It ensures the ground can support the load of structures, preventing foundation failure and costly repairs.
2. What is the difference between field testing and laboratory testing of soil and rock?
Field testing gives quick, on-site data, while laboratory testing provides detailed and accurate results under controlled conditions.
3. How long does soil and rock testing take?
Small projects may take a few days, while large infrastructure projects can take several weeks depending on depth and complexity.


Sign in to leave a comment.