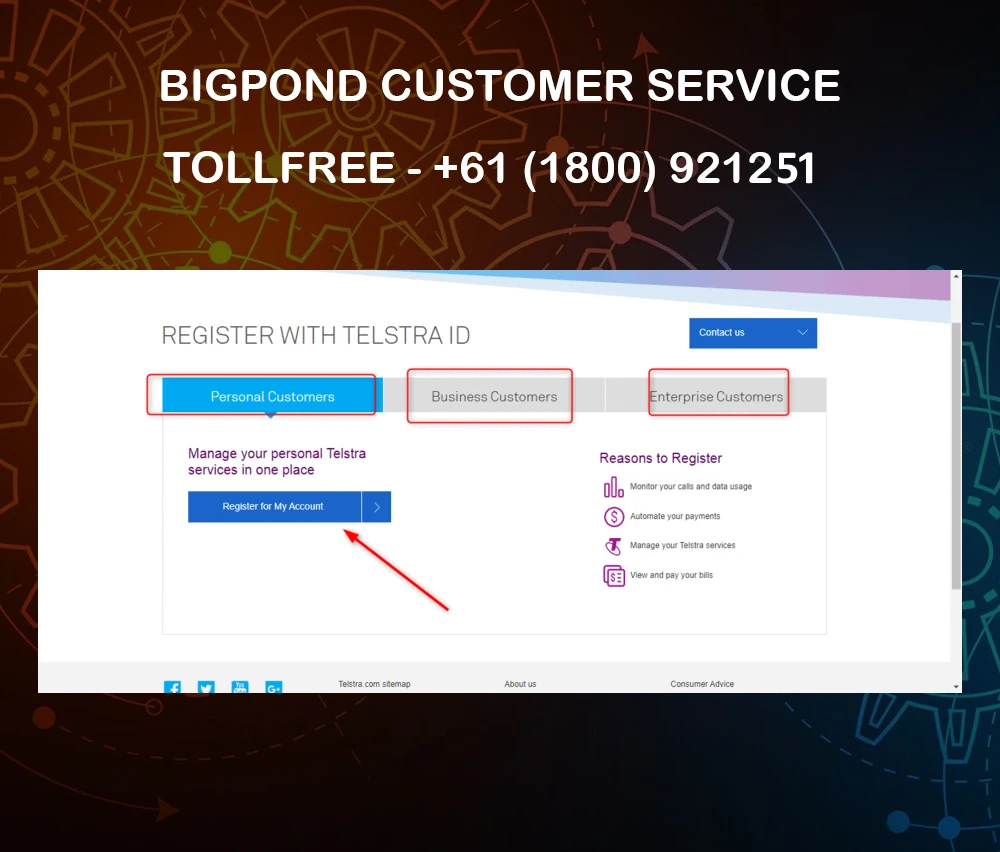
The processes to setup the Bigpond webmail to Outlook 2019 are easy and simple. Now, take a quick look at these instructions for configuring Bigpond email in Outlook: -
The users have to open their device, click the Outlook email service account.
The users have to open their device, click the Outlook email service account.The documents must be selected from the menu option and then click "Add account."Now the users have to fill their information in the appropriate field that includes their full name, email address, and password.Now, Click the Manual setup or additional server option and then click the “NEXT” button.Next step is to click on the “Server TYPE” and select from IMAP or POP.Now, on the server pop-up box, the users need to put the configurations which are listed below:For Incoming and outgoing mail server use mail.bigpond.com.Username must be your correct Bigpond Email ID and use your Bigpond email password in the password section.Finish the process after submitting necessary details and check if the connection has been set orderly.
All the processes are straightforward here, but not every user can do it expertly, or they may face problems while setting up. However, they can get complete information and solutions from the Bigpond Customer Support representatives.
More Info: https://www.bigpondonlineservice.com/blog/bigpond-support-service-australia/
More Info: https://www.bigpondonlineservice.com/blog/bigpond-technical-support-australia/


Sign in to leave a comment.