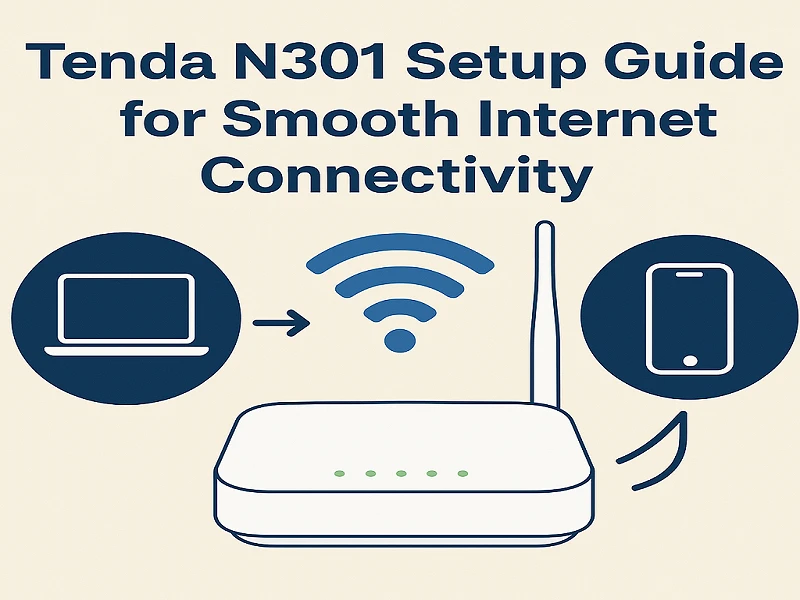
The Tenda N301 is a fantastic option if you're looking for a dependable yet reasonably priced wireless router for use at home or in a small business. It is perfect for routine internet operations like streaming, surfing, and online work because of its simple installation process and reliable performance. This Tenda N301 Setup guide will lead you through every step required to experience flawless connectivity because many users still have trouble with the first setting.
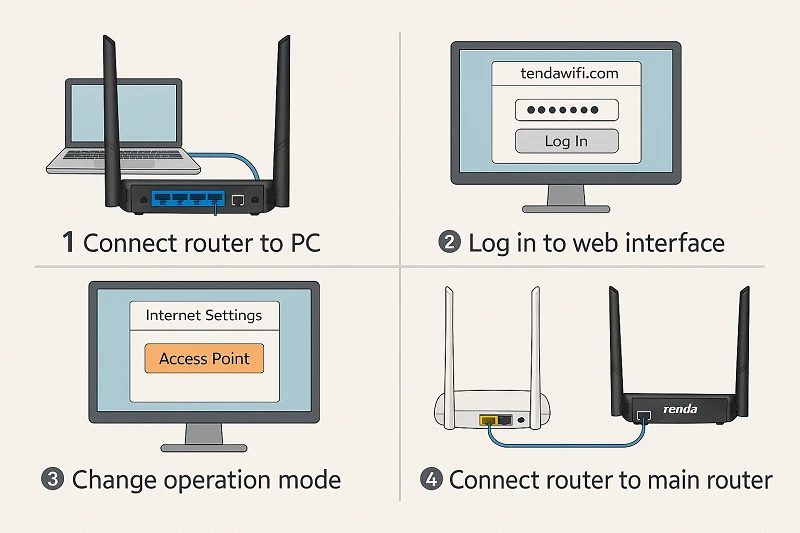
1. Hardware Links
Unpack your router first, then insert the power adaptor into a wall outlet. Use an Ethernet wire to link the router's WAN/Internet port to your modem. Verify that the router is getting power and modem signals by checking if the LED indicators illuminate.
2. Go to the Web Interface
Use an Ethernet cable or a laptop or smartphone to connect to your router's default Wi-Fi network. Launch a browser and go to 192.168.0.1. Enter the default login information found on the router label to log in.
3. Wi-Fi and Internet Configuration
Depending on your ISP, pick DHCP, PPPoE, or Static under the Internet Setup option in the dashboard. After entering the necessary information, save. Next, set up Wi-Fi under Wireless Settings. To prevent unwanted access, give your network a strong password and a distinctive name.
4. Complete and restart
- For the adjustments to take effect, apply the modifications and restart the router. Verify that your Tenda router setup is complete by testing your internet connection on several devices.
- Put the router in a central, raised location away from walls and metal appliances for improved coverage.
That completes your Tenda N301 setup, which is quick, easy, and designed for seamless browsing. Take advantage of robust network performance and flawless connectivity on all of your devices. Visit our website to know more.


Sign in to leave a comment.