
Do you remember that cinematic reveal of a big bad boss in God of War Ragnarök that made your jaw drop? Or the regal stroll of Lady Dimitrescu in Resident Evil Village? That doesn't just happen.

That's a highly methodical and purposeful process called the 3D Character Workflow.
If you want to create character art, understanding this workflow is not a recommendation; it’s everything.
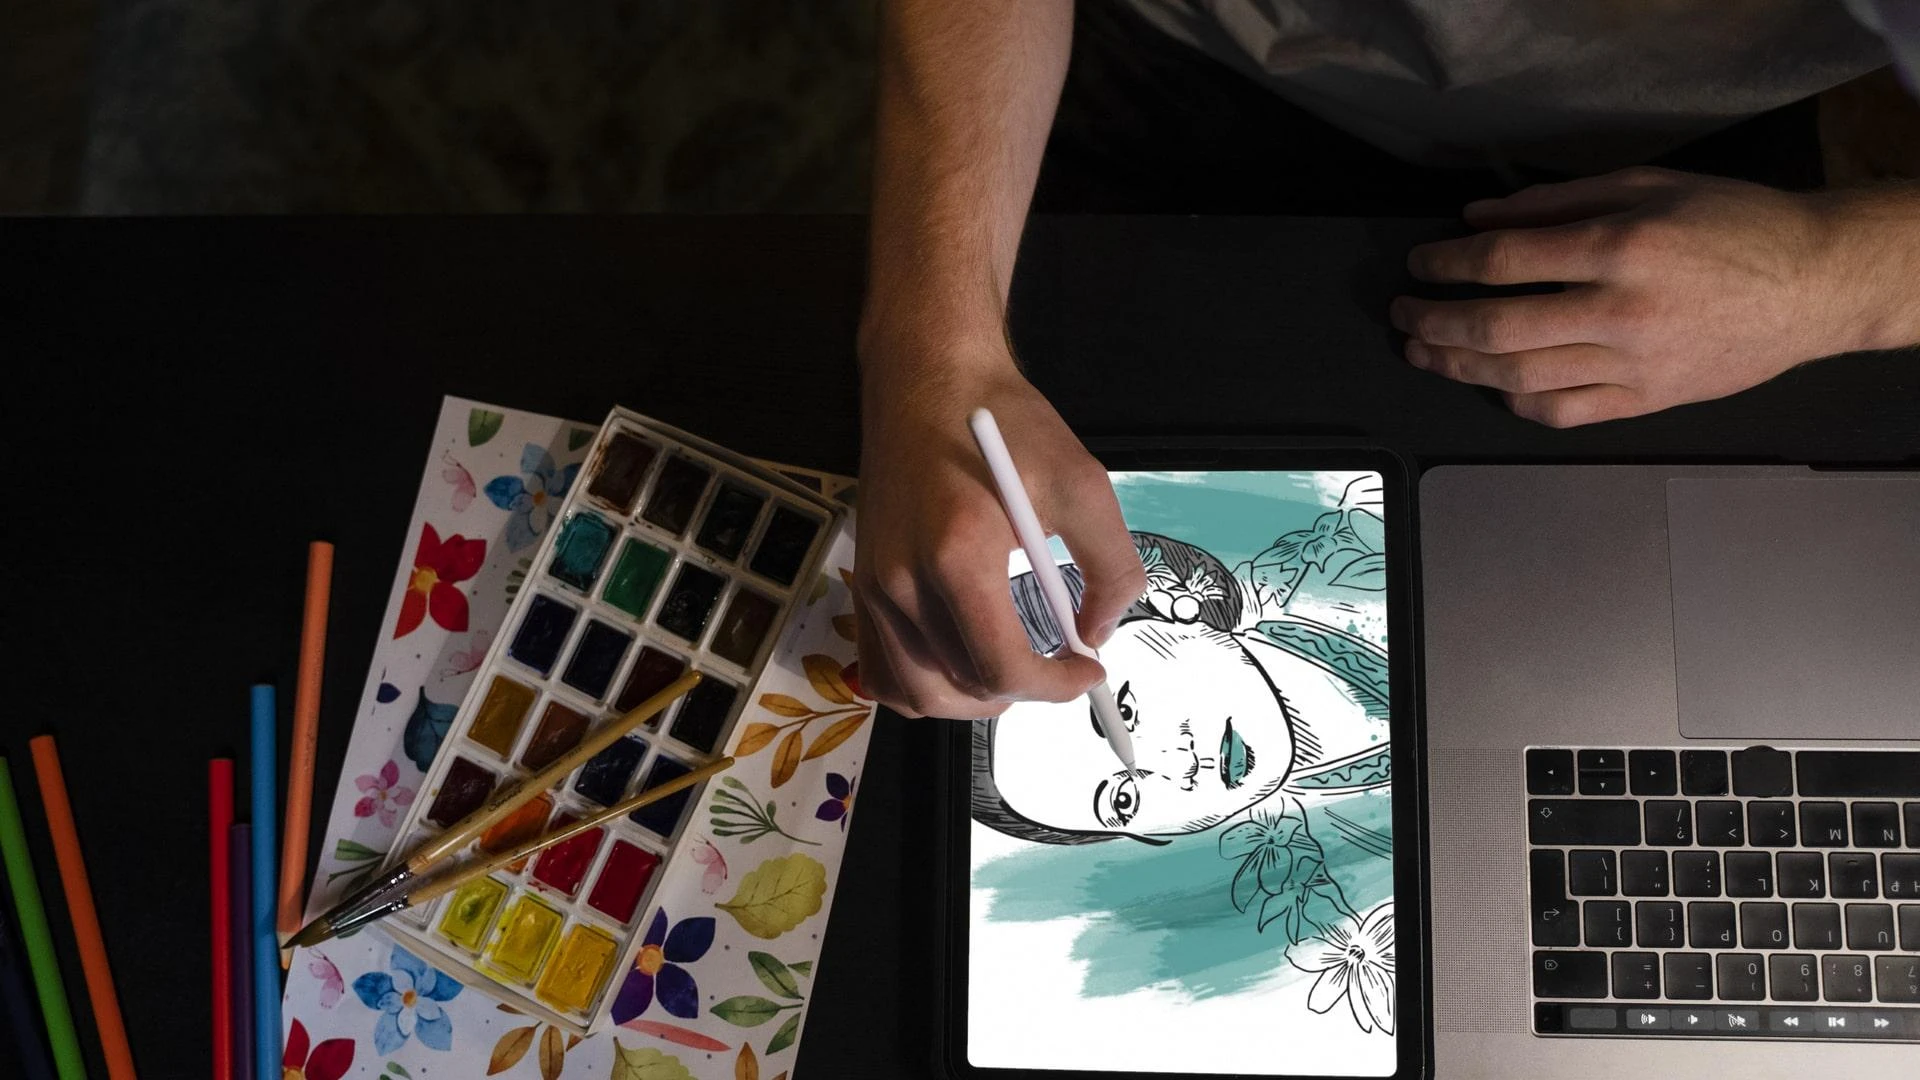
Step 1: The Concept
Before you start sculpting polygons, there is always a story. Who is this character? What world do they inhabit? What are they yet to battle?
Concept art is not just doodling; it is design thinking. More specifically, determining a character's shape, silhouette, emotion, clothing, and pose that convey their intention and uniqueness. Consider Geralt's stoic standing pose and Spider-Man's lean, muscular physique.
A good Character Design Course should include character sheets, personality boards, and design logic, rather than just focusing on aesthetics.
Step 2 - Create the 'High Resolution' Sculpt
Next up, we enter ZBrush and Blender and create the high-poly model. Detailing for all of the wrinkles, armor pieces, claws, and muscle structure.
This step focuses on shape, anatomy, and detail, which is what separates the inexperienced from the experienced.
Remember Ellie's furrowed brow in The Last of Us Part II? That was sculpted to perfection!
Step 3: Retopology and UV mapping (AKA: the technical jungle)
No game engine wants your 3-million-polygon monster. So, it’s time to simplify.
This means:
- Creating a clean, animation-ready mesh (retopology)
- Unwrapping that mesh like a 3D gift box (UV mapping)
- Prepping it for textures without losing detail
Yes, this is where most beginners struggle—and where structured guidance makes all the difference.
Step 4: Texturing and Shading
This is the moment when Substance Painter or the Marmoset Toolbag comes into play. This is where skin begins to resemble skin, metals reflect light, and fabrics appear to exhibit wear and tear.
Want your sci-fi bounty hunter to look like they have seen some battles? You can use the texture layers to tell that story. At this point, realism and style can work in perfect harmony.
Step 5: Lighting, Posing, and Rendering
The best model can fall flat under bad lighting.
Final renders showcase a character in the best possible light, literally. You’ll pose them in a dynamic way, build a turntable, and use dramatic lighting to create the shot you are proud to put in your portfolio.
Think: Jinx from Arcane—crazy, cinematic, iconic.
Want to learn all of this without the trial by fire?
MAGES Institute’s Character Design Course takes you through this complete pipeline from ideation to final rendering. No random tutorials. No YouTube rabbit holes. Just pure, guided creation.
Read the full blog: “3D Character Workflow: From Concept to Final Render”
It’s your step-by-step lens into how professionals actually design memorable game characters.
Because behind every avatar you’ve ever fallen in love with, there was an artist who went through the process, mastered the craft, and made pixels feel human.


Sign in to leave a comment.