In the evolving world of hair fashion, hair extensions have become an increasingly popular way to enhance both length and volume. Among the many options available, Russian hair extensions are often regarded as one of the finest choices due to their natural texture, durability, and seamless blend with a wide range of hair types. To achieve the most natural-looking results, it is essential to understand the process involved in applying these extensions.
This detailed guide explores each stage of the application, from preparation through to aftercare, so that anyone considering Russian hair extensions can make an informed decision and enjoy the transformation with confidence.
Understanding Russian Hair Extensions
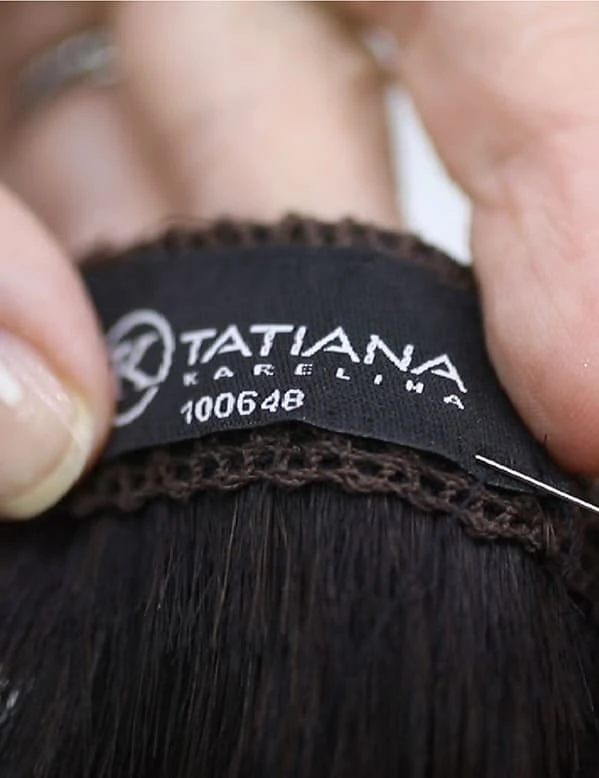
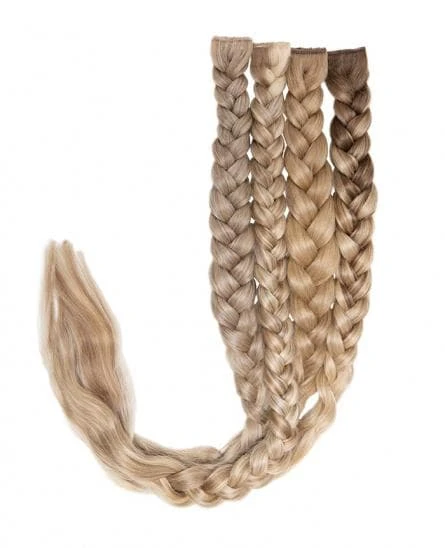
Before exploring the process itself, it is helpful to understand what makes Russian hair extensions distinctive. Typically sourced from donors in Russia and neighbouring regions, this hair is often celebrated for its natural thickness, softness, and longevity. The texture aligns closely with many European hair types, which means it blends more seamlessly compared to other forms of extensions.
Available in a range of application methods, including tape, micro ring, keratin bonds, and weft, Russian hair extensions are versatile and can be tailored to individual preferences and lifestyle needs. Choosing the right method often depends on factors such as hair type, styling habits, and maintenance routine.
Step One: The Consultation
The process always begins with a consultation. This is a crucial stage, as it allows the stylist to assess the client’s natural hair condition, thickness, and length. At this point, the desired result is also discussed, whether it is to add length, volume, or both.
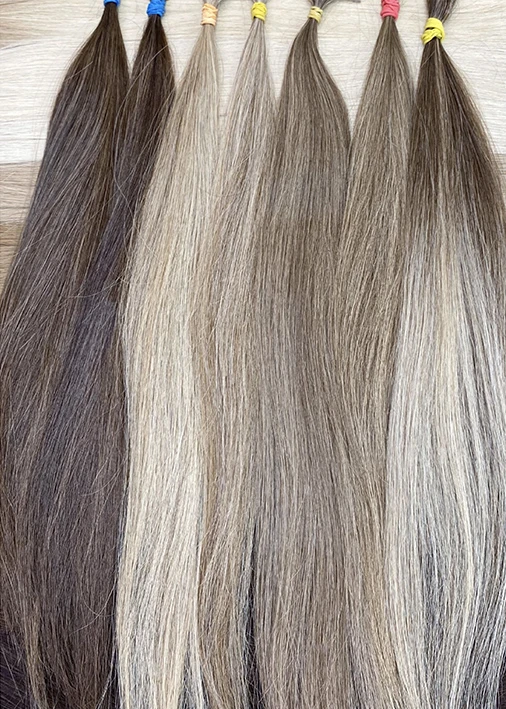
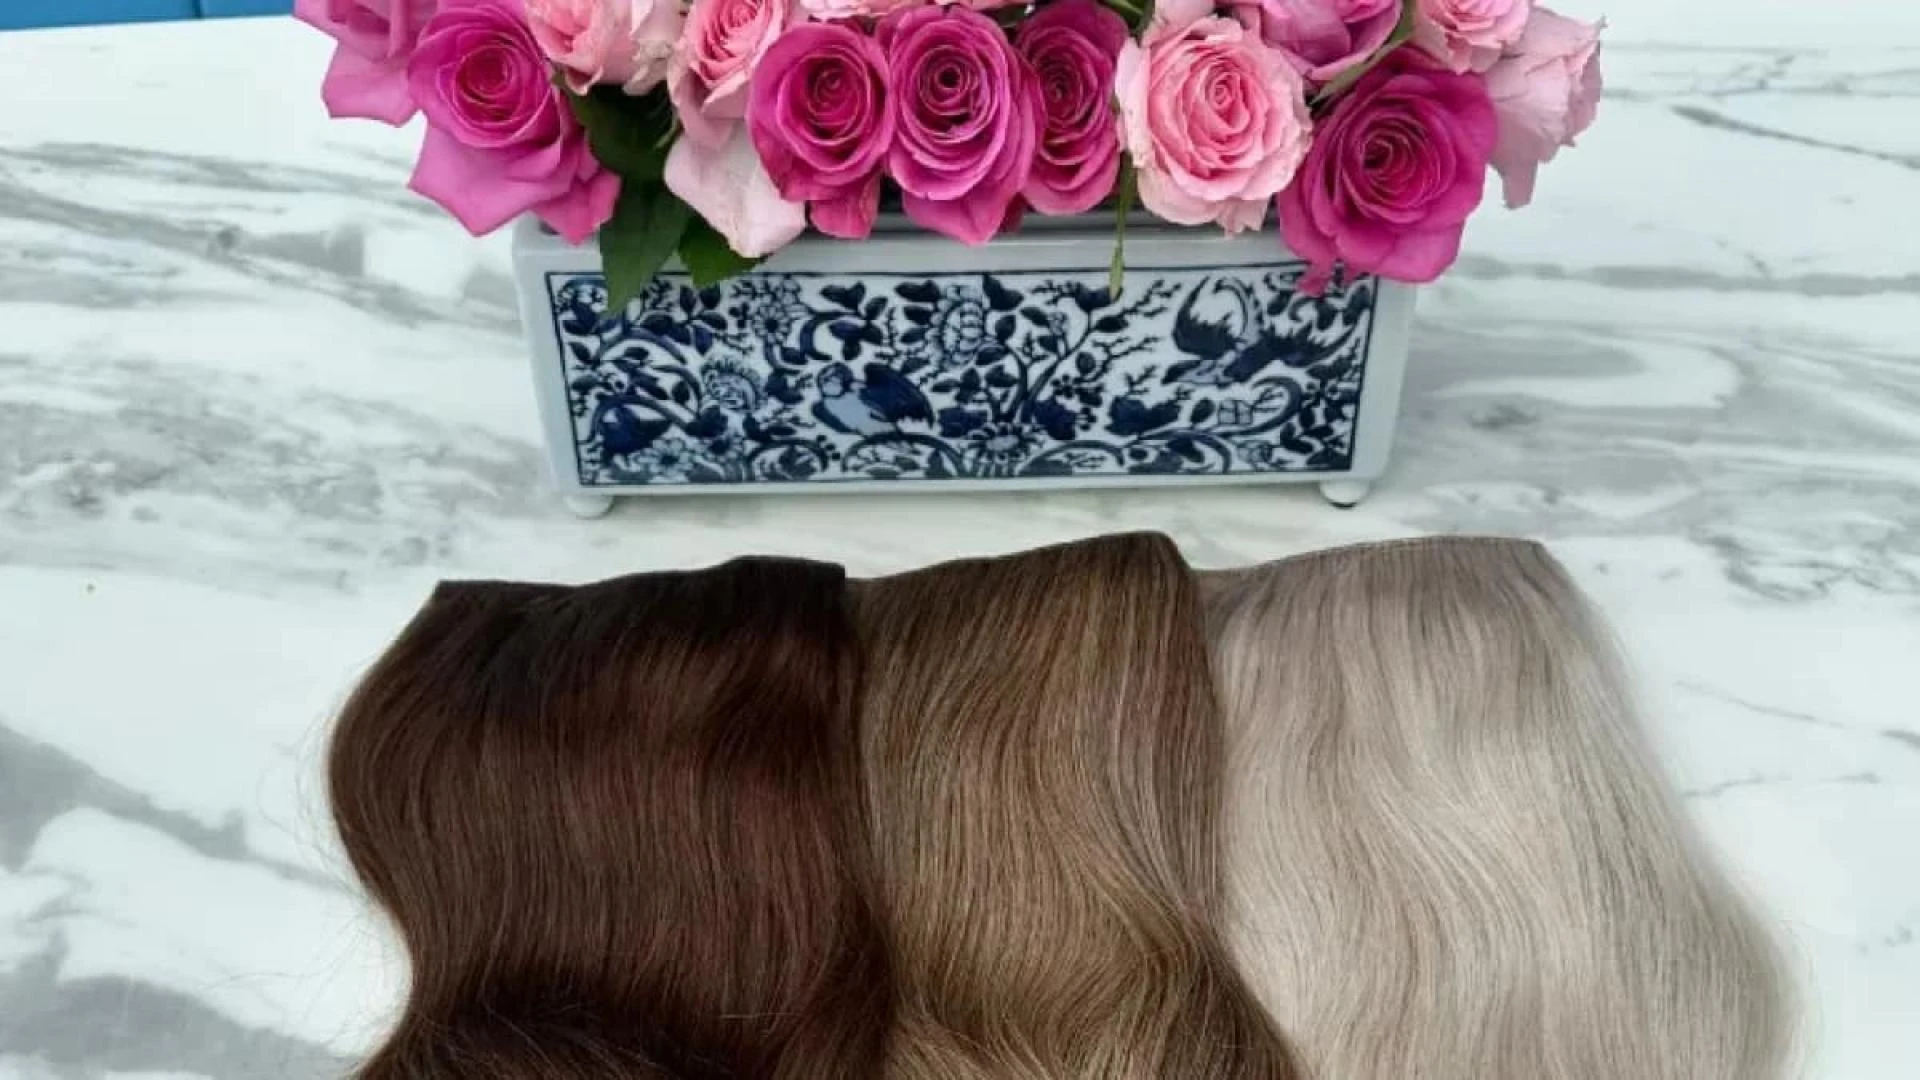
During the consultation, colour matching is carried out to ensure that the Russian hair extensions blend seamlessly with the natural shade. Extensions can be matched to existing tones or custom-blended to achieve a more precise result. This step is vital, as a mismatch in colour can compromise the natural appearance of the finished look.
The stylist will also consider the most suitable method of application. For example:
- Tape extensions provide a quick and flat application.
- Micro rings are discreet and avoid the use of heat or glue.
- Keratin bonds offer a long-lasting and secure option.
- Wefts can be sewn into braided tracks or applied using micro rings.
Step Two: Preparation of Natural Hair
Preparation is key to ensuring that Russian hair extensions adhere properly and remain in place for as long as possible. The natural hair should be washed with a clarifying shampoo to remove any oils, conditioners, or styling products that could interfere with the bonds or tapes.
It is important that no conditioner or heavy product is applied close to the scalp before the application, as this may cause slippage. The hair must be completely dry, smooth, and tangle-free before the process can begin.
Step Three: Sectioning the Hair
Once the natural hair has been prepared, the stylist begins sectioning. This involves dividing the hair into precise layers to ensure even distribution of the extensions. Sectioning is vital for creating a natural flow and avoiding areas where the bonds or tapes might be visible, such as near the crown or hairline.
Typically, the application begins at the nape of the neck, working upwards in horisontal sections. Each section is carefully measured to support the weight of the extensions without putting unnecessary strain on the natural hair.
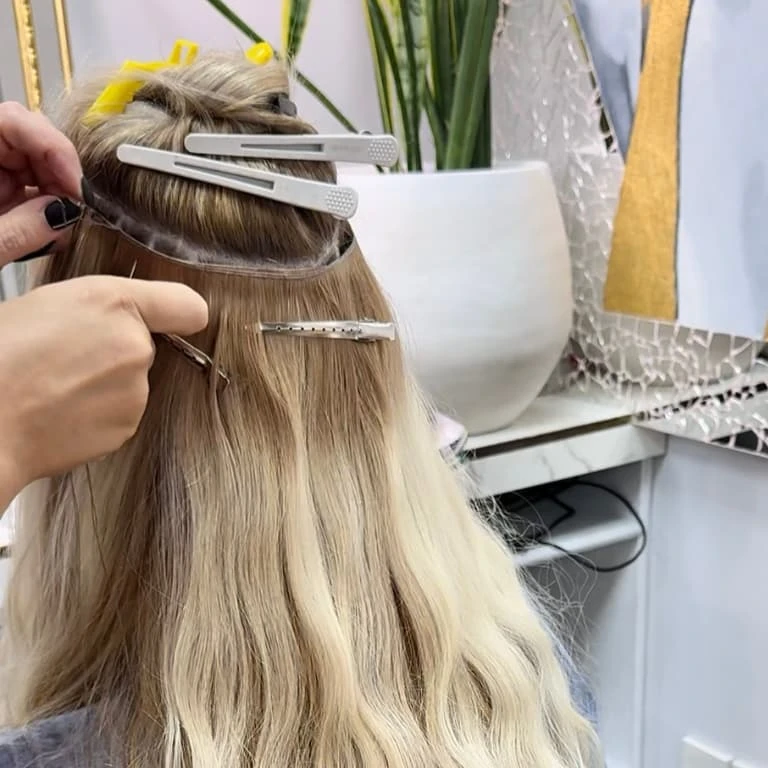
Step Four: Applying the Extensions
The actual method of application will vary depending on the chosen type of Russian hair extensions. Below is an overview of the most common techniques:
1. Tape-In Method
Thin strips of Russian hair are pre-taped with medical-grade adhesive. A small section of natural hair is sandwiched between two strips of tape, securing the extension in place. This method is fast and creates a flat, natural finish.
2. Micro Ring Method
Small strands of Russian hair, tipped with a keratin bond, are attached using tiny metal rings or beads. The natural hair is threaded through the ring along with the extension, and then clamped shut. This technique avoids the use of glue or heat, making it a popular semi-permanent option.
3. Keratin Bond Method
Also known as pre-bonded extensions, small strands of Russian hair are tipped with keratin. Using a heated applicator, the keratin is melted and fused to the natural hair. This method is durable and can last several months with the right care.
4. Weft Method
Long wefts of Russian hair are sewn into braided sections of natural hair or attached using micro rings. This technique allows for the application of a larger amount of hair in a shorter time.
Each method has its own advantages, and the choice often depends on lifestyle, maintenance preferences, and hair type.
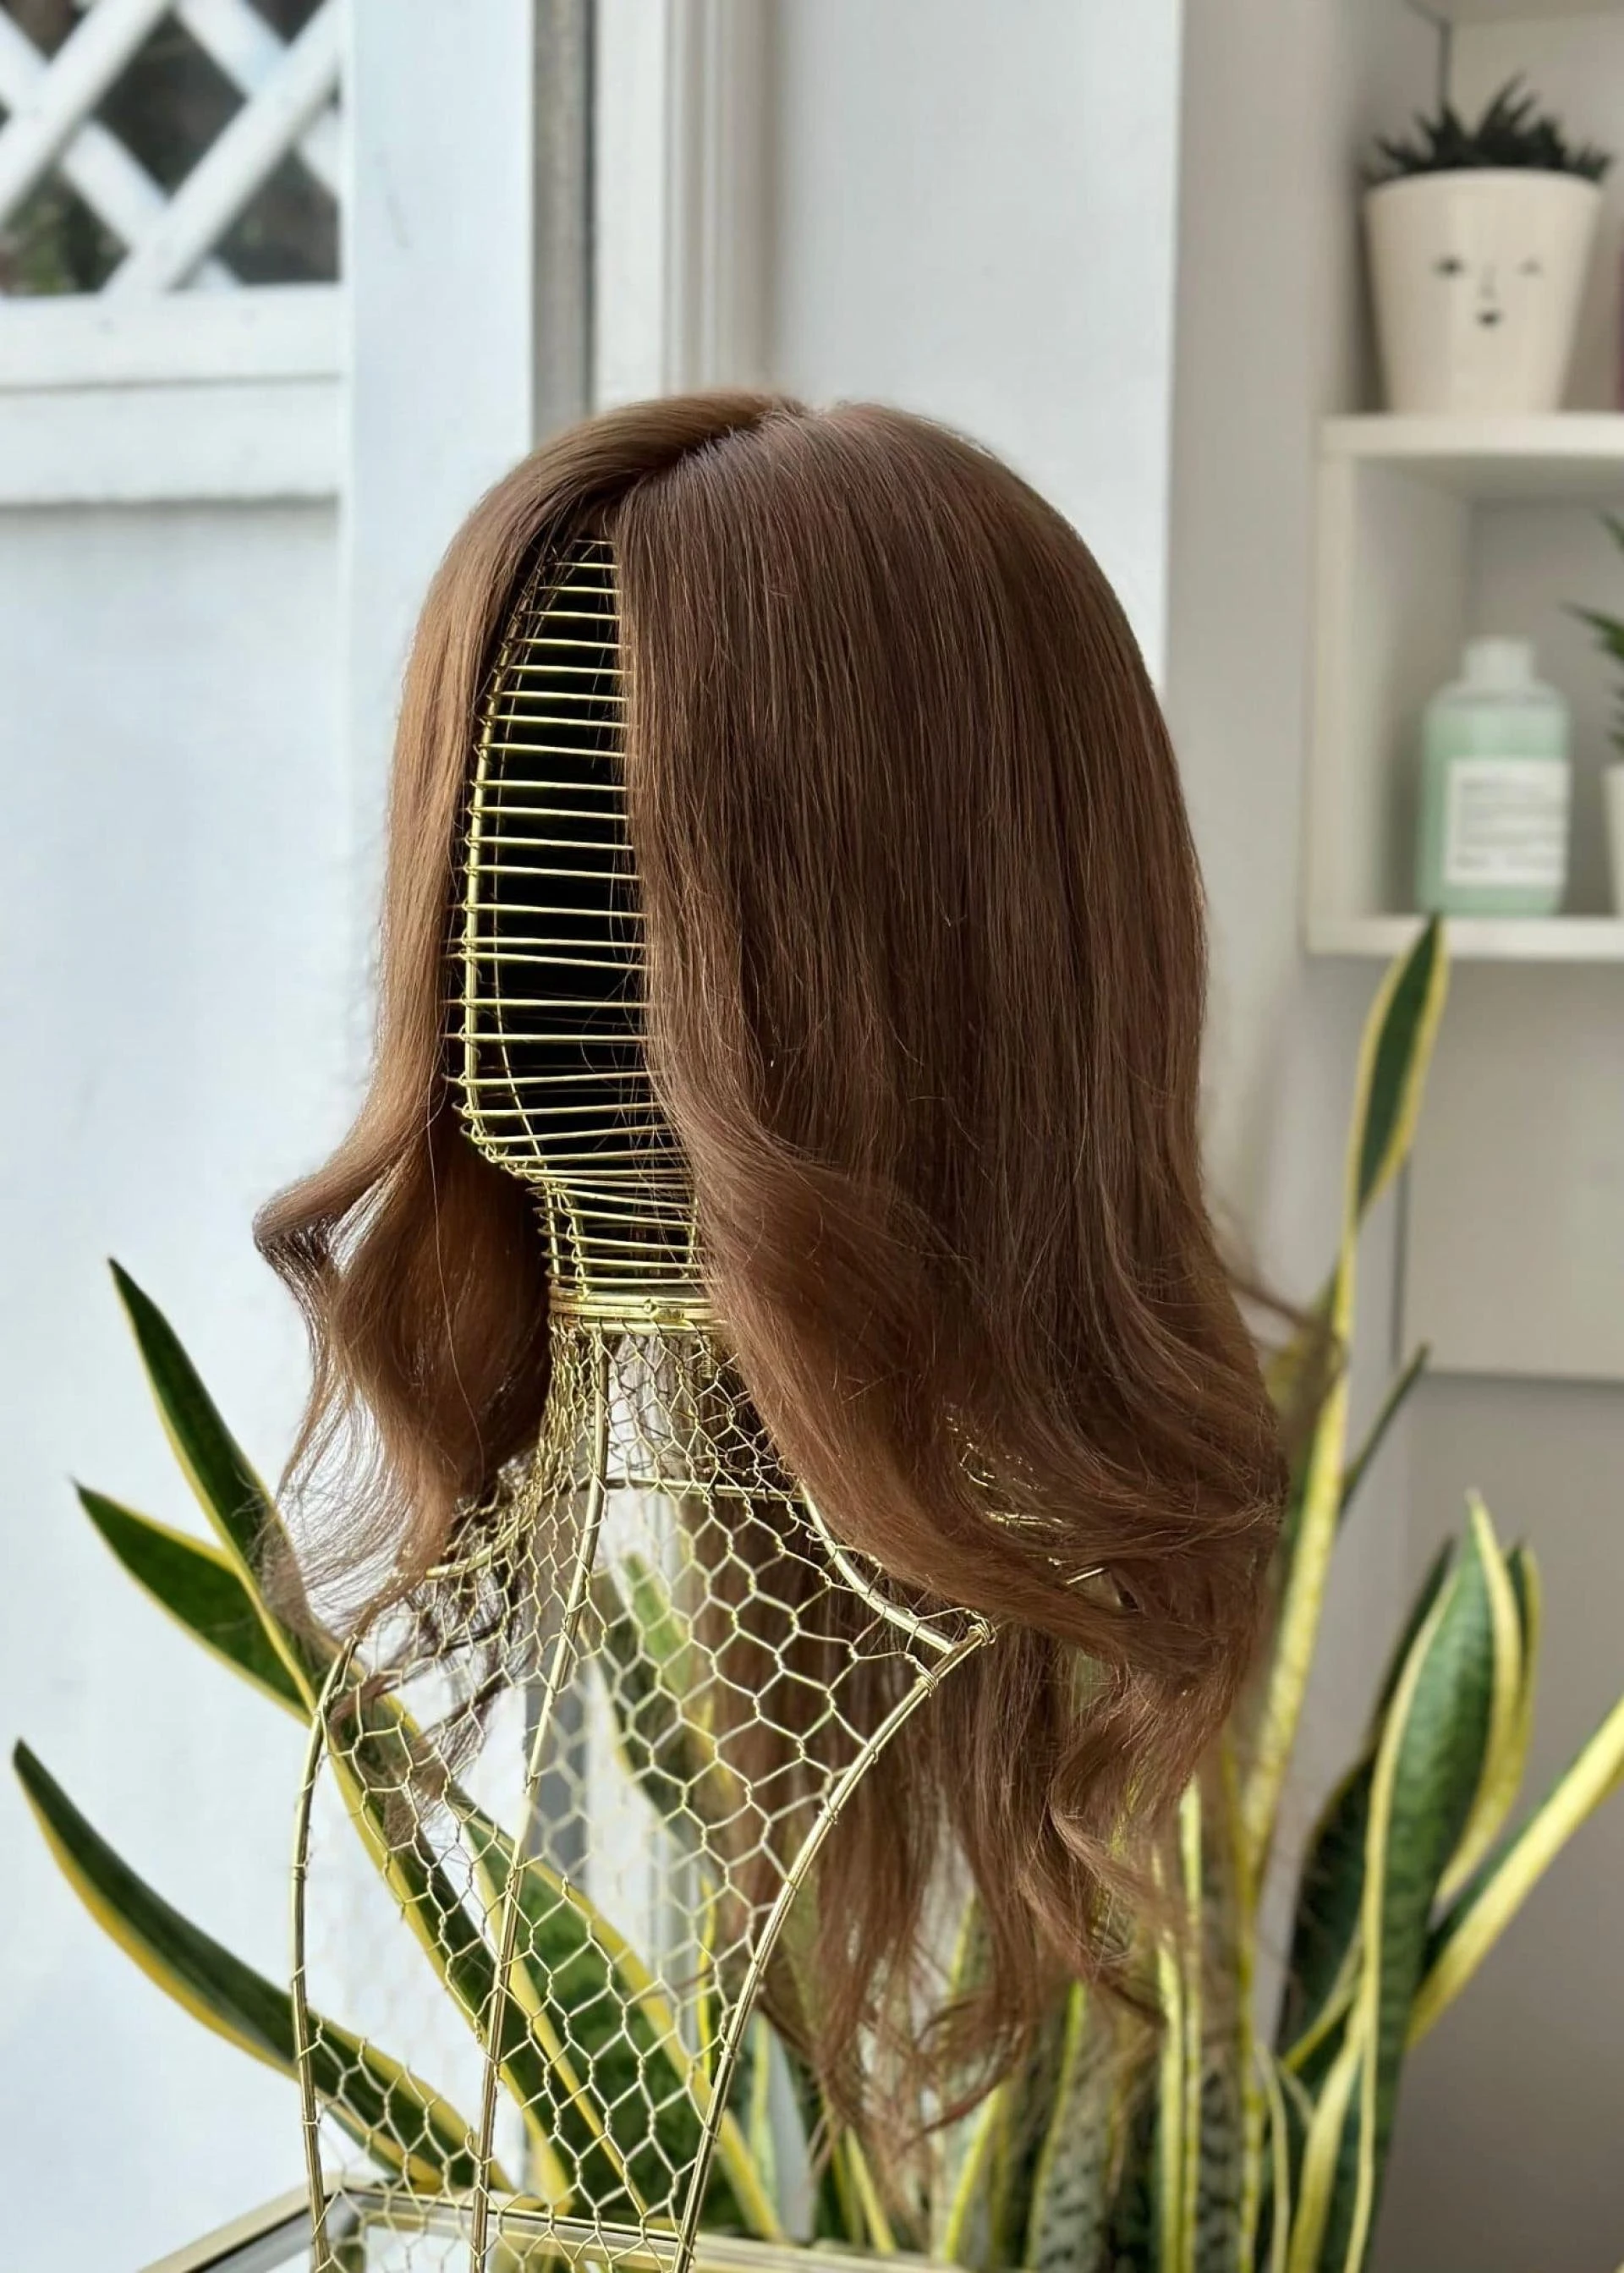
Step Five: Blending and Styling
Once the Russian hair extensions have been applied, the stylist ensures that they blend seamlessly with the natural hair. This may involve trimming and layering the extensions so that they move naturally and reflect the client’s hairstyle preferences.
Heat styling tools can then be used to shape the extensions, whether that involves straightening, curling, or adding waves. The aim is to create a polished finish that looks indistinguishable from natural hair.
Step Six: Aftercare Guidance
The process does not end with the application. Proper aftercare is essential for maintaining the longevity and health of Russian hair extensions. Stylists typically provide detailed advice, which may include the following:
- Brushing: Use a soft-bristle or loop brush to avoid pulling on the bonds or tapes. Always start detangling from the ends and work upwards.
- Washing: Use sulphate-free shampoos and lightweight conditioners, avoiding application directly on the bonds or tapes. Hair should be washed with gentle downward strokes.
- Drying: Pat dry with a towel rather than rubbing, and ensure the bonds are dried thoroughly to prevent weakening.
- Styling: Avoid excessive heat on the bonds or tapes. When using heat tools, always apply a protective spray.
- Sleeping: Tie hair in a loose plait or ponytail before bed to prevent tangling. A silk pillowcase can also help reduce friction.
Maintenance and Reapplication
Russian hair extensions require maintenance appointments to keep them looking their best. Depending on the method, this may involve repositioning tapes, tightening micro rings, or replacing keratin bonds. These sessions also give the stylist an opportunity to check the condition of the natural hair and ensure it remains healthy.
Regular maintenance helps extend the lifespan of the extensions, and in many cases, the same Russian hair can be reapplied several times if well cared for.
Final Thoughts
The process of applying Russian hair extensions is a meticulous one, requiring skill, precision, and an understanding of both the extensions and the natural hair. From the initial consultation to aftercare and maintenance, each stage plays an important role in achieving a natural and flawless result.
For those seeking longer, fuller, and more versatile hair, Russian hair extensions can offer a transformative experience when applied and maintained correctly. With the right approach, they not only enhance appearance but also provide the confidence that comes with beautifully styled hair.


Sign in to leave a comment.