Loft boarding insulation is a fantastic way to enhance the energy efficiency of your home, increase storage space, and improve overall comfort. Installing loft boarding insulation can seem like a daunting task, but with the right knowledge and tools, it becomes a manageable and rewarding project. In this article, we’ll guide you through the process of installing loft boarding insulation, from preparation to finishing touches, to ensure you achieve optimal results.
Why Loft Boarding Insulation Is Important
Before diving into the installation process, it’s essential to understand why loft boarding insulation is so important for your home. Insulating your loft space can reduce heat loss, lower your energy bills, and create a more comfortable living environment by maintaining consistent temperatures throughout your home. Not only will you benefit from financial savings in the long run, but loft boarding insulation can also increase your home’s resale value.
Step 1: Assess Your Loft Space
Before you begin installing loft boarding insulation, you must first assess your loft space to determine its suitability.
Check Loft Height and Space Availability
If you have limited headroom, installing loft boards may not be feasible. Ideally, you want enough space for movement and proper ventilation to ensure the insulation works effectively. Measure the height of your loft to ensure that it allows for easy installation of the boards and insulation material.
Inspect the Loft for Existing Insulation
If your loft already has insulation, inspect its condition. If it’s damaged or insufficient, you may need to add or replace it. However, if your existing insulation is in good condition, you can proceed with adding additional loft boarding insulation on top of it.
Consider Ventilation
Good ventilation is key to maintaining the effectiveness of your insulation. Proper airflow helps to prevent moisture build-up that can cause condensation and mold growth, leading to damage and health problems. Make sure your loft has adequate ventilation to allow moisture to escape.
Step 2: Choose the Right Insulation Material
There are several types of insulation materials you can choose for your loft, and selecting the right one is crucial for your home’s energy efficiency.
Fiberglass Insulation
Fiberglass insulation is one of the most common materials used for loft insulation. It’s lightweight, relatively easy to install, and offers excellent thermal performance. It’s available in rolls or loose-fill options, depending on your needs.
Mineral Wool Insulation
Mineral wool insulation is another popular option for lofts. It provides good sound insulation, is fire-resistant, and offers excellent thermal properties. Mineral wool is also a great choice if you are looking for an environmentally friendly material.
Spray Foam Insulation
Spray foam insulation is a more modern option that expands upon application, filling gaps and cracks in your loft space. It provides superior insulation and can be applied quickly, but it is generally more expensive than fiberglass or mineral wool.
Loft Boarding Insulation Boards
Loft boarding insulation boards are pre-cut, rigid boards that provide both insulation and a stable surface for storing items. They are perfect for areas where you need to combine insulation with storage solutions. These boards can be installed directly on top of your existing insulation, providing an extra layer of thermal protection.
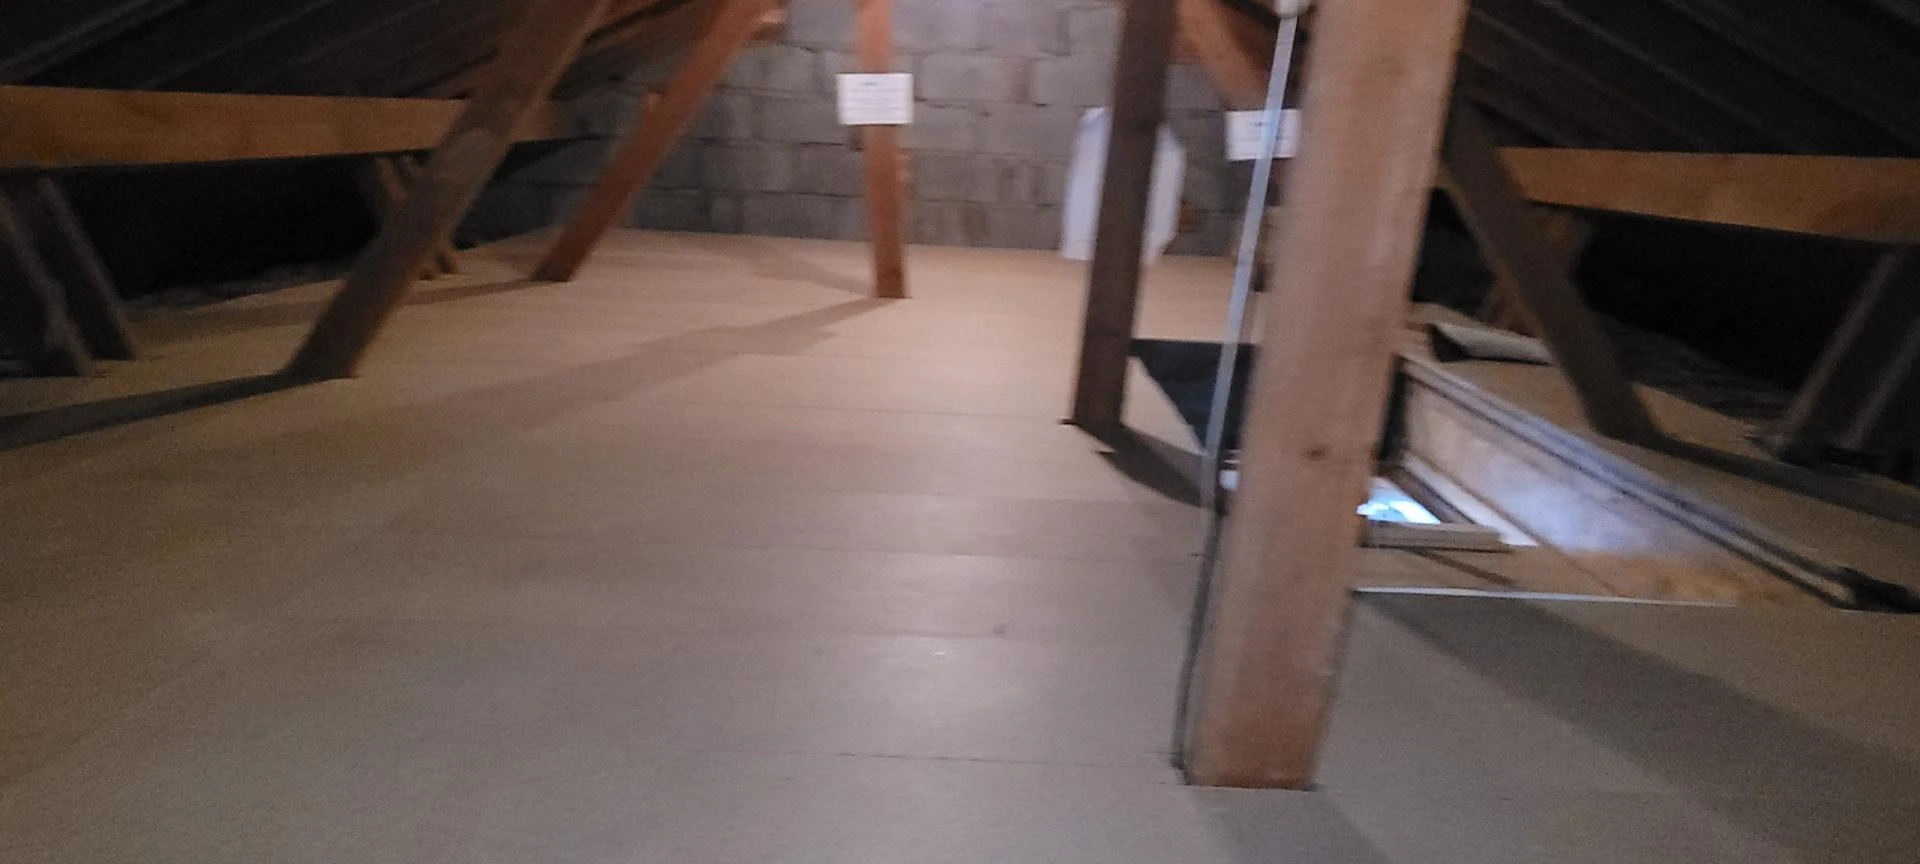
Step 3: Prepare the Loft Area for Installation
Before installing loft boarding insulation, it’s crucial to prepare your loft space.
Clear the Area
Remove any clutter or debris from the loft area to make room for your installation. Ensure that the loft is clean and free from obstacles, so you can move around easily during the process.
Install Loft Ladder (if needed)
If you don’t already have a loft ladder, it’s a good idea to install one to provide safe and easy access to your loft. This will make the installation process more convenient and ensure you can access the loft safely.
Protect Your Home
During the installation process, it’s important to protect your home from dust and debris. Lay down dust sheets or old blankets to cover any furniture or flooring that could get damaged.
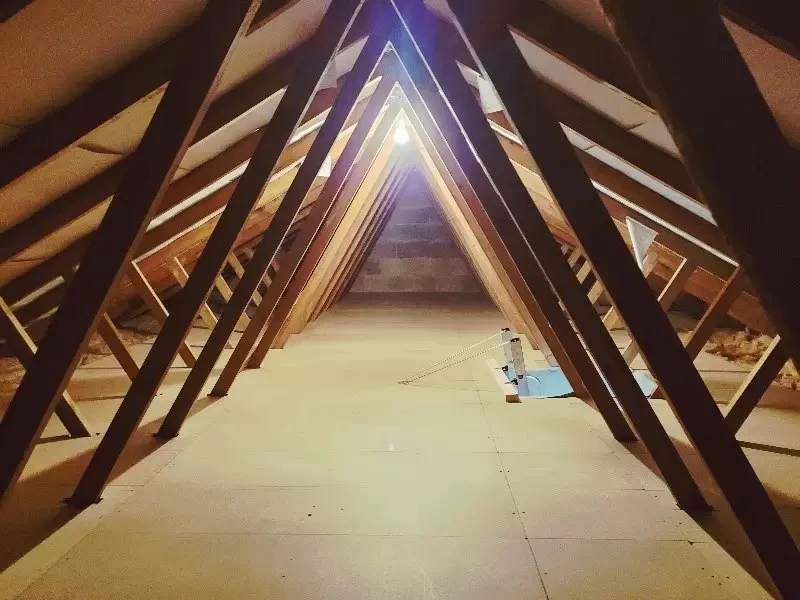
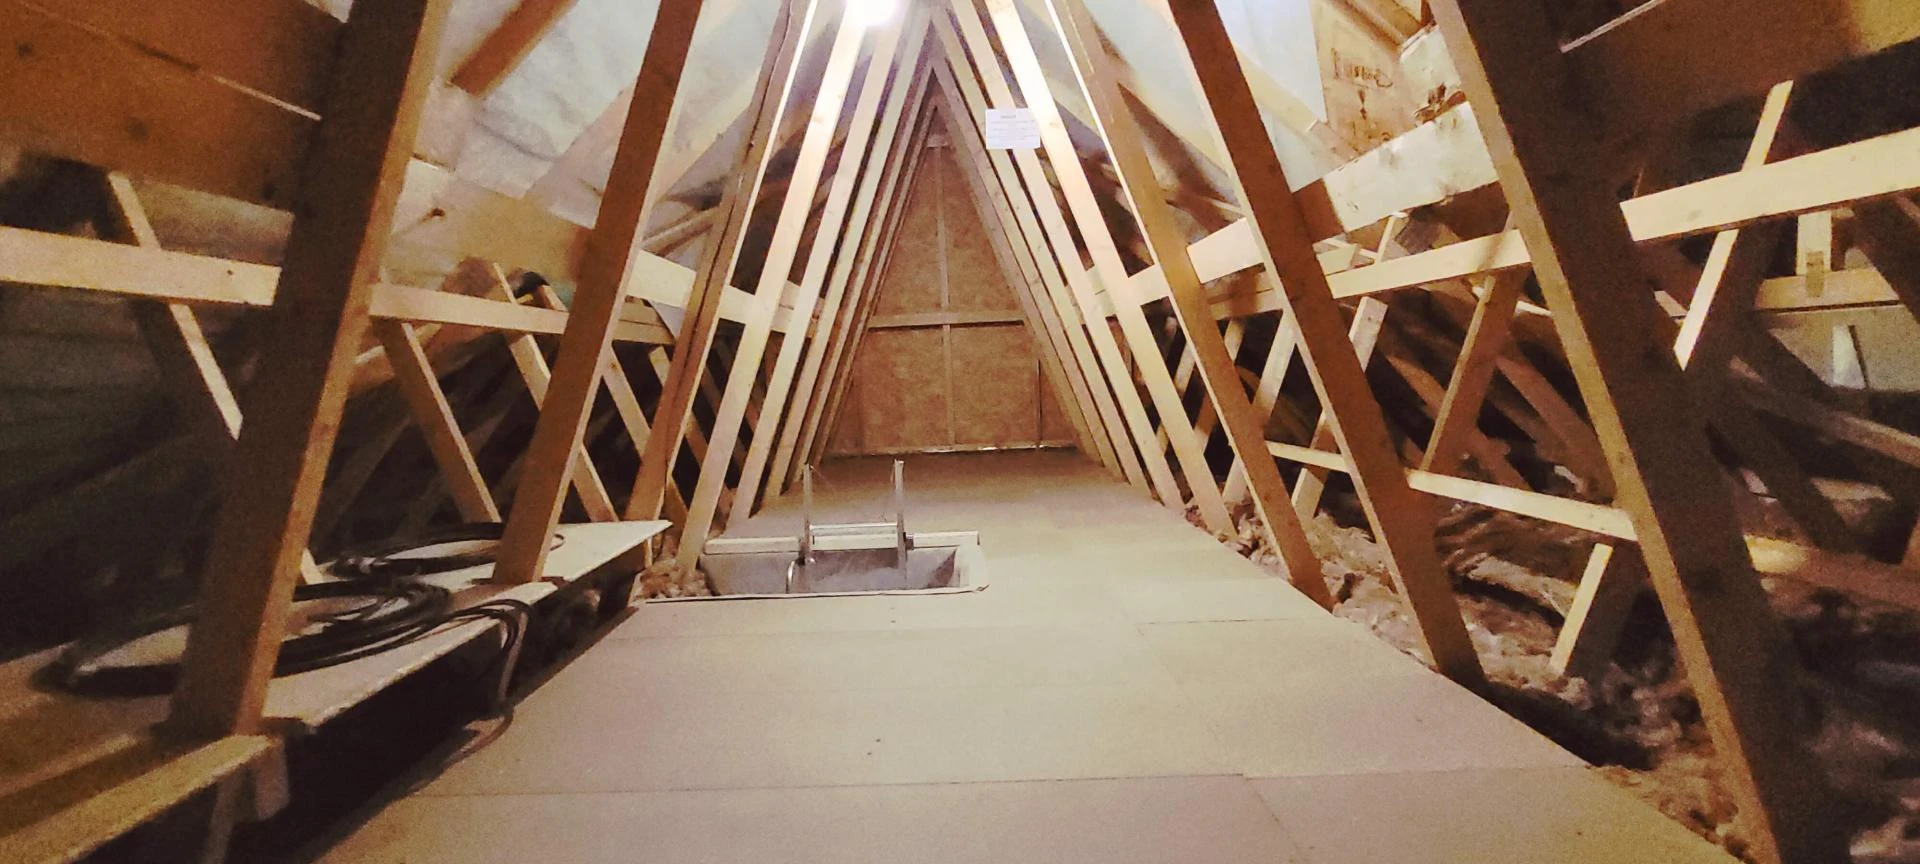
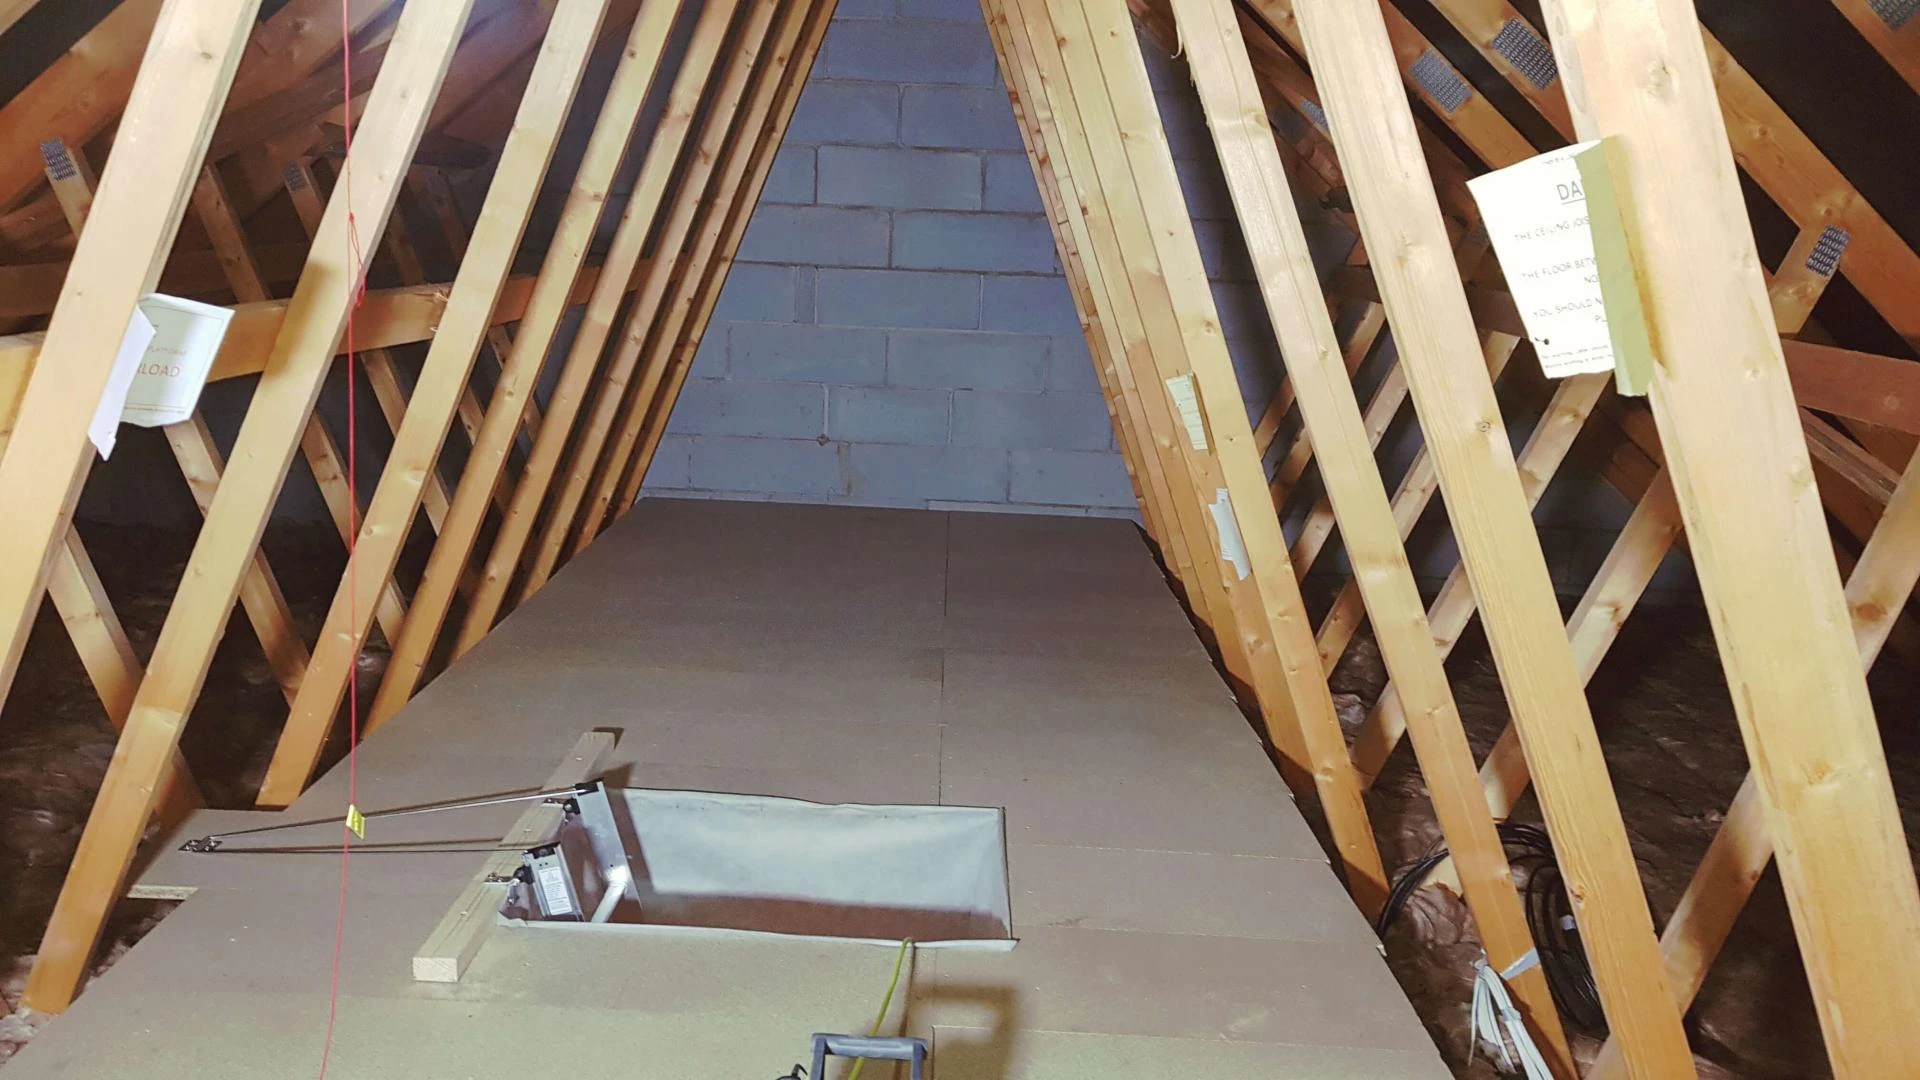
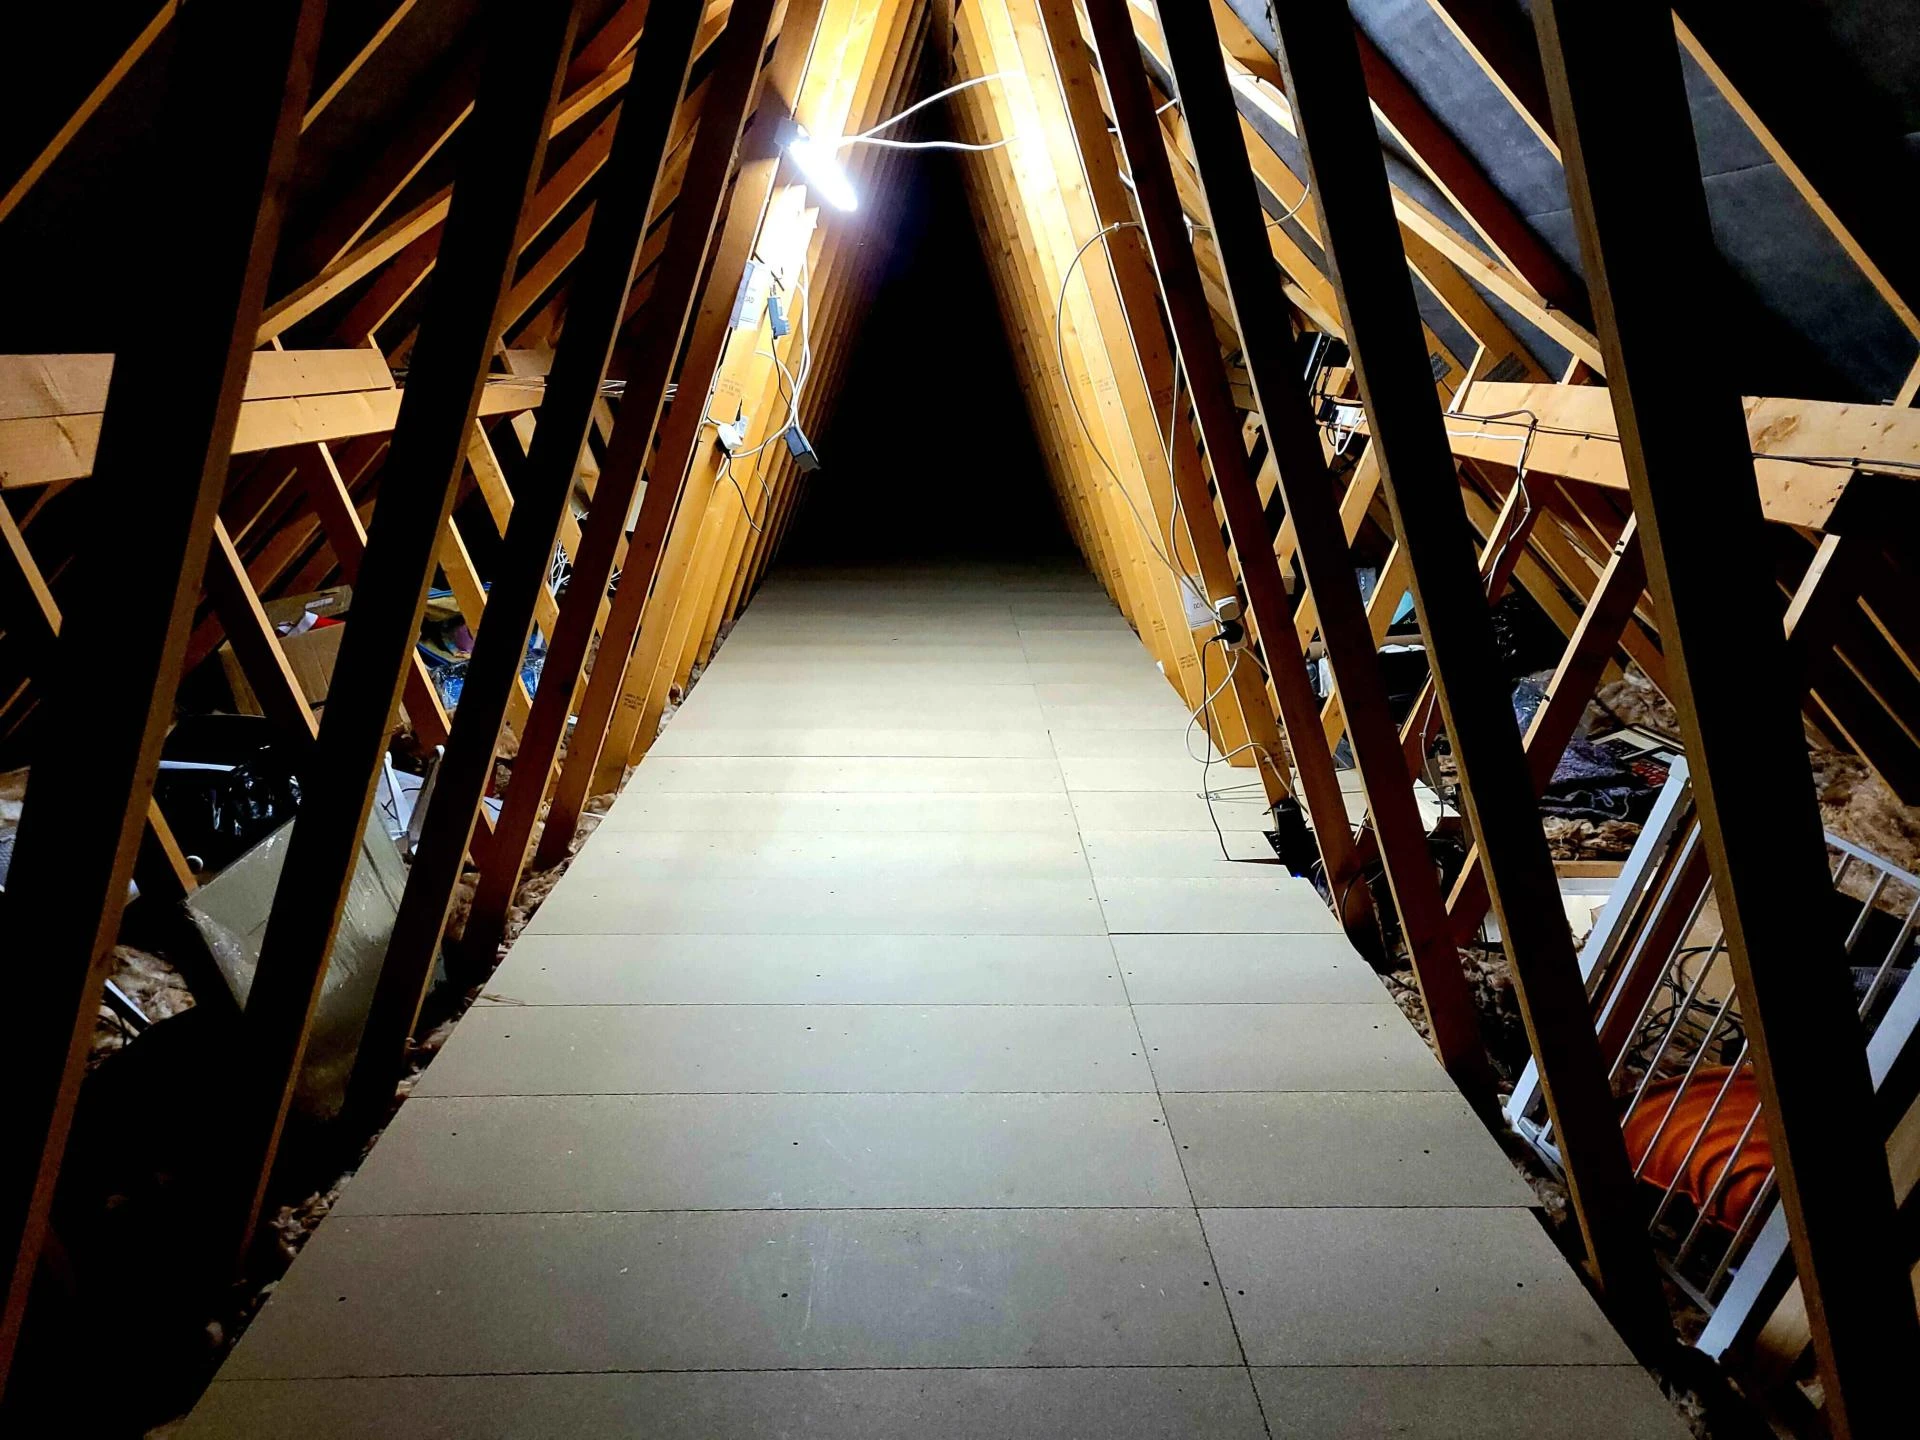
Step 4: Installing Loft Boarding Insulation
Now that you’ve prepared your loft space, it’s time to install your loft boarding insulation.
Lay the Loft Insulation First
Start by laying the insulation material (fiberglass, mineral wool, or spray foam) across the floor of your loft. Make sure you fill all gaps between the joists to ensure that heat doesn’t escape through any gaps. If you are using rolls or batt insulation, cut them to fit snugly between the joists.
Install Loft Boards Over the Insulation
Once the insulation is in place, you can start installing the loft boarding. If you’re using standard loft boards, ensure they are spaced evenly and securely fastened to the joists using screws or nails. For pre-made loft boarding insulation boards, follow the manufacturer’s guidelines for installation to ensure proper alignment and effectiveness.
Ensure Boards Are Sturdy
It’s essential that the loft boards are secure and do not shift over time. Double-check each board’s stability as you install it. If necessary, reinforce the boards with additional fasteners or supports.
Leave Room for Ventilation
While installing your loft boarding insulation, be sure to leave room for adequate ventilation. Avoid covering vents or blocking airflow in any way. You may want to install ventilation baffles to ensure that air can circulate properly around your insulation.
Step 5: Final Checks and Finishing Touches
Once your loft boarding insulation is installed, it’s time to perform some final checks.
Inspect the Insulation
Check the insulation for gaps or areas where it might not be properly installed. Gaps can lead to heat loss, so make sure the material is laid evenly and tightly.
Secure the Boards
Ensure all boards are firmly secured to avoid any movement or sagging over time. Tighten any loose screws or nails and double-check the overall stability of the installation.
Clean the Loft Area
Finally, clean up the loft area, remove any debris or leftover materials, and ensure everything is tidy. This will make the space safer to use and help maintain the effectiveness of the insulation.
Conclusion
Installing loft boarding insulation in your home is an excellent investment that can lead to significant energy savings and improved comfort. By following the steps outlined in this guide, you can ensure that your loft space is insulated effectively and ready for use as additional storage space. Always remember to assess your loft, choose the right insulation material, prepare the area properly, and follow the correct installation procedures. With the right approach, loft boarding insulation will help you make the most of your home’s energy efficiency and comfort.
Frequently Asked Questions (FAQs)
1. Do I need to remove old insulation before installing loft boarding insulation?
No, you don’t have to remove old insulation unless it’s damaged or insufficient. You can install loft boarding insulation over existing material, provided it’s in good condition.
2. Can I store items in my loft after installing boarding insulation?
Yes, loft boarding insulation is ideal for creating additional storage space. Just make sure to place lighter items in the loft and avoid placing anything that might compress the insulation.
3. How much insulation do I need for my loft?
The amount of insulation you need depends on the size of your loft and the insulation material you choose. Typically, the recommended depth is at least 270mm of fiberglass or mineral wool insulation.
4. Is loft boarding insulation a DIY project?
Yes, installing loft boarding insulation is a manageable DIY project for most homeowners. However, if you’re unsure, consider consulting a professional for advice or installation.
5. How can I improve ventilation in my loft?
To improve ventilation in your loft, you can install ventilation baffles and make sure you’re not covering any vents or airflow paths. Proper ventilation is critical to the effectiveness of your insulation.


Sign in to leave a comment.