Stepping into a room and being greeted by the elegance of classic architectural detail no longer requires hiring a team of skilled carpenters or possessing a workshop full of specialized tools. The modern DIY movement has democratized high-end interior design, and at the forefront of this trend is the wall molding kit. These comprehensive packages have revolutionized how homeowners approach interior decoration, offering a straightforward path to achieving the timeless look of paneling, wainscoting, and decorative trim. By combining pre-designed elements with user-friendly materials, these kits empower anyone with a weekend and a willingness to learn to transform bland, flat walls into captivating focal points that add character, texture, and significant visual interest to their living spaces.
The Components of a Typical Molding Kit
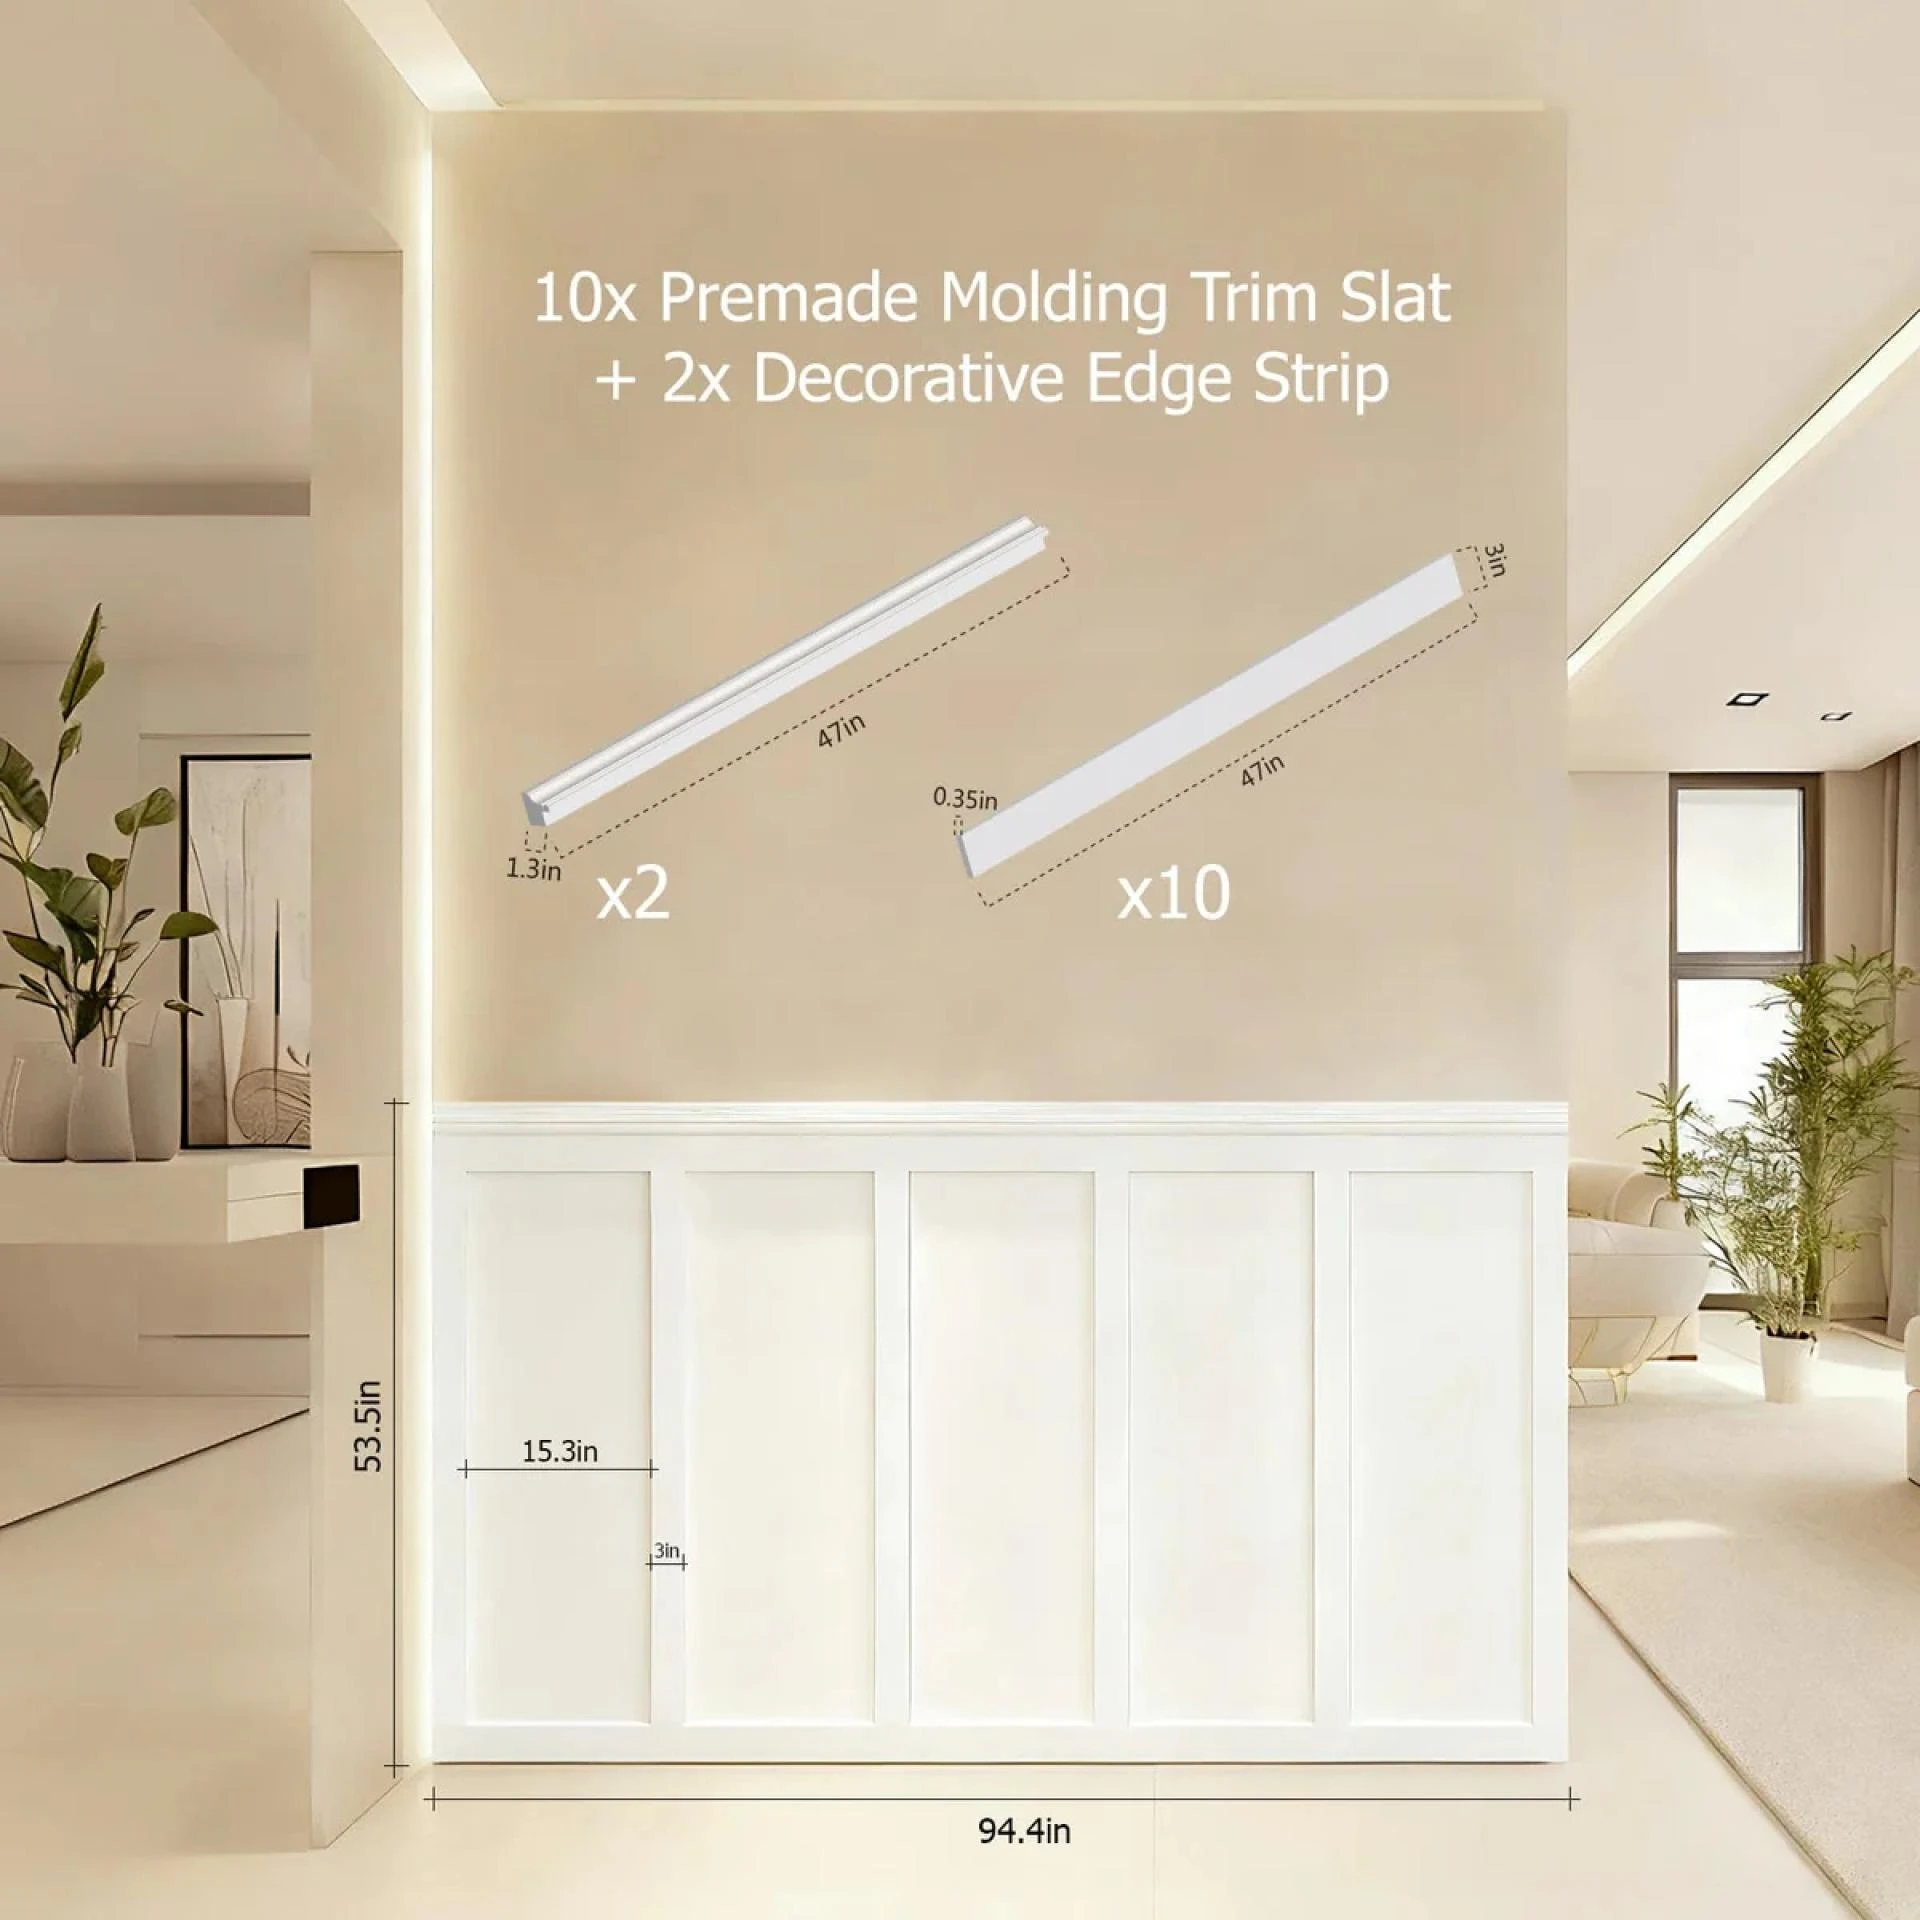
Understanding what comes inside the box is the first step to appreciating the value of a wall molding kit. Unlike the traditional method of sourcing individual lengths of wood molding, measuring meticulously, and cutting complex angles by hand, these kits provide a cohesive system. The core components usually consist of lightweight, pre-primed polyurethane or high-density polystyrene profiles that are designed to interlock or fit together seamlessly. You will typically find lengths of base molding, chair rail, and various profiles for creating picture frames on the wall. Crucially, the kit includes pre-cut corner blocks or decorative rosettes, which eliminate the need for difficult 45-degree mitered joints. This thoughtful inclusion simplifies the installation process dramatically, ensuring that even a novice can achieve crisp, professional-looking corners without guesswork or specialized cutting equipment.
The Aesthetic and Financial Appeal
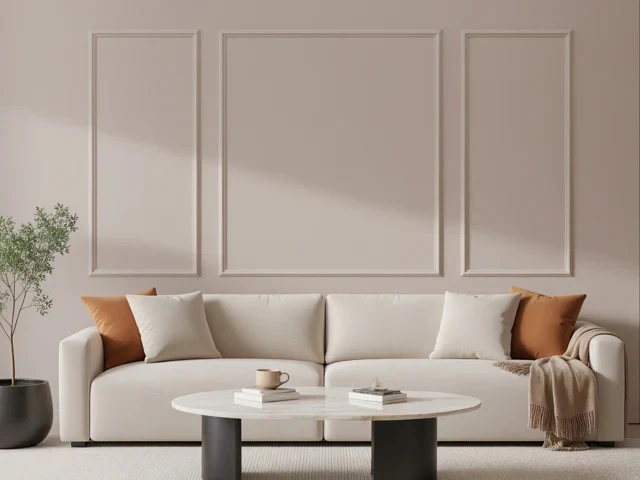
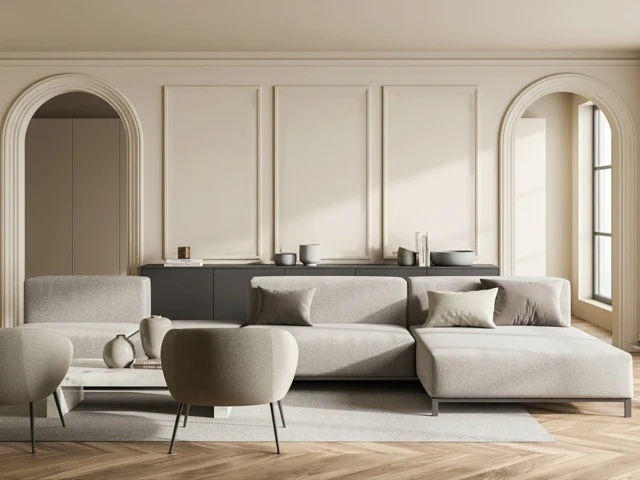
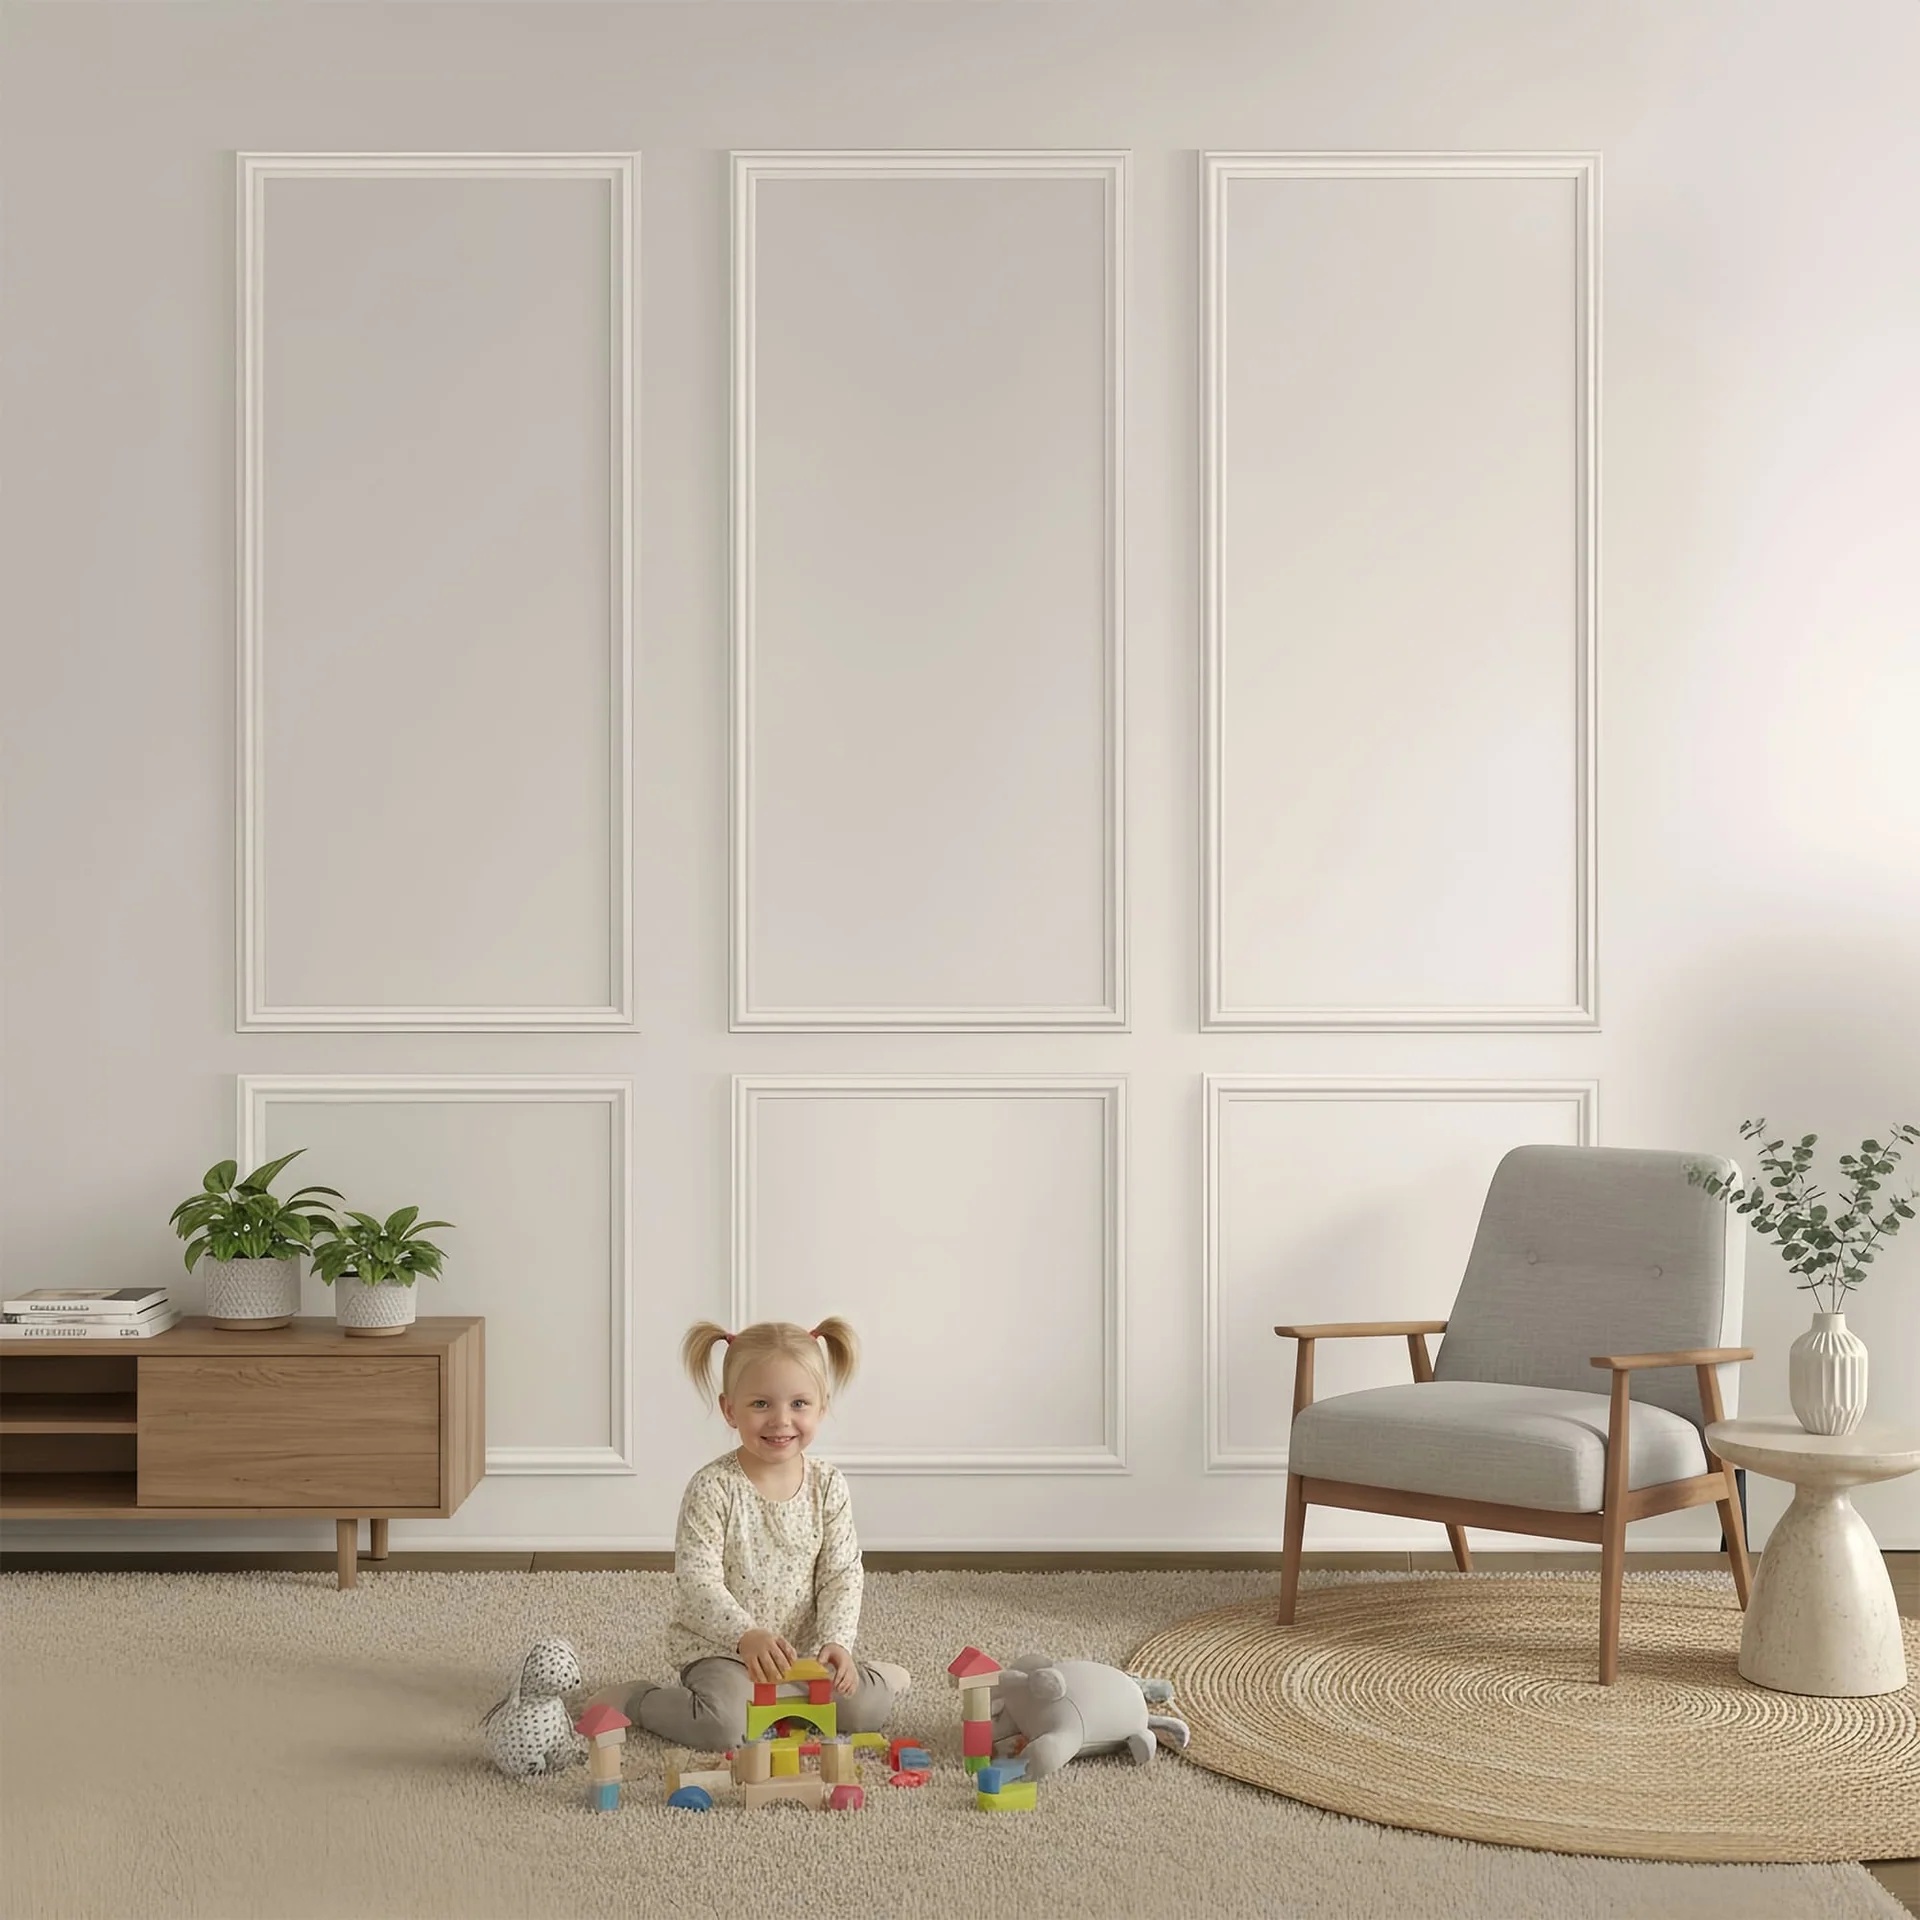
Why are these kits gaining such immense popularity in the world of interior design? The reasons are twofold, touching upon both the visual transformation they offer and the practical benefits they provide. From an aesthetic standpoint, wall moldings instantly elevate a room, lending an air of sophistication and permanence often associated with historic homes. They break up large, monotonous wall expanses, create a sense of proportion, and can be painted any color to match your decor, allowing for a fully customized look. Financially, the appeal is equally strong. The cost of a kit is a fraction of what you would pay for custom millwork or for hiring a professional trim carpenter. It allows you to invest your budget in the materials themselves, creating a high-end feature that adds tangible value to your property without the associated high-end labor costs.
Preparation: The Foundation for Success
As with any successful DIY project, the quality of the finished result is directly proportional to the effort put into the preparation. Before you even open your wall molding kit, it is essential to prepare your canvas. Start by carefully planning your layout on the wall, using a level and a measuring tape to map out the position of your panels or frames. A common mistake is eyeballing the placement, which can lead to an unbalanced look. Instead, create a template or use painter's tape to outline the intended design on the wall, stepping back to ensure the spacing feels right. Next, ensure your wall surface is clean, dry, and smooth. Fill any holes or imperfections and sand them flat. A smooth, well-prepared surface is critical, as it allows the adhesive to bond properly and ensures that the molding sits flush against the wall, preventing unsightly gaps.
The Installation Process: A Step-by-Step Overview
With your design mapped and your walls prepped, the installation process is surprisingly intuitive. Most kits are designed for a glue-up application, using a high-quality construction adhesive recommended by the manufacturer. You will apply the adhesive to the back of the molding pieces and press them firmly onto the wall, following your pre-drawn guidelines. For heavier profiles or to hold pieces in place while the adhesive sets, a brad nailer or finishing nails can be used, particularly where the molding meets the corner blocks. Once all the pieces are up, the real magic of the kit shines through. Because the components are designed to fit together, the need for caulking and filling is greatly minimized. A small bead of paintable caulk along the edges where the molding meets the wall will hide any minor imperfections and create a seamless transition, making the trim look like it has always been part of the architecture.
Finishing and Styling Your New Wall Feature
After the adhesive has cured and the caulk has dried, it is time for the most rewarding step: finishing. Since the molding in these kits comes pre-primed, you can move straight to painting. For a truly integrated look, paint the molding the exact same color and sheen as the wall for a subtle, textural effect. Alternatively, for a classic and dramatic statement, paint the molding a crisp, clean white that contrasts beautifully with a colored wall. The space inside the frames created by the molding offers a perfect opportunity for further personalization. You can leave them empty for a clean, architectural look, or you can use them as a gallery to hang art, mirrors, or even apply removable wallpaper for a touch of pattern and whimsy. This final step is where you infuse the room with your personal style, turning a simple DIY project into a signature design element that you can be proud of for years to come.


Sign in to leave a comment.