Water damage restoration services involve a complex, seven-stage process that goes far beyond simply vacuuming up water and setting up fans. The complete cycle includes initial hazard assessment, precise moisture mapping, content manipulation, selective demolition, antimicrobial application, psychrometric drying, and final clearance verification. While homeowners often visualize restoration as a cleanup task, industry professionals view it as a construction stabilization project designed to halt material degradation and prevent biological growth within the building envelope.
Understanding these specific stages allows property owners to advocate for proper care and recognize when a contractor is cutting corners. A legitimate restoration project follows a strict scientific protocol derived from the IICRC S500 Standard. This standard dictates that water must be physically removed, materials must be treated to prevent mold, and the environment must be mechanically controlled to pull bound moisture from structural elements like wood studs and subfloors. Skipping any of these steps, particularly the diagnostic and verification stages, often leads to "secondary damage" where rot or mold appears weeks after the initial event.
1. Safety and Hazard Evaluation
Before a single piece of equipment enters the home, a restoration team performs a safety audit. This stage is often invisible to the homeowner but is critical for liability and health. Technicians check for electrical shock hazards caused by water reaching outlets. In older homes, common in the Pacific Northwest, they must also test for lead paint and asbestos before disturbing any drywall or flooring.
If the home was built before 1980, federal law requires testing for asbestos in joint compounds and texturing. A professional team will pause to secure these test results to ensure that their demolition work does not release carcinogenic fibers into the HVAC system. This stage ensures that the "cure" does not create a bigger health problem than the water damage itself.

2. Advanced Moisture Mapping
Identifying visible water is simple, but finding the water hidden inside walls and under cabinets requires technology. During this stage, technicians use thermal imaging cameras and radio-frequency moisture meters to create a "moisture map." This digital or sketched diagram documents exactly how far the water traveled.
Water often wicks up drywall or runs under baseboards without leaving a surface stain. The moisture map dictates the "scope of work." It tells the crew exactly which walls need to be opened and how many dehumidifiers are required. Without this map, drying is a guessing game that usually leaves pockets of moisture behind to rot.
3. Content Manipulation and Pack-Out
A stage frequently overlooked by homeowners is the protection of personal property. Restoration isn't just about the house; it is about the things inside it. Professionals perform "content manipulation," which involves moving furniture and boxes out of the wet zone to a dry area or an off-site storage facility.
Furniture sitting on wet carpet will stain the carpet with wood dyes (a process called furniture bleeding) and absorb water into its legs, causing swelling. By elevating items on foam blocks or moving them entirely, the team protects the homeowner’s personal assets and clears the floor for efficient extraction.
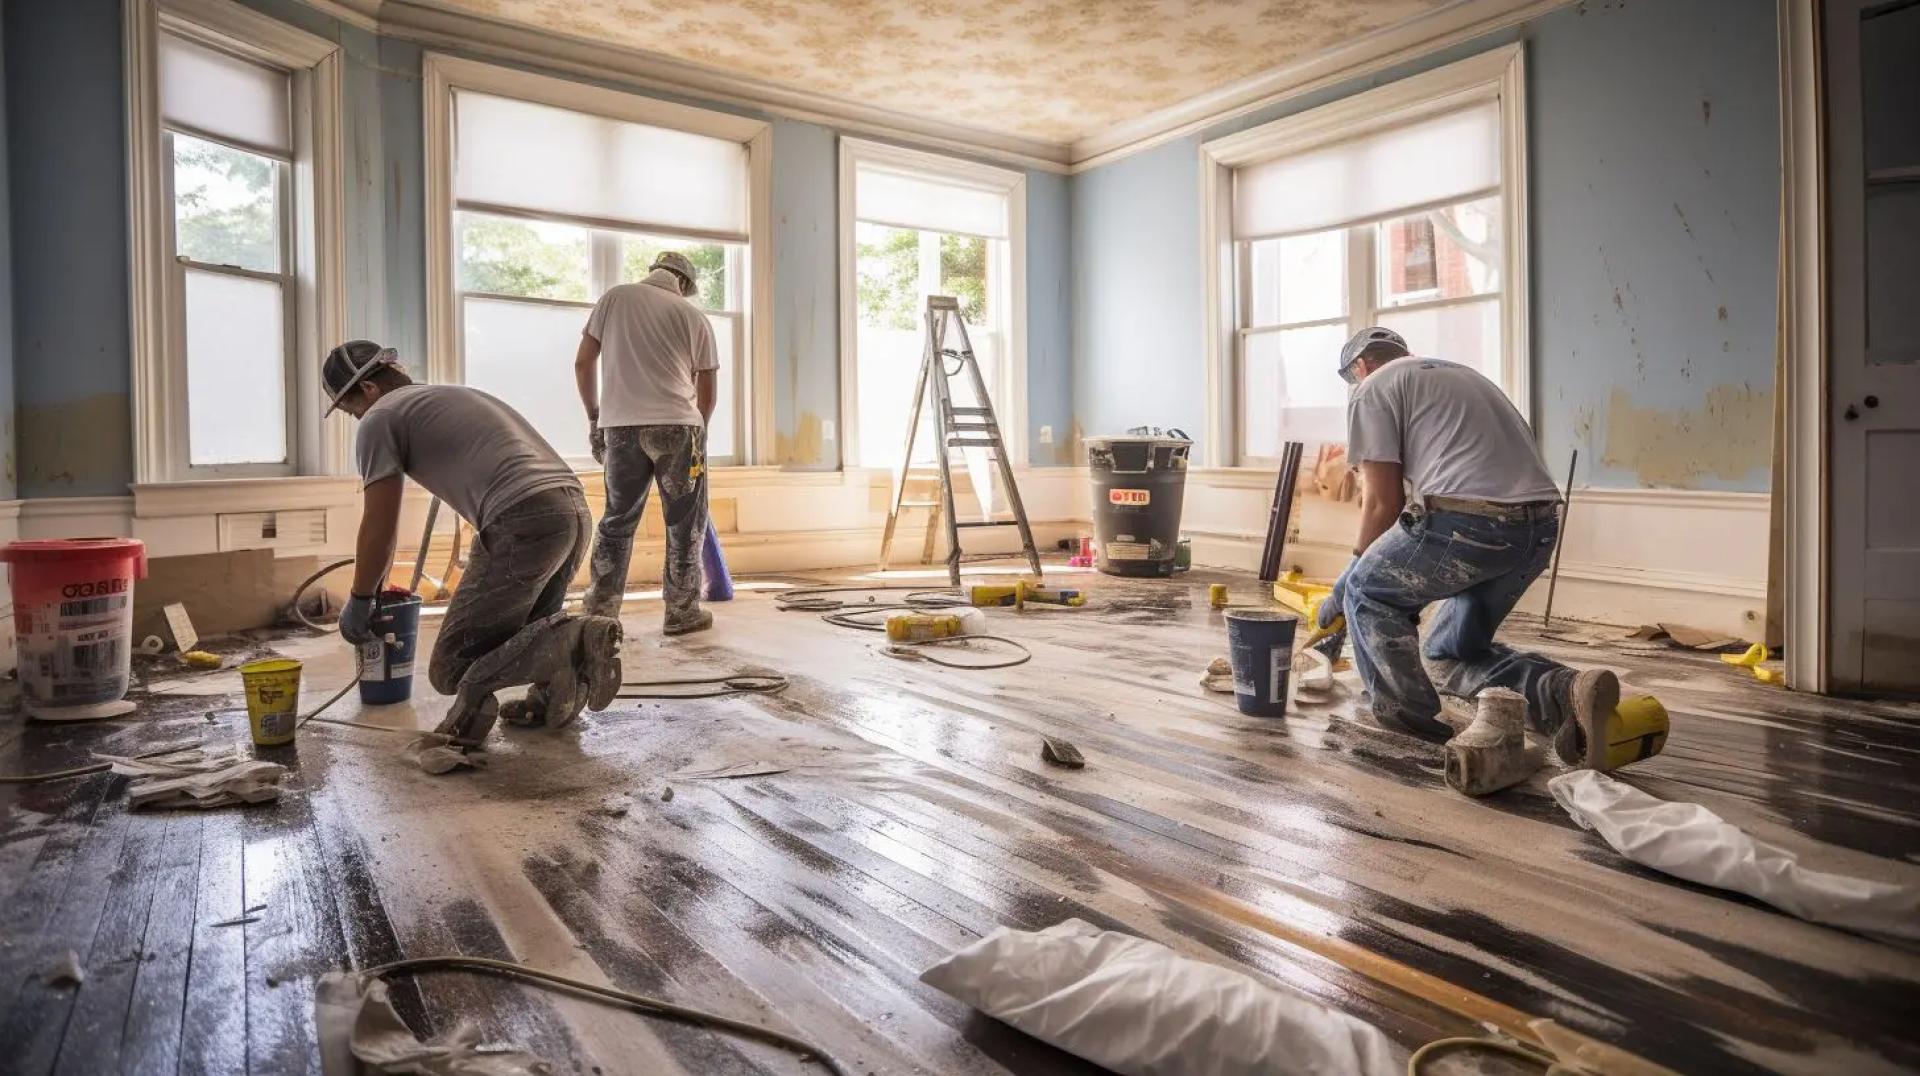
4. Selective Demolition and Flood Cuts
To dry the structure effectively, technicians often must remove physical barriers. This stage can be shocking to homeowners but is necessary. If water has wicked up a wall, the team performs a "flood cut," removing the bottom 12 to 24 inches of drywall.
This opening allows air from the air movers to circulate directly into the wall cavity, drying the wooden studs and insulation. Insulation acts like a sponge and rarely dries out on its own; it typically must be removed to save the framing. This surgical demolition saves the upper portion of the wall and prevents the need for a full-room gutting later.
5. Antimicrobial Application
Once the wet materials are removed, the exposed structure is vulnerable to mold. Spores are naturally present in the air and will colonize damp wood within 24 to 48 hours. Restoration teams apply an EPA-registered antimicrobial agent to the framing and subfloor during this stage.
This chemical treatment inhibits microbial growth while the drying process takes place. It also sanitizes the area if the water source was "grey" (dishwasher leak) or "black" (sewage backup). This step creates a biologically safe environment for the reconstruction team that will follow.
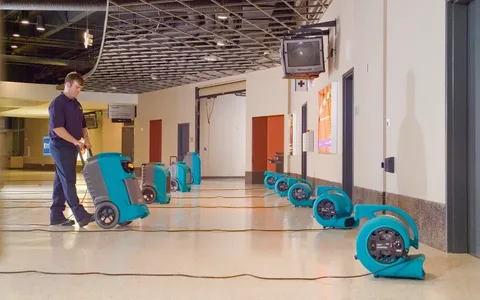
6. Psychrometric Drying
This stage is the core of the restoration process and involves more than just wind. Psychrometry is the science of drying, involving the manipulation of temperature and relative humidity to force evaporation. Technicians install Low Grain Refrigerant (LGR) dehumidifiers that pull moisture from the air, and high-velocity air movers that strip the boundary layer of cold air off wet surfaces.
Comparison of Drying Approaches
| Feature | Amateur/DIY Drying | Professional Psychrometric Drying |
|---|---|---|
| Equipment | Box fans and open windows | LGR Dehumidifiers and Axial Air Movers |
| Target | Surface moisture | Bound water inside materials |
| Monitoring | "Touch test" | Daily moisture content readings |
| Duration | Weeks (often ineffective) | 3 to 5 days (verified) |
| Outcome | High risk of mold/rot | Structural stability restored |
In the Pacific Northwest, simply opening a window is rarely effective due to high outdoor humidity. Professional equipment creates a microclimate inside the home that is significantly drier than the outside air, forcing the water inside the materials to evaporate rapidly.
7. Daily Monitoring and Adjustments
Restoration is not a "set it and forget it" service. The drying conditions change every day as water leaves the materials. Technicians return daily to monitor the progress. They record humidity levels, temperature, and the moisture content of the wood and drywall.
These logs are essential for insurance claims. They prove that the equipment was necessary and that the drying is progressing. If a material is not drying as expected, the technician adjusts the equipment placement to target that specific stubborn area.
8. Final Clearance Verification
The process ends only when the "Dry Standard" is met. This is a comparison between the affected materials and a dry, unaffected area of the home. If the dry living room floor reads 8% moisture content, the goal is to get the wet kitchen floor to within a few percentage points of that number.
Technicians provide a final report verifying that the structure has returned to its pre-loss moisture levels. This certificate of dryness is valuable documentation for the homeowner, providing proof that the property is safe for reconstruction and free from hidden moisture risks.
Regional Considerations for Pacific Northwest Homes
Properties in Washington and Oregon face unique challenges during restoration. The region's persistent rain and cool temperatures mean that buildings do not dry naturally. Exterior walls often have high moisture content even in good weather, making it difficult to distinguish between rain intrusion and an internal leak.
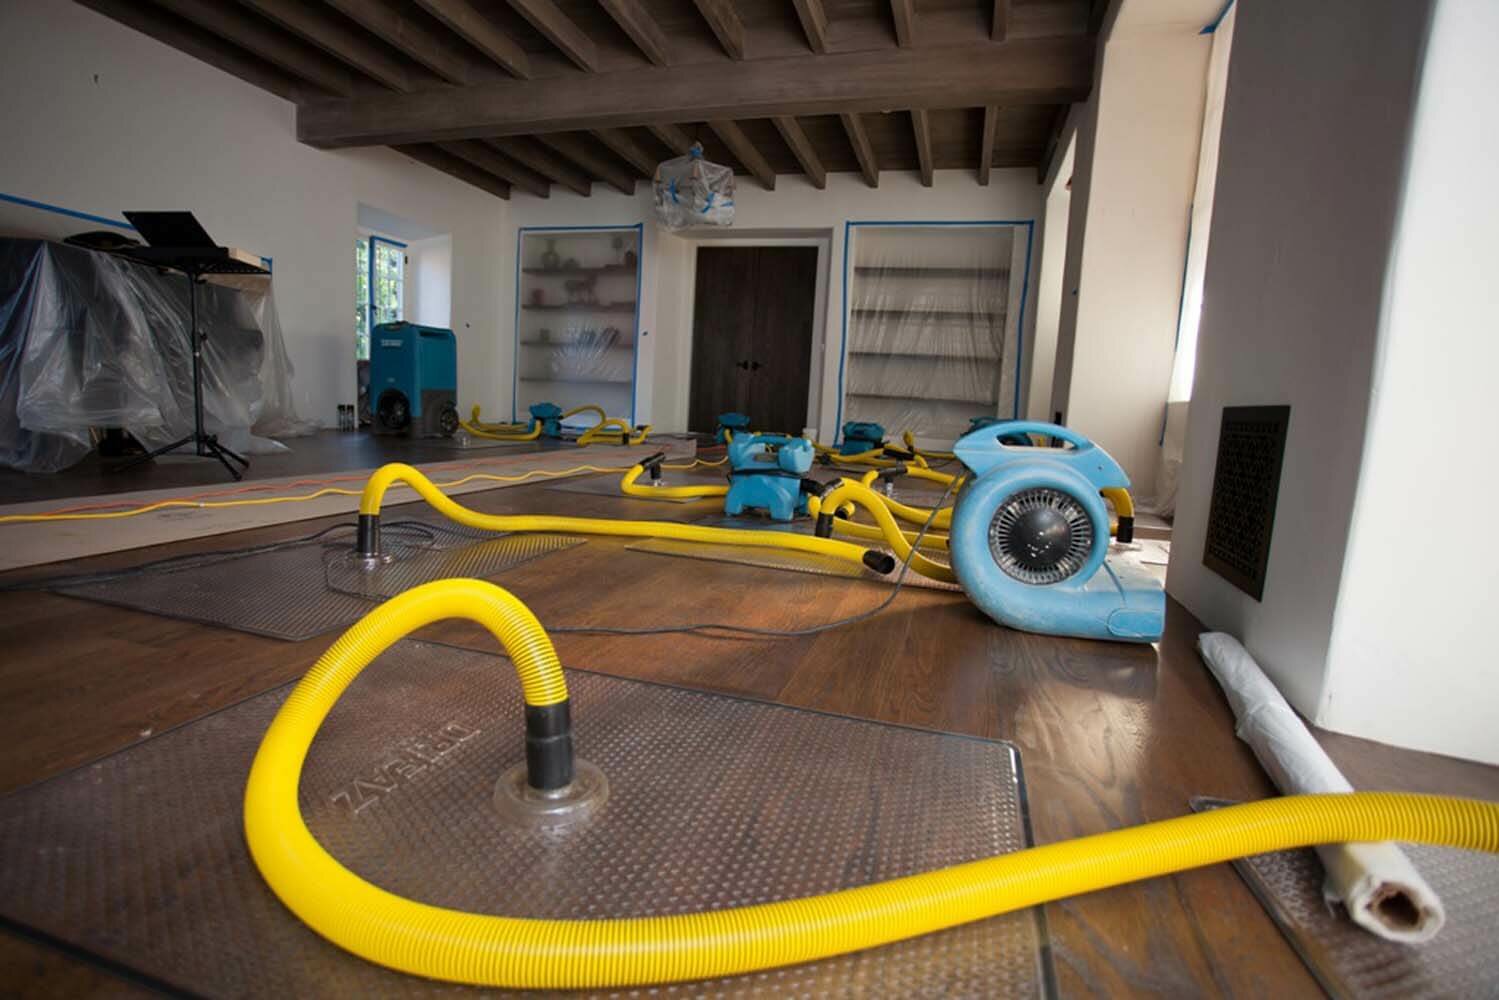
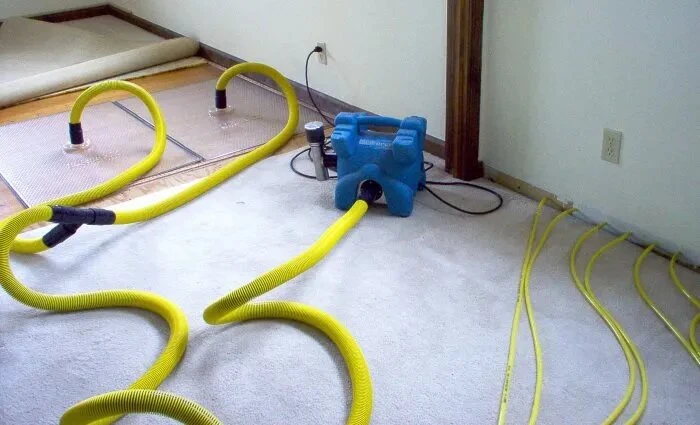
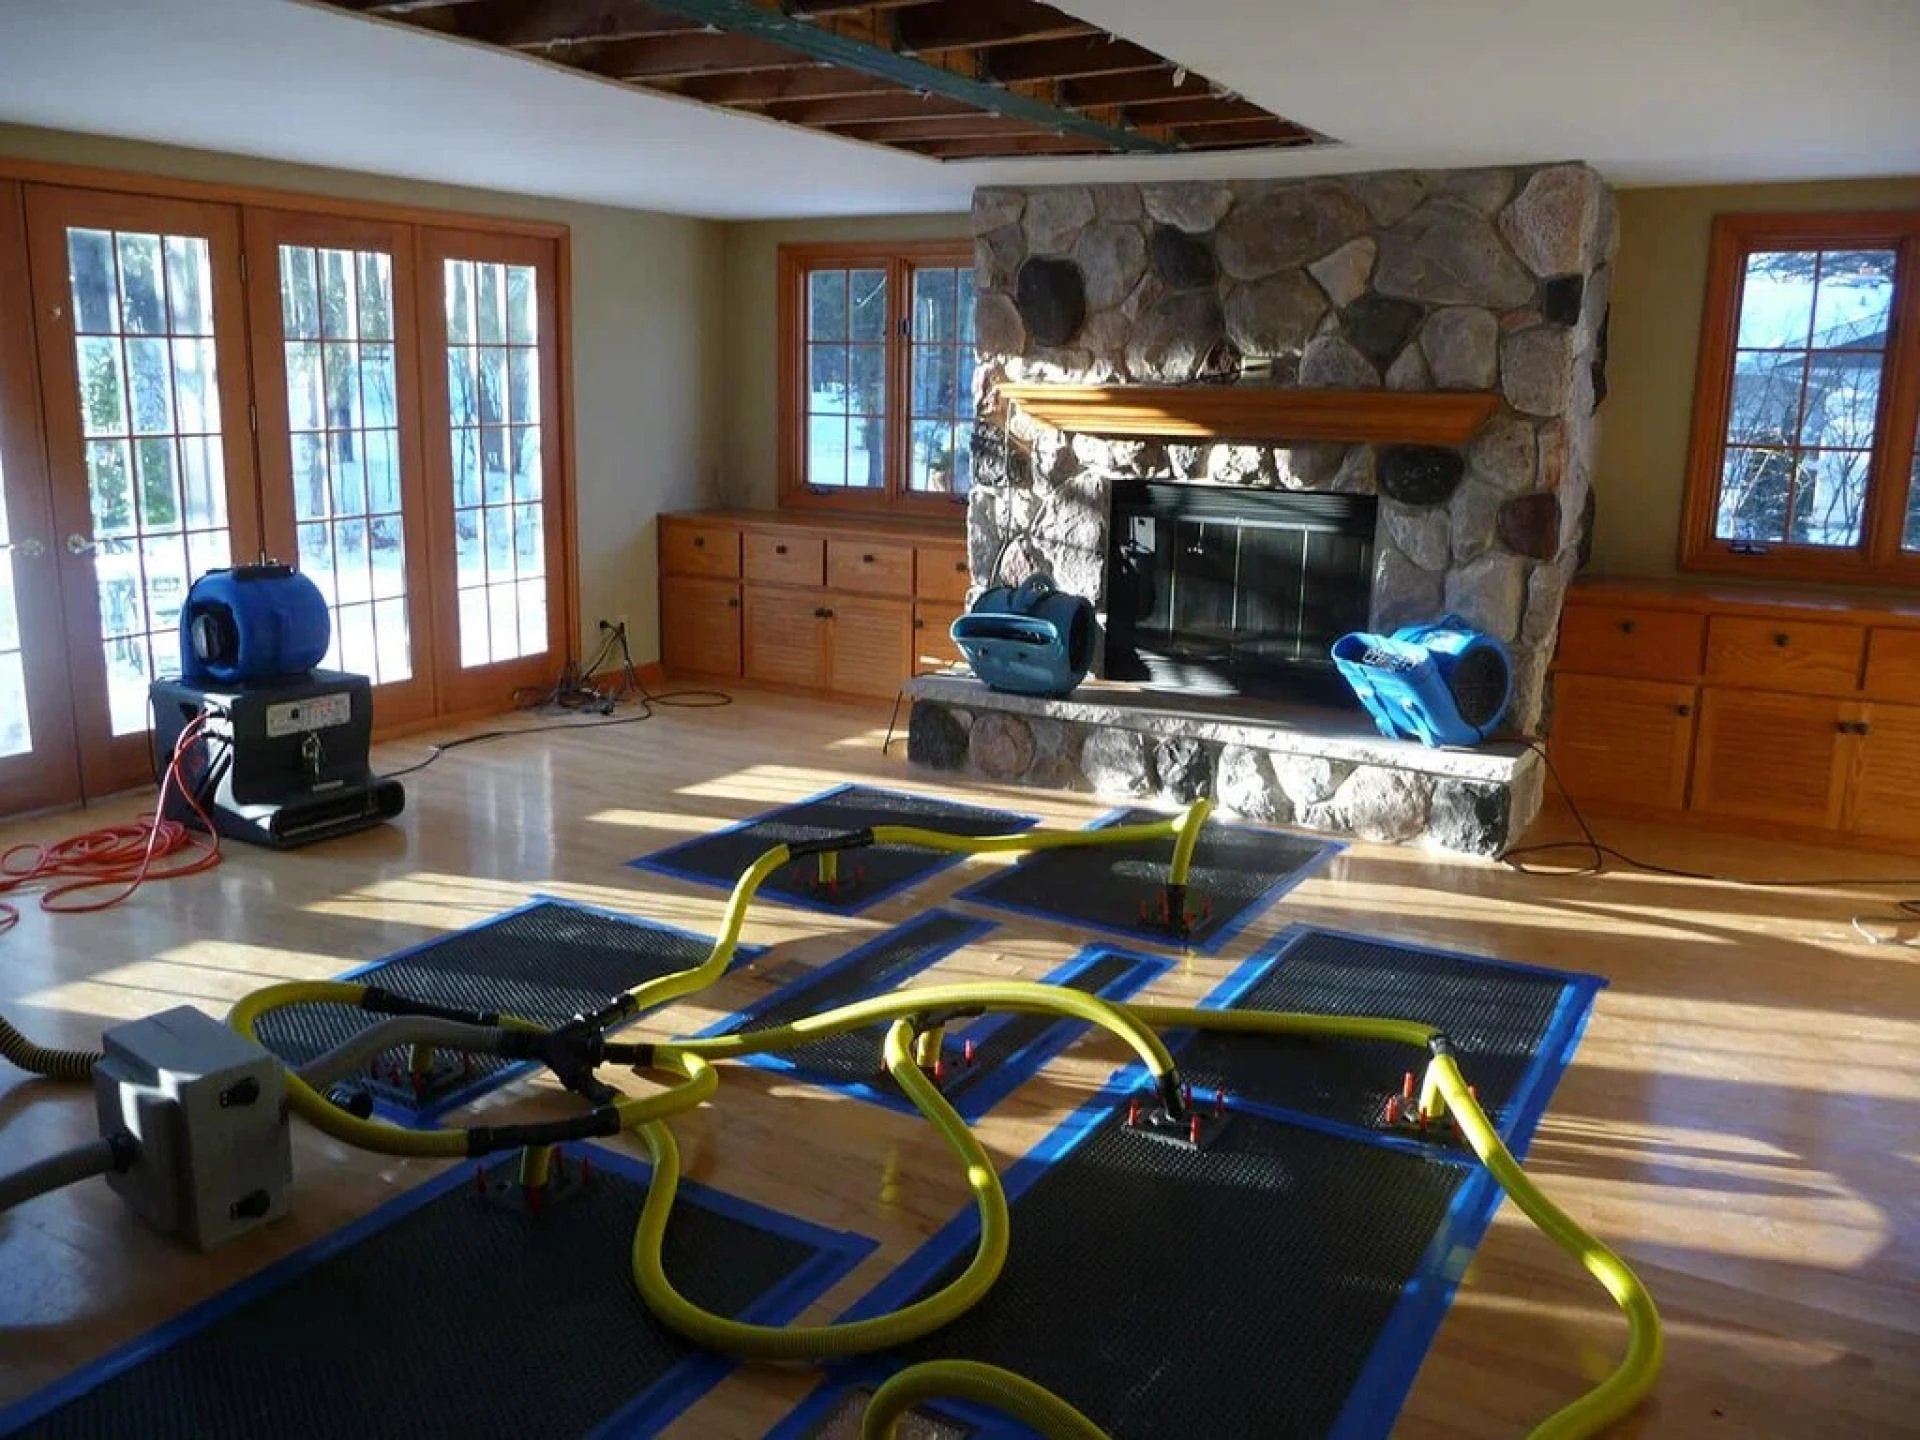
Restoration teams in this area often use specialized "injectidry" systems for hardwood floors. These systems force warm, dry air through mats or small holes into the subfloor, saving expensive hardwood that would otherwise cup and buckle in the damp climate. Local expertise helps technicians differentiate between normal regional humidity and active water damage.
Bonus Tip: Ask your technician to check the crawlspace during the inspection. In the Pacific Northwest, water often drains down from the living area and pools in the crawlspace, creating a long-term mold hazard that goes unnoticed for years.
Things to Consider Before Hiring a Restoration Team
Not all companies execute every stage of this process. When vetting a provider, ensure they follow comprehensive protocols.
- Ask About Documentation: A reputable company uses digital logs to track moisture readings daily. If they do not document, they cannot prove the job is done.
- Verify Equipment Ownership: Companies that own their own truck-mounted extractors and dehumidifier fleets can respond faster and control costs better than those renting equipment.
- Check for IICRC Certification: The Institute of Inspection, Cleaning and Restoration Certification sets the global standard. Ensure the technicians on-site hold current certifications.
Questions People Ask About Restoration Stages
Why do you have to cut the drywall?
Drywall acts like a wick, pulling water up from the floor. Even if it feels dry on the outside, the insulation behind it is likely soaked. Cutting the bottom section allows the team to remove the wet insulation and dry the wooden studs, preventing mold growth inside the wall cavity.
How long does the drying stage take?
Standard drying takes between 3 to 5 days. However, dense materials like hardwood floors or double-layered subfloors may take up to 7 days. The process ends only when moisture readings confirm the materials have reached the dry standard.
Can I turn the equipment off at night?
No. The equipment must run 24/7 to maintain the low-humidity environment. Turning it off allows the moisture to redistribute back into the materials, stalling the process and potentially allowing mold to begin growing.
What happens to my furniture?
Items are moved to a dry area or "blocked up" on foam squares to prevent contact with the wet floor. If an item is heavily damaged, the restoration team will inventory it for your insurance claim before disposing of it.
Do I need a plumber and a restoration company?
Yes. The plumber fixes the pipe to stop the water (the source). The restoration company removes the water that escaped and dries the structure. They are two separate but necessary trades.
Summary
Water damage restoration is a systematic construction process that involves far more than cleaning. From the initial thermal inspection to the surgical removal of drywall and the scientific management of humidity, every stage is designed to protect the asset. Homeowners who understand these stages can better navigate the stress of a flood or leak, ensuring their property is returned to a safe, stable condition ready for repairs.
Taking the Next Step
When water threatens your home, you need a team that executes every stage with precision. Prestige NW Restoration delivers comprehensive water damage services, managing the entire lifecycle of the loss from initial extraction to final verification. Their certified technicians use advanced diagnostics to ensure no moisture is left behind. For professional assistance with your restoration needs, contact the dispatch team at [email protected].
Author: Established on April 2, 2012, Prestige NW is led by owner Kelly Kerns, who brings extensive experience in restoration, construction, and customer service. Kelly supports both field operations and marketing, writing clear, practical content for homeowners while overseeing marketing strategy, partner communication, and brand direction. She combines industry expertise with focused messaging and reliable service.
Reviewer: Matthew Moore brings over 15 years of experience in residential renovation marketing. The review provided helped shape this content to better connect with homeowners seeking reliable, high-quality restoration and home improvement services.

Sign in to leave a comment.