
Table of Contents
- Why Smooth Walls Matter More Than You Think
- Situations Where Skim Coating Makes the Most Sense
- Materials and Setup for Professional Results
- How to Skim Coat a Wall Without Creating More Imperfections
- Techniques for a Smooth Skim Coat Ceiling
- Drying, Sanding, and Surface Inspection
- When to Call a Professional
- Conclusion
Key Takeaways
- Skim coat walls to create a flat, uniform surface before painting or refinishing.
- Proper preparation is just as important as the application itself.
- Most projects require multiple thin coats for the best outcome.
- A skim coat ceiling demands added control and attention to gravity.
- Patience during drying and sanding improves final paint results.
Introduction
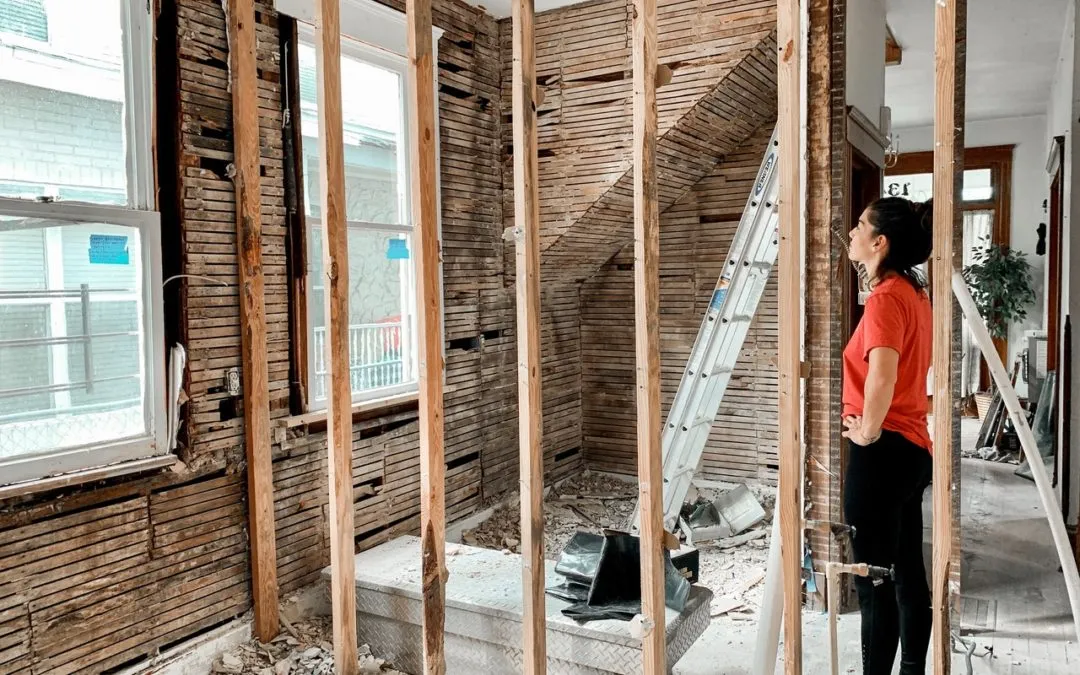
If you want paint to look refined instead of patchy, the condition of your walls matters more than the color you choose. Many homeowners explore how to skim coat walls when they notice dents, uneven textures, or visible drywall seams disrupting the finish.
Skim coating is not about rebuilding a wall from scratch. It is about refining the surface so light reflects evenly across it. Whether you manage a residential property, office space, or retail unit, smooth walls elevate the entire interior environment. Understanding the correct approach ensures you achieve long-lasting and visually consistent results.
Why Smooth Walls Matter More Than You Think
Minor wall imperfections often become more noticeable after painting. Natural daylight, recessed lighting, and semi-gloss finishes can reveal flaws that were barely visible before.
Skim coat walls to:
- Improve the appearance of older drywall
- Cover outdated textures
- Blend large repair areas seamlessly
- Prepare surfaces for high-sheen paint
- Increase perceived property value
In commercial settings, smooth walls create a cleaner, more professional atmosphere. In homes, they provide a modern aesthetic that pairs well with contemporary design trends.
Situations Where Skim Coating Makes the Most Sense
Not every wall requires full skim coating. However, certain conditions make it highly beneficial.
After Major Drywall Repairs
If multiple patches or joint repairs exist, individual spot fixes may still leave visible ridges. A thin skim coat over the entire surface creates consistency.
After Wallpaper Removal
Adhesive residue, torn drywall paper, and uneven backing can cause paint adhesion issues. Skim coating restores uniform texture.
Converting Textured Walls to Smooth
Orange peel, knockdown, or other decorative finishes may feel outdated. Applying several thin coats levels these textures without replacing drywall panels.
Preparing Rental or Investment Properties
Property managers often skim coat walls between tenants to refresh interiors efficiently without full reconstruction.
Materials and Setup for Professional Results
Preparation determines success. Rushing setup can lead to cracking, bubbling, or uneven thickness.
Essential Tools
- Pre-mixed joint compound
- Wide drywall knife or finishing blade
- Mud pan or hawk
- Sanding pole with fine-grit paper
- Work lights to highlight surface flaws
- Drop cloths and painter’s tape
Surface Preparation Checklist
Before you skim coat walls:
- Remove dust and grease buildup
- Tighten loose drywall screws
- Pre-fill deep dents or gaps
- Lightly sand glossy painted areas
- Protect floors, trim, and fixtures
A clean and stable surface ensures proper adhesion and reduces rework.
How to Skim Coat a Wall Without Creating More Imperfections
Learning how to skim coat a wall properly involves technique and control rather than force. Many beginners apply too much compound at once.
Step 1: Apply a Thin Base Layer
Using a wide knife, spread compound in smooth upward strokes. Keep the blade angled slightly to avoid buildup along edges.
The first coat focuses on coverage, not perfection. Small lines and marks are normal.
Step 2: Allow Full Drying Time
Drying time varies depending on humidity and temperature. Rushing this stage can trap moisture and cause cracking later.
Step 3: Light Sanding
Use fine-grit sandpaper to remove high spots. Avoid aggressive sanding that exposes drywall underneath.
Step 4: Apply Additional Coats
Most projects require two to three thin applications. Each successive coat should be smoother and thinner than the previous one.
Feather edges outward to blend transitions seamlessly into surrounding areas.
Techniques for a Smooth Skim Coat Ceiling
Applying a skim coat ceiling involves similar steps but demands more control due to gravity and overhead positioning.
Adjust Compound Consistency
Slightly thicker compound reduces dripping while maintaining spreadability.
Work in Smaller Sections
Ceilings fatigue the arms quickly. Divide the surface into manageable areas to maintain even pressure.
Inspect with Side Lighting
Ceilings often reveal imperfections once painted. Use angled lighting during sanding to catch uneven spots early.
A skim coat ceiling is commonly used when removing popcorn finishes or repairing water-damaged drywall panels.
Drying, Sanding, and Surface Inspection
The finishing stages define the final appearance. Even well-applied compound can look uneven without proper inspection.
Dust Removal
After final sanding, wipe surfaces with a damp cloth or microfiber towel. Dust left behind can affect primer adhesion.
Prime Before Painting
Joint compound absorbs paint differently than finished drywall. Applying primer seals the surface and ensures uniform sheen.
Conduct a Light Test
Shine a bright light parallel to the wall surface. This reveals subtle ridges or dips that may need touch-ups.
Skipping these steps often results in uneven paint reflection, especially with lighter color palettes.
When to Call a Professional
Skim coating appears simple but requires consistent pressure and technique across large surfaces. Consider professional help if:
- Walls have widespread cracking
- Ceilings are extensive or difficult to access
- Time constraints limit multi-day drying cycles
- You want guaranteed smooth results before high-end paint finishes
Experienced contractors understand compound consistency, drying conditions, and finishing standards that minimize callbacks and repainting.
Conclusion
Choosing to skim coat walls is an investment in the overall appearance and durability of your interior spaces. From repairing imperfections to preparing for a modern paint finish, the process enhances both aesthetics and surface performance.
Whether you plan to update a single room or renovate an entire property, understanding how to skim coat walls and how to approach a skim coat ceiling ensures smoother results and fewer surprises. Careful preparation, thin applications, and proper drying time remain the foundation of a successful project.
Book a Skim Coating Service Today!
Ready to restore your walls to a clean, smooth finish? Our professional skim coating service helps homeowners and property managers achieve flawless interior surfaces.
Send us an email at [email protected] or call (612) 328-6418 to learn more about our services and schedule your consultation today.
Frequently Asked Questions
1. How many layers are needed to skim coat walls properly?
Most projects require two to three thin coats, depending on surface condition and desired smoothness.
2. Can I skim coat ceiling surfaces without professional tools?
Yes, but a wide drywall knife and stable ladder are essential. Larger ceilings may require professional equipment for consistent coverage.
3. What is the difference between patching and how to skim coat a wall?
Patching addresses isolated damage, while skim coating covers the entire surface to create uniform texture.
4. Is it possible to skim coat walls over existing paint?
Yes, as long as the surface is cleaned and lightly sanded to promote proper adhesion.
5. How long should I wait before painting after skim coating?
Allow each coat to dry fully and apply primer before painting. Drying time varies based on humidity and room temperature.


Sign in to leave a comment.