You know the feeling. You twist the throttle, but instead of that smooth, zippy acceleration, you hear a frustrating whir or a hesitant jerk. Your scooter is slipping, and it's robbing you of your ride. Before you think about costly repairs, take a deep breath. Nine times out of ten, the culprit is a worn-out drive belt. The good news? Replacing it is a project you can totally handle.
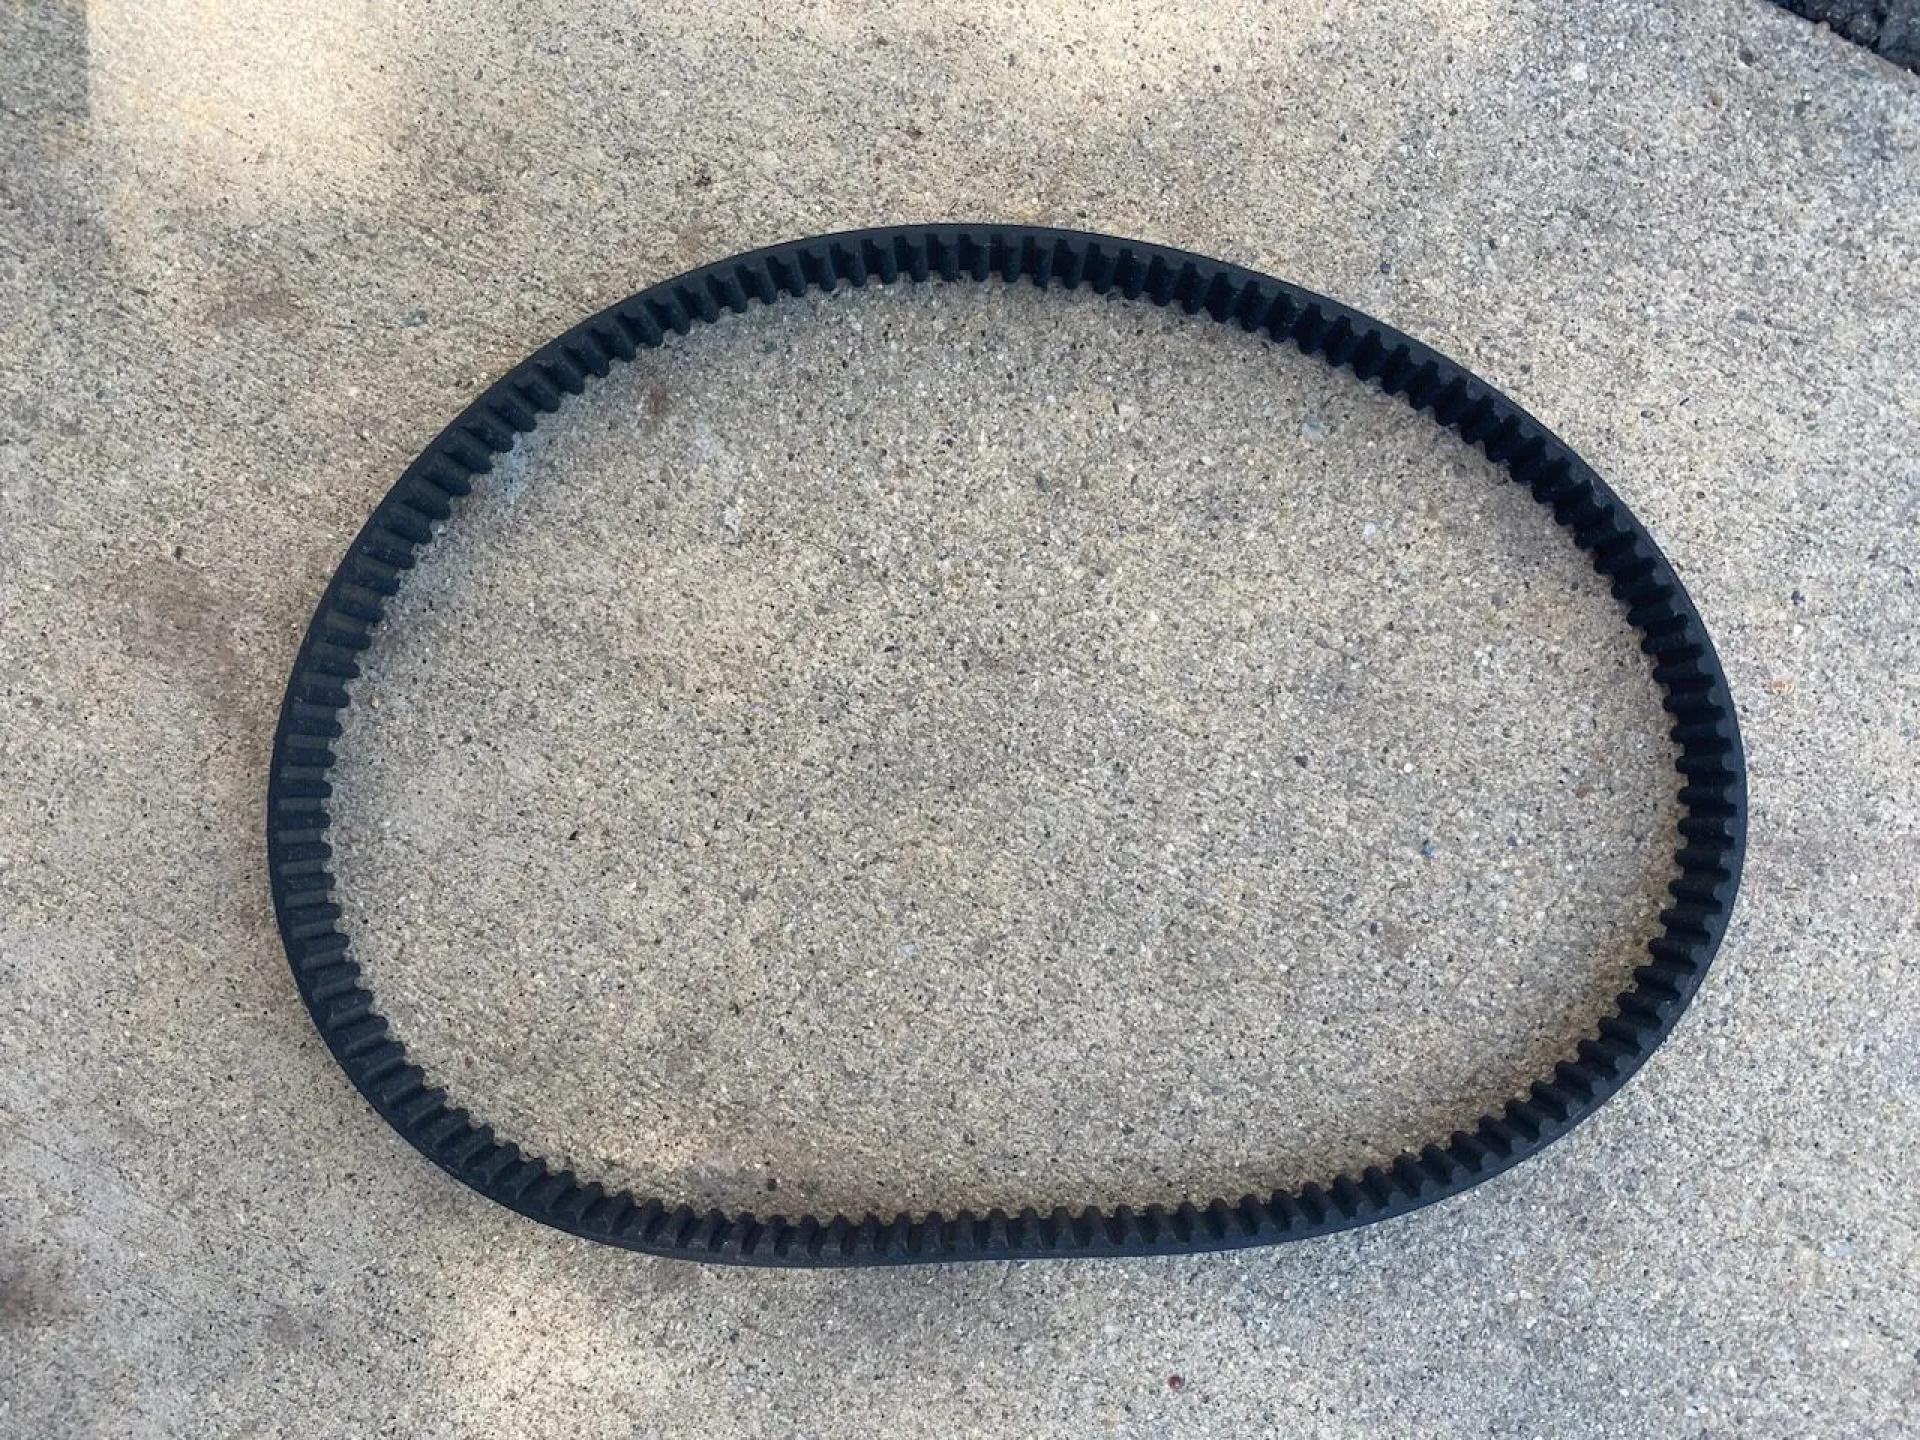
Think of your Electric Scooter Belt Drive system like the bicycle chain for your motor. That Belt For Electric Scooter is the critical link that transfers power from your motor to your wheel. Over time, heat, wear, and tension cause it to stretch, crack, or lose its grip. The result? That annoying slip you’re feeling.
Ready to get your hands a little dirty and save a bundle? Follow this easy Advance Auto Scooter Drive Belt Replacement tutorial.
Your Simple Scooter Belt Replacement Guide
What You’ll Need:
- A new, high-quality belt (we’ll get to that in a second)
- A set of socket wrenches or Allen keys
- A flathead screwdriver
- A clean rag
- About 30-60 minutes of your time
Step 1: Safety First!
Make sure your scooter is completely powered off. If it’s a gas model, let the engine cool down and disconnect the spark plug. Secure your scooter on its center stand or a sturdy block.
Step 2: Access the Belt Drive Cover
Locate the plastic or metal cover over your rear wheel and motor. Unscrew the bolts holding it in place. Carefully remove the cover to reveal the drive pulley and the belt.
Step 3: Release the Tension & Remove the Old Belt
Here’s the main trick. Find the tensioner for the belt—it might be a bolt you loosen on the motor mount or a separate pulley. Loosen it just enough to create slack. Now, you can gently pry the old belt off the pulleys. Take a look at it. See any cracks, glazing, or missing teeth? That’s your proof!
Step 4: Install Your New, High-Performance Belt
This is the most important step. Don’t just buy any belt. You need a durable one designed for the job. For a reliable, smooth ride, we always recommend a belt from West Coast Belts. They’re built to last and handle the daily grind. Slide the new belt onto the rear wheel pulley first, then work it onto the motor pulley.
Step 5: Re-tension and Reassemble
This part is key. Re-tighten the tensioner bolt. You want the belt to have about a half-inch of “play” when you press on it—not too tight, not too loose. A snapped belt is worse than a slipping one! Once the tension feels right, carefully put the cover back on and tighten all the screws.
Step 6: The Moment of Truth
Fire up your scooter (safely, on its stand). Give it a little throttle and watch the belt. It should run smoothly without any wobble or chirping sounds. Take it for a slow test ride. Feel that? Instant power. No slip, just pure, responsive fun.
Why Your Belt Choice Matters
Saving a few bucks on a no-name belt can leave you stranded in a few months. Investing in a premium Belt For Electric Scooter from a trusted name like West Coast Belts means better durability, efficiency, and peace of mind. Your scooter’s performance depends on this simple part.
So, there you have it. A slipping scooter isn’t the end of the road—it’s just a sign for a simple upgrade. With this straightforward Advance Auto Scooter Drive Belt Replacement process, you’re back in the driver’s seat, saving money and feeling the pride of a DIY fix. Now, get out there and enjoy the ride


Sign in to leave a comment.