
Photography is all about capturing light. But sometimes, the light in a scene can be too harsh or too uneven for your camera to handle. Bright skies get blown out, and shadows lose detail. That is where HDR Photography comes in. If you want images that look vibrant, balanced, and professionally crafted, learning HDR techniques can take your skills to the next level.

What Is HDR Photography?
HDR Photography stands for High Dynamic Range Photography. It is a technique where you take multiple shots of the same scene at different exposure levels and combine them into one perfectly balanced image.
Instead of choosing between properly exposed highlights or detailed shadows, HDR allows you to keep both.
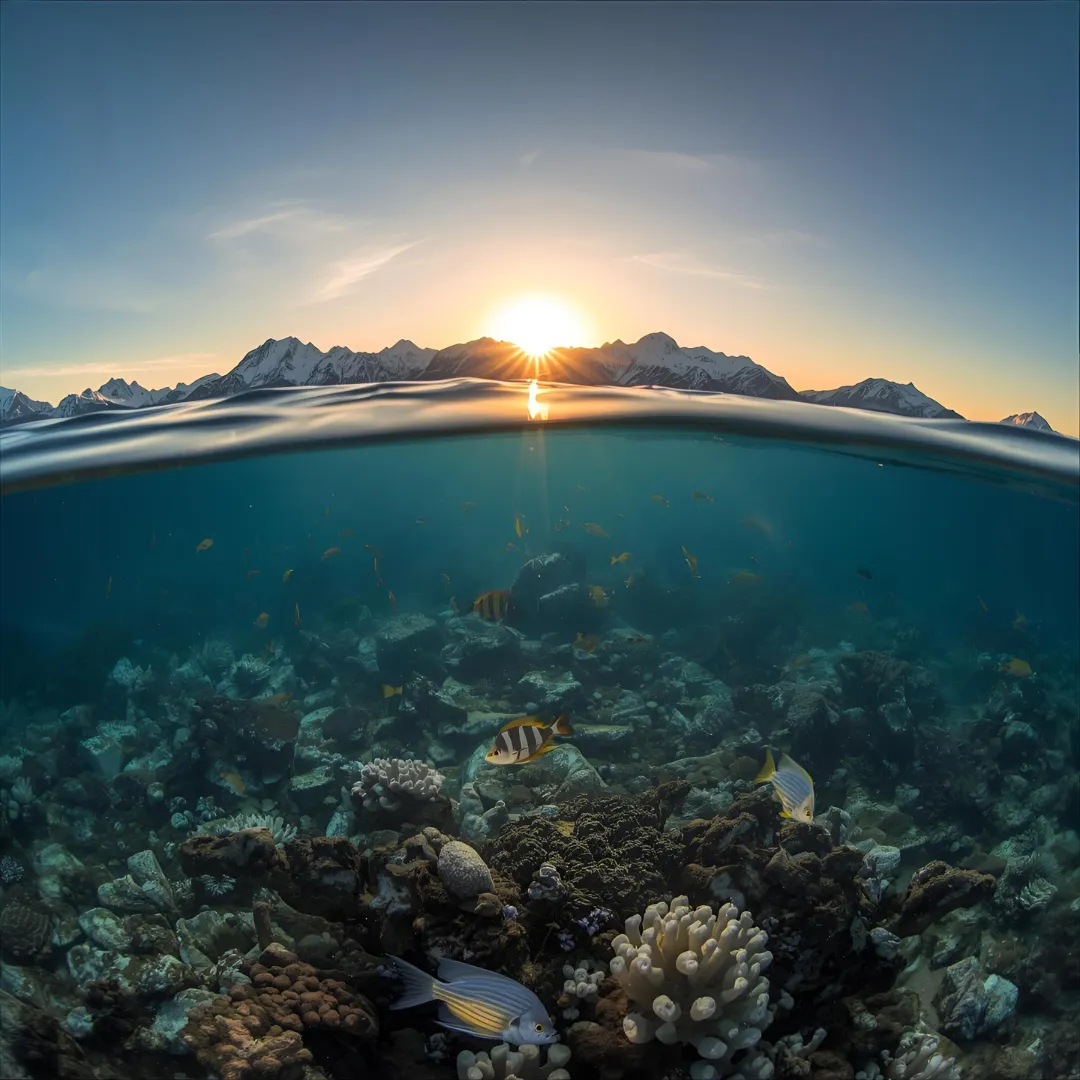
For example, imagine shooting a sunset where the sky is bright but the foreground is dark. A single exposure may not capture both clearly. HDR solves that problem by blending multiple exposures.
Why Use HDR Photography?
Professional photographers use HDR Photography to:
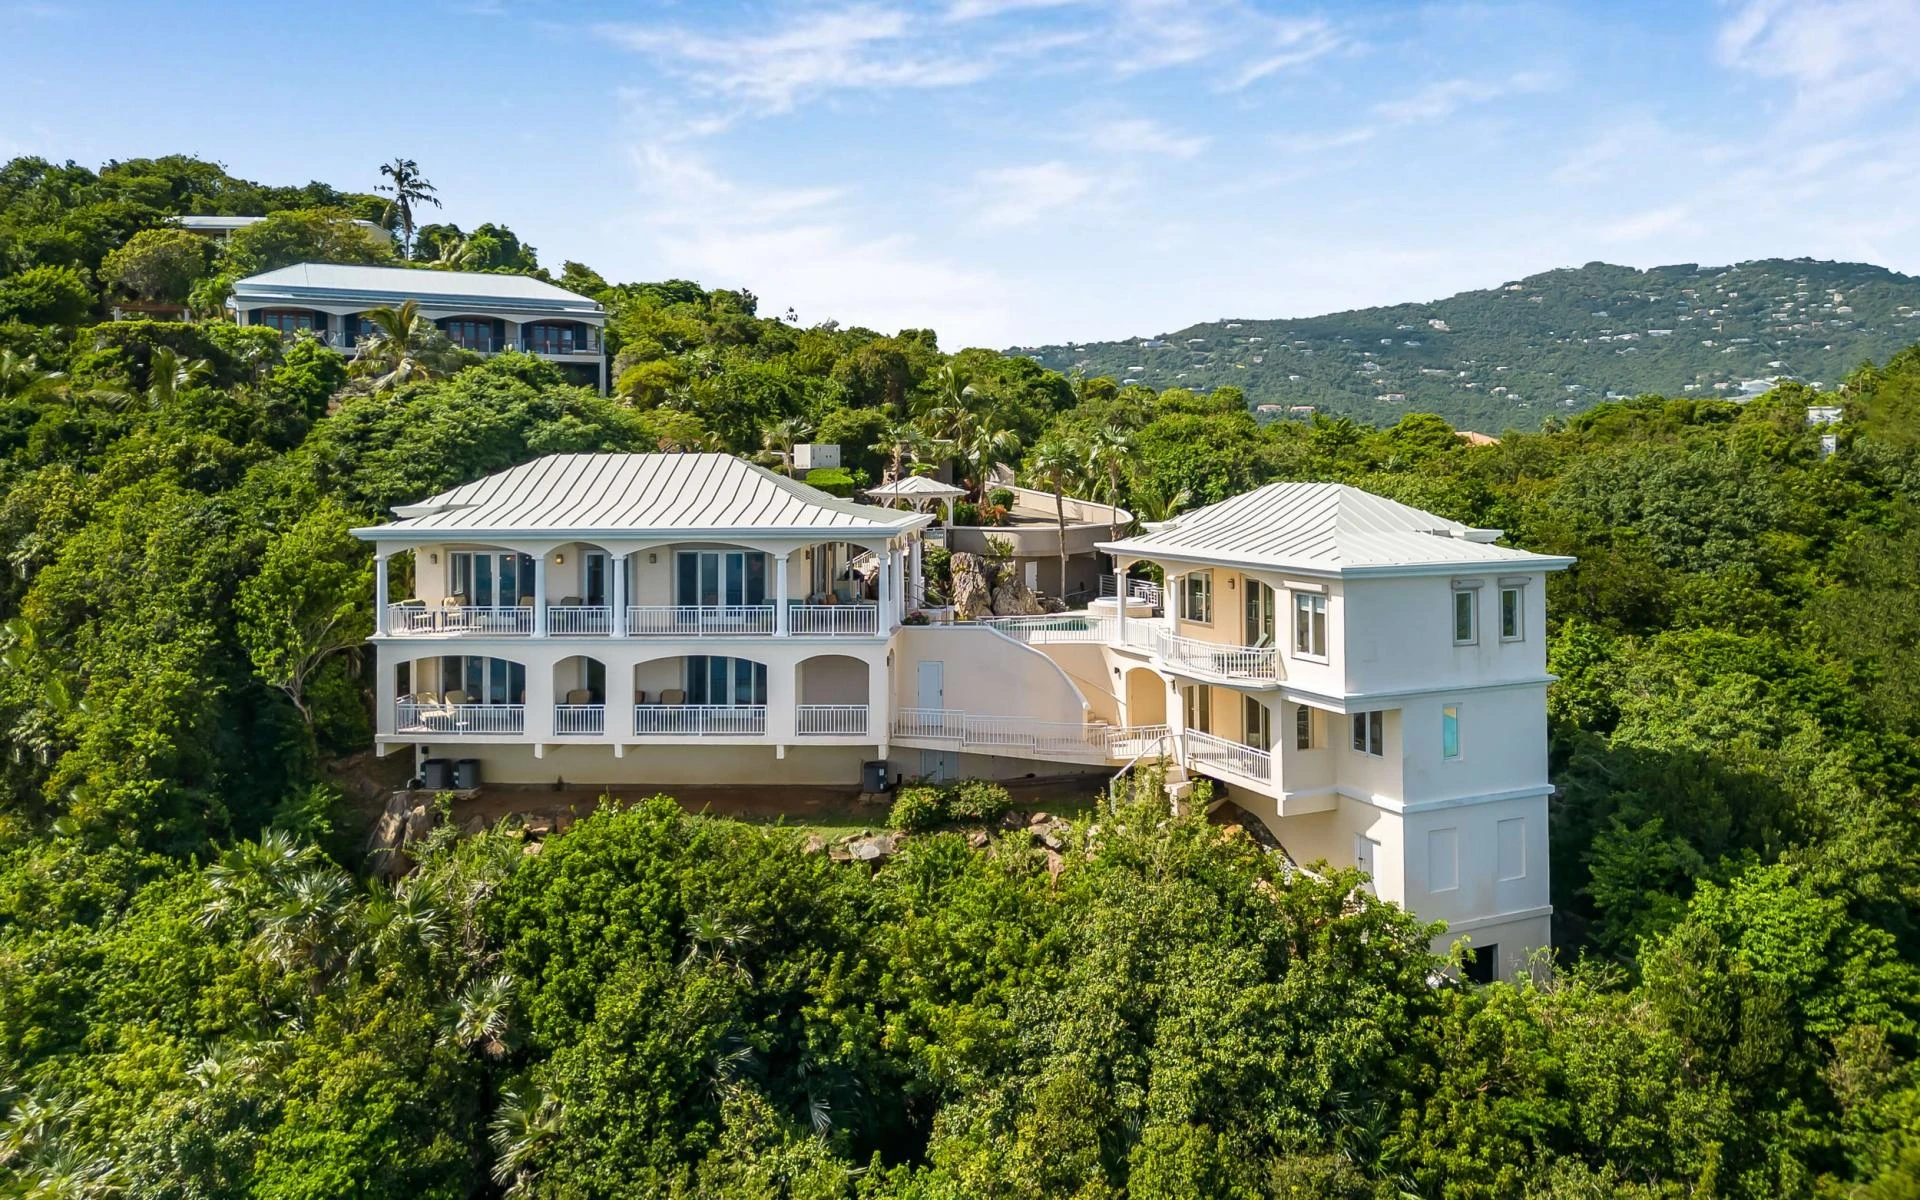
- Capture detailed landscapes
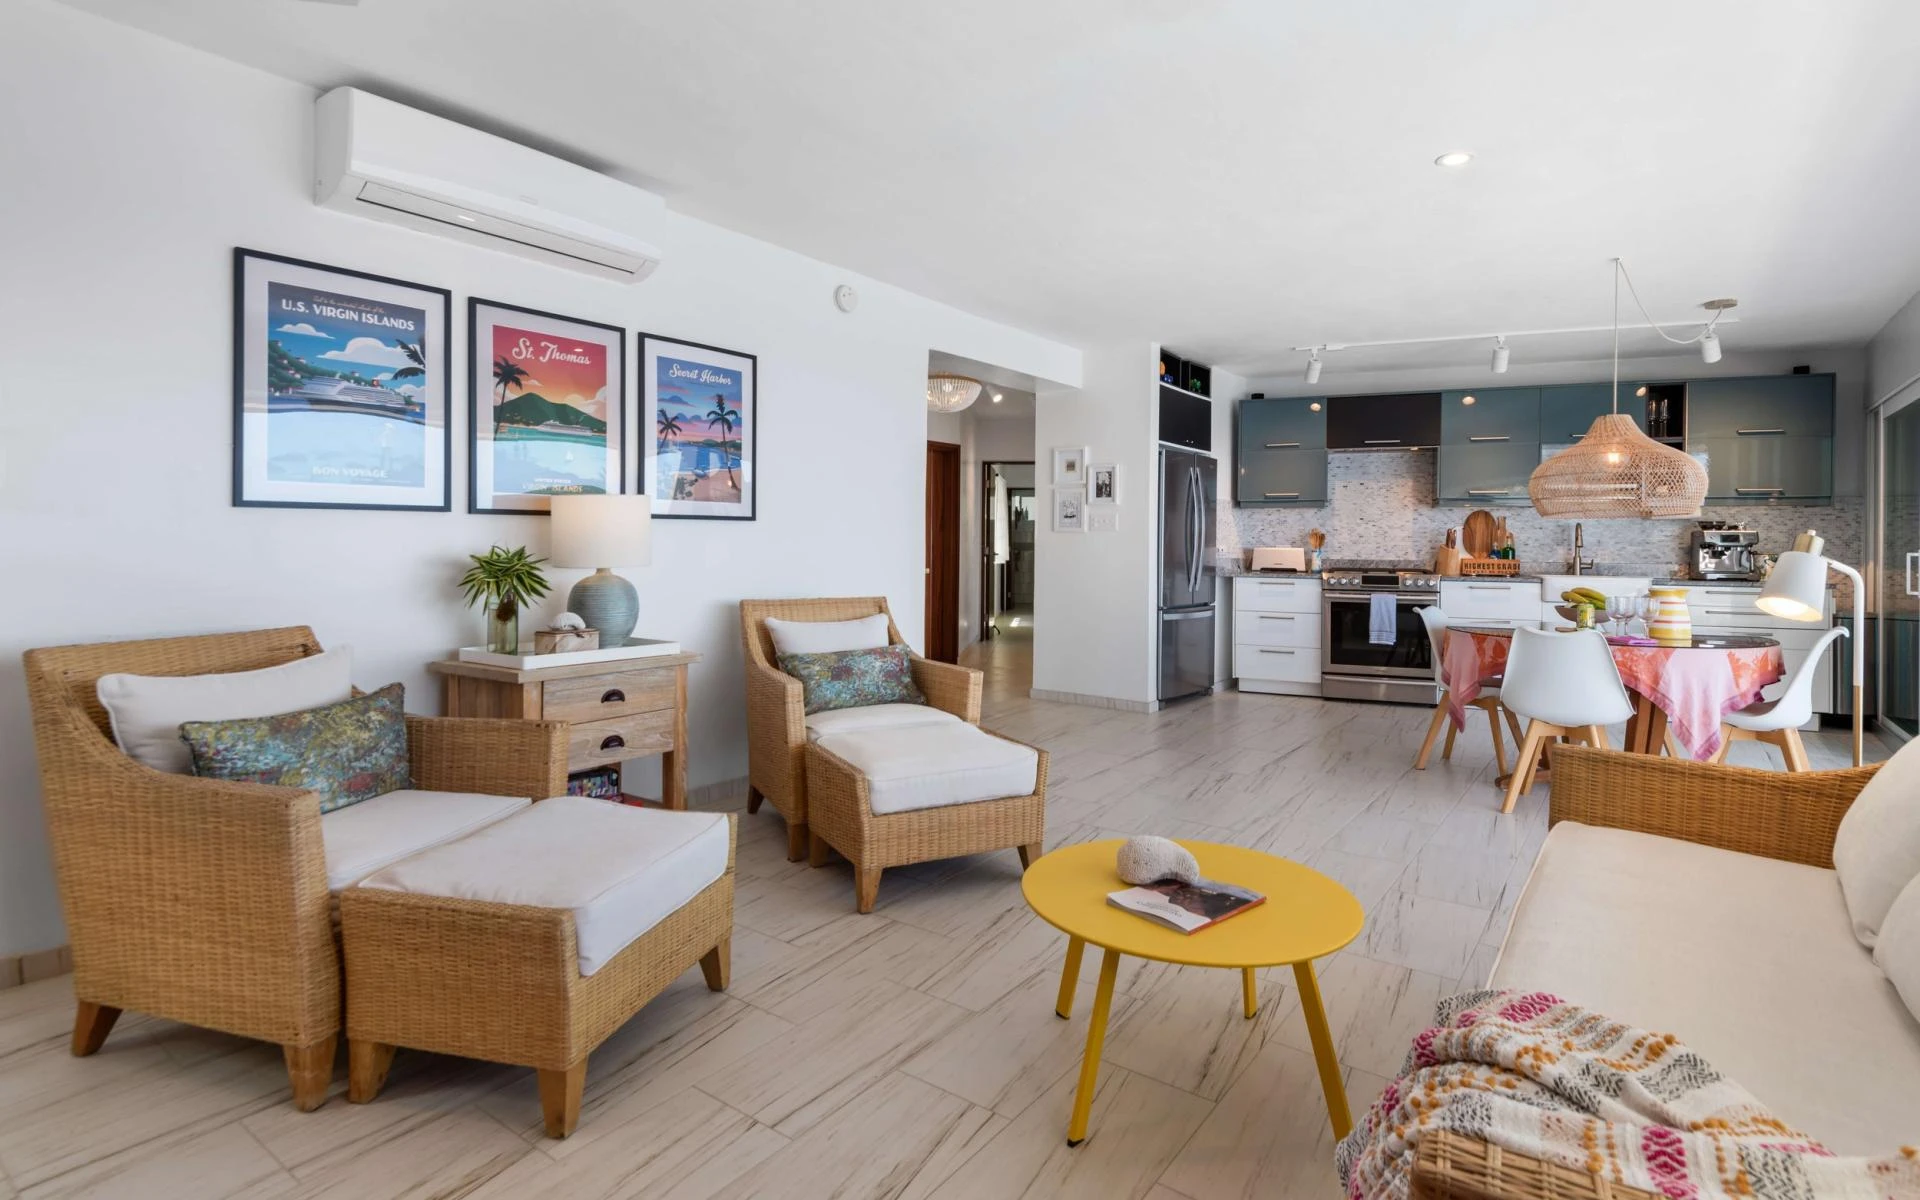
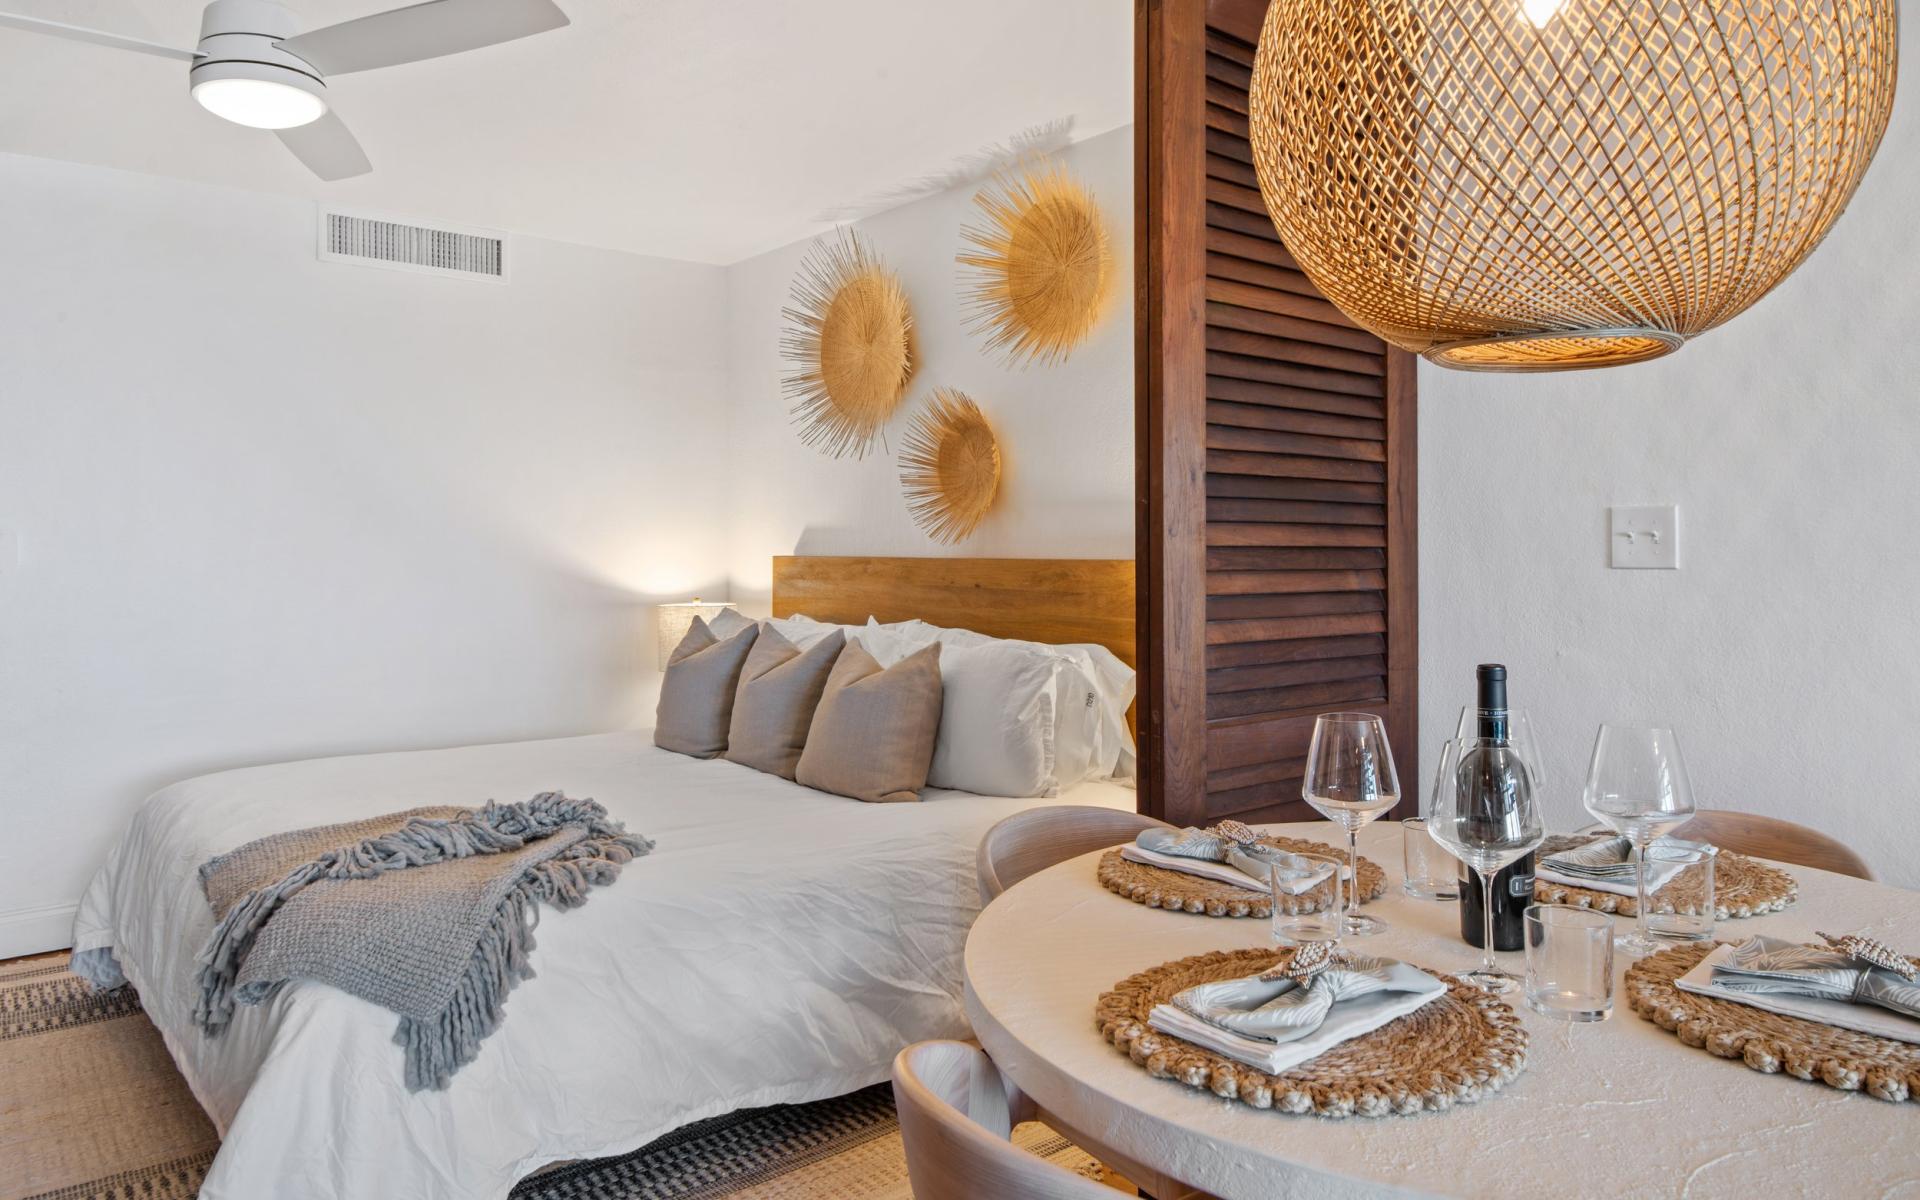
- Improve real estate photos
- Enhance architectural shots
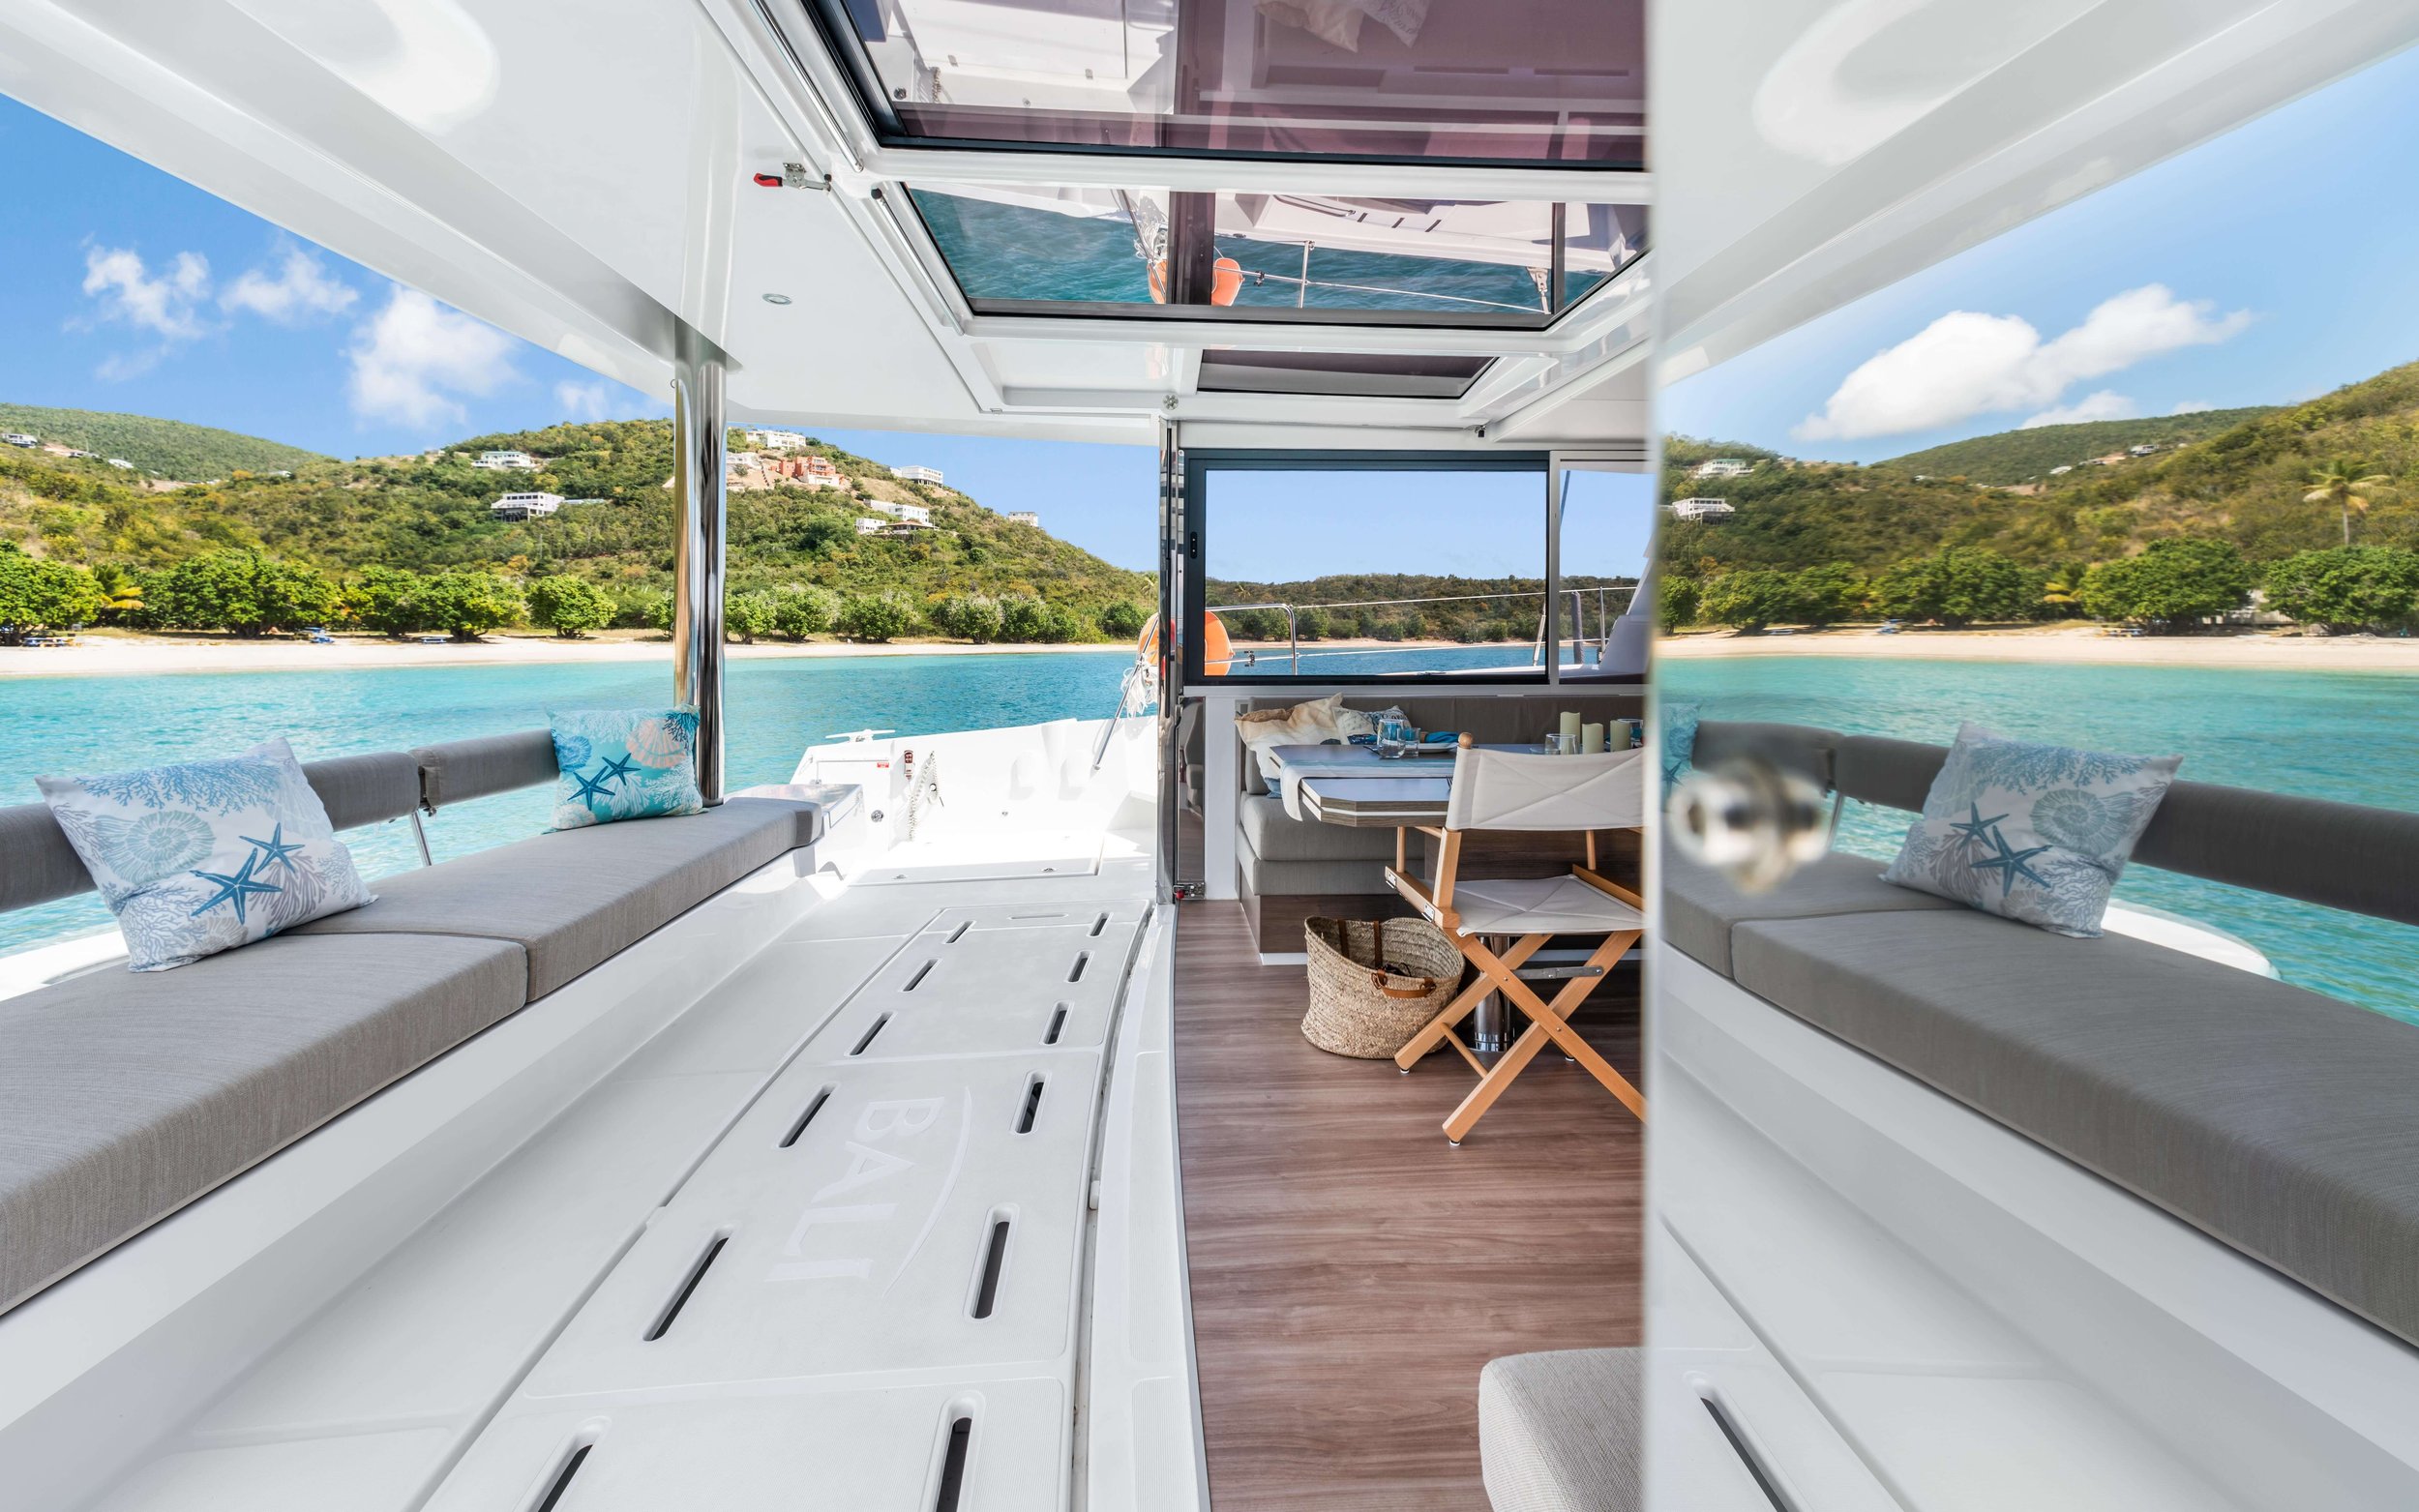
- Balance indoor and outdoor lighting
- Add depth and realism to dramatic scenes
When done correctly, HDR images look natural, sharp, and visually powerful. When done poorly, they can look overly edited or unrealistic. The key is balance.
Step 1: Choose the Right Scene
HDR works best in high-contrast environments. Ideal situations include:
- Sunrises and sunsets
- Interiors with bright windows
- Cityscapes at dusk
- Landscapes with deep shadows
Avoid scenes with fast-moving subjects like people or vehicles unless your camera supports fast HDR processing.
Step 2: Use the Right Equipment
You do not need the most expensive gear, but you do need stability and control.
Essential tools include:
- DSLR or mirrorless camera
- Tripod
- Remote shutter release or timer
- Editing software like Adobe Lightroom or Adobe Photoshop
A tripod is crucial because you will be taking multiple exposures of the exact same frame. Even slight movement can cause ghosting.
Step 3: Shoot in Manual Mode
Professional HDR Photography requires control over exposure settings.
- Set your camera to manual mode.
- Choose a low ISO to avoid noise.
- Set your aperture (usually f/8 to f/11 for landscapes).
- Adjust shutter speed for different exposures.
Typically, you will take three shots:
- One underexposed
- One correctly exposed
- One overexposed
Many cameras have an auto exposure bracketing feature that makes this process easier.
Step 4: Keep the ISO Low
Noise becomes very noticeable in HDR images because shadows are lifted during editing. Always aim for ISO 100 or the lowest native setting of your camera.
If the scene is dark, use a tripod instead of increasing ISO.
Step 5: Merge Your Images Properly
After capturing your bracketed images, import them into your editing software.
In Lightroom:
- Select your images
- Right-click and choose “Photo Merge”
- Select “HDR”
- Adjust deghost settings if necessary
In Photoshop:
- Go to File
- Automate
- Merge to HDR Pro
The goal is to create a natural look. Avoid pushing clarity, saturation, and contrast too far.
Step 6: Avoid the Overprocessed Look
One of the biggest mistakes beginners make in HDR Photography is over-editing.
Signs of overprocessing include:
- Halos around buildings or trees
- Unrealistic colors
- Excessive contrast
- Flat-looking shadows
Professional HDR should enhance reality, not distort it. Subtle adjustments always look more refined.
Step 7: Pay Attention to Composition
HDR does not fix poor composition. Apply classic photography rules such as:
- Rule of thirds
- Leading lines
- Framing
- Symmetry
Strong composition combined with proper HDR blending creates stunning professional results.
Step 8: Practice and Refine Your Style
Every scene is different. Experiment with:
- Three exposures versus five exposures
- Different shutter speed intervals
- Various editing intensities
Over time, you will develop a signature look that feels polished and professional.
When to Avoid HDR Photography
Although HDR is powerful, it is not always necessary.
Avoid HDR when:
- The lighting is already balanced
- You want a moody silhouette
- The scene contains a lot of movement
- You aim for a minimal or cinematic style
Sometimes a single well-exposed shot works better than multiple blended exposures.
Final Thoughts
Mastering HDR Photography takes patience, precision, and creative judgment. When executed correctly, it helps you capture detail in both highlights and shadows, producing images that look dynamic and professional.
If you want your real estate, vacation rental, or commercial spaces to stand out with expertly crafted visuals, trust the professionals at MediaBoost.VI. Their expertise in HDR Photography ensures every image is sharp, balanced, and visually compelling.
FAQs
1. Is HDR Photography suitable for beginners?
Yes. Most modern cameras have built-in bracketing features, and editing software makes merging simple. With practice, beginners can quickly achieve professional-looking results.
2. How many exposures are ideal for HDR?
Three exposures are standard for most scenes. However, extremely high-contrast scenes may require five or more exposures.
3. Does HDR Photography reduce image quality?
If done properly using low ISO and stable shooting techniques, HDR can actually improve overall image quality by preserving details in both shadows and highlights.


Sign in to leave a comment.