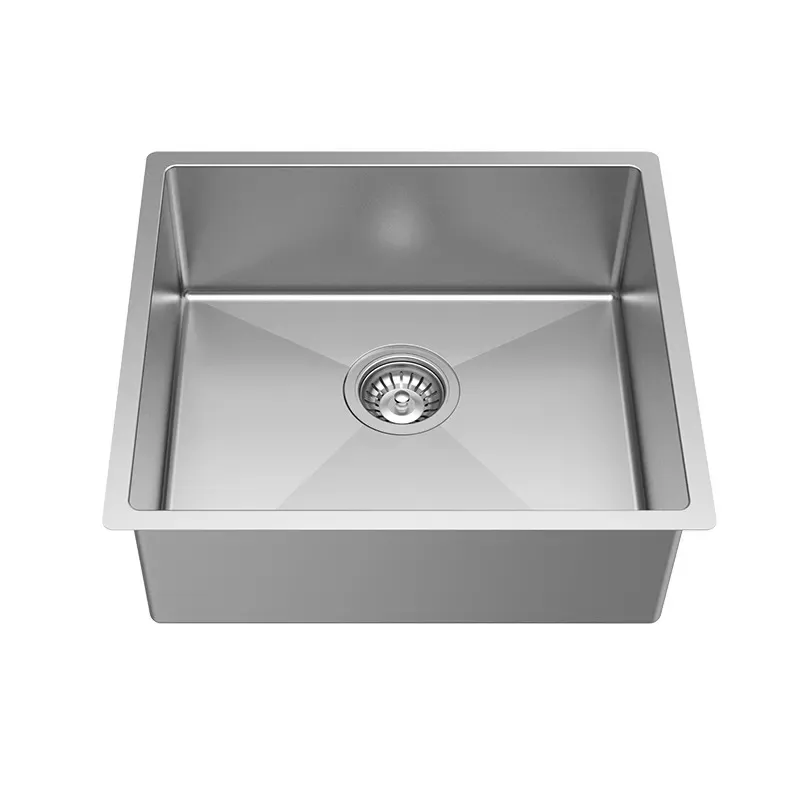

TThere is a good reason why undermount kitchen sinks are incredibly popular in modern Australian home renovations. If you are currently hunting for a premium undermount kitchen sink near me to completely overhaul your food prep zone, you already know how incredible these flush-line fixtures look. By mounting the sink entirely underneath the benchtop surface, you eliminate that annoying, raised rim found on traditional drop-in sinks. It gives you a beautifully clean finish and lets you wipe breadcrumbs, food scraps, and liquids straight into the bowl without getting caught on a rubber seal.
However, because an undermount sink hangs directly beneath your stone or quartz benchtop, its entire structural stability relies on hidden mechanical support and flawless sealing. It has to hold the weight of a full water basin, heavy cast-iron pots, and garbage disposal units without shifting even a single millimeter.
Many enthusiastic DIYers treat an undermount installation like a standard drop-in swap, which almost always leads to sagging bowls, ruined cabinetry, and hidden water leaks. Let’s break down the five most common installation mistakes we see at Bright Renovation—and exactly how you can avoid them to ensure a professional finish.
1. Relying Entirely on Silicone to Hold the Weight
The single biggest error a DIYer can make is assuming that a thick bead of silicone adhesive is strong enough to keep a heavy kitchen sink attached to the underside of a benchtop long-term.
Silicone is an incredible waterproofing sealant, but it is not a structural load-bearing glue. Over time, the constant weight of water, heavy pots, and thermal expansion will stretch the silicone bond, causing the sink to drop away from the stone.
Use Dedicated Mounting Clips and Rails
To do this right, your sink must be secured mechanically. You need to use heavy-duty undermount sink clips anchored directly into the stone using epoxy or specialized threaded inserts.
For large double-bowl stainless steel sinks or heavy granite composite models, your best bet is to build a custom timber support frame or install adjustable undermount support rails inside the cabinet base carcass. This ensures the physical weight rests securely on your kitchen cabinetry structure, not just on the adhesive line.
2. Neglecting the Benchtop Cutout and Overhang Layout
When you install a drop-in sink, the rim covers the raw edges of your benchtop cutout. With an undermount setup, those edges are completely exposed to view, meaning your cutout needs to be mathematically perfect.
DIYers often cut the stone or timber hole without deciding on their reveal style first. You have three structural choices:
- Positive Reveal: The benchtop sits back slightly, exposing a small fraction of the flat stainless steel sink rim.
- Zero Reveal: The benchtop edge sits completely flush with the vertical walls of the sink basin.
- Negative Reveal: The benchtop overhangs the sink bowl slightly on all sides, hiding the rim entirely from view.
If you don't communicate this exactly with your stone fabricator or cut your timber benchtop with absolute precision, you’ll end up with uneven lines that catch mold and soap scum. At Bright Renovation, we always provide exact cutout templates with our premium kitchen and laundry sinks to eliminate this exact stress.
3. Applying the Wrong Type of Sealant
To prevent water from seeping into your kitchen cabinets, the seam between the top of the sink rim and the underside of the benchtop must be 100% waterproof. Many DIYers pick up generic building adhesives or cheap construction caulks from the back of their garage.
Standard caulks break down quickly when exposed to dish soap, grease, and hot liquids. If the seal fails, water will slowly creep backward, warping your cabinet timbers and triggering hidden mold growth.
Professional Installer Tip: Always use a premium, 100% neutral-cure sanitary silicone that contains built-in anti-fungal mold inhibitors. Clean both surfaces thoroughly with isopropyl alcohol before applying the bead, and let the silicone cure fully for at least 24 hours before filling the sink or attaching plumbing traps.
4. Failing to Coordinate Your Whole-Home Finishes
A high-end kitchen refresh shouldn't look isolated from the rest of your home's architectural language. If you are hunting down a premium undermount kitchen sink near me to achieve a sleek, flush-line aesthetic, you want to carry that design discipline into your wet areas too.
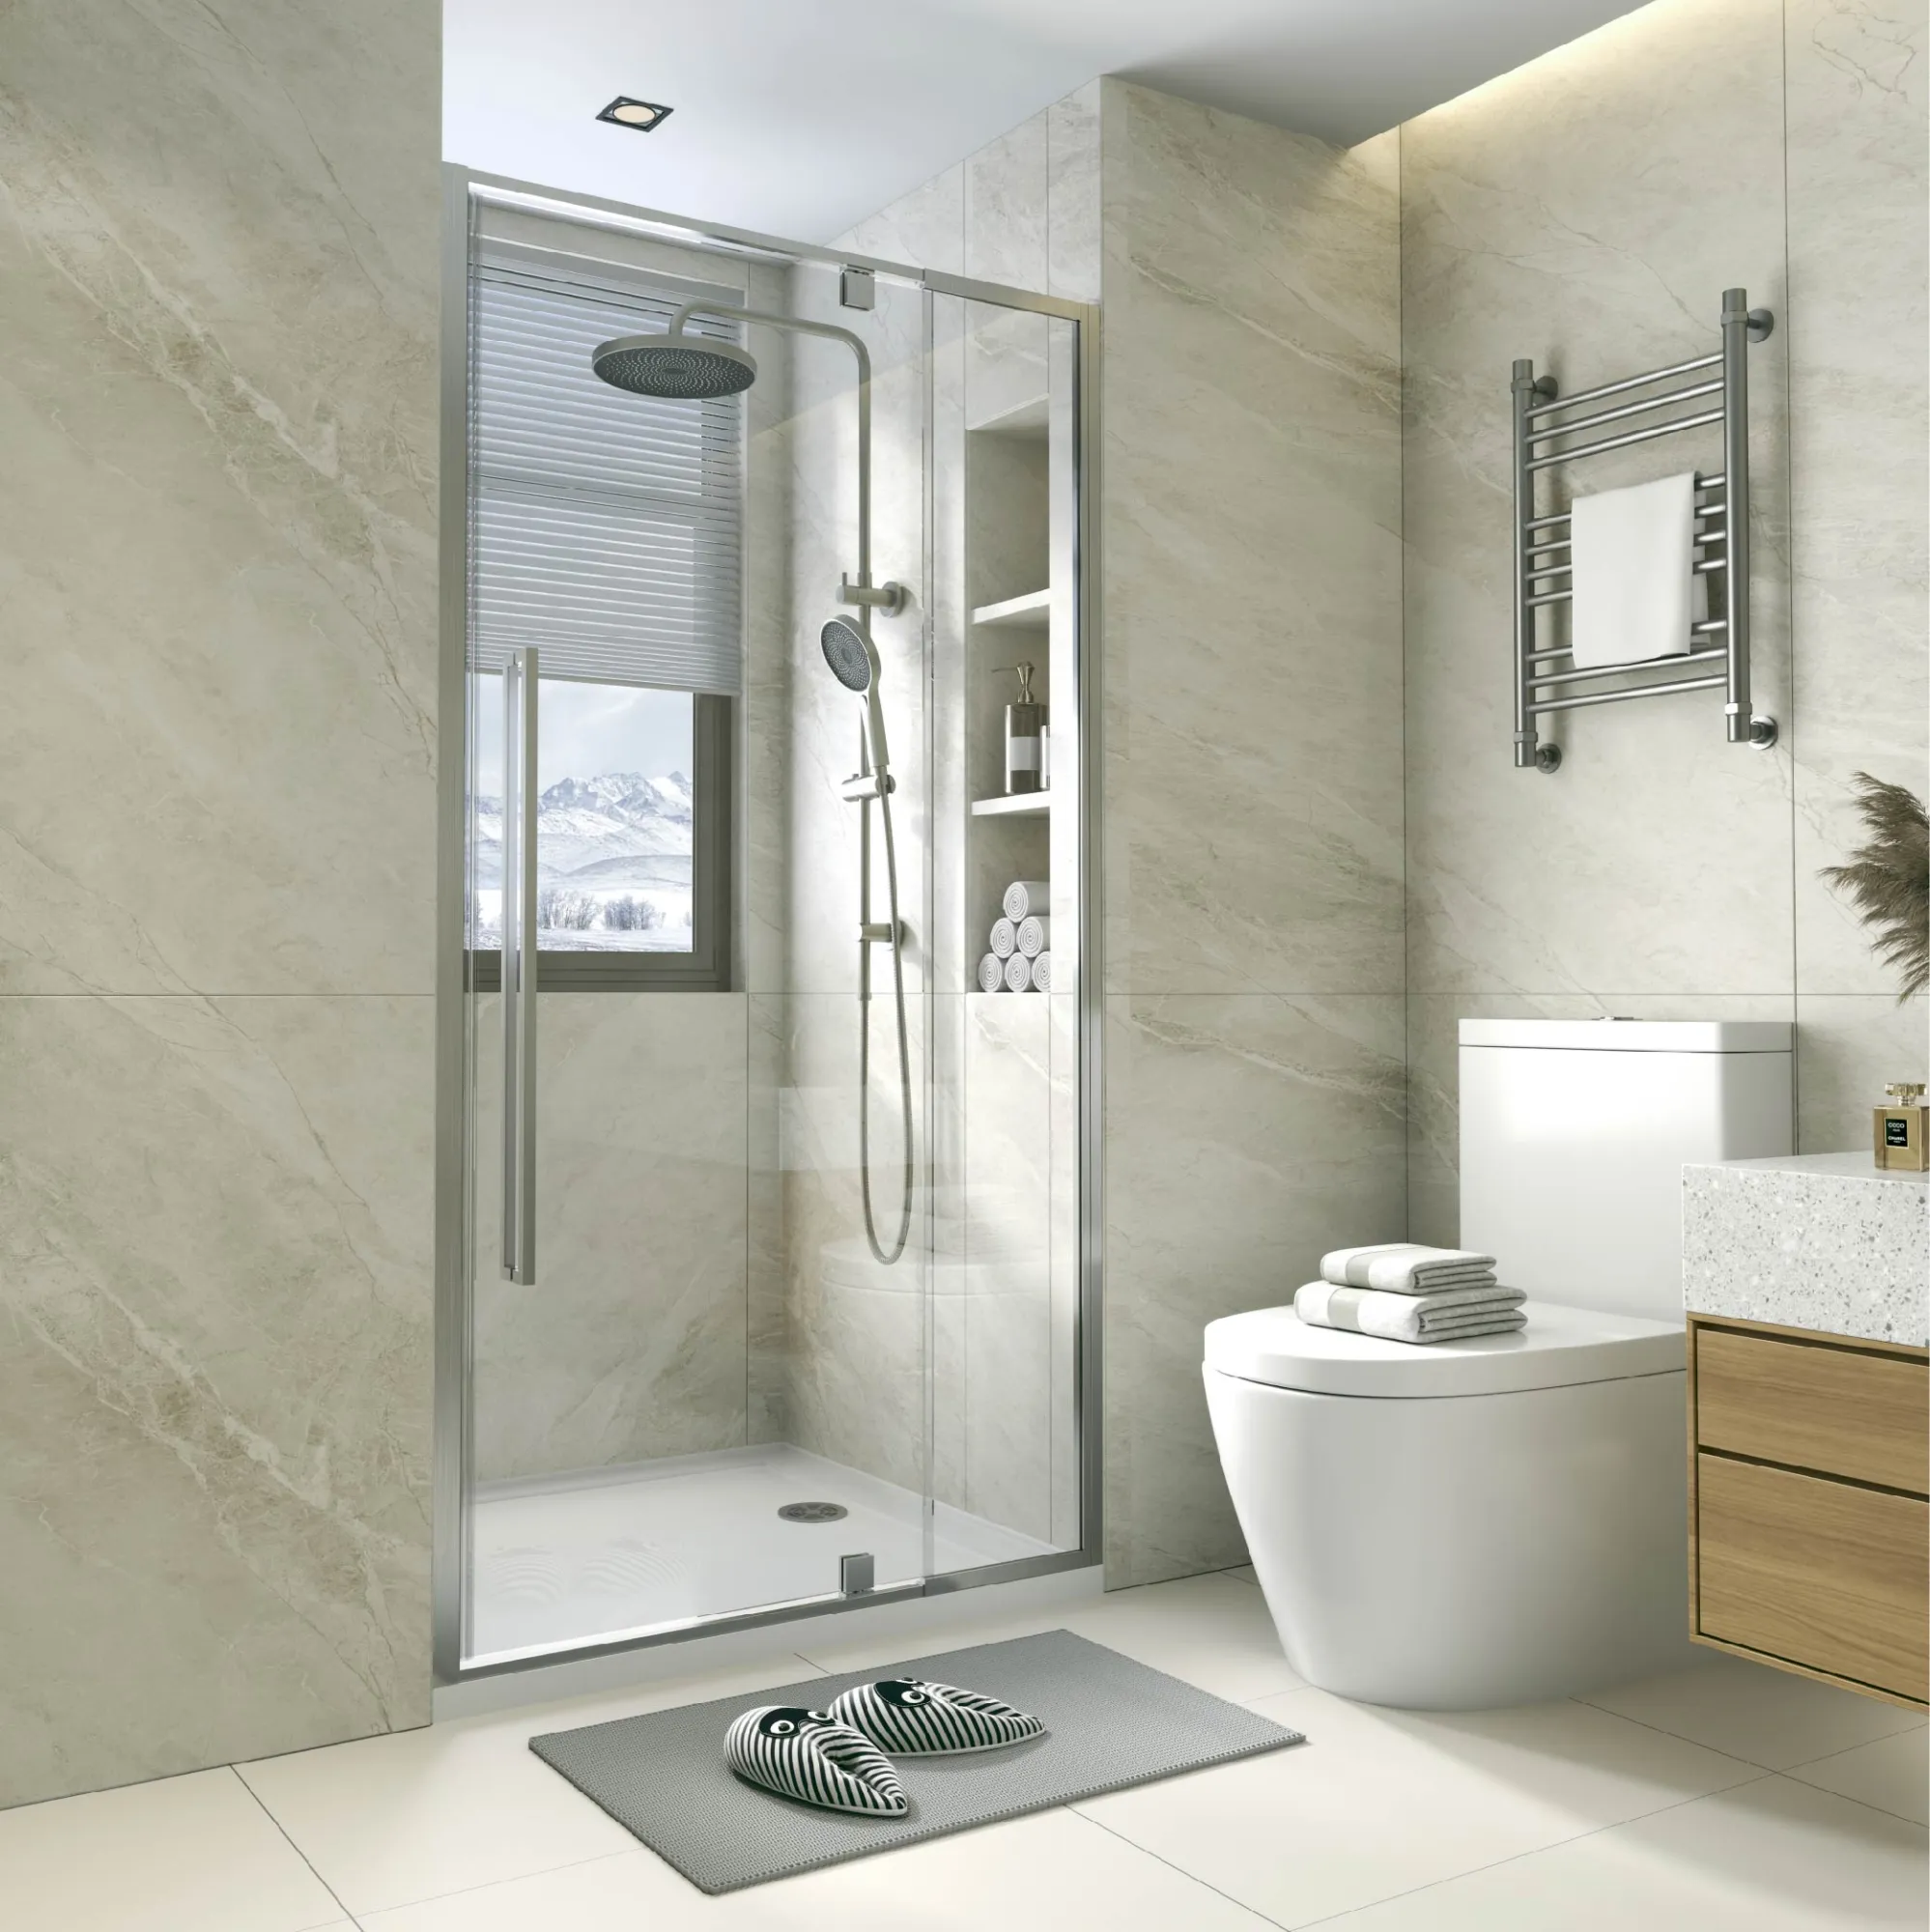
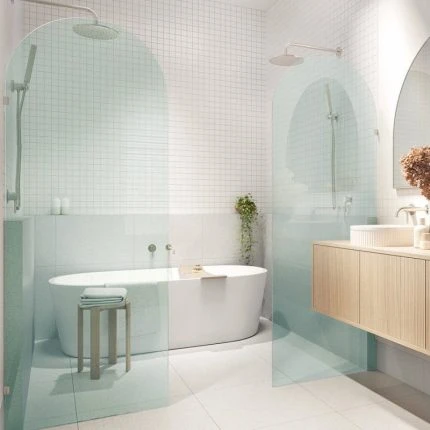
For instance, the clean, zero-rim philosophy of an undermount sink pairs perfectly with minimalist bathroom layouts. If you are updating your ensuite alongside your kitchen, dropping by a showroom to look at matching minimalist vanities melbourne collections helps anchor the entire design theme of your house.
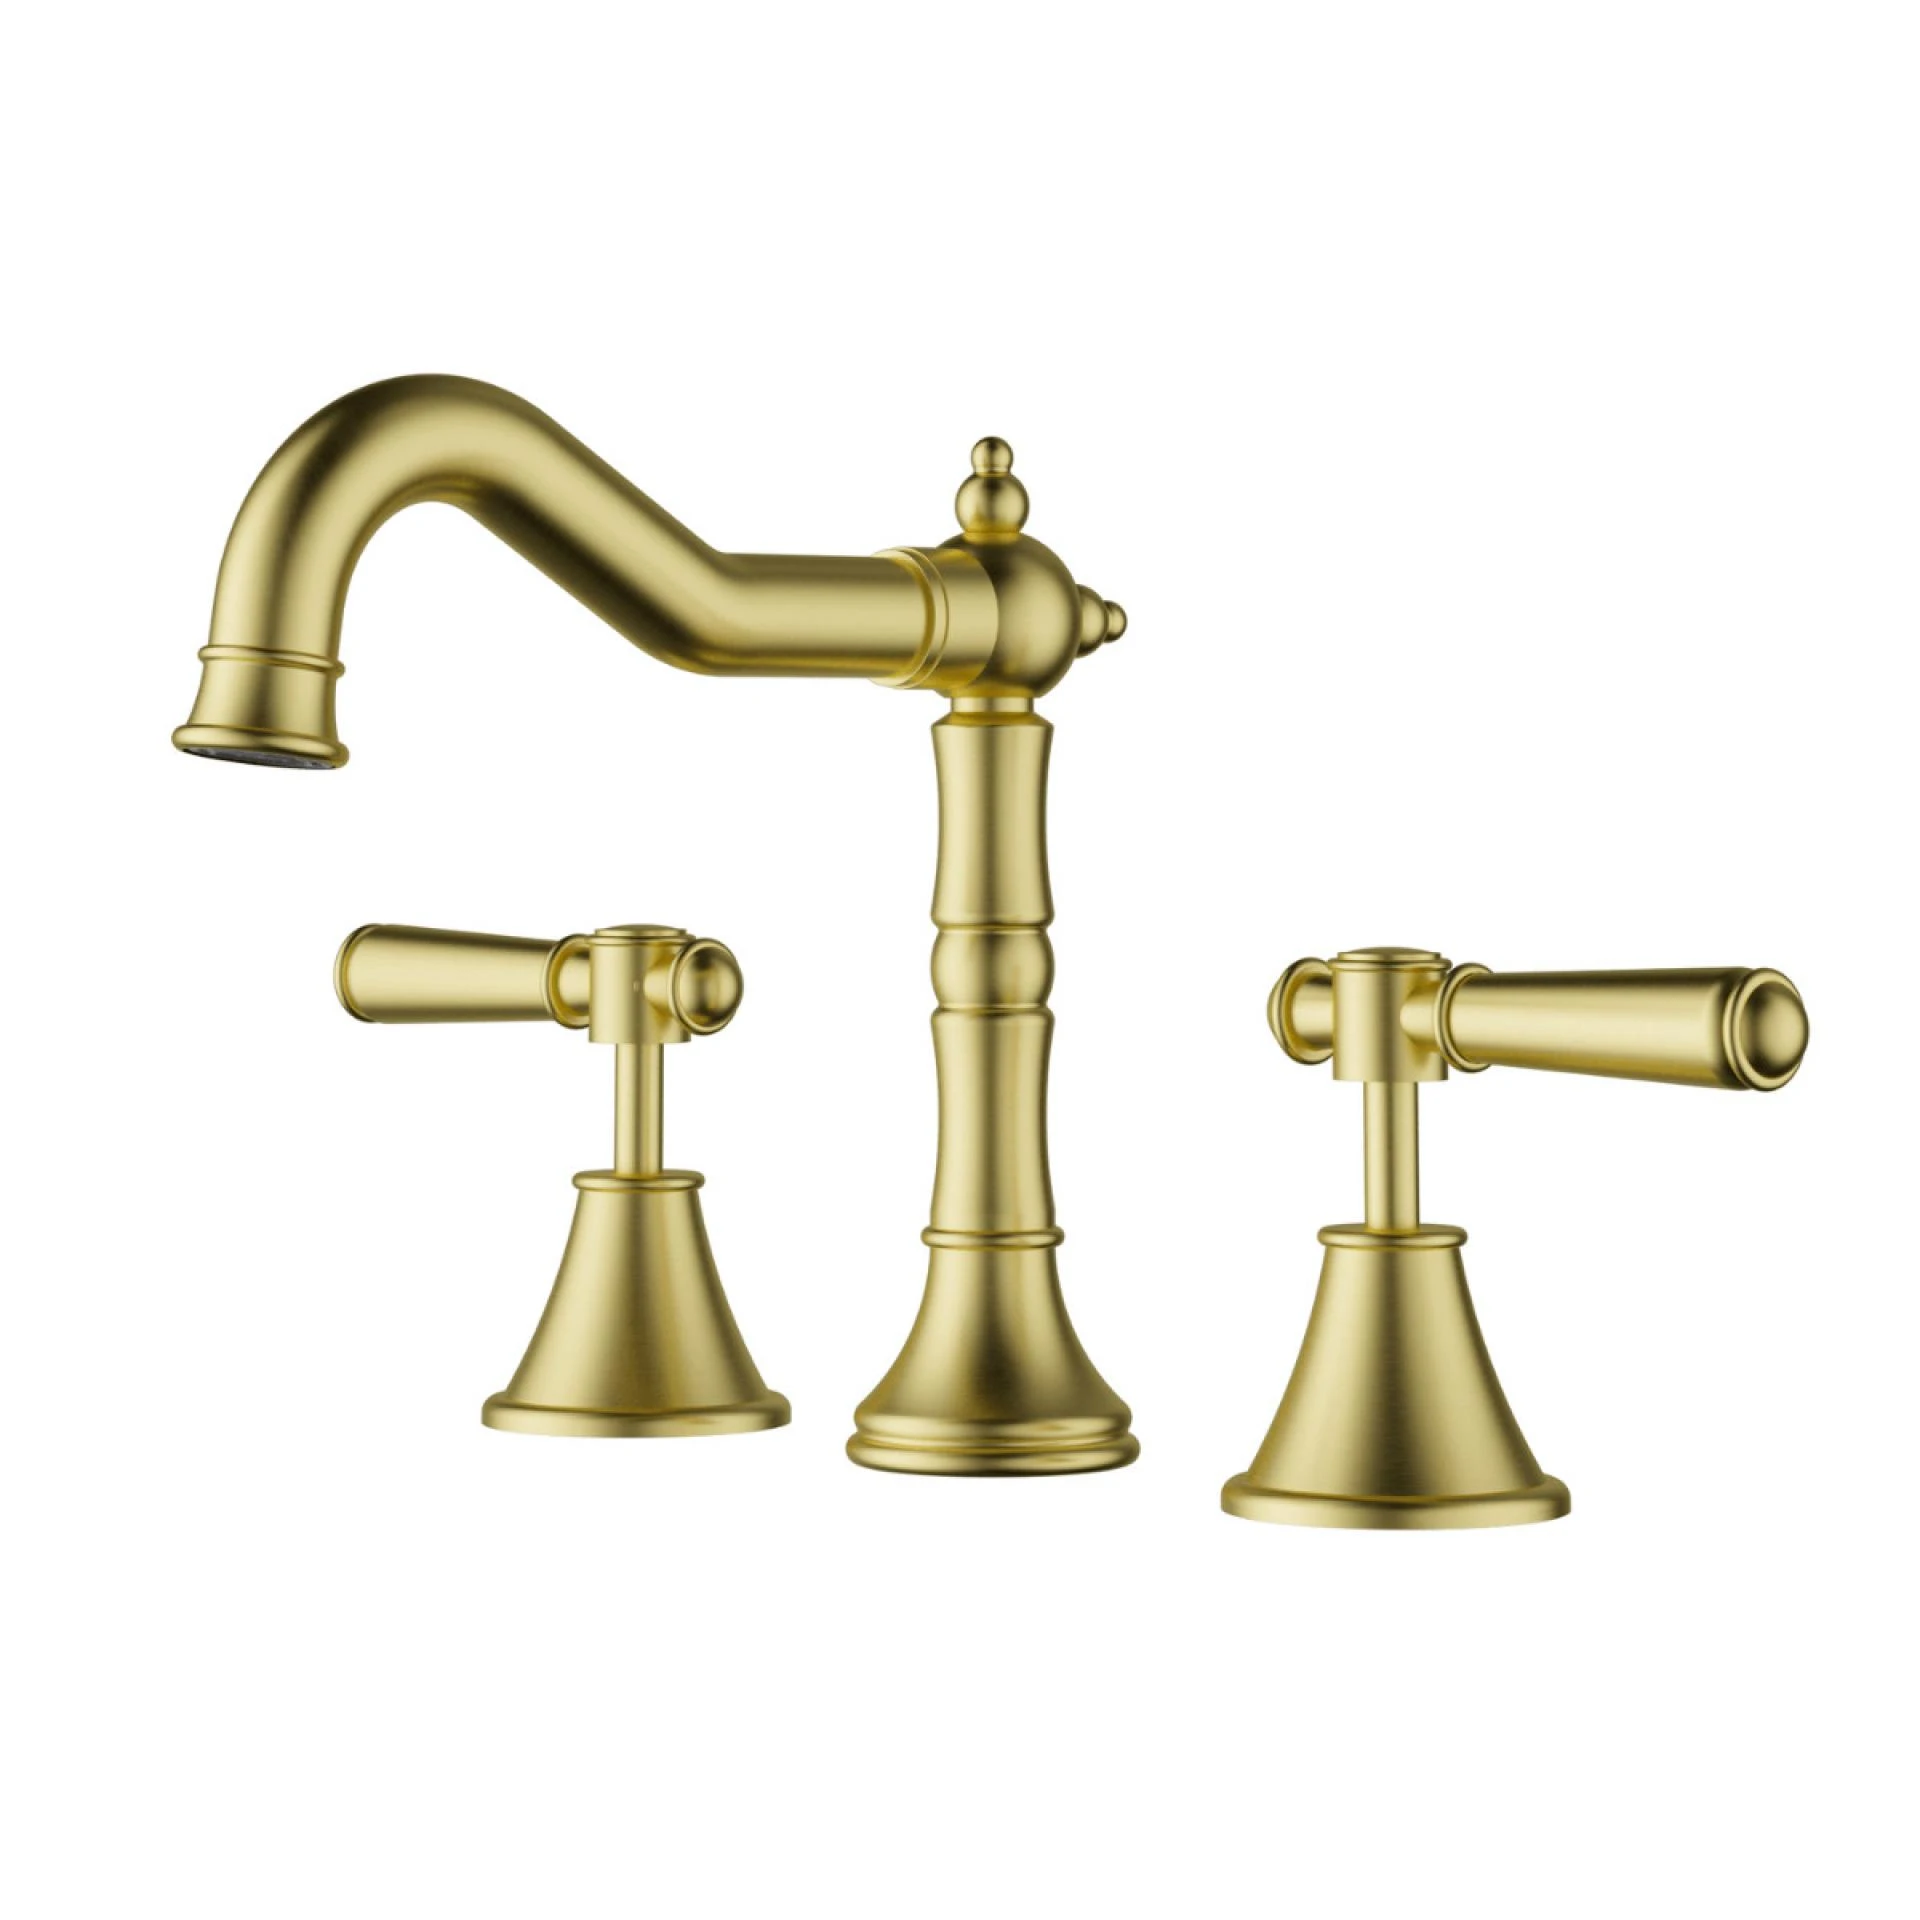
To create a striking, cohesive visual loop across both zones, consider pairing your kitchen’s clean lines with a striking wall-mounted faucet. Sourcing a matching geometric or organic wall basin mixer Melbourne set ensures your bathroom washing areas echo the premium, clutter-free luxury of your new kitchen workspace.
5. Installing the Plumbing Lines and Traps Too Early
It is incredibly tempting to bolt your waste pipes, P-traps, and garbage disposal units onto the sink basket before lifting the entire assembly into the cabinet box. It seems easier because you have plenty of room to work with outside the tight cabinet base.
However, adding this extra weight makes the sink incredibly awkward to lift, level, and clamp into position while your silicone is wet. Worse yet, if you bump the pre-installed PVC plumbing lines while maneuvering the sink, you can crack the delicate plastic seals or dislodge the sink basket assembly entirely.
- Mount the shell first: Clamp, clip, and frame the empty sink shell into its final position underneath the benchtop.
- Let it cure: Leave the mounting system to sit undisturbed overnight so the adhesive cures fully.
- Hook up plumbing last: Once the sink is structurally locked in place, crawl inside the cabinet to hook up your waste lines, water hoses, and mixer tapware.
Actionable Checklist for DIY Success
Before you apply your first bead of silicone, make sure you can check off these critical steps:
- Do you have the physical template? Always use the exact manufacturer cutout guide provided with your Bright Renovation sink.
- Have you pre-drilled your clip anchors? If using stone or quartz, drill your clip anchor holes into the underside of the slab before the stone is lowered onto the cabinets.
- Is your cabinet frame reinforced? Build internal timber ledger support cleats if you are installing a heavy double-bowl sink.
- Is your plumbing layout clear? Ensure your drain pipe height matches the deep profile drop of your new undermount layout.
The Takeaway
Upgrading to an undermount kitchen sink is a fantastic way to modernize your home and elevate your daily cooking space. But to protect your cabinetry and benchtops, you must step past generic shortcuts. Anchor the sink mechanically with clips or rails, apply high-quality neutral-cure silicone, and map out your cutout line before making a single cut.
If you want to avoid structural mistakes, start with the right hardware. Skip the generic retail warehouses and visit a dedicated Bright Renovation showroom in Ringwood or Dandenong South. Our specialist team will guide you through our durable kitchen and laundry sink collections, hand you the exact technical specification blueprints, and make sure you leave with everything required for a flawless installation.
Frequently Asked Questions
What are the benefits of installing an undermount kitchen sink?
Undermount kitchen sinks provide a sleek and modern appearance by eliminating the raised rim found in traditional drop-in sinks. This design allows for easy cleaning, as food scraps can be wiped directly into the sink without obstruction, enhancing the overall aesthetic and making the kitchen appear more spacious.
What are the common mistakes when installing an undermount sink?
Common installation mistakes include relying solely on silicone for support, neglecting precise cutout measurements, and using inadequate sealants. These errors can lead to structural issues, leaks, and an unsightly finish, emphasizing the importance of following proper installation techniques.
How do I ensure my undermount sink won't sag over time?
To prevent sagging, use heavy-duty undermount sink clips or rails for mechanical support, and ensure your cabinet frame is reinforced to handle the sink's weight. Avoid relying solely on adhesive, as it can stretch and weaken over time.
What type of sealant should I use for an undermount sink installation?
It's crucial to use a premium, 100% neutral-cure sanitary silicone that includes mold inhibitors. This sealant is designed to withstand exposure to common kitchen elements like grease and heat, ensuring a watertight seal that prevents water from damaging your cabinetry.
Can I install the plumbing before mounting the sink?
It's not advisable to install plumbing lines and traps before mounting the sink, as this can make the sink difficult to lift and level. Instead, mount the sink first, allow it to cure, and then connect the plumbing to avoid damaging any components.
How important is the cutout layout for an undermount sink?
The cutout layout is critical because the edges will be visible once the sink is installed. A precise cutout ensures a clean finish and prevents issues such as mold buildup, making it essential to communicate your desired reveal style to the fabricator.
What should I consider when choosing an undermount sink for my kitchen?
When selecting an undermount sink, consider the weight of the sink, the material of your benchtop, and the overall design of your kitchen. It's also vital to choose a sink that complements your cabinetry and meets your functional needs, such as size and bowl configuration.



























Sign in to leave a comment.