Pottery is one of those hobbies that looks calm from the outside and feels surprisingly technical once your hands hit the clay.
If you’re weighing up beginner pottery workshop sessions, the goal isn’t to find the “perfect” class—it’s to choose a session that fits your learning style so you leave feeling capable, not confused.
Melbourne has plenty of options, but the best first session is the one that sets expectations clearly, keeps the pace friendly, and makes it easy to come back for a second round.
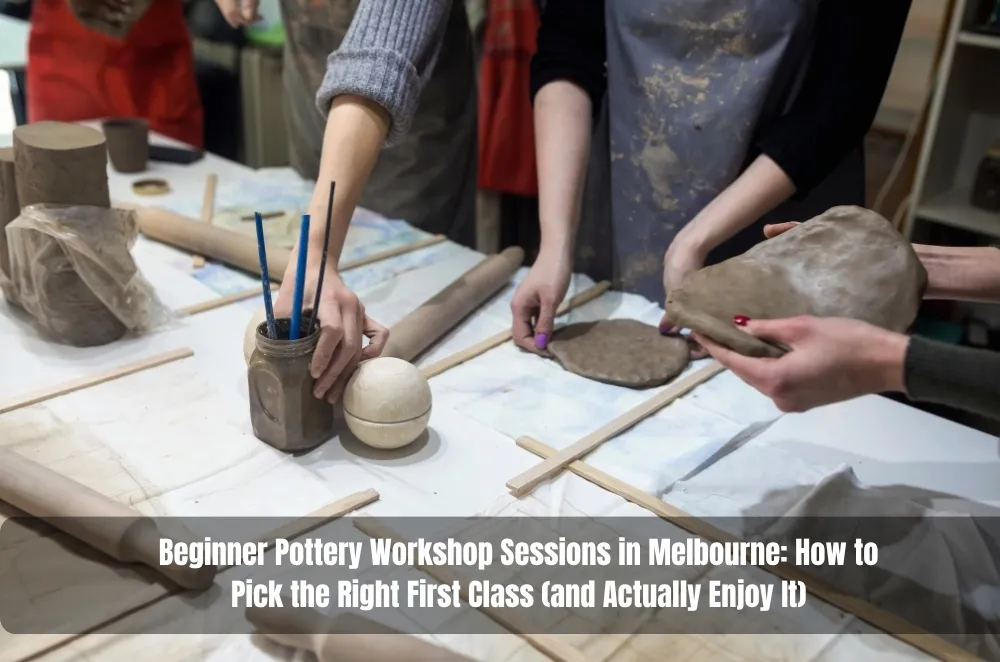
What happens in a beginner workshop, step by step
Most beginner sessions start with a quick orientation: where to put your things, how the studio runs, and what “good clay handling” looks like in that specific space.
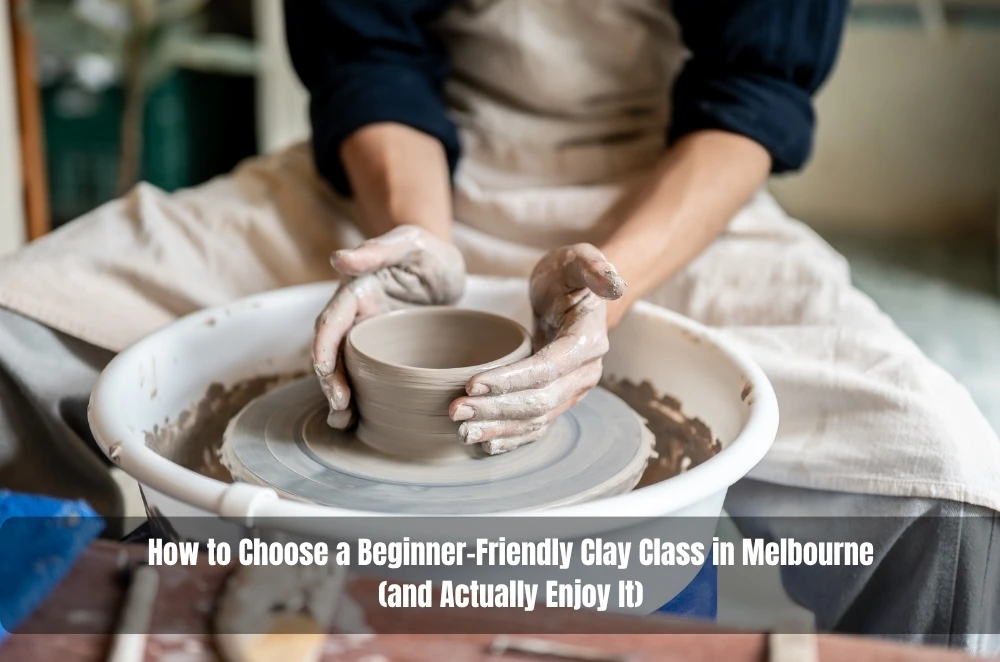
Then you’ll typically choose between hand-building (pinch, coil, slab) and wheel throwing, or you’ll do a light taste of both if the session is designed as an intro.
Hand-building is usually the smoother on-ramp because you can pause, adjust, and refine without the extra variable of a spinning wheel.
Wheel throwing can be instantly addictive, but centring is its own skill, and the first class is often about learning the feel rather than making something you’d gift.
Expect a short demo, then lots of hands-on time, with the instructor moving around to correct posture, hand placement, pressure, and moisture.
You’ll also get the “what happens next” rundown: drying, trimming, bisque firing, glazing, glaze firing, and collection timelines.
Common mistakes first-timers make (and how to avoid them)
The biggest mistake is booking based on the finished photo you want, rather than the process you’ll actually enjoy doing for an hour or two.
Another common one is assuming “beginner-friendly” means “no effort required,” when in reality it means the effort is guided and broken into doable steps.
People often wear sleeves or jewellery that constantly catch clay, which is a fast way to feel annoyed instead of absorbed.
Beginners also tend to overwork the clay, especially in hand-building, which can lead to cracking because the clay gets stressed and dries unevenly.
On the wheel, many people grip with fingertips and force the clay, when steadier contact from the whole hand and a calmer posture usually works better.
Joining pieces without proper scoring and slipping is a classic heartbreak because it can look fine during the session and fail later as it dries.
Glazing gets misunderstood as “painting,” but it’s closer to controlled coating with rules, so the smoothest first experience is one where glazing expectations are explained upfront.
Decision factors: choosing the right session for your first go
Start with the format that matches your motivation: hand-building if you want a calm win, wheel throwing if you’re happy to practise a foundational skill repeatedly.
Class length matters more than it seems, because demos, questions, and cleanup can swallow time, and short sessions sometimes feel rushed.
Look at group size and instructor attention, since one timely correction can save you from spending the whole class repeating the same mistake.
Check what the session includes: clay, tools, apron, firing, glazing, and pickup, because “included” varies widely between studios and changes the real value.
Think about the studio’s systems for labeling and storing work, because pottery is a multi-visit process even when the workshop itself is a one-off.
Also consider the vibe you’ll thrive in: some studios are quiet and focused, others are social and chatty, and the wrong match can make it harder to return.
If you want the hobby to stick, prioritise a workshop you could realistically do again within two weeks, because momentum is a bigger teacher than intensity.
Wheel vs hand-building: which should a beginner choose?
Hand-building is usually best for people who want control and time to think, because you can slow down and refine shape without managing speed.
It’s also a great choice if you’re more interested in forms like trays, planters, sculptural pieces, or anything slab-based.
Wheel throwing tends to suit beginners who enjoy repetition and don’t mind “messy practice” before they get a clean result.
If the wheel is the dream, the best first class is one that frames success as learning the steps—centring, opening, pulling, shaping—rather than producing a perfect cylinder.
If you’re unsure, choose a workshop that clearly states what you’ll make and what stage you’ll reach by the end, because clarity reduces anxiety.
Operator Experience Moment
In studios, the biggest confidence shift happens when beginners learn that “collapse” isn’t failure—it’s feedback about moisture, speed, or pressure. I’ve seen first-timers relax the moment an instructor demonstrates a mistake on purpose, because it makes the learning feel normal instead of personal. The sessions that land best are the ones where the next step is always obvious and the room feels safe to try, adjust, and try again.
Local SMB Mini-Walkthrough
A café owner in Fitzroy books a weeknight session as a screen-free reset after service.
A two-person agency in Southbank chooses a short workshop as a low-key team decompression.
A retail manager in Brunswick starts with hand-building to avoid the wheel’s steep first-day curve.
A tradie in Preston picks a weekend slot and treats it like a skills session, not an “art night”.
A clinic admin in Carlton asks about firing timelines so pieces can be gifted on schedule.
A startup founder in Cremorne chooses a recurring time because routine makes the hobby stick.
A simple first-actions plan for the next 7–14 days
In the next 48 hours, decide what you want from the first session: relaxation, skill-building, or making a specific object.
Within 3–5 days, shortlist two workshops by schedule and location, then pick the one you could actually attend again if you enjoy it.
Before the class, set one success metric that isn’t “make something perfect,” such as “learn to wedge clay,” “pull a wall without collapsing,” or “build a clean join.”
On the day, arrive a few minutes early, scan the workstation setup, and ask one practical question up front (tools, drying, glazing, firing, or pickup) so you feel oriented before you start.
After the workshop, take a quick photo of what you made and write one note on what worked, then book your next session within two weeks while the feel of the clay is still fresh.
What to wear, what to bring, and what to expect after the session
Wear clothes you can move in and don’t mind getting dusty, because clay finds its way onto sleeves, laps, and shoes.
Closed-toe shoes are a sensible default in a studio space, and tying hair back prevents the constant “clay fringe” problem.
If you can, keep nails short for your first class, because long nails make shaping and smoothing harder than most people expect.
Bring water for yourself, but keep drinks away from work surfaces unless the instructor says otherwise, because accidental spills can turn workable clay into a collapsing puddle.
Expect your finished piece to take time, because drying and firing schedules are real constraints, and studios have to batch work safely.
If you leave the class wanting “just one more go,” that’s a sign you picked the right entry point.
How to get more value from the first session (without overthinking it)
Choose one simple form and repeat it, because repetition teaches your hands faster than one complicated project.
If you’re hand-building, focus on clean joins and even thickness, since those two things prevent a lot of beginner cracking.
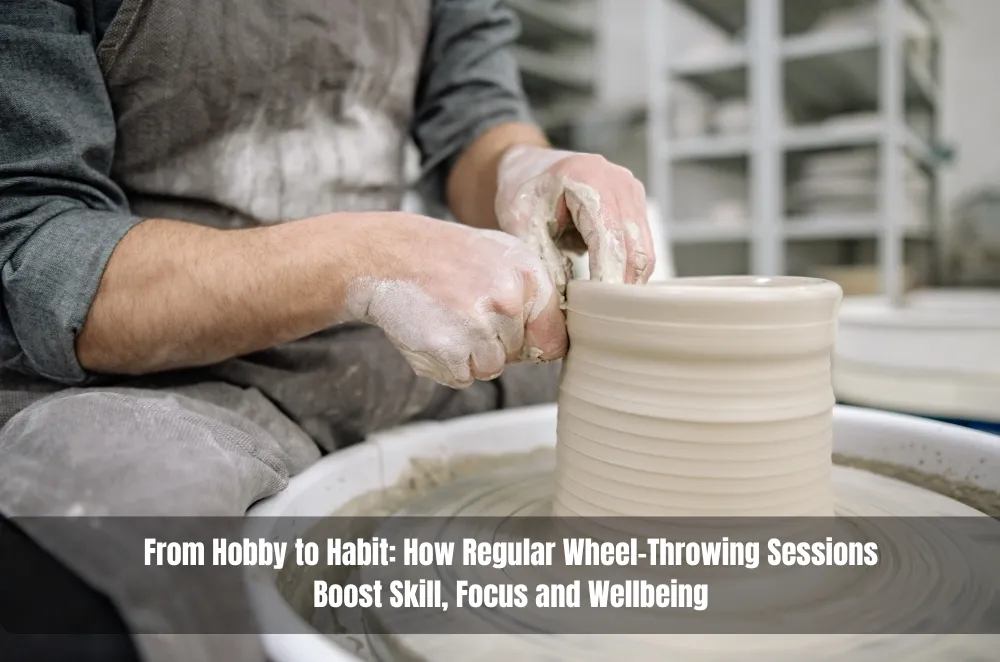
If you’re on the wheel, treat centring as the main event, because almost everything gets easier once centring feels less mysterious.
Ask for one correction early rather than waiting until the end, because small adjustments compound across the session.
Respect studio systems for tools, sponges, glazing, and cleanup, because shared spaces run well when everyone follows the same rules.
Practical Opinions
Start with hand-building if you want a calm first win.
Choose wheel throwing if you’re happy to practise basics over a few sessions.
Pick the workshop you can return to, not the one you can only do once.
Key Takeaways
- The best beginner workshop is the one that matches your learning style and sets expectations clearly.
- Hand-building usually delivers faster early wins; wheel throwing rewards patient repetition.
- Avoid common traps like overworking clay, weak joins, rushed centring, and unrealistic glazing expectations.
- Build momentum by booking a second session within two weeks and using simple, repeatable goals.
Common questions we hear from Australian businesses
Q: Is pottery a good team activity if some people “aren’t creative”?
Usually… it works best when the aim is shared experience rather than identical results. A practical next step is to choose a beginner-friendly format (often hand-building) and ask how the session is paced for mixed confidence levels. In Melbourne, weeknight bookings can be popular, so locking in a time that suits commutes helps.
Q: How long will it take to get finished pieces back?
It depends… on drying conditions, firing schedules, and whether glazing is included in the workshop. A practical next step is to ask what the typical turnaround is and what factors can delay it (kiln batching, humidity, peak periods). In Melbourne, cooler or wetter weeks can slow drying, which can shift firing timing slightly.
Q: Should a first-timer start on the wheel or with hand-building?
In most cases… hand-building is the easier first step, while the wheel is worth it if you’re excited to practise fundamentals beyond a single session. A practical next step is to choose based on what you’ll actually repeat: technique reps for wheel throwing, or form exploration for hand-building. In Melbourne, picking a studio you can return to without the trip becoming a hassle makes the wheel learning curve feel far more manageable.
Q: What should a business owner ask about before booking a workshop?
Usually… the most useful questions are what’s included (clay, tools, firing, glazing), how pieces are stored and labeled, and how collection works. A practical next step is to write down three questions and ask them before paying, so there are no surprises later. In Melbourne studios, inclusions and pickup processes vary, so a quick pre-check prevents frustration.


Sign in to leave a comment.