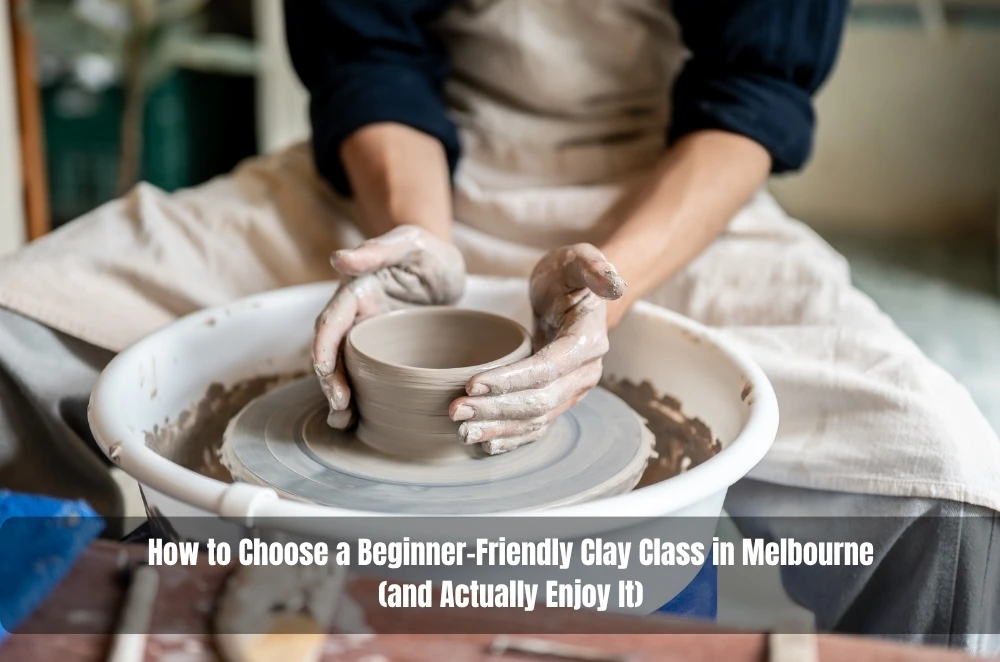
Melbourne is packed with creative things to do, but not all “beginner” clay classes feel beginner-friendly.
Some are brilliant: welcoming, clear, and structured so you can relax and make something you’re proud of.
Others leave first-timers confused, rushed, or quietly worried they’re “doing it wrong”.
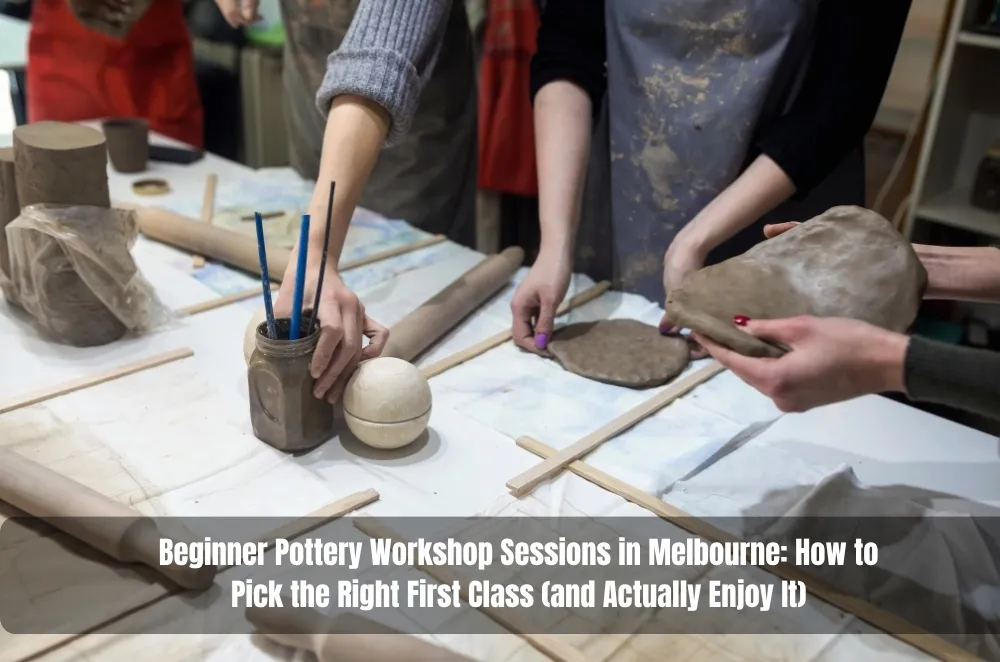
Hand-building is the easiest way to start because it doesn’t require mastering a wheel on day one.
You can focus on shaping, texture, and simple techniques that give fast wins without needing strong coordination or prior experience.
If the goal is a good night out (or a calm weekend reset), the class format matters as much as the clay.
Why hand-building is the easiest entry into ceramics
Hand-building is the umbrella term for making forms without a pottery wheel.
It’s tactile, forgiving, and naturally suited to beginners because you can pause, rework, and adjust as you go.
Most beginner-friendly hand-building classes teach a mix of three core methods:
- Pinch: shaping a small form by pinching clay between fingers
- Coil: stacking “ropes” of clay and smoothing them into walls
- Slab: rolling flat sheets and assembling them into structured shapes
You don’t need a “creative personality” to enjoy this.
You just need a class that sets expectations, explains the steps, and gives you enough time to experiment.
What “good” looks like in a beginner class
A good beginner class removes decision fatigue.
Instead of throwing you into endless options, it gives you a few clear outcomes and the support to reach one of them.
Look for these signals:
- Clear project scope: one or two achievable items (not a long list of “maybe”)
- Demonstrations you can actually see: step-by-step, with time to copy each stage
- Teacher-to-student attention: someone notices problems early (cracks, thin walls, weak joins)
- Time for finishing: smoothing edges, adding texture, and cleaning up the form
- What happens after class is explained: drying, firing, glazing, and when you collect your piece
The best classes also normalise imperfection.
Clay is a learning material, not a test.
Common mistakes first-timers make (and how to avoid them)
Mistake 1: Choosing a class that’s too open-ended.
Unlimited “make anything!” sounds fun until you’re staring at a lump of clay with no plan.
Pick a class with a defined pathway and optional variations.
Mistake 2: Making walls too thin too early.
Beginners often chase elegance before structure.
Aim for “sturdy and smooth” first; refinement comes later.
Mistake 3: Skipping proper joins.
If you’re attaching a handle or building up walls, “sticking it on” isn’t enough.
Good classes teach scoring and slipping (or an equivalent joining method) and check your joins.
Mistake 4: Overworking wet clay.
Clay gets tired—too much fiddling can cause slumping or cracking.
A teacher who encourages pauses (and shows how to fix small issues) will save your piece.
Mistake 5: Wearing the wrong outfit and feeling self-conscious.
You don’t need special gear, but sleeves that stay out of the way and shoes you don’t mind getting dusty help.
Arriving comfortable makes you more willing to try, fail, and try again.
Decision factors: choosing the right class for you
The “right” class depends on why you’re going.
Is it a solo reset, a date night, a group celebration, or a way to build a new hobby?
Here are the decision factors that make the biggest difference:
Class structure and vibe
Some classes are quiet and focused; others are social and chatty.
Neither is better—just match it to the mood you actually want.
If you’re going with friends or as a couple, choose a session that’s designed to be enjoyable even if nobody becomes “good at ceramics” that day.
If you’re going solo for skill-building, choose a class with more technique instruction and time for feedback.
What’s included and what you take home
This is where many people get surprised.
Clay workshops often involve steps after you leave (drying and firing), and sometimes glazing happens later.
If a class lists what’s included (materials, firing, glazing, and what you take home), it’s much easier to compare options calmly—here’s Diana Ceramic session overview as an example of the kind of detail to look for.
Group size and attention
A supportive teacher can transform your experience, but only if they can actually get to you.
If you’re nervous about being “bad at art,” prioritise smaller groups or formats that explicitly include guided help.
Timing and energy
Evening classes can be fantastic, but only if you’re not arriving depleted.
Weekend sessions often feel more spacious, which helps if you want the experience to be calming rather than “another task”.
Practical Opinions
Choose structure over endless options for a first class.
Prioritise inclusions and process clarity so there are no surprises later.
Pick the vibe you want to feel on the day, not the vibe you think you “should” choose.
A simple 7–14 day plan to get more from your class
If you want the session to be fun and not stressful, a little preparation goes a long way.
Days 1–2: Decide the outcome you want
Pick one: “a relaxed experience”, “a keepsake piece”, or “a first step into a hobby”.
This helps you choose the right class structure and avoid overloading yourself with expectations.
Days 3–5: Choose your project intention
Don’t over-design.
Think in categories: a small bowl, a mug-like cup (without worrying about perfect symmetry), a simple tray, or a vase form.
Days 6–7: Set yourself up for comfort
Wear clothes that can handle a bit of clay dust.
Bring a hair tie if needed, and arrive a few minutes early so you’re not flustered before you start.
Days 8–10: Learn one tiny technique you can lean on
If you’ve never touched clay, just knowing “keep walls even” and “join properly” is enough.
You don’t need a deep dive; you just need one or two guardrails.
Days 11–14: Plan your “after” moment
If your piece is fired or glazed later, put the pickup date or follow-up steps in your calendar.
This turns a nice night out into a complete experience, not a half-finished loose end.
Operator Experience Moment
In guided hand-building sessions, the biggest shift usually happens when someone stops trying to make the clay obey and starts working with it.
Once you accept that the first version is a draft, your hands relax and the shape improves almost immediately.
That’s also when small teaching cues—like compressing edges or strengthening joins—suddenly make sense.
A good class creates space for that moment without rushing you through it.
A local SMB mini-walkthrough for Melbourne
Start by searching for classes within the travel radius you’ll actually commit to on a weeknight.
Check session timing against peak traffic and public transport options, not just the suburb name.
Look for clear inclusions: clay, tools, firing, glazing, and what happens if your piece cracks in drying.
Scan photos for beginner-friendly outcomes (simple, sturdy forms), not only showcase work.
Confirm the cancellation/rescheduling policy—Melbourne plans change with weather, work, and family life.
Book a date that leaves you a buffer day, so the class feels like a treat, not a sprint.
Key Takeaways
- Hand-building is the easiest, most forgiving entry point into ceramics for beginners.
- The best first class is structured, clear about inclusions, and supportive of imperfect outcomes.
- Avoid open-ended formats unless you already have a project idea and confidence with materials.
- A little planning (comfort, timing, and a simple project intention) makes the experience far better.
Common questions we hear from Australian businesses
How do we choose a workshop that suits a mixed group (different ages and confidence levels)?
Usually a structured hand-building session works best because everyone can succeed at the same baseline project with personal variations.
A practical next step is to pick one “shared outcome” (for example, everyone makes a small bowl) and confirm the class can accommodate different pacing.
In Melbourne, it’s also worth checking travel time and start times so the group arrives settled rather than scattered.
Is a “social” workshop still worthwhile if we want people to learn something?
It depends on how the class balances instruction with atmosphere.
A practical next step is to look for a session that includes a short demonstration, guided checkpoints, and a clear finishing phase, rather than only free play.
In most Melbourne settings, even social workshops can teach solid basics if the group size and structure are right.
What should we ask about firing, glazing, and collecting finished pieces?
In most cases you’ll want clarity on what’s included, what happens after the session, and how collection works.
A practical next step is to ask: “Is firing included, is glazing included, and when/how do we pick up the piece?”
Locally, consider how easy it is for your team to return for collection (CBD vs inner suburbs vs further out) so it doesn’t become a logistical headache.
What if someone in the group is worried they’re “not creative”?
Usually that’s a sign they’ll benefit from more guidance and fewer choices.
A practical next step is to choose a class that starts with a simple template (shape + technique) and allows optional decoration for those who want it.
In Melbourne’s workshop scene, beginner-friendly classes are common—just prioritise those that describe the experience clearly and emphasise support over perfection.


Sign in to leave a comment.