
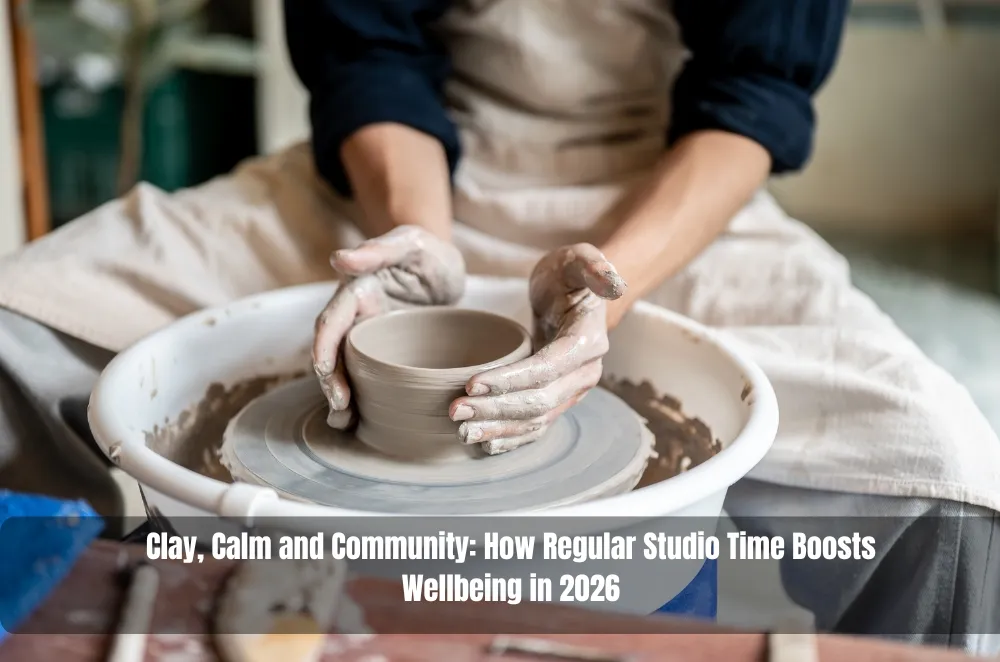
Clay rewards patience. It also punishes shortcuts. The first time I stepped into a pottery studio, I learned that safety and sustainability aren’t extras; they’re part of the craft. Good habits reduce risk, trim costs, and make making more enjoyable. In this guide, I share practical routines that have worked at the wheel and around the kiln—small tweaks you can adopt without buying anything new. We’ll look at workspace setup, materials and firing choices, daily workflows, and the little wins that add up over time. Nothing flashy, just a steady way to create with less waste and more care. Along the way, I’ll flag simple checklists, small fixes, and a few missteps I’ve made so you can skip them and keep your focus on the clay. It is simply practical, quiet, and kind to your future self.
Setting up a safer, greener workspace
A tidy bench and clear floor space do more for creativity than any gadget. Start with the basics and build from there, keeping traffic lines clear, cords tamed, and wet areas contained so the wheel zone stays focused; small, boring choices here remove friction you won’t even notice until it’s gone.
- Dust control: Mop or wet-wipe surfaces so particles don’t become airborne.
- Air movement: Ventilate gently and avoid blowing dry dust around the room.
- Tool storage: Keep sharp tools visible and outside the wheel’s splash zone.
- Ergonomic layout: Place heavy items at waist height to reduce strain.
After a long trimming day, I once tried sweeping dry and ended up coughing through the clean-up. Since then, I trap slurry, let it settle, and pour off clear water; it takes a little longer, but lungs, tools, floors, and clay all last longer, and the studio feels calmer for it, which in turn makes decisions at the wheel steadier and more deliberate.
Materials, glazes, and firing choices
Material decisions compound quickly. The clay body, the glaze chemistry, and the firing schedule all shape outcomes and impact, so a small change upstream often shows up as a big surprise when the kiln cools; treat each tweak like an experiment with notes, not a guess; small logs save big headaches later and make patterns obvious sooner.
- Clay selection: Choose bodies that mature within your usual kiln range.
- Glaze testing: Mix small test batches and note results before scaling up.
- Kiln programming: Use controlled ramps and holds to improve consistency.
- Waste capture: Settle glaze water in a bucket, then decant the clear layer.
I learned the hard way when a too-hot firing blistered a glossy set; the fix was patient testing and a slower cool with generous holds. For structured learning options and pathways, the creative industries ceramics provides a broad overview you can adapt without fuss, and it pairs well with a humble test tile routine, especially when kiln loads mix forms of different mass and thickness.
Habits and workflows that actually stick
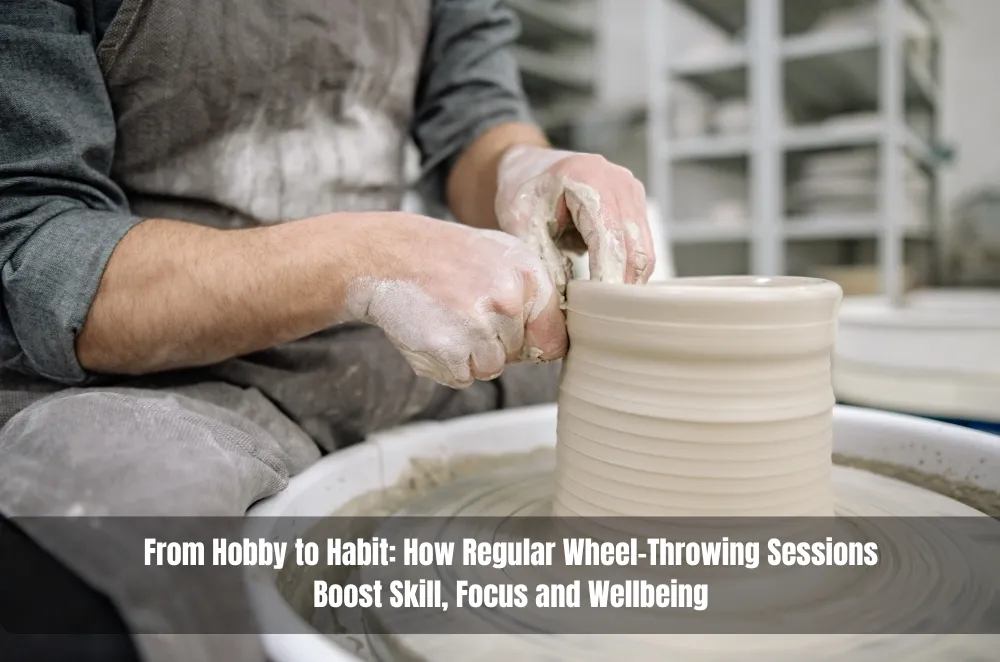
Ritual beats motivation. When each stage has a default routine, risks drop and pieces improve, and you can reserve attention for form and feel rather than firefighting; consistency becomes the quiet engine of progress; steady routines lower noise and lift the work day after day nicely.
- Prep window: Set a timer to clear the bench and lay out tools before throwing.
- Wet-clean loop: Finish by wiping wheel, bats, and trays with a damp sponge.
- Batch thinking: Throw, trim, and glaze in batches to reduce start–stop energy.
- Checklist close: Log clay bodies, cone, and atmosphere before switching off.
One small change—adding a simple timer—cut my end-of-day scramble in half and cut down on avoidable messes. If you are just getting your bearings, finding a pottery studio frames the basics and helps you pace the journey without rushing the clay, which is the quietest way I know to keep learning without burning out.
Kiln care and energy sense
Energy-wise choices add up across a season. A dependable routine keeps the kiln efficient and the ware predictable, and it also reduces the nerve-racking guesswork that can creep into glazing and packing; the more you plan, the less you waste.
- Load planning: Stagger heights and use posts so shelves are filled without crowding.
- Seal checks: Inspect gaskets, bricks, and elements so heat stays where it should.
- Thermal rhythm: Use steady ramps and avoid abrupt changes that stress the kiln.
- Shared firings: Coordinate loads with peers so partial shelves are rare.
In my own space, simply batching test tiles with production pieces cut the number of small, wasteful firings to near zero. A thoughtful, slow cool improved glaze fit and surface even more than a higher peak ever did, and the ware emerged calmer and stronger. Treat the kiln log like a diary, not a chore, and you will see patterns that quietly return time, money, and confidence, while also creating a record you can share with future helpers or studio mates when needed, in a way that keeps quality steady and waste trending down over months.
Measuring impact without fancy tools
You don’t need lab gear to see improvements. A notebook and a few repeatable metrics go a long way, and the act of measuring often nudges better behaviour without any extra equipment at all; what you track tends to improve.
- Kiln log: Record date, load, cone, holds, and any available energy readings.
- Clay reclaim rate: Weigh trimmings before and after reclaim to learn your true yield.
- Water reuse: Note how often you decant and return clarified water to cleaning buckets.
- Breakage review: Tag the reason for losses and the tweak you will try next time.
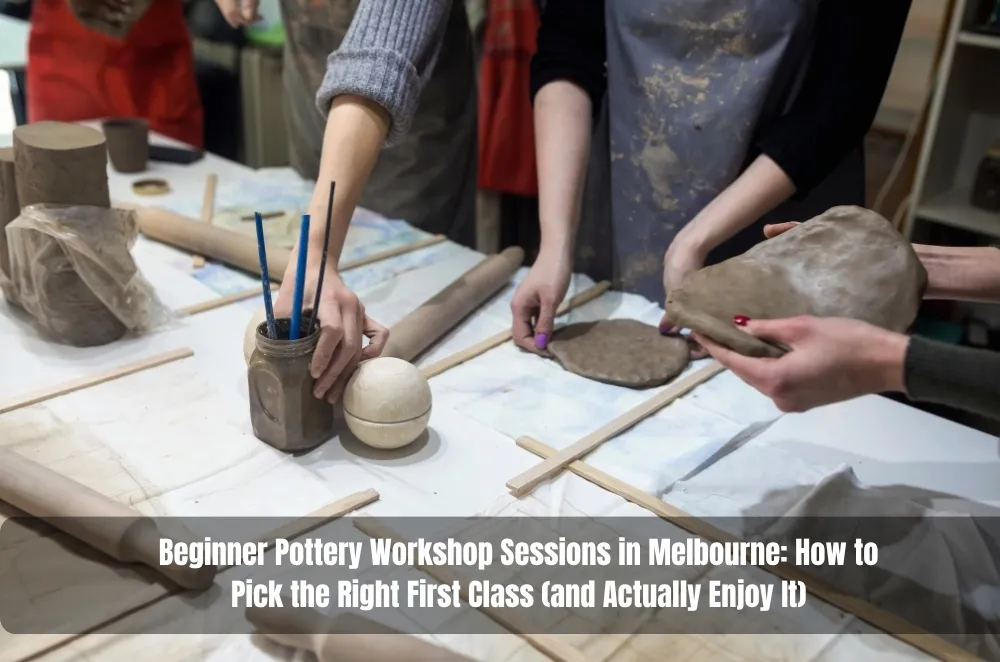
Over a season, these small numbers tell a clear story. I have cut wasted firings by logging when I am tempted to rush and choosing to delay instead. For a broader look at local studio norms and options, a guide to pottery studios in Melbourne offers practical context you can adapt to your space and rhythm.
Small wins that compound
Pottery rewards iteration more than inspiration. Keep a small notebook by the wheel and jot simple facts—clay, water content, wire speed, cone, hold, and atmosphere. Over months, these notes become a map of what actually works for your hands, not someone else’s. Pace sessions so trimming happens at true leather-hard rather than on a clock. When a batch goes sideways, salvage what you can: reclaim clay, chip a few test tiles for reference, and revise the schedule. Design for loops—clear tubs for trimmings, labelled jars for slops, and a drip tray under the wheel—so waste shrinks without a fight. Most of all, choose routines you like. The tidy tray, the labelled jars, and the slow cool are not chores; they are the scaffolding that lets creativity wander while the studio stays calm. When things feel messy, pause, breathe, and reset the bench before the next pull. It helps focus.


Sign in to leave a comment.