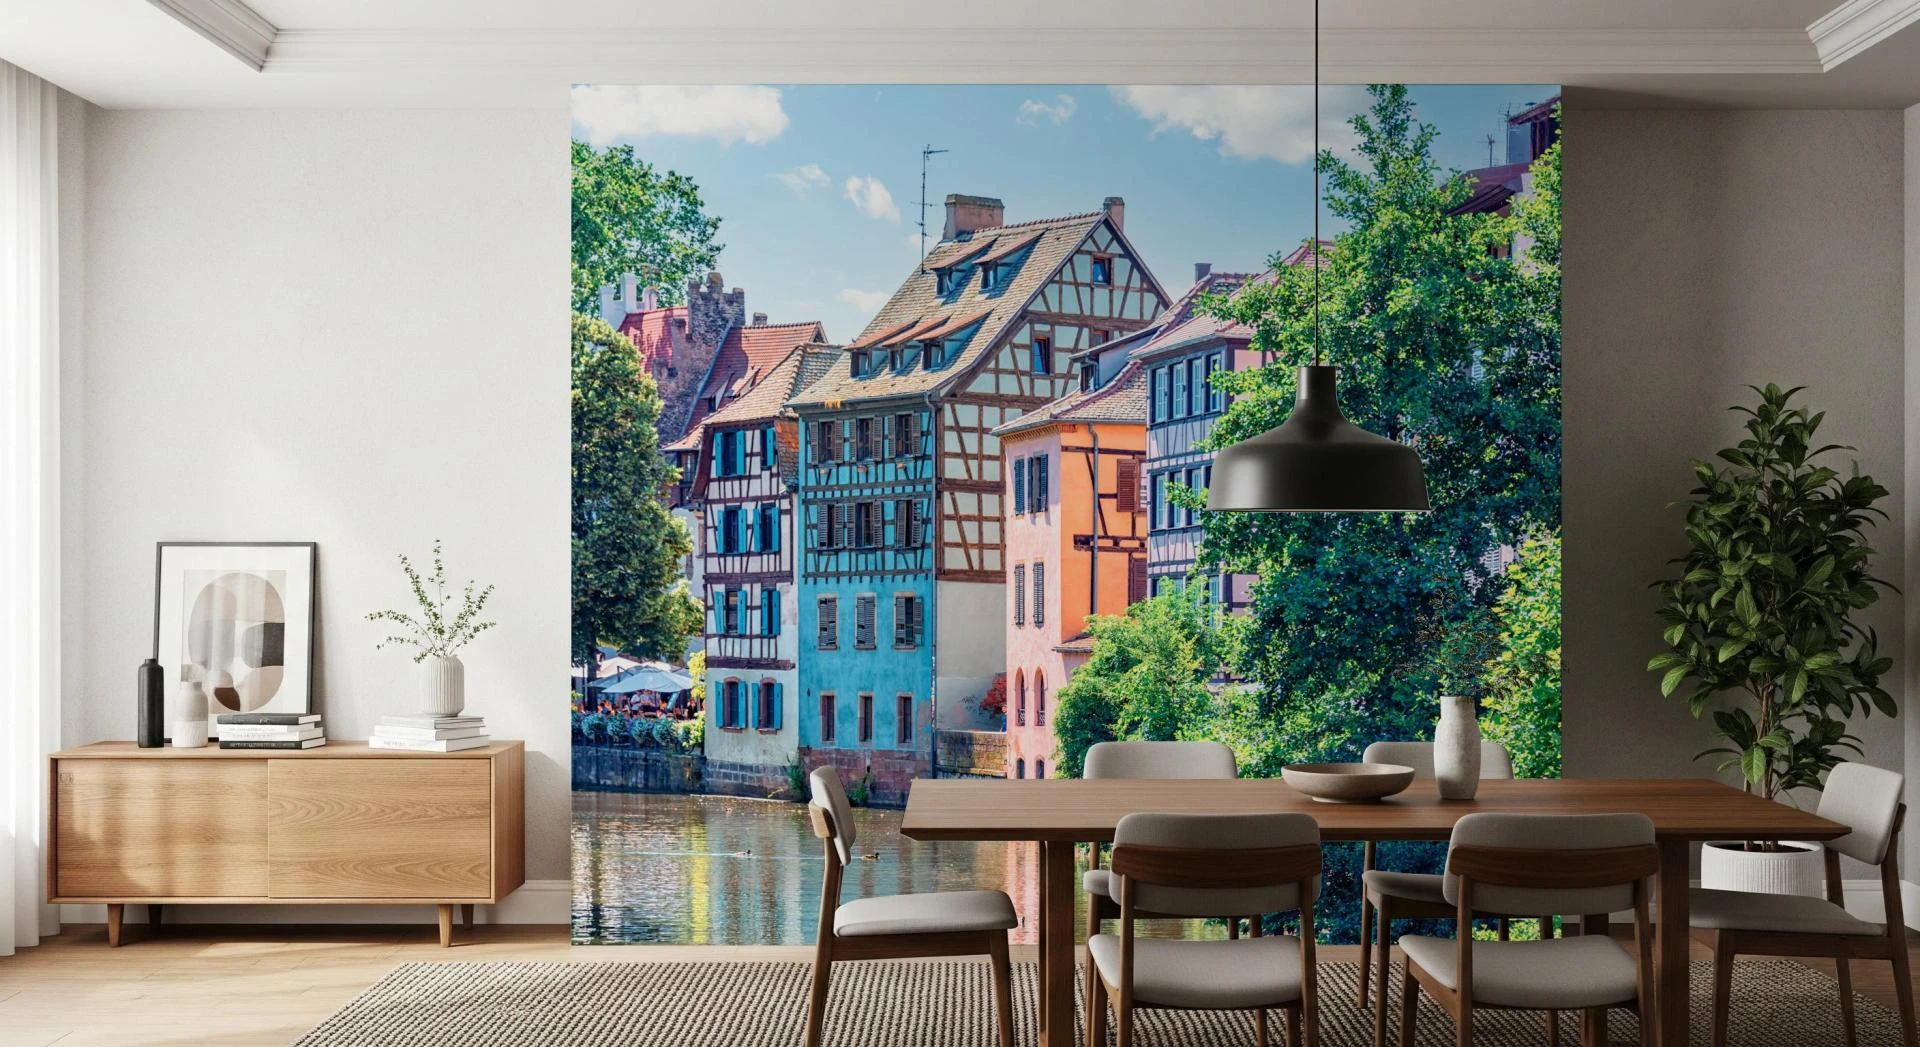
Mural wallpaper is an excellent way to create a dramatic focal point in any room. Whether you want to showcase a panoramic landscape, a bold artistic design, or a custom image, installing mural wallpaper can completely transform your space. While hiring a professional ensures precision, DIY installation is a budget-friendly and rewarding alternative. This step-by-step guide will help beginners achieve a professional-looking result with ease.
Step 1: Gather Your Materials
Before starting the installation process, make sure you have the following materials:
- Mural wallpaper panels
- Measuring tape
- Pencil
- Level
- Wallpaper adhesive (if required)
- Smoothing tool
- Utility knife
- Sponge and bucket of water (for adhesive removal)
- Ladder (if needed)
Step 2: Prepare Your Wall
Proper wall preparation ensures a smooth finish and longevity for your mural wallpaper. Follow these steps:
- Clean the Surface: Remove dust, dirt, and grease using a damp cloth.
- Repair Imperfections: Fill any holes or cracks with spackle and sand them smooth.
- Prime the Wall: Applying a primer enhances adhesion and prevents bubbles.
- Mark Guidelines: Use a level and a pencil to mark vertical and horizontal guidelines for panel alignment.
Step 3: Plan the Layout
Understanding the order of the wallpaper panels is crucial for a seamless design.
- Unroll each panel and lay them out in order.
- Check for any misprints or defects.
- Identify the starting point, usually from the center or a corner, depending on the design.
For more insights on choosing the right mural wallpaper, refer to this guide.
Step 4: Apply the Wallpaper
There are two main types of mural wallpaper: peel-and-stick and paste-the-wall.
- Peel-and-Stick Wallpaper:
- Peel the backing off gradually while pressing the panel onto the wall.
- Smooth out air bubbles using a smoothing tool.
- Trim excess wallpaper with a utility knife.
- Paste-the-Wall Wallpaper:
- Apply wallpaper adhesive evenly using a roller.
- Position the first panel along the guideline and smooth it out.
- Repeat for the remaining panels, aligning the edges carefully.
A detailed comparison of DIY versus professional installation can be found here.
Step 5: Trim and Finish
- Use a sharp utility knife to trim any excess wallpaper along the edges.
- Press down edges firmly to ensure they adhere properly.
- Wipe away any excess adhesive with a damp sponge.
For those considering custom mural wallpapers, check out this resource.
Step 6: Enjoy Your New Space
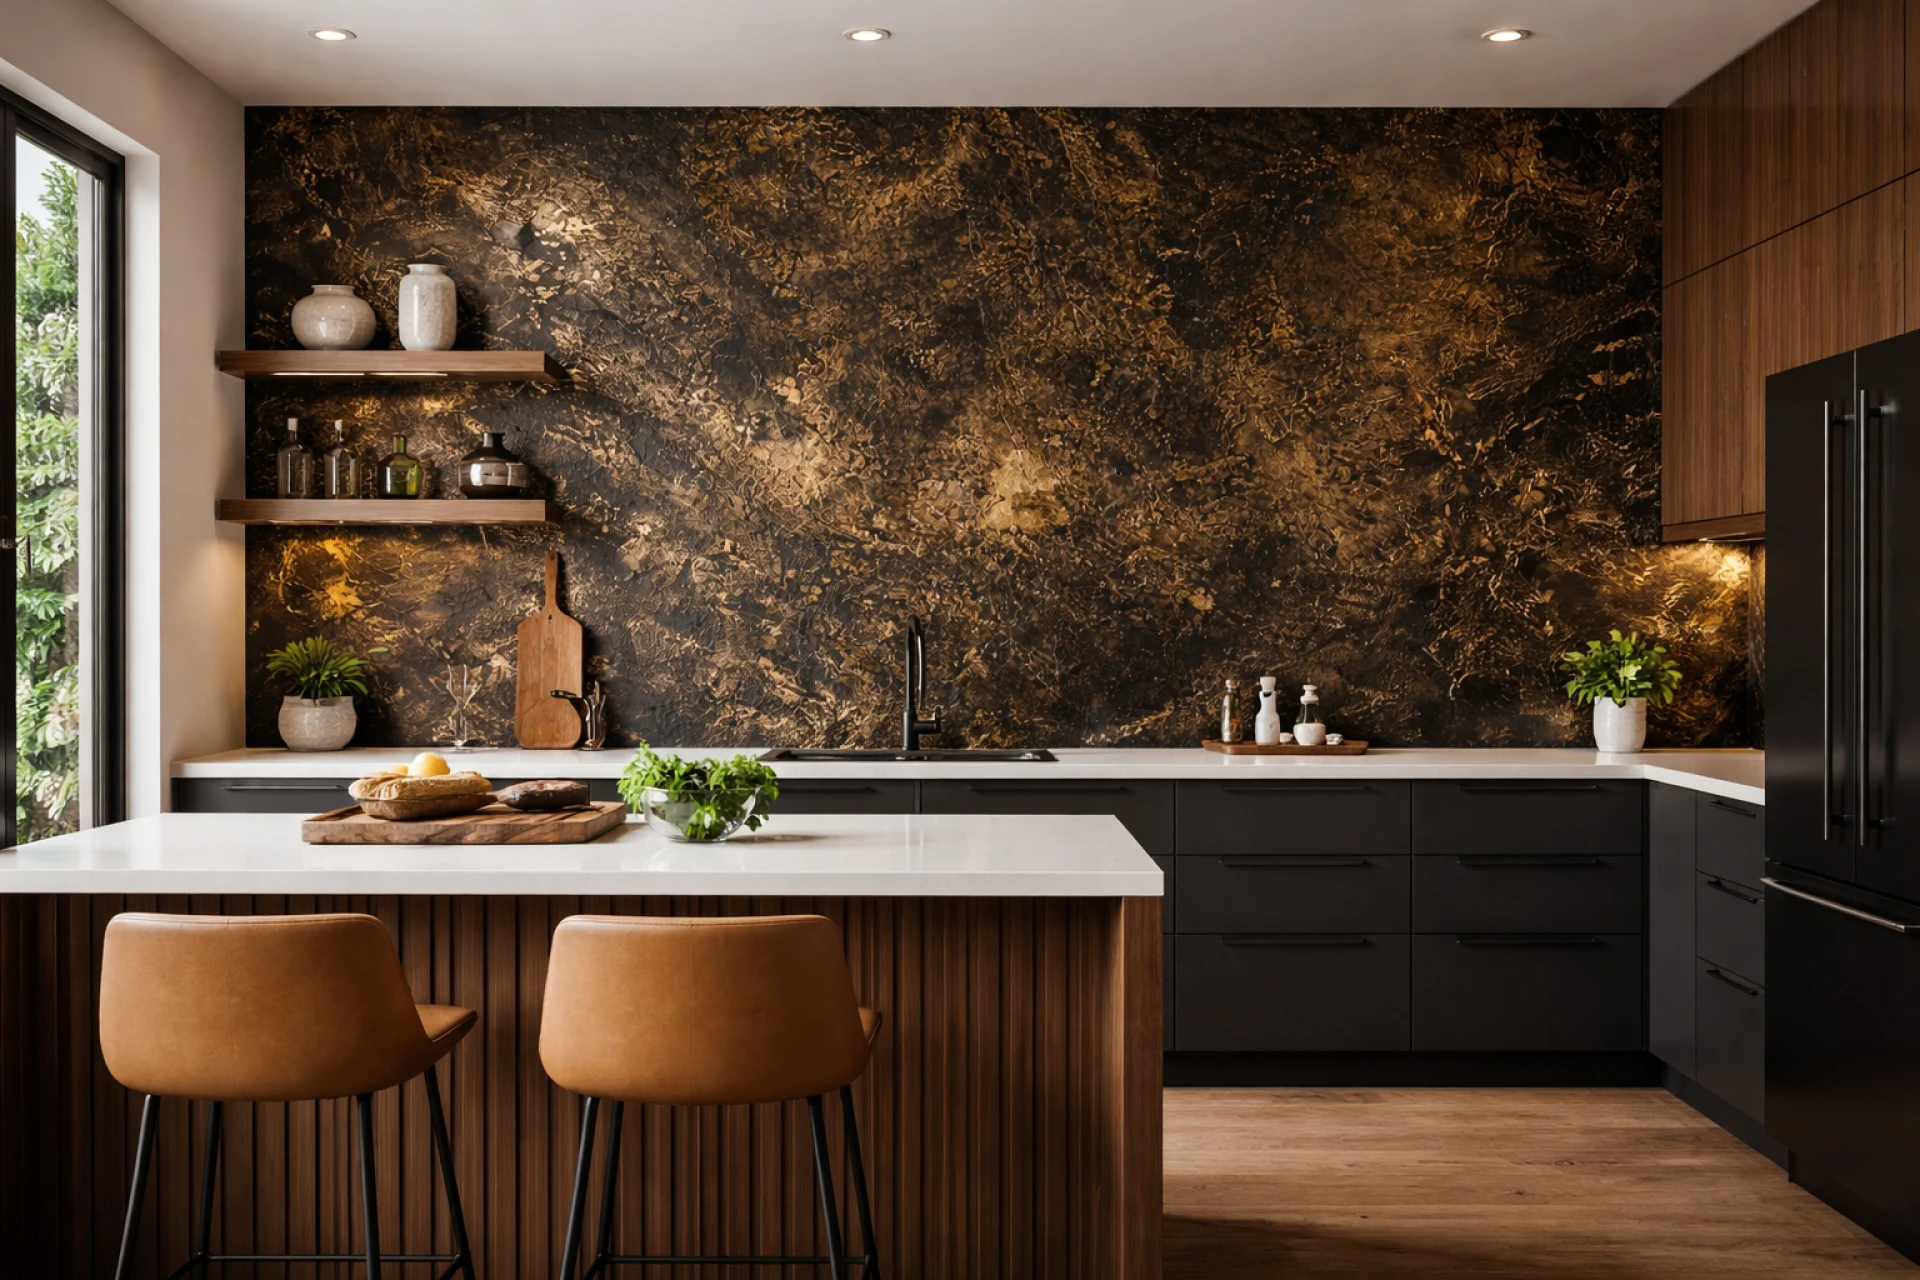
Once your mural wallpaper is installed, step back and admire the transformation. A well-installed mural can enhance the depth and character of any room.
If you're wondering whether mural wallpaper is worth the investment, read this cost vs. benefit analysis.
Conclusion
Installing mural wallpaper is an achievable DIY project that can significantly elevate your space. Whether you opt for modern designs, panoramic views, or custom murals, the key lies in careful preparation and precise application.
For more ideas on how mural wallpapers can enhance home aesthetics, explore these creative inspirations:
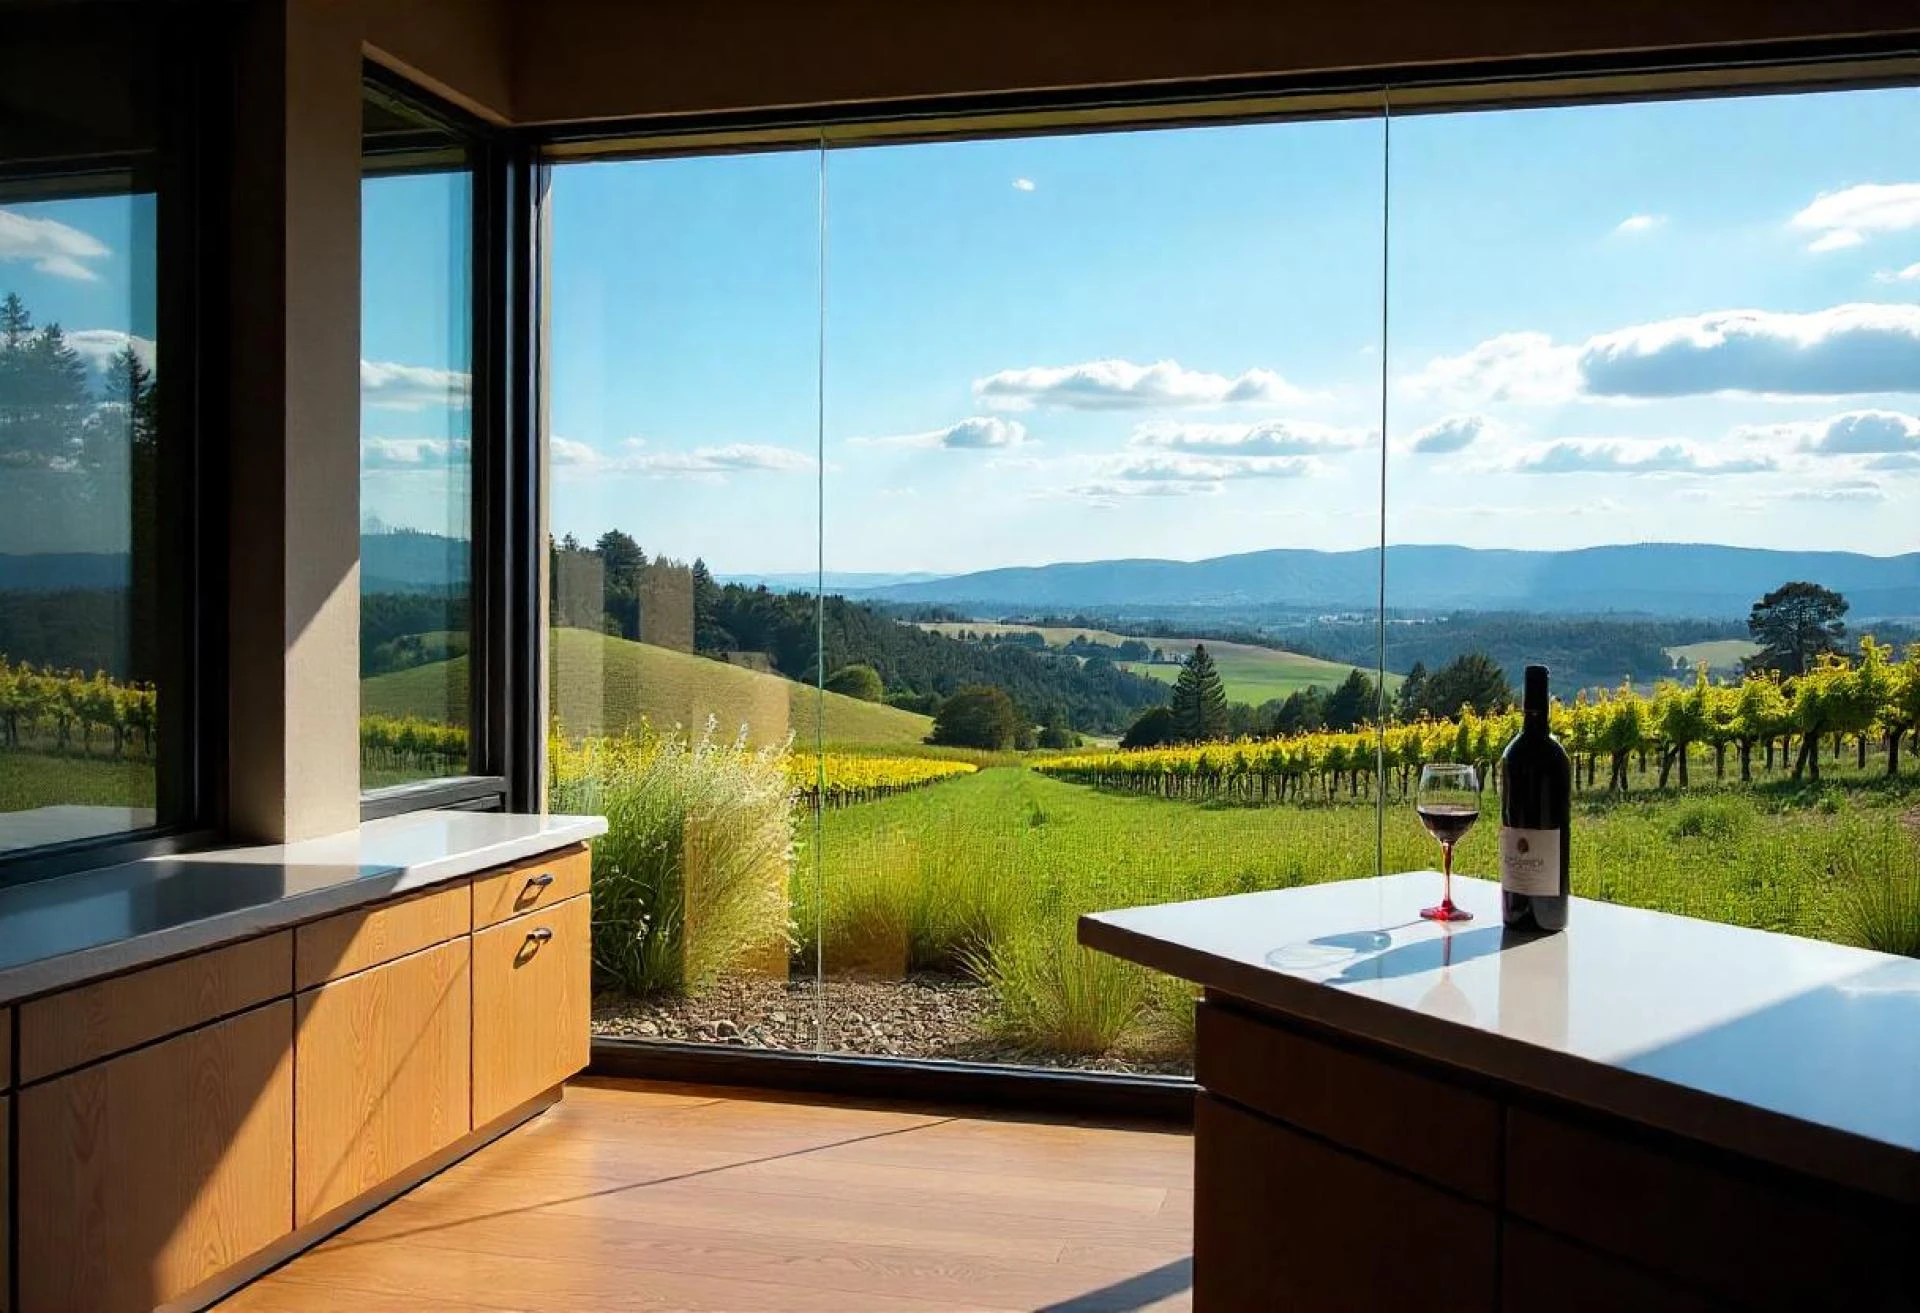
- Panoramic Murals for Expanding Spaces
- Creative Mural Wallpaper Ideas for Every Home Style
- How Mural Wallpaper Transforms Spaces
- From Classic to Contemporary: Mural Wallpaper for Every Aesthetic
Following this step-by-step guide will help you achieve a seamless and professional finish, making your mural wallpaper the perfect statement piece in your home.


Sign in to leave a comment.