
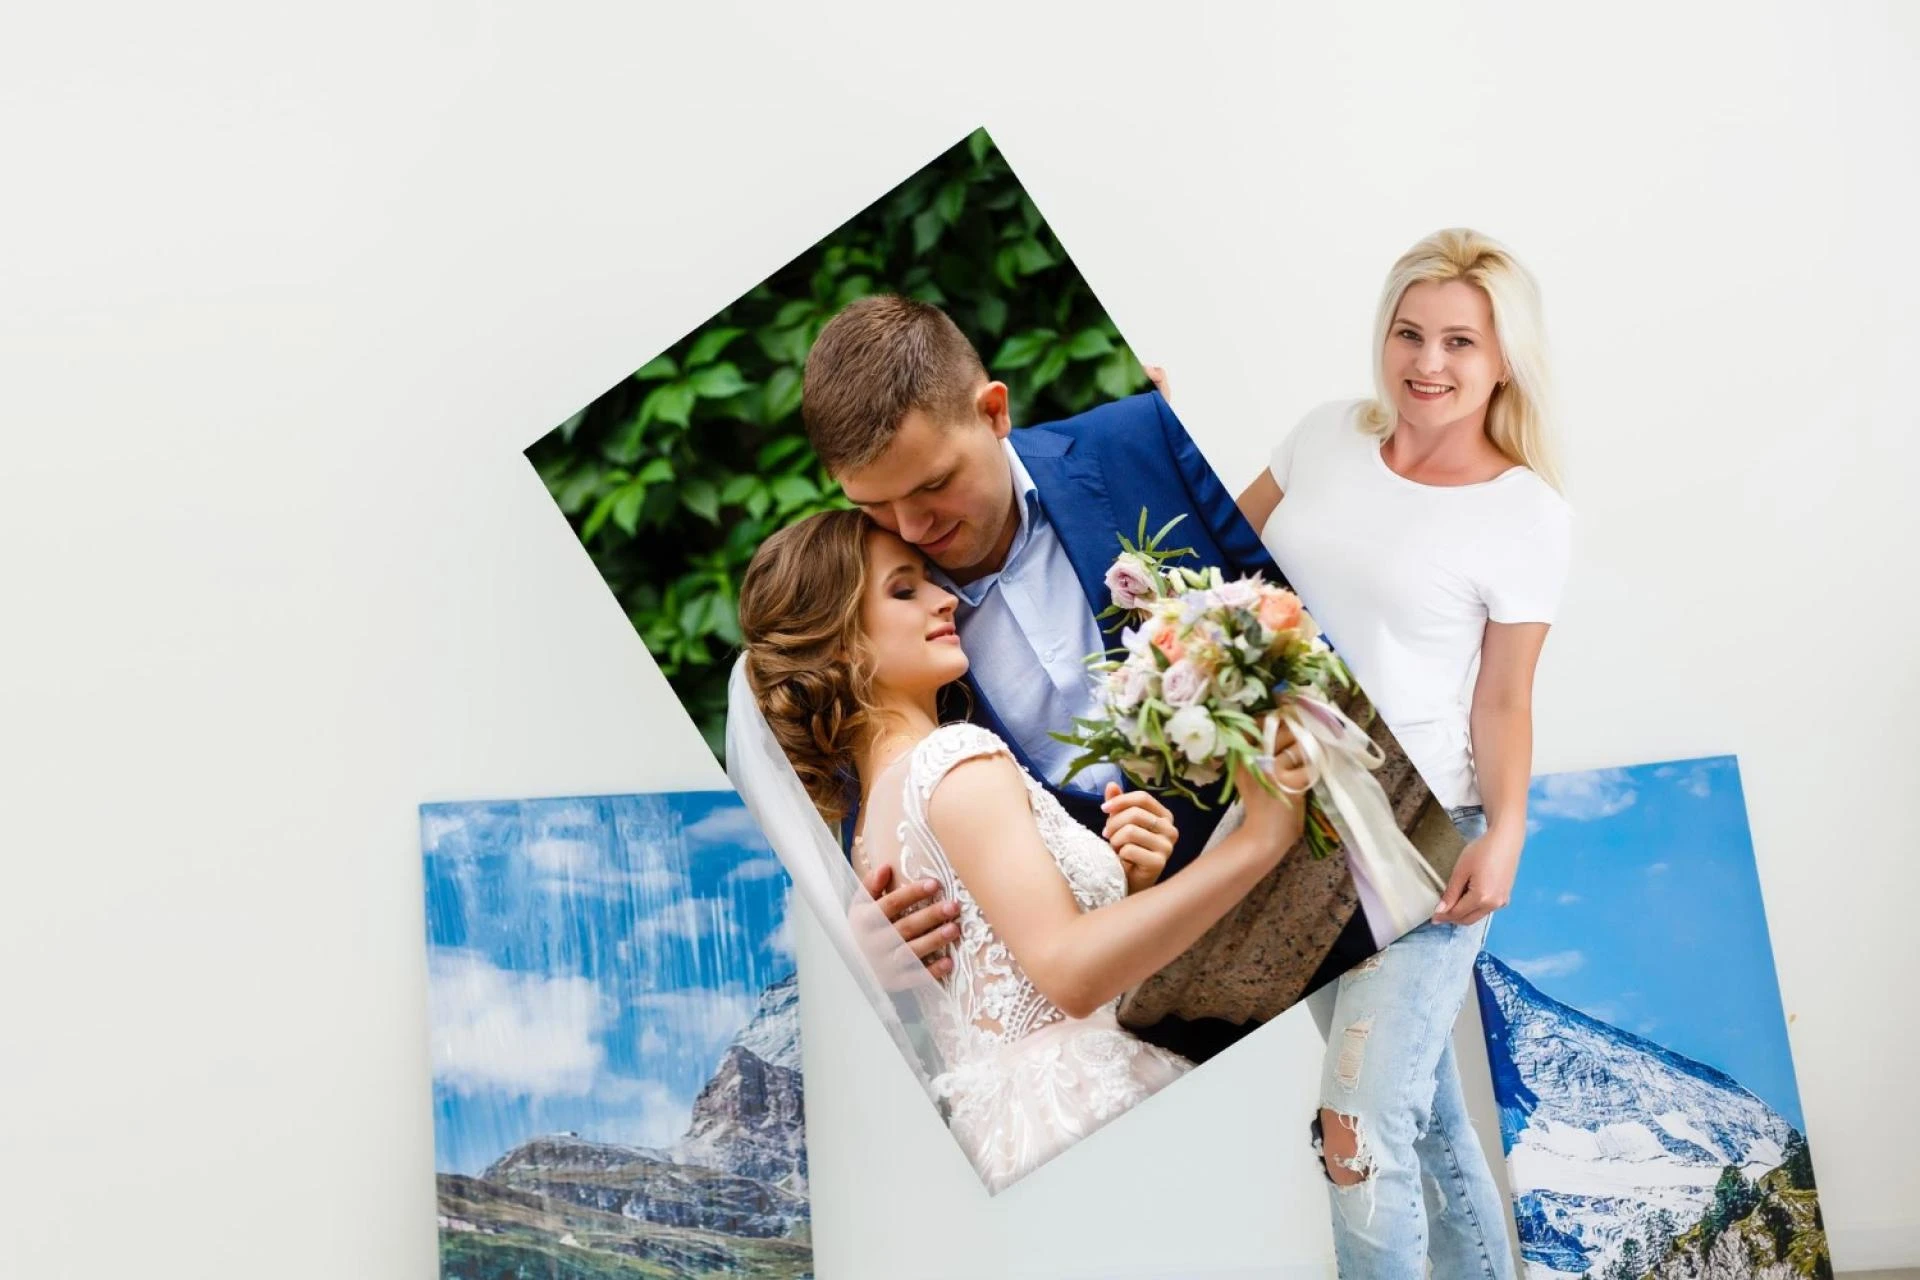
Canvas photo printing often feels simple from the outside. You upload an image, choose a size, place an order, and a few days later a finished canvas arrives ready to hang. But behind that simplicity sits a detailed production process that turns a flat digital file into textured wall art designed to last for years.
Understanding how canvas photo printing actually works helps buyers make better decisions about image quality, sizing, pricing, and expectations. It also explains why two canvas photo prints can look completely different even when printed from the same photograph.
This guide walks through the full journey, from digital image preparation to the finished canvas on the wall, focusing on how photo to canvas printing works in real world UK production environments.
Step 1 Understanding the Digital Image Before Printing
Every canvas photo print starts with a digital image. The quality of that image determines almost everything that follows.
Resolution and Image Size
Resolution refers to how much visual information exists within a photo. When people search for print photos on canvas or print my photos on canvas, they often assume any image will work. That is not always true.
Small images stretched into large canvas photo prints can lose sharpness.
As a general rule, images taken with modern smartphones or digital cameras work well for small to medium canvas photo prints. Larger formats benefit from professional camera files or carefully edited images.
File Type and Compression
Images that have been heavily compressed can lose colour data and fine detail. Social media downloads often reduce image quality. Original files produce better canvas photo prints than screenshots or copied images.
Cropping for Canvas Edges
Canvas printing is not flat like paper printing. The image wraps around the frame edges. This means that edges should not contain any information.
When printing photos onto canvas, designers usually allow extra bleed space so faces, text, or focal points are not wrapped around the sides.
Step 2 Preparing the Image for Canvas Printing
Before printing begins, the image is prepared specifically for canvas material.
Colour Adjustment for Canvas Texture
Canvas absorbs ink differently than photo paper. Colours often appear slightly softer. Professional photo canvas printing compensates for this with colour correction.
Brightness, contrast, and saturation are adjusted so the final canvas photo print matches expectations when viewed on the wall rather than on a screen.
Sharpening for Canvas, Not for Screens
Images that look perfectly sharp on a phone or laptop often soften once transferred onto canvas. This is not a fault. It is simply how textured materials behave.
Canvas has a visible weave. Tiny details sink slightly into that weave when ink is applied. Because of this, most canvas photo printing workflows include light sharpening designed specifically for fabric surfaces.
This is not the aggressive sharpening used in social media images. It is controlled, subtle, and targeted. The goal is to preserve clarity without creating harsh outlines or unnatural edges, especially on faces, skies, and gradients.
Images that skip this step can look slightly flat once printed, even if the original file was strong.
Step 3 Choosing the Right Canvas Material
The canvas itself plays a bigger role than most people realise.
What Canvas Is Really Made From
When people think about canvas photo prints, they often imagine “canvas” as one single material. In reality, there are several types, and the difference between them shows up over time, not just on day one.
Most high quality canvas photo prints today are produced on a poly cotton blend. This mix combines the softness of cotton with the stability of synthetic fibres. The result is a canvas that holds ink well, stretches cleanly over a frame, and keeps its shape long after it has been hung on the wall.
Pure cotton canvas has its appeal. It can look rich and traditional, especially when newly printed. However, it is also more sensitive to temperature changes and humidity. Over months or years, that sensitivity can lead to slack corners or slight warping, particularly on larger pieces.
At the lower end of the scale, fully synthetic canvas often feels lighter and less textured. Once stretched, it can appear flat and lack the visual depth people expect from canvas photo prints.
These differences become far more noticeable with large canvas photo prints, extra large canvas photo prints, and panoramic canvas photo prints.
Why Thickness and Weight Make a Difference
Canvas weight is one of those details most buyers never think about, yet it quietly affects the final result.
A thicker canvas feels sturdier the moment you hold it. Once mounted, it sits more confidently on the frame and resists movement over time. Heavier canvas also blocks more light, which helps colours appear deeper and more consistent across the surface.
At first glance, two canvas photo prints might look almost identical. Place them side by side, though, and the difference becomes clear. The heavier canvas tends to look richer, with smoother colour transitions and a more solid presence on the wall.
It is not a dramatic difference, but it is one people notice once they know what to look for, especially in well lit rooms.
Step 4 Printing the Image Onto Canvas
This is the stage most people imagine, but it is only one part of the process.
Large Format Inkjet Printing Explained
Canvas photo printing uses specialist large format inkjet printers. These are not the same machines used for paper posters or flyers.
The printer feeds the canvas slowly while pigment based inks are layered onto the surface. These inks sit on and within the weave of the canvas rather than soaking through like watercolour.
Pigment inks are chosen because they resist fading far better than dye based inks, especially in rooms exposed to daylight.
Print Speed and Its Impact on Quality
Higher quality canvas photo prints are printed more slowly. Slower passes allow ink to settle evenly and maintain detail.
Fast printing may be cheaper, but it often produces flatter colours and less consistency across the surface. This is one reason cheap canvas photo prints can look dull compared to professionally produced ones.
Step 5 Drying and Ink Curing
Once printing finishes, the canvas cannot be touched immediately.
Fresh ink needs a pause before anything else happens. This resting period, called curing, allows the print to settle and stops colours from shifting or marking when the canvas is stretched.
Skipping or shortening this stage can ruin an otherwise clean print, especially with darker tones or heavy colour coverage.
Established canvas printing UK facilities allow proper curing time as part of production, not as an optional extra.
Step 6 Stretching the Canvas Onto a Frame
This is where the flat printed canvas becomes wall art.
The Wooden Frame Structure
Canvas photo prints are stretched over wooden frames, often called stretcher bars. These frames determine the depth, rigidity, and final presence of the piece.
Deeper frames create a more modern, gallery style appearance. The wood must be straight, dry, and smooth. Poor quality frames can warp over time, pulling the canvas out of shape.
Stretching Technique and Tension
Stretching is a skill based process. The canvas must be pulled evenly across all sides so tension is balanced.
Too tight and the canvas can tear or distort the image. Too loose and it may sag weeks later.
Corners are folded carefully to avoid bulk while keeping edges neat. This step alone separates professional canvas photo prints from mass produced alternatives.
Step 7 Edge Wrapping and Finish Styles
Canvas photo printing involves decisions about what happens at the edges.
Image Wrap, Mirror Wrap, and Solid Edges
Some canvas photo prints extend the image around the sides. Others mirror the edge pixels or use a solid colour border.
Each option suits different images. Portraits often benefit from mirrored edges. Landscapes may work well with image wrap. Minimal artwork sometimes looks best with clean white or black edges.
Choosing the wrong edge style can affect how the finished canvas looks once hung, especially at eye level.
Step 8 Final Inspection and Quality Control
Before packaging, each canvas photo print is inspected.
Surface marks, corner tension, alignment, and colour consistency are checked. Even minor issues are easier to fix before delivery than after.
This step is often skipped or rushed in low cost operations, which is why two canvas photo prints ordered from different providers can vary so much in finish.
Step 9 Packaging and Delivery
Canvas photo prints need careful packaging.
Corners usually suffer first. They are the points most likely to get knocked, scraped, or pressed during delivery if they are not properly shielded.
This is even more relevant for next day canvas photo prints and UK wide deliveries, where parcels pass through multiple sorting points.
Strong packaging does more than protect the item. It protects the time, skill, and attention already invested in the finished canvas.
Why Canvas Photo Printing Is Different From Paper Printing
Canvas is not just paper with texture.
It does not need glass, reduces glare, and creates a softer, more artistic presence on the wall.
This is why canvas photo prints remain a favourite for homes, offices, studios, and commercial interiors.
Canvas is also more forgiving than glossy paper, which tends to expose every small flaw under strong lighting.
Why Understanding the Process Helps Buyers
Knowing how canvas photo printing actually works explains why prices vary and why quality is not always the same.
It allows buyers to choose stronger images, sensible sizes, and finishes that suit the space they are decorating.
Final Thoughts
Turning a digital image into finished wall art is never a one-click task. At I You Print, canvas photo printing requires preparation, material understanding, accurate printing, careful stretching, and proper handling at every stage.
When each step is handled properly by I You Print, the final canvas photo print feels considered, long-lasting, and visually comfortable on the wall.


Sign in to leave a comment.