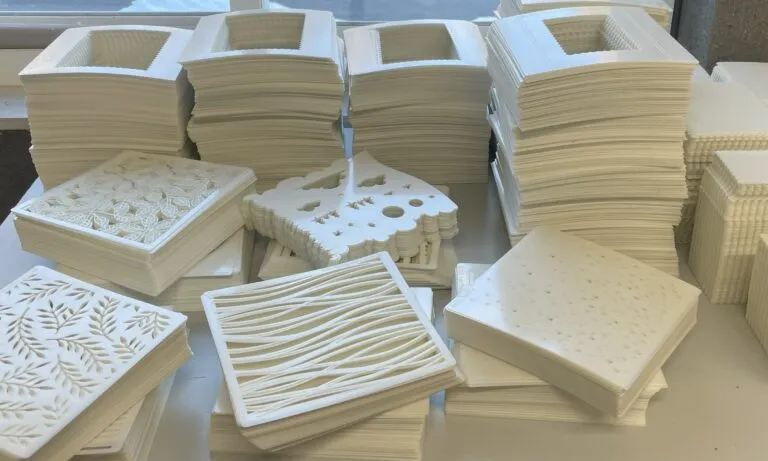

Custom stenciling has completely transformed how we approach decorating, branding, industrial marking, and crafting. Whether you are looking to create an accent wall at home, mark inventory in a warehouse, or brand handmade products, stencils offer a fast, reliable, and repeatable way to transfer designs onto almost any surface.
Behind every clean, razor-sharp stencil pattern lies a precise production process known as stencil manufacturing. Choosing the right materials, understanding cutting techniques, and knowing how to maintain your tools can mean the difference between a crisp, professional design and a blurry, bleeding mess. Here are the answers to the most common questions surrounding stencil manufacturing to help you get the best results for your next project.
What is stencil manufacturing and how does the process work?
At its core, stencil manufacturing is the process of translating a digital graphic or physical image into a durable template with cutout sections. When paint, ink, or spray pigment is applied over the template, color passes exclusively through the open cutouts, transferring the exact design onto the surface underneath.
Modern manufacturing relies heavily on Computer-Aided Design (CAD) software. A design is converted into vector lines, which direct high-precision cutting equipment along exact paths. Depending on the material thickness and detail level, manufacturers use laser cutters, automated blade plotters, or chemical etching tools to carve out the pattern with incredible accuracy.
What materials are used in modern stencil manufacturing?
Material selection plays a massive role in stencil performance and longevity. Mylar polyester film serves as the gold standard for reusable crafts and home decor because it remains flexible, durable, solvent-resistant, and easy to clean with warm water or light detergents. For heavy-duty applications like parking lot pavement stenciling or outdoor field marking, manufacturers turn to thicker plastic polymers like polypropylene and high-density polyethylene. In specialized electronics assembly or high-volume industrial environments with extreme heat, stainless steel and brass offer unmatched durability. Additionally, adhesive vinyl provides a single-use, high-precision option for painting projects where temporary surface adhesion is required to prevent paint bleeding.
Which cutting techniques and thickness options offer the best results?
Different manufacturing techniques suit different project demands. Laser cutting remains the most popular method for Mylar and plastics because high-powered laser beams vaporize material along vector paths, producing exceptionally clean edges even on intricate patterns. CNC blade plotting works wonderfully for thinner flexible films and vinyl, while chemical etching is reserved for ultra-thin metal stencils.
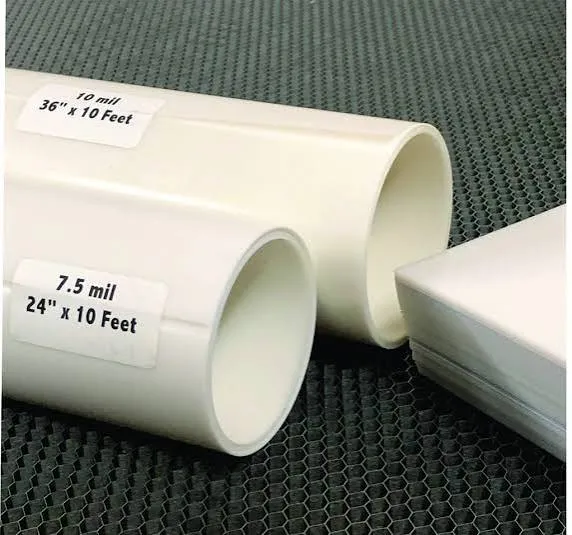
Selecting the right material thickness is equally important, which is typically measured in mils or thousandths of an inch. Thin Mylar or vinyl between 5 to 7 mil works best for curved surfaces, delicate crafts, and small detail painting. Standard Mylar between 10 to 14 mil provides the perfect balance for wall decor, furniture painting, and multi-use signage. For heavy pavement marking, parking lots, industrial crates, and athletic fields, heavy-duty polypropylene ranging from 60 to 125 mil delivers maximum toughness.
Can intricate graphics or small text be manufactured into a stencil?
Yes, but stencil designs require a specific design rule known as bridging. In stencil manufacturing, internal islands—such as the center hole in the letters O, B, A, or P—must remain attached to the main body of the template. Skilled designers add thin connecting strips called bridges so internal pieces do not fall out during cutting or flap loose under paint rollers.
This adaptable design process allows manufactured stencils to serve an exceptionally wide variety of industries today. In home improvement, stencils are routinely used to execute wall accent patterns, floor tile refreshes, and furniture revamps without costly renovations. Logistics and warehousing operations rely heavily on template markings for crates, pallet identification, shipping labels, and crucial safety warnings across facility floors. Commercial businesses utilize custom stencils to spray-paint logos directly onto product packaging, canvas bags, building exteriors, or temporary event displays. Furthermore, municipalities and athletic departments depend on heavy-duty manufactured templates for painting field turf logos, road warnings, pedestrian crosswalks, and organized parking stalls.
How do I maintain and store manufactured stencils for long-term reuse?
Proper maintenance significantly extends the lifespan of reusable plastic or Mylar stencils. Always wash away paint immediately after use before it dries completely—warm water and a soft sponge work best for acrylics, while mild solvents handle oil-based paints.
Once clean and dry, store your stencils flat between sheets of cardboard or inside protective folders. Keeping plastic templates flat and away from direct heat or sunlight prevents warping and ensures they lie completely flush against your surfaces for future projects.
Conclusion
Understanding the fundamentals of stencil manufacturing empowers you to choose the perfect material, thickness, and design structure for any project. Whether you need a flexible 10-mil Mylar template for a home accent wall, a single-use vinyl pattern for a wood sign, or a heavy-duty plastic template for outdoor pavement, quality production ensures crisp lines every single time. When you are ready to bring your vision to life, sourcing your custom templates from Stencil Online guarantees top-tier precision, durable materials, and professional results on every pass. Investing in well-manufactured stencils makes transforming plain surfaces into striking works of art simple, repeatable, and deeply rewarding.




















Sign in to leave a comment.