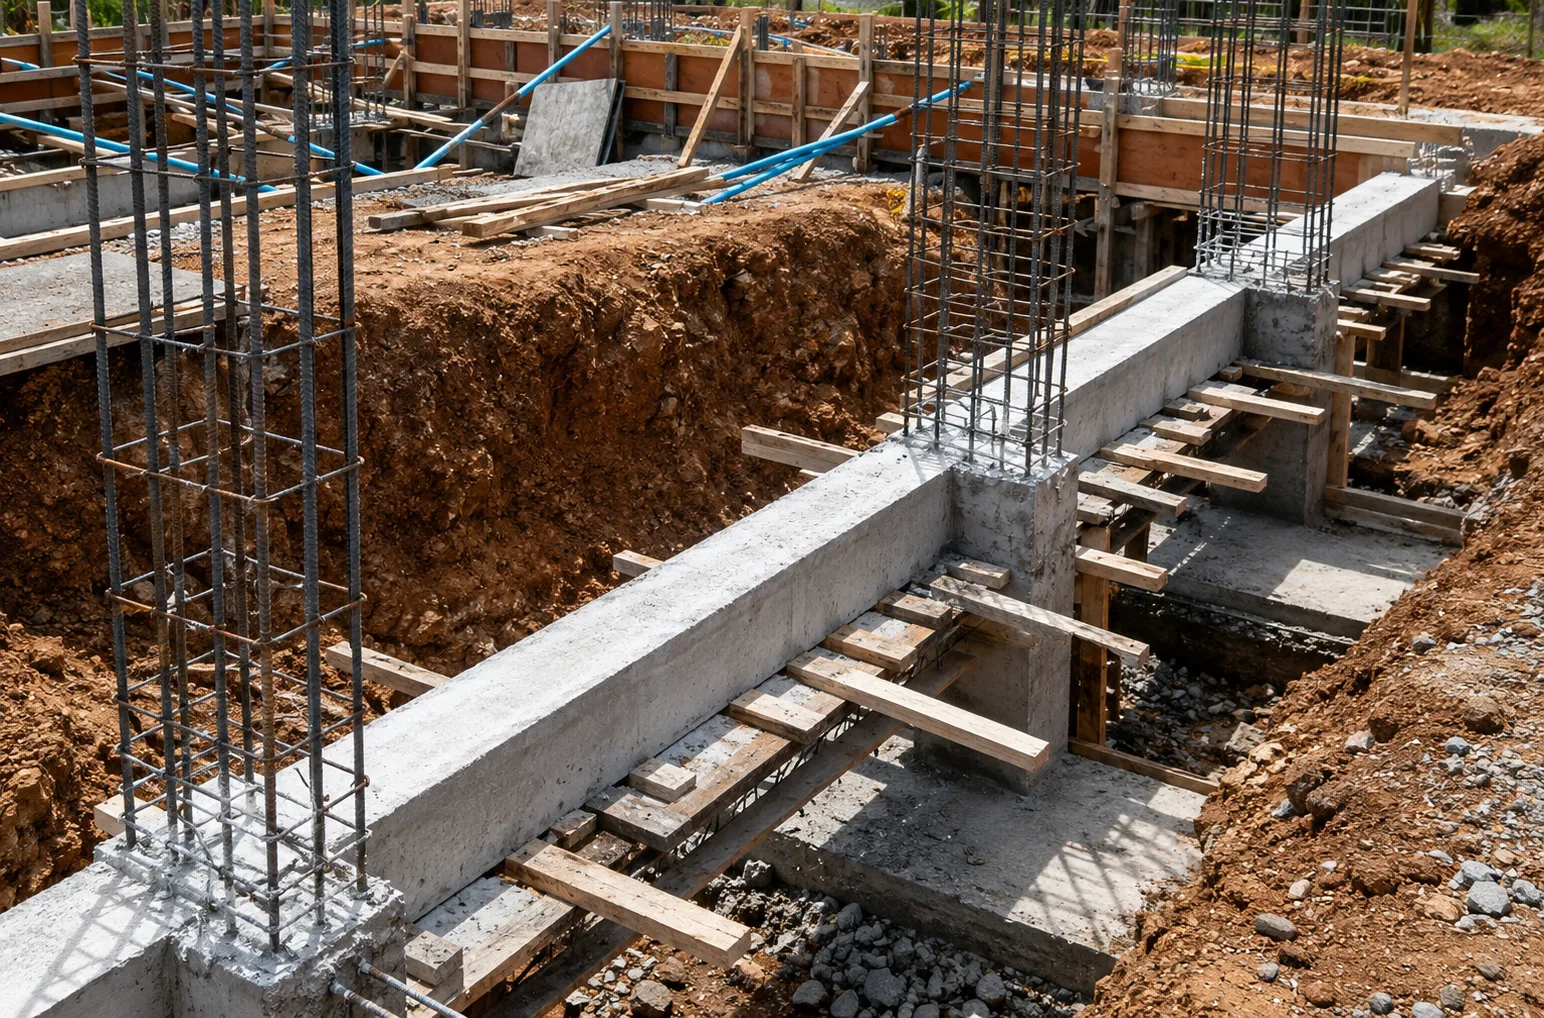

A home's foundation is responsible for supporting every wall, floor and roof component above it, making it one of the most critical parts of the construction process. While most homeowners only see the finished concrete slab or basement walls, building a strong foundation involves careful planning, engineering, excavation and quality control long before concrete is poured. Each stage plays a role in preventing future issues such as settling, cracking, moisture intrusion and structural movement.
Understanding how foundation construction works also helps homeowners know what to expect during a new home build and why certain steps cannot be rushed. From evaluating soil conditions to completing final inspections, every phase contributes to the home's long-term durability and safety. The following step-by-step guide explains how professional builders construct residential foundations, along with practical insights from experienced construction experts who share what matters most at each stage.
Step 1: Prepare the Site and Evaluate Soil Conditions
Every strong foundation begins with understanding the land it will sit on. Before excavation starts, contractors survey the property, perform soil testing and evaluate drainage patterns to determine whether the site can safely support the home's weight. Soil composition affects everything from footing depth to foundation type, making this one of the most important planning stages.
The site is then cleared of trees, vegetation, rocks and debris before the topsoil is removed. Contractors grade the area to create a level work surface and install survey stakes that mark the exact footprint of the future home. Accurate measurements at this stage help prevent layout errors that become expensive to correct later.
Steps to complete this phase:
- Conduct a land survey and verify property boundaries.
- Perform geotechnical soil testing.
- Remove vegetation, debris and unsuitable soil.
- Grade the building pad for proper drainage.
- Mark foundation corners and elevations using survey equipment.
According to Chris Sherman, Owner at Rhino Excavation and Trucking, successful foundation projects begin with disciplined excavation rather than rushing into construction. He explains that continually verifying grades and elevations throughout excavation helps crews avoid costly mistakes that can affect every phase of the build.
Step 2: Excavate and Construct the Footings
Once the site is prepared, contractors excavate trenches for the footings. Footings distribute the home's weight evenly across the soil and provide the structural support the foundation depends on. Their dimensions are determined by structural engineers based on soil conditions, frost depth and local building codes.
After excavation, contractors install forms where necessary and position reinforcing steel bars according to the engineering plans. Before concrete is poured, inspectors often verify that the excavation depth, reinforcement spacing and layout meet code requirements.
Steps to complete this phase:
- Excavate footing trenches to the required depth.
- Install footing forms if needed.
- Place reinforcing steel according to engineering specifications.
- Schedule required inspections.
- Prepare for concrete placement.
Kevin Stroesser, Partner at Archetype Forms, notes that precise forming and layout determine how smoothly the remainder of the project progresses. He recommends double-checking dimensions before every pour because even small inaccuracies can create alignment issues during framing, plumbing and finishing.
Step 3: Install Underground Utilities, Drainage and Waterproofing
Before the foundation is poured, contractors install systems that will eventually be hidden beneath or around the home. Sewer lines, water supply piping, electrical conduit sleeves and gas lines are positioned before concrete placement to avoid disruptive modifications later.
Drainage and waterproofing are equally important during this phase. Builders install perimeter drain tile, gravel, waterproof membranes and vapor barriers to manage groundwater and protect the foundation from moisture intrusion throughout its lifespan.
Steps to complete this phase:
- Install sewer and water service lines.
- Position conduit sleeves for future utilities.
- Install drain tile around the foundation.
- Apply waterproof membranes where required.
- Verify all penetrations before concrete placement.
Rather than viewing waterproofing as an optional upgrade, Eric Thomason, Contractor at Blue Nail Roofing & Construction, believes moisture management should be integrated into the original construction plan. Investing in drainage systems before the concrete is poured significantly reduces the likelihood of foundation repairs caused by water infiltration years later.
Step 4: Pour, Reinforce and Finish the Concrete Foundation
With preparations complete, concrete trucks deliver the foundation mix according to the project's specifications. Crews place concrete evenly throughout the forms while using mechanical vibrators to eliminate trapped air pockets that could weaken the structure.
Once poured, workers level and smooth the surface before installing anchor bolts and embedded hardware required for framing. Weather conditions are carefully monitored because extreme temperatures can influence curing quality and long-term strength.
Steps to complete this phase:
- Pour concrete continuously to avoid cold joints.
- Consolidate concrete using vibration equipment.
- Screed and finish the surface.
- Install anchor bolts and embedded hardware.
- Protect the fresh concrete from weather exposure.
Craig Perfect, Contractor & Owner at ALLCON Roofing, emphasizes that concrete performance depends just as much on curing as it does on placement. He advises builders to adapt curing practices based on temperature and weather conditions so the foundation develops its intended strength rather than simply hardening as quickly as possible.
Step 5: Allow the Concrete to Cure Properly
Concrete continues gaining strength long after it appears solid. Although light activity may begin after the initial set, contractors typically allow additional curing time before constructing the home's structural frame.
During curing, crews monitor the surface for cracks, keep moisture levels consistent when necessary and protect the foundation from rapid temperature changes. Following the engineer's recommended curing schedule helps maximize durability while minimizing future structural movement.
Steps to complete this phase:
- Maintain recommended moisture levels.
- Apply curing compounds or protective coverings.
- Inspect for cracking or surface defects.
- Verify anchor bolt alignment.
- Wait until the specified curing period has passed before framing.
According to Tom Orr, Owner at Northwest Exteriors, allowing the foundation adequate time to cure is one of the simplest ways to improve long-term structural performance. He explains that resisting the urge to rush construction creates a stronger base for every component installed afterward.
Step 6: Perform Final Inspections and Prepare for Framing
The final stage ensures the completed foundation is ready to support the rest of the home. Contractors inspect elevations, dimensions, waterproofing systems, drainage installations and anchor bolt placement before requesting final approvals. Any issues identified during this review are corrected before framing begins.
After inspections, crews install any remaining waterproofing materials and carefully backfill around the foundation using properly compacted soil. Final grading directs rainwater away from the structure, helping preserve the foundation for decades.
Steps to complete this phase:
- Verify dimensions against engineered plans.
- Complete structural and municipal inspections.
- Install final waterproofing and insulation.
- Backfill using controlled soil compaction.
- Grade the site to ensure proper drainage before framing.
Matt Bueno, VP of Operations at Red Roan Construction, recommends treating this inspection as the project's first comprehensive quality-control checkpoint. He explains that confirming waterproofing, drainage systems and structural connections before framing begins helps prevent expensive corrections once walls, flooring and roofing are installed.
Frequently Asked Questions
1. How long does foundation construction usually take?
Most residential foundations take between one and three weeks, depending on excavation, inspections, weather and curing requirements.
2. Why are footings installed before the foundation walls?
Footings distribute structural loads evenly into the soil, creating a stable base that prevents uneven settlement.
3. Can construction continue immediately after the concrete is poured?
No. Concrete requires adequate curing time before it reaches sufficient strength to support framing.
4. What is the biggest mistake during foundation construction?
Poor site preparation and inadequate drainage are among the leading causes of foundation failure.
5. How do builders protect foundations from water damage?
By installing waterproof membranes, perimeter drainage systems, proper grading and directing runoff away from the home.




























Sign in to leave a comment.