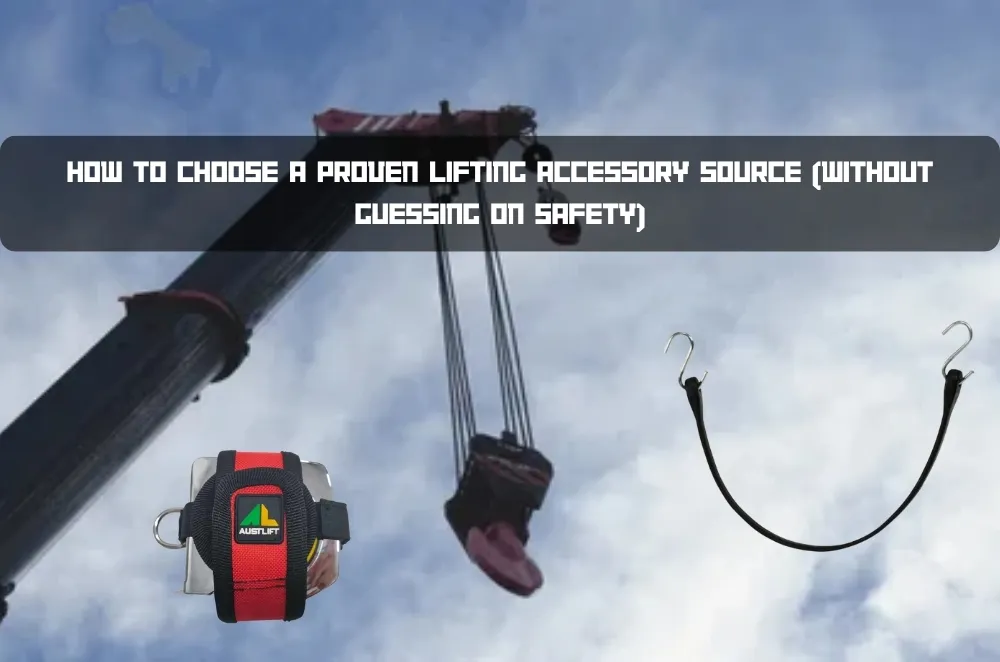
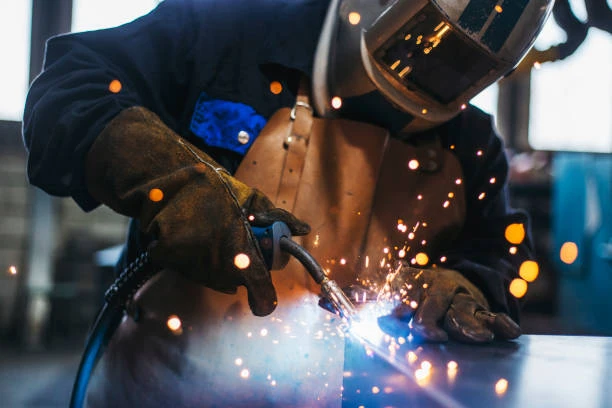
Lifting accessories are often treated as the “small stuff” in a lift plan, until a job stalls because a connector doesn’t match, a shackle isn’t rated for the configuration, or paperwork can’t be produced when it matters. In practice, reliability usually comes from two places: selecting the right component for the load path, and getting it from a supplier whose range and documentation make the selection auditable.
If you’re searching for a proven lifting accessory source, it helps to be clear about what “proven” really means in lifting work: fit-for-purpose hardware, ratings that line up with how you’ll use it (not just what it says on the tin), and traceability that stands up to inspection.
Below is a practical way to evaluate accessories and suppliers, especially if you’re buying for construction, remedial work, waste-handling, or any environment where gear is used hard and checked often. (In Australia, always follow your site’s WHS procedures and use competent persons for lift planning and rigging.)
Start with the load path, not the product list
A common buying mistake is starting with the accessory (“We need a shackle”) instead of the lift (“We need to connect this to that at this angle, with this headroom”). Accessories only make sense when you map the load path:
- Connection points: what are you attaching to, pad eyes, lifting lugs, lifting points, chain sling components, beams, or a spreader?
- Direction of pull: will the load be in-line, side-loaded, multi-leg, or subject to rotation?
- Clearance/headroom: will a bulkier connection change the geometry enough to introduce side loading or interference?
- Environment: corrosion risk, grit, chemicals, hot works, or frequent knocks all change what “durable” looks like.
Once you have that mapped, the accessory choice becomes more objective: you’re matching geometry, rating, and intended use rather than shopping by habit.
What “certified” should look like in the real world
In an Australian context, “certified” gets used loosely. As a buyer, what you usually need is confidence that:
- The component is rated appropriately for the application (including how it’s loaded).
- The standard is stated clearly (or an equivalent recognised specification is identified).
- Documentation is available to support inspections and audits.
If a supplier can’t tell you what standard a component is made to, or can’t supply basic compliance documentation when asked, treat that as a procurement risk, not an inconvenience.
The accessories that most often cause avoidable issues
Most lifting accessory “failures” on site aren’t dramatic breakages. They’re mismatches: wrong pin diameter, incompatible grades, incorrect sling-hook pairing, or a configuration that creates unintended side loading. These are the categories where checking details tends to pay off:
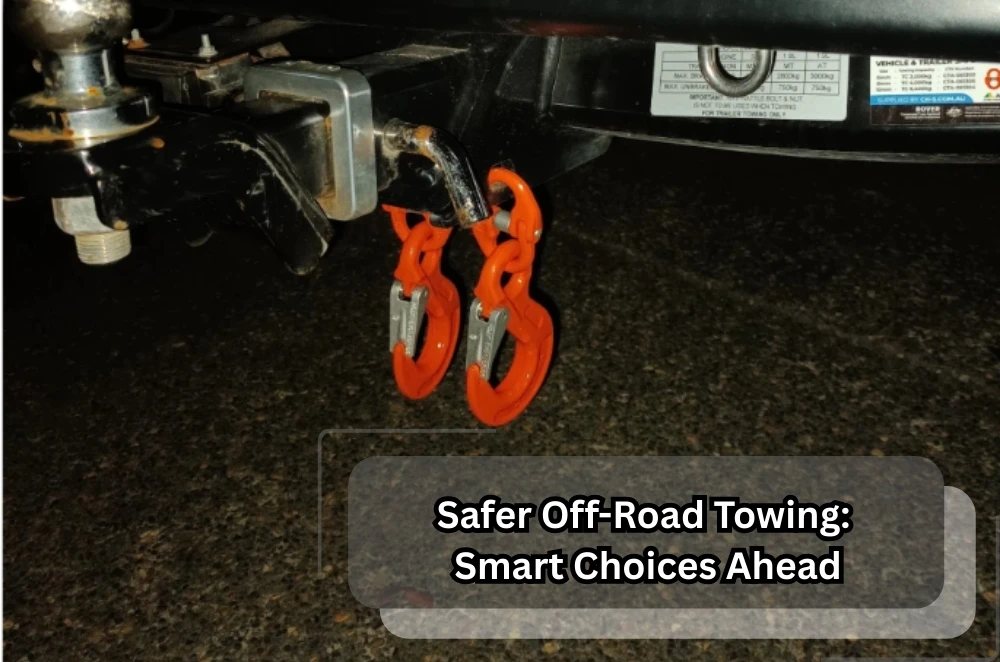
Shackles and connectors
Shackles and connectors are frequently used as general-purpose joiners, but they’re also where configuration errors creep in. Common pitfalls include:
- Pin size/fit issues (oversized pins can damage connection points; undersized pins can cause slop and shock loading)
- Side loading where the shackle is pulled in a way it isn’t designed to take
- Compatibility problems when mixing chains, hooks, and connectors across grades or systems
A supplier with a broad accessory range, hooks, shackles, snatch blocks, shorteners and related components, can make it easier to keep compatibility within a known system.
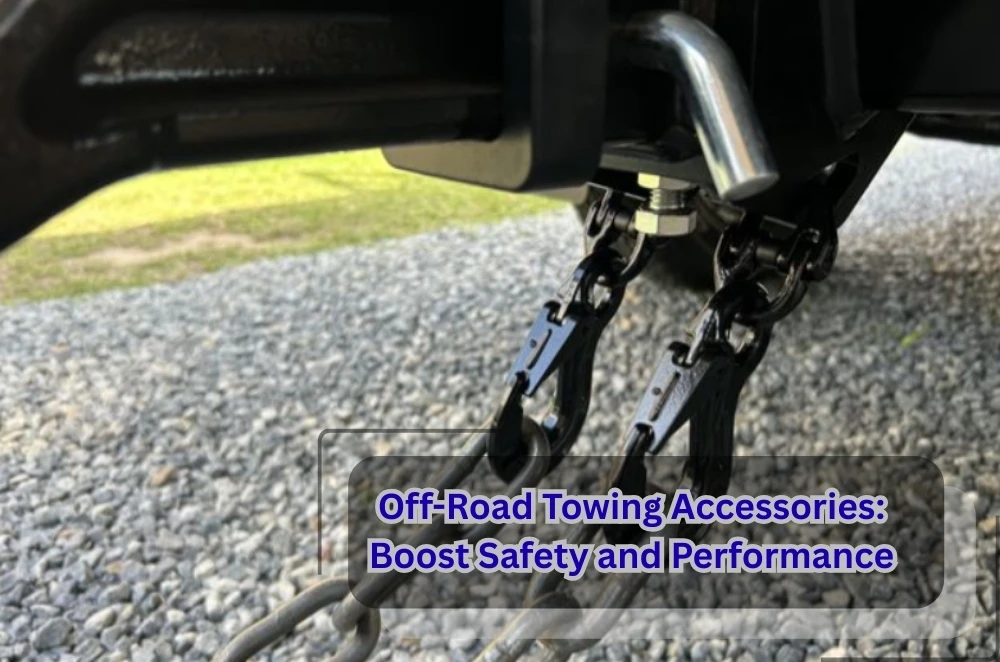
Shorteners and chain components
Shorteners solve real rigging problems, but only if the chain grade and component design are aligned. If you’re running chain slings, treat components as a matched system and avoid mixing “close enough” parts between grades.
Lifting points and lugs
Rotating/swivelling lifting points can reduce some alignment problems, but they also demand careful attention to rating, thread engagement, and correct installation. Where a product claims design features intended to improve load handling or positioning, your evaluation should include whether those features match your use case and whether you can document them.
Tags, identification, and inspection readiness
The “paperwork” side of lifting is often the part that burns time: missing identification, unclear marking, or inconsistent tracking across sites. Even simple accessory tags can support inspection routines when they’re used consistently (and when your internal system actually matches what’s on the gear).
How to vet a supplier as a dependable source
Beyond a single product, your real question is whether the supplier makes it easier to buy the right gear repeatedly, and to prove it later.
Here are practical signals:
1) Range depth that matches job variety
If the jobs vary, you don’t want to source shackles from one place, chain components from another, and specialty accessories from a third, because that’s how compatibility and paperwork drift happens.
2) Standards visibility
A strong sign is when standards are not hidden in fine print. If the shop experience lets you identify products by recognised standards references, working load limits, and related criteria, you can procure with fewer assumptions and build consistency across sites.
3) Clear use-case framing
Look for category descriptions that explain where items are used (e.g., construction, remedial work, waste-handling) rather than vague marketing. Use-case framing helps you confirm you’re buying for the right context.
4) Traceability and documentation cues
On individual product pages, wording about proof testing, serial numbering, batch numbering, or inclusion of test certificates is a positive signal, provided it’s backed by actual documents when requested.
A practical buying workflow for lifting accessories
If you want fewer surprises, borrow a workflow that procurement and rigging teams use to reduce rework:
- Define the connection problem (what connects to what, at what angles, in what space).
- Select the system family (keep chain components within a grade/system; avoid mixing unknowns).
- Check rating in the configuration (not just nominal rating, think direction of pull and multi-leg effects).
- Confirm documentation (what will you show an inspector or auditor if asked?).
- Plan inspection and retirement (how will it be tagged, tracked, and removed from service?).
- Buy spares intelligently (critical connectors and common sizes that prevent downtime).
When it’s time to bring in a competent person
Accessories aren’t the place to “learn by doing” if the lift is complex, high consequence, or unfamiliar. Consider formal input when:
- The lift involves unusual angles, multiple pick points, or tight headroom
- You’re using custom lifting points, welded attachments, or engineered lugs
- The load is dynamic (movement, wind, snag risk)
- The consequences of failure are severe (people, public areas, critical assets)
For anything beyond routine lifts, a competent rigger/lift planner can validate assumptions you can’t safely validate in procurement alone.
Key Takeaways
- “Proven” lifting accessories are about fit-for-task, correct ratings in the real configuration, and traceable documentation, not brand familiarity.
- Start with the load path (connection points, direction of pull, clearance) before choosing accessories.
- Prioritise suppliers that make standards, ratings, and compatibility easy to verify during purchasing.
- Watch for common mismatch zones: shackles/connectors, chain components, lifting points, and identification/inspection readiness.
- Use competent persons for complex or high-consequence lifts, and follow site WHS procedures.


Sign in to leave a comment.