Installing security cameras is one of the most effective ways to protect your property, whether it’s a home, business, or industrial facility. With the increasing importance of security, having a proper surveillance system not only helps protect your assets but also provides peace of mind. However, the effectiveness of your security cameras heavily depends on proper installation, camera placement, and configuration.
This comprehensive guide will walk you through the entire process of how to install security cameras, from choosing the right cameras to achieving optimal coverage. By following these simple, easy-to-follow steps, you’ll ensure that your property is well-protected.
Why Installing Security Cameras is Important
Before jumping into the installation process, it’s essential to understand why security cameras are so crucial:
- Crime Deterrence: The presence of security cameras is a proven deterrent for criminal activities such as theft and vandalism. Criminals are less likely to target a property when they see visible cameras monitoring the area.
- Evidence Collection: Security cameras help provide crucial evidence in case of theft, break-ins, or other incidents. With recorded footage, law enforcement can identify suspects and help resolve disputes.
- Remote Monitoring: Most modern security systems allow you to monitor your property remotely from your phone, tablet, or computer. This is especially useful for homeowners and business owners who are frequently away from their properties.
- Insurance Benefits: Insurance companies may offer discounts to customers with a professionally installed security system, and in the event of a claim, security footage can serve as valuable evidence.
- Peace of Mind: Whether you're concerned about your business’s assets or the safety of your family, knowing that your property is being monitored 24/7 offers peace of mind.
Step 1: Assess Your Security Needs
Before you learn how to install security cameras, it’s crucial to first assess your property’s security needs. Different areas of your property may require different types of cameras or configurations. Here's what to consider:
1.1 Property Type and Size
- Residential Properties: For homes, you’ll likely need cameras for the front and back doors, driveways, and any other entry points.
- Commercial Properties: Businesses, especially larger ones, may require more cameras to cover areas such as entrances, hallways, warehouses, parking lots, and cash registers.
- Industrial Properties: For warehouses and factories, cameras should be installed in key areas such as the perimeter, storage areas, and production floors.
1.2 Indoor vs. Outdoor Cameras
- Indoor Cameras: Smaller, more discreet, and typically less weather-resistant. They are ideal for monitoring rooms or common areas inside a building.
- Outdoor Cameras: Designed to withstand harsh weather conditions, these cameras need to be weatherproof and equipped with features like night vision and wide-angle lenses for better coverage.
1.3 Specific Areas to Monitor
Identify areas of your property that need more attention or are at higher risk. Common spots include:
- Entrances and Exits: Front doors, back doors, windows, and gates.
- Driveways and Parking Lots: Surveillance can help prevent vandalism and theft of vehicles.
- High-Traffic Areas: Hallways, stairwells, and store aisles are all prime spots for surveillance.
- Storage Areas: Particularly in businesses, it’s essential to monitor inventory and prevent theft.
Step 2: Select the Right Security Cameras
Once you've assessed your security needs, selecting the right cameras is the next step. There are different types of cameras to consider, each suited for different environments and uses.
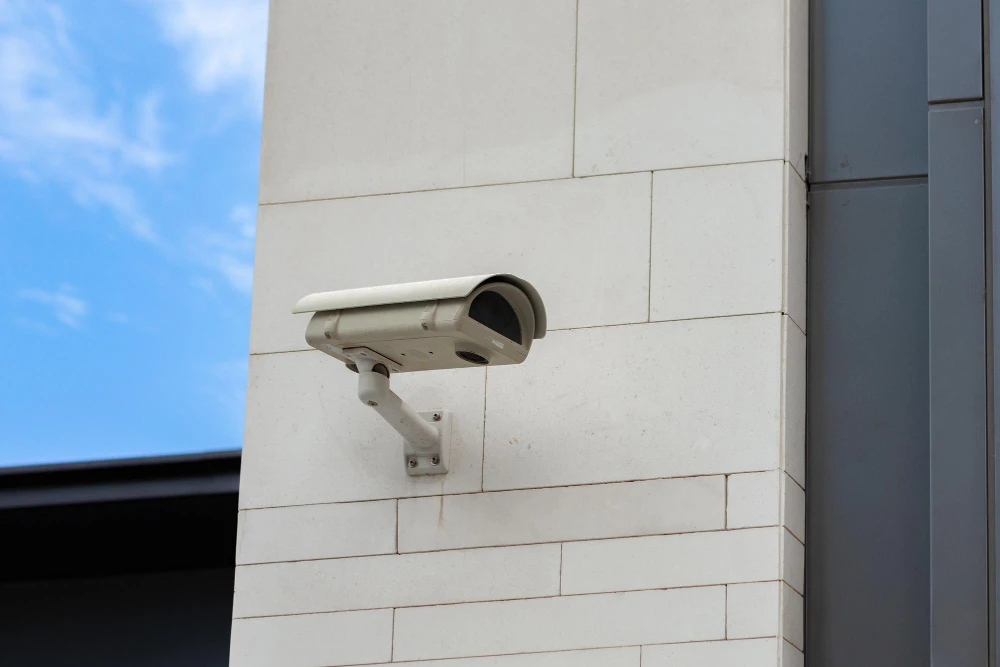
2.1 Bullet Cameras
Bullet cameras are long, cylindrical cameras that are typically used for outdoor surveillance. They provide a long range of vision, making them ideal for monitoring driveways, parking lots, and building entrances. Bullet cameras are often mounted on walls and are highly visible, which can act as a deterrent for potential criminals.
2.2 Dome Cameras
Dome cameras are small, discreet cameras that provide a 360-degree field of view. They are ideal for monitoring indoor areas like hallways, offices, and waiting rooms. Dome cameras are tamper-resistant and can blend in with the environment, making them a good choice for places where you want the camera to be less noticeable.
2.3 PTZ (Pan-Tilt-Zoom) Cameras
PTZ cameras are designed to allow remote control of the camera’s direction and zoom. These cameras are ideal for large properties, such as parking lots or large warehouses, where you may want to monitor a wide area and zoom in on specific activity. They are often used for both indoor and outdoor monitoring and offer flexible coverage options.
2.4 IP Cameras
Internet Protocol (IP) cameras are digital cameras that send and receive footage via the internet. They offer high-definition video quality and are ideal for remote monitoring. IP cameras are scalable, so they are perfect for larger homes or businesses where you need multiple cameras connected to a single network. They also offer features like motion detection, night vision, and audio recording.
2.5 Wireless Cameras
Wireless cameras provide easy installation without the need for complicated wiring. They work over Wi-Fi networks and are a great option for areas where running cables would be challenging. However, wireless cameras are reliant on a stable Wi-Fi connection, so they may not be suitable for large properties with poor internet connectivity.
2.6 Covert Cameras
Covert cameras are hidden cameras that blend in with everyday objects, such as smoke detectors, clocks, or light fixtures. These are ideal for discreet surveillance in sensitive areas or situations where the presence of visible cameras could raise suspicion.
2.7 Doorbell Cameras
Doorbell cameras are becoming increasingly popular in homes. These cameras are attached to your front door and allow you to see and communicate with visitors remotely through your phone. They often come with motion sensors and video recording capabilities, making them ideal for monitoring your front entrance.
Step 3: Plan Camera Placement
The key to effective security camera installation is ensuring proper coverage of your property. Planning the camera placement carefully is essential for avoiding blind spots and ensuring maximum coverage. Here’s how to do it:
3.1 Indoor Camera Placement
- Entry Points: Install cameras to monitor all entrances and exits of your home or business.
- Hallways and Common Areas: For indoor areas, focus on high-traffic zones like hallways, reception areas, or living rooms.
- Hidden or Blind Spots: Make sure areas like stairwells, basements, and closets are covered, as these can be common places for intruders to hide.
3.2 Outdoor Camera Placement
- Entryways: Position cameras near the front door, back door, and any gates or fences that provide access to your property.
- Driveways and Parking Areas: Install cameras to monitor cars, entrances, and outdoor equipment.
- Perimeter: Ensure you have cameras covering the outer boundaries of your property to prevent intruders from gaining access undetected.
3.3 Consider Factors Like Lighting
Make sure cameras are positioned in areas that receive enough lighting, especially for nighttime monitoring. Outdoor cameras should be able to see clearly in low-light conditions, so consider using additional lighting if needed to enhance the camera’s performance.
Step 4: Set Up Wiring and Power Supply
For wired cameras, proper wiring and power setup are crucial for ensuring reliable functionality. Whether you're using PoE (Power over Ethernet) or traditional wiring, here’s how to handle the installation:
4.1 Running the Cables
- High-Quality Cables: Use high-quality Ethernet cables (Cat5e or Cat6) to ensure fast data transfer and minimal signal loss.
- Minimize Power Loss: Avoid running cables that are too long, as this can cause power loss and lower video quality. If needed, use a signal booster.
4.2 Powering Your Cameras
- Wired Cameras: Wired cameras require a stable power source. You can either use an electrical outlet or PoE, where the Ethernet cable also carries power to the camera.
- Wireless Cameras: Wireless cameras are powered by batteries or an electrical outlet, so make sure they’re positioned near a power source.
4.3 Cable Management
To keep your installation neat and secure, try to run cables through walls, ceilings, or conduits. Label each cable for easier identification during maintenance.
Step 5: Mount the Cameras
Properly mounting your cameras ensures they stay in place and provide the best field of view. Here’s how to mount your cameras securely:
5.1 Height and Angle
Mount cameras at a height of 8-10 feet to avoid tampering while maintaining a clear view. Adjust the camera angle to cover the desired areas, ensuring a wide range of vision without overlapping with other cameras.
5.2 Secure Mounting
Use strong mounts, screws, and anchors to secure your cameras. For outdoor cameras, ensure they’re weatherproof and mounted on sturdy surfaces.
5.3 Testing the View
Before securing your cameras, test the angle and adjust if necessary to ensure no areas are left uncovered.
Step 6: Configure Your Security System
Once the cameras are mounted and powered, it’s time to configure your system for optimal performance.
6.1 Connecting to the Network
For IP cameras, connect them to your Wi-Fi or Ethernet network. Ensure the connection is stable and test the video feed.
6.2 Motion Detection and Alerts
Enable motion detection on your cameras and set up alerts for when suspicious activity is detected. Configure the motion sensitivity to avoid unnecessary alerts from pets or small movements.
6.3 Night Vision
For outdoor cameras, ensure that night vision is enabled to provide clear footage in low-light environments.
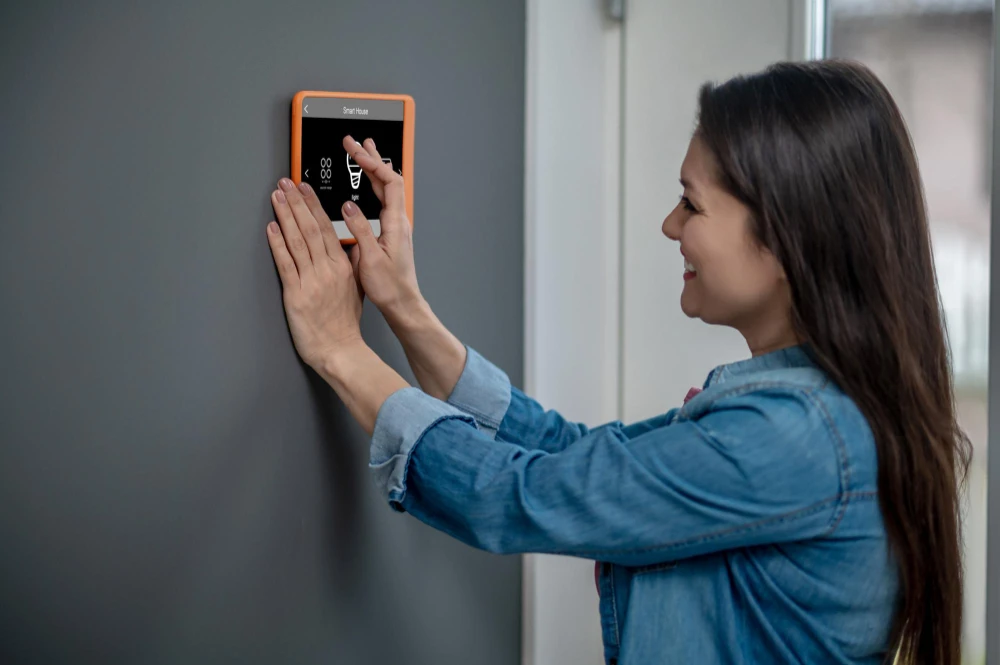
6.4 Remote Access
Set up the mobile app or desktop software to access your camera feeds remotely. Most modern cameras offer mobile apps for real-time monitoring from anywhere.
Step 7: Regular Maintenance
To keep your security system functioning optimally, conduct regular maintenance. Clean the lenses, check wiring, and test the system to ensure everything is working as expected.
Conclusion
Installing security cameras is a crucial step in protecting your property. By assessing your security needs, selecting the right cameras, and following the steps for installation, you can ensure that your surveillance system provides the coverage and protection you need. At Cam Security Surveillance, we specialize in professional camera installation and security solutions that are tailored to your unique needs. Whether for your home or business, we offer the expertise to help you set up the best system for your security goals.


Sign in to leave a comment.