
Creating video is easier than ever, but platforms like Gemini love slapping logos on your work. A watermark instantly makes the video look less polished. But don't just blur it. A moving smudge is often uglier and more distracting than the logo itself.
You need a video watermark remover tool that understands the scene in motion. Vmake handles this by rebuilding the area behind the watermark so it blends naturally. It restores the clip invisibly, keeping the focus on your story instead of the tech.
How Gemini Watermark Removal Works?
Watermarks in Gemini-generated footage are usually high-contrast, sharp, and positioned to be visible against any background. Older removal methods depended on simple cloning tools. You’d copy a patch of nearby pixels and paste it over the logo. That might work on an evenly lit sky or a static wall, but it falls apart when the logo sits on a face, a moving object, or a textured surface.
Vmake approaches the problem differently. It compares nearby frames to recreate the missing section with consistent texture and motion so the repaired area aligns with the original footage.
How To Remove Gemini Watermark Using Vmake AI?
Vmake’s interface is built to be simple enough for non-editors while still offering precision where it matters. For creators working with batches of AI-generated video clips from Gemini, the workflow stays linear and fast:
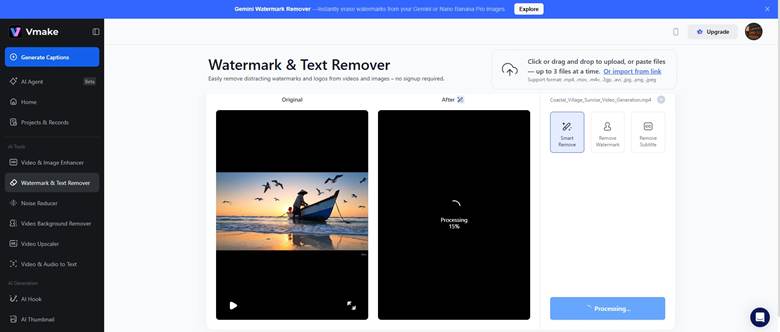
1. Upload and Initial Scan
Drag your video into the browser window. Vmake accepts MP4, MOV, AVI, and other standard formats. As soon as it’s uploaded, the detection system scans the video for static overlays. Most watermarks sit near the frame edges, so the system can spot them quickly.

2. Select the Area
You still have full manual control with the brush tool. Keep your selection tight and don't force the software to guess unnecessarily. If there are multiple logos, highlight them all in one pass.
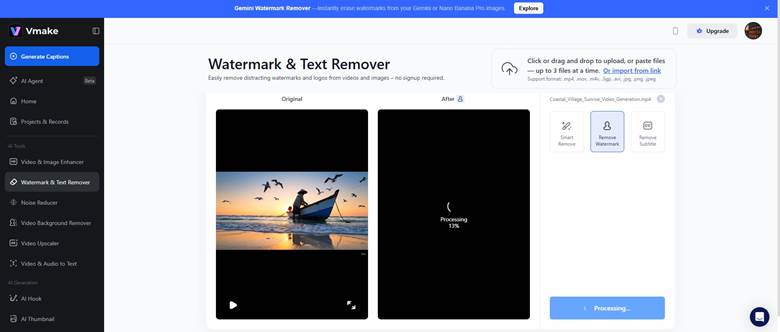
3. Let the System Process the Frames
Once the area is selected, initiate the removal. This is the heart of the operation. Vmake studies the nearby frames, follows the motion, and rebuilds the texture and lighting so the fix matches the original shot. It’s not just covering the area, but it’s rebuilding it based on how the environment behaves.
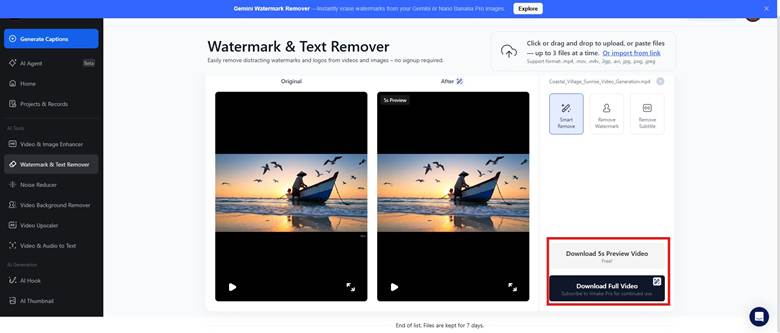
4. Review the Preview
Before exporting, watch the looped preview and look for shimmering or pulsing. This usually shows up when the software has trouble matching how the background moves. If you see it, adjusting your selection or reprocessing usually solves the issue.
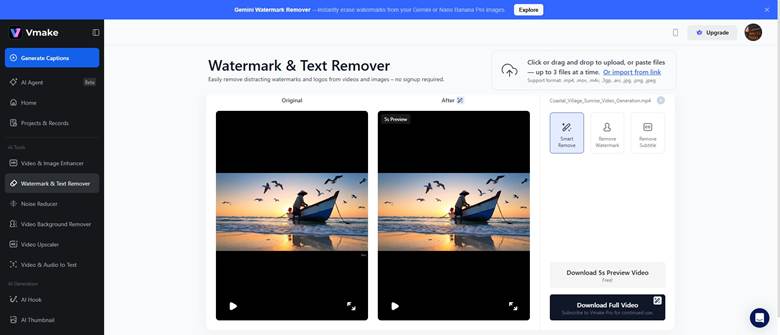
5. Export at Full Resolution
After the correction looks clean, export the video. Vmake supports high-resolution output, which is important because most generative video tools produce 1080p or 4K footage. You don’t want to downgrade quality just to hide a watermark.
When Video Watermark Removal Becomes More Challenging?
How well a watermark can be removed depends mostly on what’s happening behind it in the shot. Some clips give the software enough information to reconstruct the area smoothly, while others require additional adjustments to maintain consistency.
Stable or Minimal Background Movement
Watermarks placed over simple or steady backgrounds are generally the easiest for the system to restore. If the subject is speaking in front of a solid color, a soft gradient, or a lightly textured surface, the software can reference large areas of similar pixels. In these cases, the reconstructed region blends in cleanly because the surrounding frames are consistent.
Complex or Active Background Movement
Clips that contain unpredictable motion are more difficult. Footage with crowds, busy textures, or changing light gives the software fewer steady points to reference. Because of that, the fixed area can look a bit softer than the rest of the frame. When this happens, using Vmake’s enhancement tools, like a light sharpen or a simple upscale. It helps the entire video settle into a more consistent look.
Limited Reference Frames
If the watermark is positioned over elements that change rapidly, such as water, fabric movement, vehicle headlights, or transitions between scenes, the system has fewer stable frames to analyze. In these cases, the removal may require a tighter selection or a second processing pass to fully match the surrounding motion.
When Additional Adjustments Are Needed
Sometimes the repaired area still shows if the original clip has strong grain or noise. Applying a light grain layer across the entire clip helps unify the texture so the repaired area does not appear cleaner than the surrounding frame.
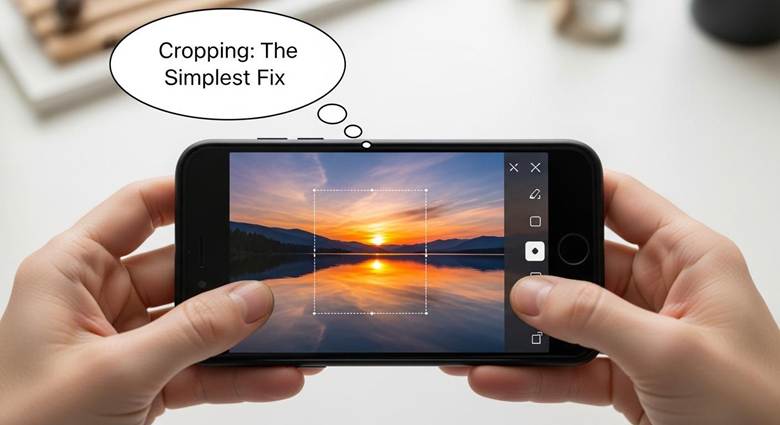
How Cropping Helps When the Watermark Sits at the Edge?
Sometimes the smartest fix is simply cropping. If the logo sits on the edge, cut it off. Since you’re likely resizing for TikTok or Reels anyway, just frame your shot so the branding falls outside the border. It’s cleaner than trying to fake new pixels and works instantly. It’s destructive in terms of composition, but perfect in terms of fidelity. No one can detect a crop if it fits the intended final format.
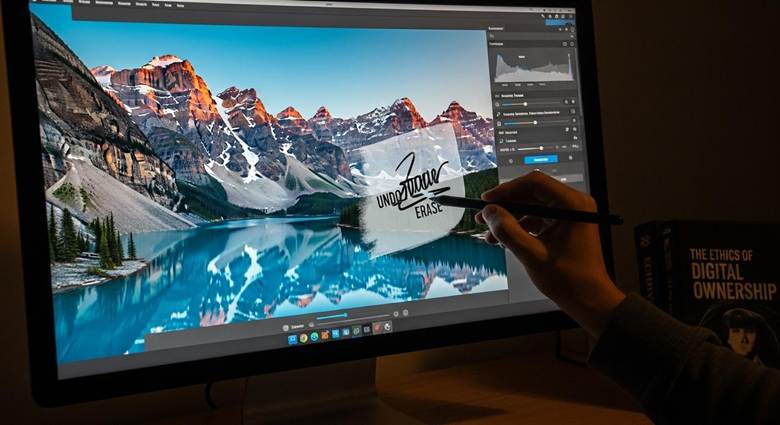
Using Grain to Maintain Consistent Texture
Even a flawless patch can look “too perfect” compared to the rest of the footage. Natural digital noise or camera grain is often missing from the repaired area, and that mismatch is a giveaway. A light layer of uniform film grain across the entire video helps hide the difference. You’re not adding noise to only the patched area but you’re creating a consistent texture across the whole frame. Vmake includes enhancement filters that make this easy.
Comparing Vmake AI with Traditional Editing Software
High-end tools like Adobe After Effects and DaVinci Resolve offer their own content-aware fill systems. They’re powerful, but they require manual prep:
• Creating masks
• Motion tracking
• Reference frame generation
• Hand-tuning the patch
It gives you control, but it’s slow. A 10-second clip may take half an hour to set up before rendering begins.
Vmake condenses this into a mostly automated pipeline. You lose some micro-level precision but gain enormous speed. For social content, marketing clips, and most YouTube workflows, the difference in quality is negligible, but the difference in turnaround time is dramatic. You can fix a folder of clips in the time that the desktop software needs to prep a single shot.
Final Verdict
Generative video is becoming a standard part of the creative process. That means watermarks, odd resolutions, and awkward framing will be part of the raw material. Tools like Vmake help clean up the raw AI output so creators can turn it into something finished and presentable.
As this ecosystem grows, the concept of a “raw” file is going to shift. AI-generated clips will be treated the way filmmakers treat camera negatives: something to refine, correct, and prepare for final delivery.
The goal is straightforward: the viewer’s attention should stay on the story, not the tool that created it. A clean frame is the first step toward that.


Sign in to leave a comment.