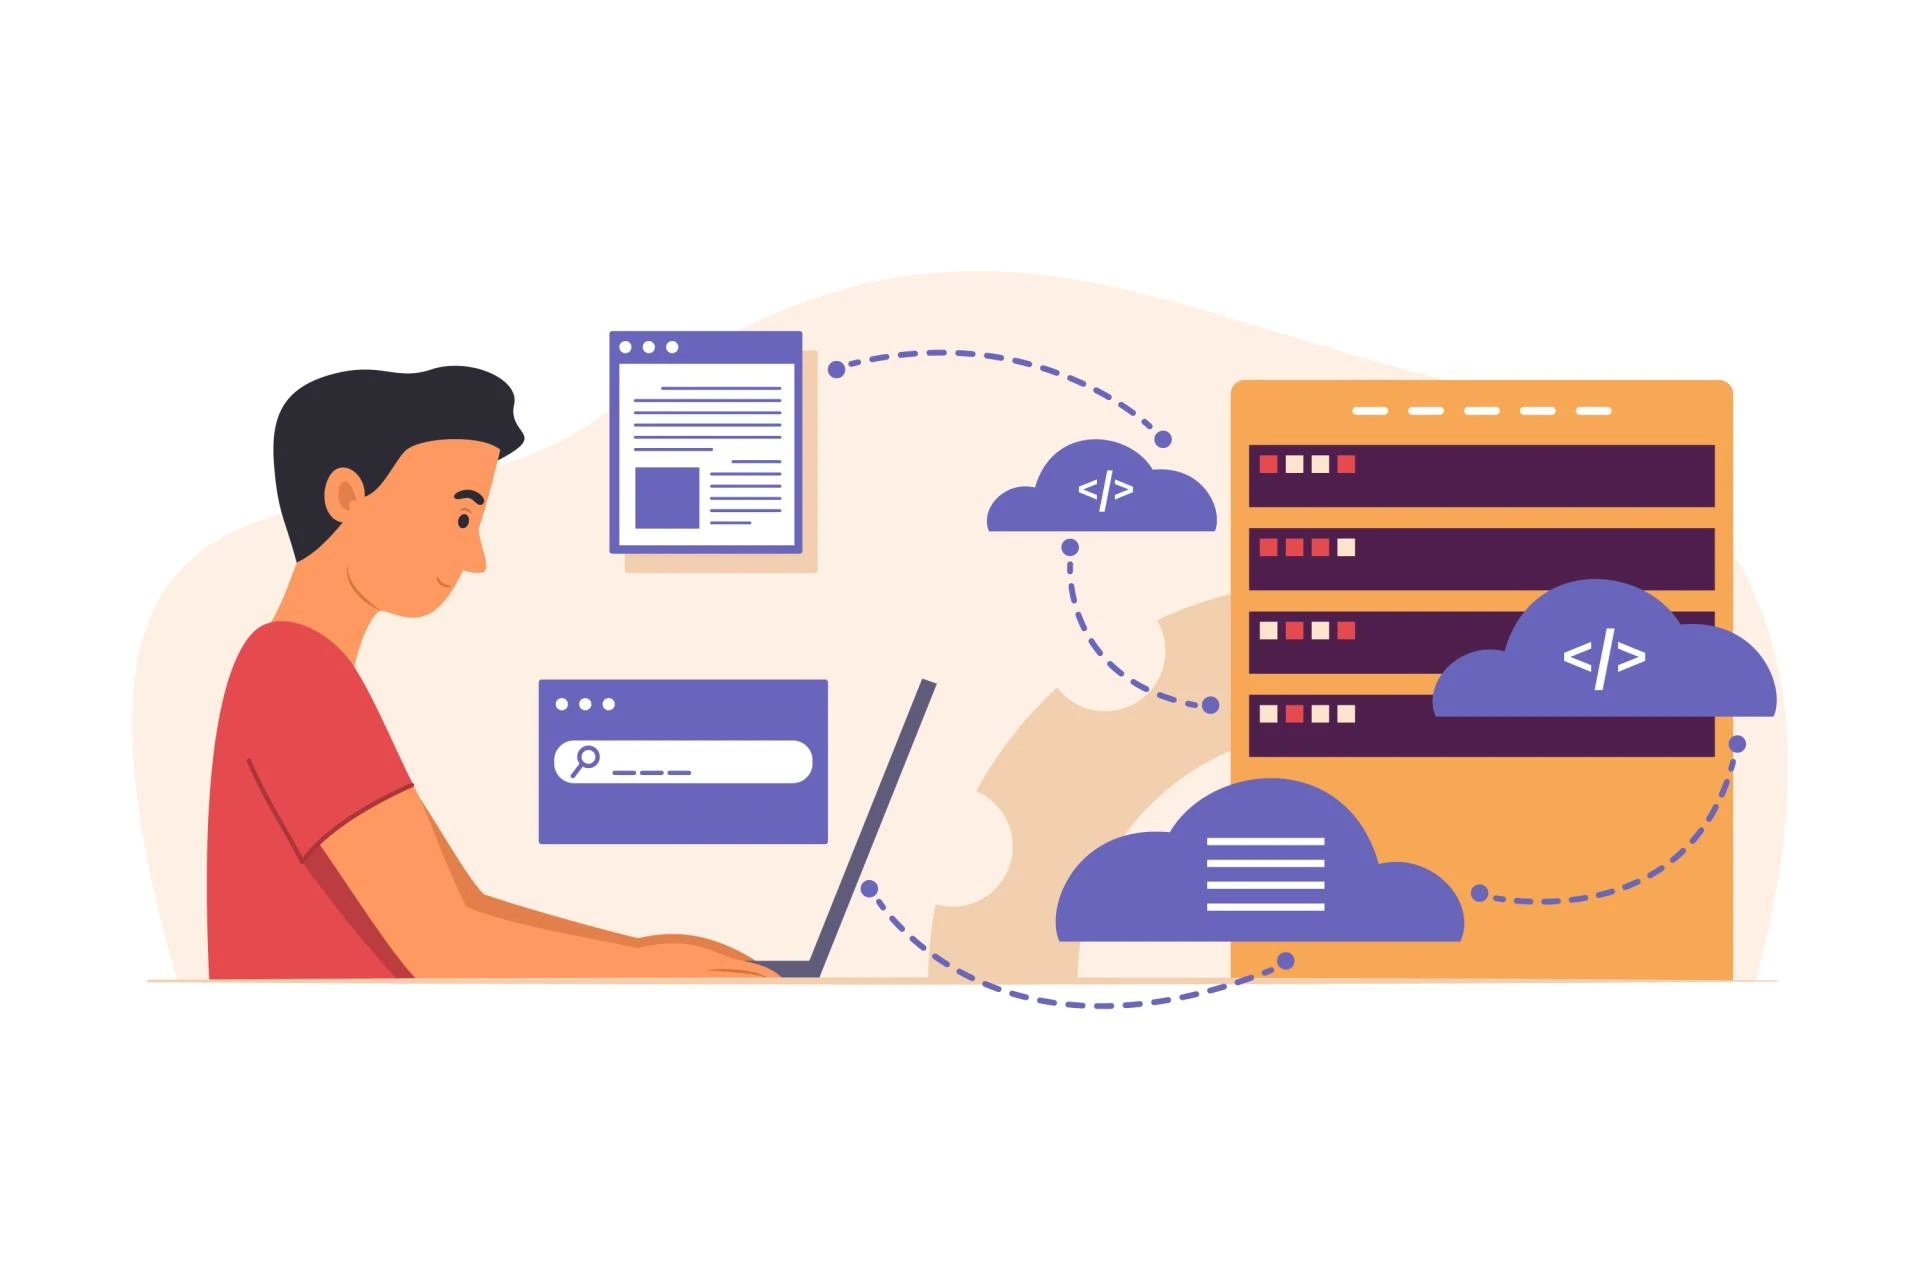
Laravel has quickly become one of the most popular PHP frameworks, known for its elegant syntax, developer-friendly features, and ability to streamline web development projects. Whether you’re building a simple blog or a complex enterprise application, managing your database structure is crucial, and that’s where Laravel Migration comes into play.
In this Laravel Migration Tutorial, we’ll walk you through the basics of managing your database schema using Laravel's built-in migration system. By the end of this article, you’ll have a clear understanding of how to create, modify, and maintain your database tables in a way that’s clean, version-controlled, and easy to collaborate on.
What Are Laravel Migrations?
Laravel Migration is a version control system for your database. It allows developers to define database schema changes in PHP code and manage them over time. Instead of manually altering tables or running raw SQL queries, you write migration files that describe the structure and changes to your database tables.
This system brings many benefits: it allows teams to collaborate on database design, keeps development and production environments in sync, and enables rollbacks if something goes wrong. As a result, Laravel migrations are a key part of any professional Laravel development workflow — from small startups to industries like Laravel for healthcare, where precision and compliance are essential.
Why Use Laravel Migration?
The main reasons for using Laravel Migration include:
- Consistency: Ensures the same database structure across all environments.
- Version Control: Track and reverse schema changes as needed.
- Automation: Avoid manual table updates and human error.
- Team Collaboration: Easily share schema updates through code repositories.
For teams building mission-critical applications, especially in regulated industries, using migrations ensures data integrity and ease of deployment.
How to Get Started with Laravel Migration
Let’s break down the process into clear, manageable steps.
Step 1: Setting Up Your Laravel Project
Before you begin, make sure you have Laravel installed and a database connection configured. Once your project is up and running, you’re ready to dive into migrations.
Step 2: Understanding Migration Files
A migration file is a PHP file located in the database/migrations directory. Each file includes two primary methods:
- up() – Defines what happens when the migration is run.
- down() – Defines how to reverse the migration.
Laravel generates migration files with timestamps in the filename to ensure they are run in the proper order.
Step 3: Create Migration in Laravel
To create migration in Laravel, you use the Artisan command-line tool. The command automatically generates a boilerplate migration file for you. Once created, you edit the file to define the desired table structure.
You can create migrations for tasks such as adding new tables, updating existing ones, or even creating indexes and foreign keys. Laravel provides a powerful schema builder to help with these tasks, reducing the need to write raw SQL.
Step 4: Running Migrations
Once your migration files are ready, use the migrate command to apply them to your database. Laravel processes each migration file and executes the logic in the up() method. The system also keeps track of which migrations have been run, so it doesn’t apply the same migration multiple times.
If you ever need to undo a migration, you can run a rollback, which uses the down() method to reverse changes. This makes it easy to test schema changes without worrying about permanently altering your database.
Step 5: Modify and Roll Back Migrations
In real-world projects, you’ll often need to adjust your database schema as requirements change. Laravel allows you to create additional migration files to update or drop tables and columns.
It’s best practice not to edit existing migrations that have already been run, especially in production environments. Instead, generate new migration files to reflect the updated schema.
For example, to change a column type or rename a table, you would create a new migration and define the appropriate actions in the up() and down() methods.
Step 6: Tips for Managing Migrations Effectively
To make the most of Laravel migrations, follow these best practices:
- Name migrations clearly: Use descriptive names like create_users_table or add_email_to_users.
- Keep migrations small: Each migration should handle a specific task.
- Version control: Always commit migration files to your Git repository.
- Test locally: Run migrations in a local or staging environment before production.
- Avoid raw SQL: Use Laravel's schema builder whenever possible for better portability.
Common Use Cases for Laravel Migrations
While Laravel migrations can be used in almost any application, they’re especially useful in projects where:
- Multiple developers are working together.
- There are multiple environments (development, staging, production).
- The project is expected to scale or evolve.
- Schema changes need to be audited or rolled back reliably.
A practical use case is in Laravel for healthcare applications, where strict regulations often require detailed tracking of changes and data integrity. Laravel’s migration system ensures that even complex schema changes can be documented and reversed without data loss.
Recap of Key Points
Let’s summarize what we’ve covered in this Laravel Migration Tutorial:
- Laravel migrations are a version control tool for your database schema.
- You use migration files to define, update, and roll back schema changes.
- The Artisan CLI makes it easy to create migrations in Laravel and run them efficiently.
- Migrations improve team collaboration, deployment workflows, and data consistency.
- They are especially valuable in regulated industries where changes must be traceable.
Final Thoughts
For beginners, Laravel migrations may seem like an extra step at first, but they quickly become an essential part of any serious Laravel development project. By learning to use them effectively, you’ll not only keep your database structure organized but also future-proof your application.
We hope this Laravel Migration Tutorial has helped demystify the process and given you the confidence to start using migrations in your projects. Whether you're building your first Laravel app or scaling a large production platform, mastering migrations will take your development skills to the next level.


Sign in to leave a comment.