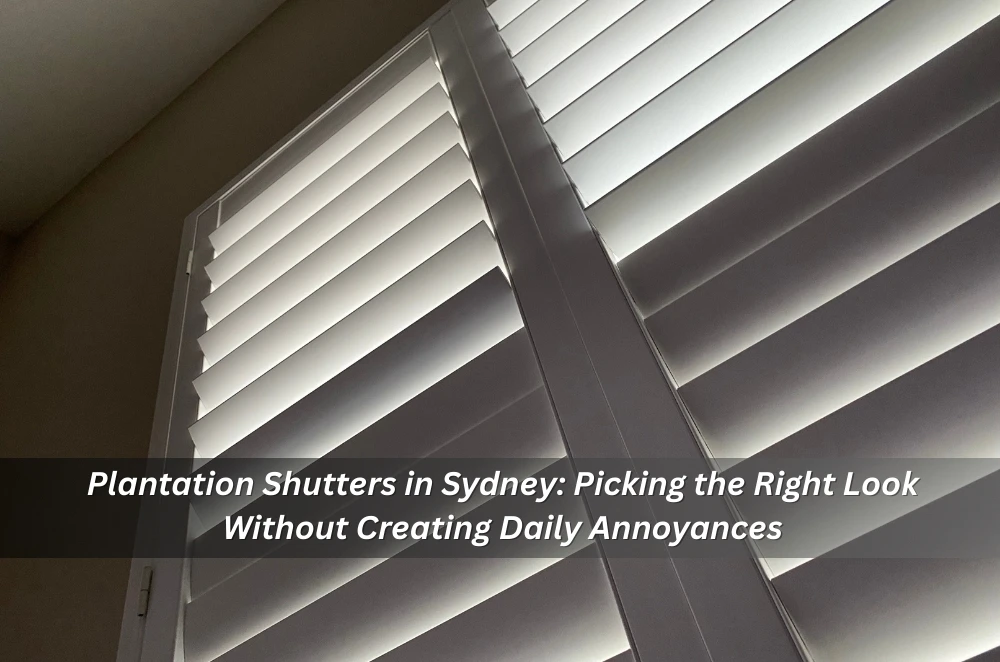
Plantation shutters can make a place feel finished in a way few window coverings do.
They also have a knack for exposing every slightly wonky reveal, off-square frame, and “that’ll do” renovation decision you inherited.
In Sydney, the sweet spot is shutters that handle bright light and privacy without turning windows into something you avoid using.
That comes down to three things: the right material for the room, a layout that matches how you live, and measuring that doesn’t assume every opening is perfect.
What plantation shutters are genuinely good at
Shutters are brilliant when you want control rather than “open or closed”.
Angle the louvres and you can keep daylight while cutting direct sightlines from the street or a neighbouring window.
They can also look like part of the house instead of a bolt-on, which is why they suit everything from new builds to older homes that need a cleaner line.
And because they’re rigid, they don’t flap around in a breeze the way some soft coverings can.
The compromise is that shutters have moving parts and hard edges, so bad planning becomes obvious fast.
If panels clash with handles, scrape on the sill, or fold into the spot you actually need access, you’ll feel it every day.
Decision factors that change the outcome
The easiest way to make a good decision is to start with the room’s job, not the photo you liked online.
Once you’ve done that, you’ll notice some “features” don’t matter much, and some boring details matter a lot.
1) How you use the window (not how it looks).
If you open a window daily for ventilation, think about panel swing, clearance, and whether the shutter makes the handle awkward to reach.
2) Privacy needs across the day.
A street-facing lounge and a second-storey study have different problems, so treat them differently.
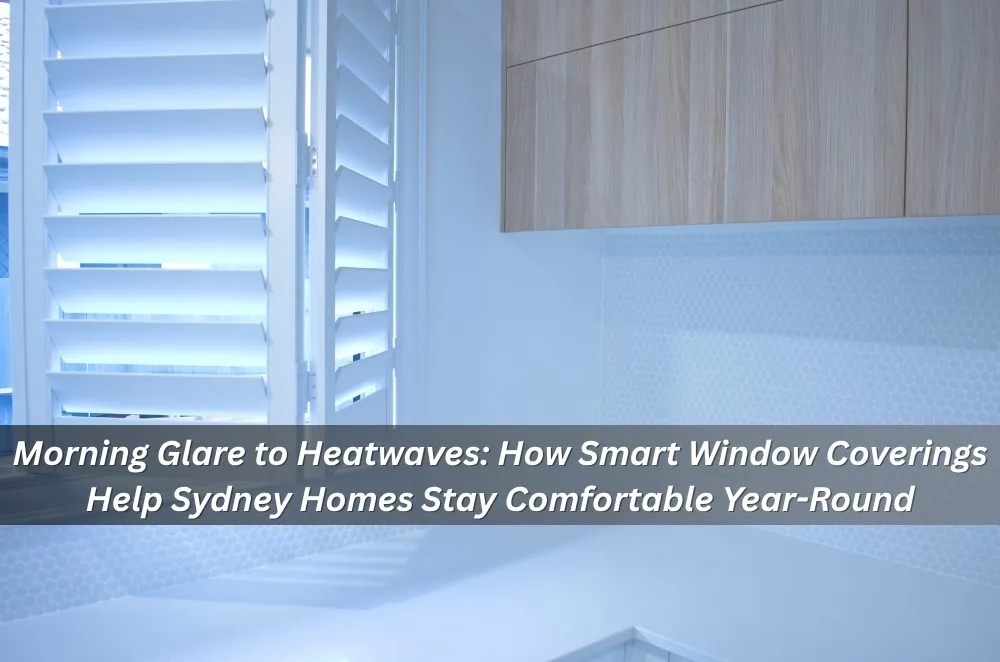
3) Glare and light direction.
West-facing rooms can cop harsh afternoon light, and louvre size plus panel layout affects how well you can shape that light.
4) Reveal depth and squareness.
Inside-mount shutters look tidy, but they only look tidy if the reveal supports them without forcing the fit.
5) Cleaning and wear.
Kitchens, bathrooms, and laundries are where material choice stops being a style decision and becomes a “will I hate this in six months” decision.
6) Colour matching in real light.
“White” can skew warm or cool, and daylight makes small differences look big.
Common mistakes that waste money
Most shutter regrets aren’t dramatic failures; they’re small irritations that pile up.
Here are the usual culprits.
Choosing louvre size from photos alone.
Louvres change the view out, and the feel of a room, so what looks sleek on a styled shoot can feel busy or blocky in real life.
Assuming every window can be treated the same way.
A bathroom window, a bedroom window, and a big living room opening don’t need identical specs, even if you want a consistent look.
Forgetting about handles, locks, and flyscreens.
If something clashes, you’ll end up propping panels in weird positions or avoiding the window entirely.
Underestimating humidity and cleaning.
A finish that copes fine in a dry living area can feel grimy or high-maintenance in a kitchen or wet area.
Overcomplicating panel layouts.
More panels and hinges can mean more places for misalignment, rubbing, or rattling if the opening isn’t perfectly true.
Comparing quotes like they’re the same product.
The difference is often in measuring care, mounting approach, and finishing details—not just the headline price.
Materials and moisture: match shutters to the room
If you want shutters to feel like a “set-and-forget” upgrade, choose materials with the room’s reality in mind.
Sydney homes can swing from humid bathrooms to sun-baked living areas, so a one-material-fits-all approach isn’t always the smartest spend.
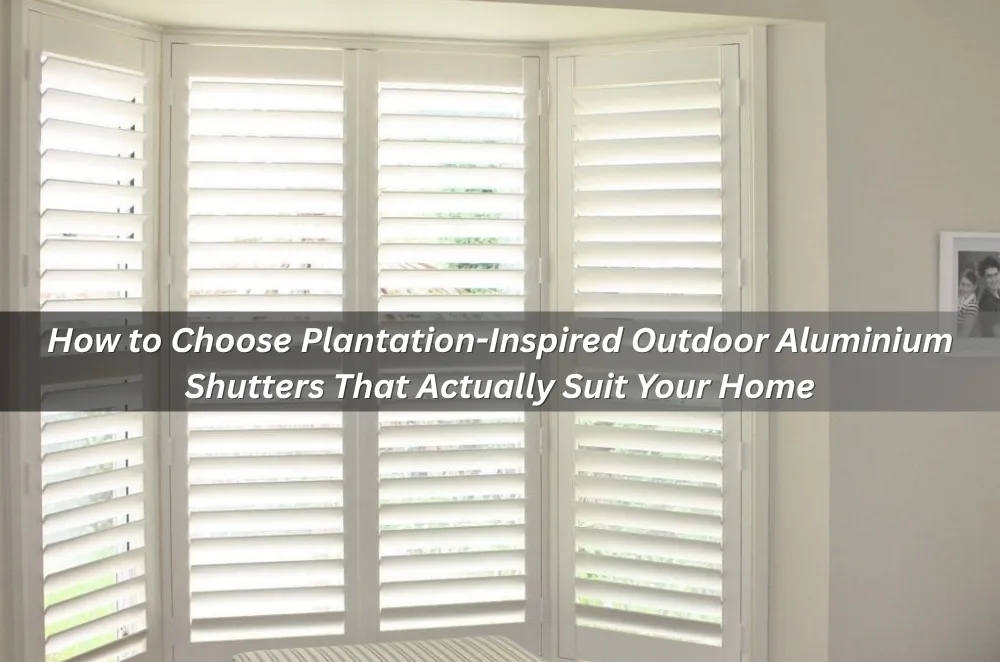
Living rooms and street-facing spaces: prioritise light control and privacy.
Here, louvre size, panel layout, and colour match tend to matter most because you’ll see them constantly.
Bedrooms: think about early light, street glow, and how much airflow you like overnight.
A split configuration can be useful when you want privacy low and light high, but only if the proportions suit it and it doesn’t add complexity you’ll resent.
Bathrooms and laundries: humidity is the test.
Ask how the material and finish cope with steam, frequent wipe-downs, and the odd bump from baskets or cleaning gear.
Kitchens: grease and fingerprints are the sneaky problem.
A surface that cleans easily without special products usually wins in the long run.
If you want a straightforward way to compare materials, finishes, and louvre options before organising measurements, the plantation style window shutters across Australia are a useful reference to bring to your shortlist.
A simple “fit-first” way to choose shutters
Instead of trying to pick the perfect shutter on day one, build a shortlist that survives real life.
This method keeps you out of rabbit holes and makes quote conversations clearer.
Step 1: Pick three non-negotiables.
For most homes, it’s some mix of privacy, glare control, easy cleaning, and keeping windows practical.
Step 2: Group rooms by needs.
Do one approach for “privacy all day” rooms, another for “glare control” rooms, and a third for wet areas.
Step 3: Choose a look boundary, then stay inside it.
Settle on a colour direction (e.g., warm white vs crisp white) and a louvre size range that suits most rooms, so you’re not reinventing the wheel for every window.
Step 4: Let the windows veto your preferences.
If a reveal is shallow or out of square, don’t force an inside mount everywhere just because it looks neat on the first window.
Local SMB mini-walkthrough
A small clinic refreshes its waiting room to feel private without becoming gloomy.
They chose shutters that soften glare while still letting daylight through in the middle of the day.
Treatment rooms get a slightly different layout because light control matters more than view.
They standardise colour so the whole space looks intentional to clients.
Before committing, they check finishes in person around Castle Hill to avoid “white that isn’t the same white”.
After installation, they schedule a quick check-in once the shutters have been used through a few busy weeks.
Operator experience moment
The biggest curveball is rarely the shutter style; it’s the opening.
You only need one slightly twisted reveal or inconsistent trim for panels to feel tight, scrape, or sit oddly.
Good measuring conversations address that upfront, so the install plan adapts instead of pretending every window is perfect.
Practical Opinions
Spend more time on layout than on “premium” add-ons.
Wet areas deserve their own material decision.
If it makes Windows annoying, you’ll regret it.
Next 7–14 days: the quick plan that prevents regret
Days 1–2: Do a window walk-through with a notebook.
List each window, its type, and what the room actually needs (privacy, glare control, ventilation, easy cleaning).
Days 3–4: Pick your “look rules”.
Decide on your colour direction and a louvre size range that will look consistent across the home.
Days 5–7: Spot the problem windows early.
Note shallow reveals, out-of-square corners, obstructing handles, or windows you open every day.
Days 8–10: Request quotes with the same scope.
Ask each provider to confirm mount approach assumptions, panel layout, finish options, and what’s included if adjustments are needed after installation.
Days 11–14: Choose with a simple scorecard.
Rate each option on room suitability, usability, measurement confidence, finish match, and cleaning practicality—not just price.
Key Takeaways
- Plantation shutters work best when the material and layout match how each room is used.
- Most “bad shutter” stories come from measuring assumptions, clearance issues, and wet-area shortcuts.
- Mixing specs by room often delivers a better result than forcing one solution everywhere.
- Compare quotes by scope and installation approach, not the headline number.
Common questions we hear from businesses in Sydney, NSW, Australia
Q1) Are plantation shutters worth it if I mainly want privacy?
Usually, yes—because you can angle louvres for daylight while still blocking direct sightlines.
A practical next step is to identify which windows need daytime privacy versus nighttime privacy, then shortlist layouts accordingly.
In Sydney’s tighter suburbs and mixed-density streets, that daytime privacy control is often the main reason people stick with shutters long-term.
Q2) Should I choose inside mount or outside mount?
It depends on the reveal depth, how square the opening is, and whether you’ll notice a shutter sitting proud of the wall.
A practical next step is to measure, reveal depth and check for out-of-square corners on your “problem windows” before deciding a single approach for the whole home.
In Sydney, it’s common to find a mix—some openings suit inside mount beautifully, others fight it.
Q3) What matters more: material or louvre size?
In most cases, material decides how well shutters cope with humidity and cleaning, while louvre size decides how the room feels and how the view behaves.
A practical next step is to pick two test rooms (one living area, one wet area) and decide on choices that suit both before scaling across the rest of the property.
Across NSW, kitchens and bathrooms are where the wrong material choice becomes obvious first.
Q4) How do I compare quotes when they all sound the same?
Usually, the difference is in what’s assumed: measuring detail, mount method, finishing, and what happens if a panel needs adjustment after a few weeks of use.
A practical next step is to ask each provider to itemise panel layout, mount style, finish, and post-install adjustment policy so you’re comparing like with like.
In Sydney’s mix of older homes and new builds, a quote that acknowledges uneven openings can be better value than a cheaper one that glosses over them.


Sign in to leave a comment.