There's something undeniably transformative about adding wall molding to a room. It instantly elevates plain walls, giving them character and architectural interest that feels both timeless and custom-crafted. For years, achieving this look meant hiring skilled carpenters, dealing with messy miter saws, and investing significant time in measuring, cutting, and installing individual pieces of trim. Today, however, the landscape of home improvement has shifted dramatically with the introduction of premium wall molding kits. These innovative solutions are designed specifically for the DIY enthusiast who craves professional results without the traditional headaches. A premium wall molding kit typically includes pre-cut panels, lightweight yet durable materials, and user-friendly adhesive systems that make the entire process accessible to homeowners of all skill levels. The beauty of these kits lies not just in their convenience, but in their ability to deliver that sought-after custom look in a fraction of the time it would traditionally take, truly democratizing high-end interior design.
Why Choose a Kit Over Traditional Molding
When considering a wall makeover, many homeowners instinctively think of traditional wood molding, envisioning long trips to the lumber yard and weekends consumed by sawdust and complex angles. While traditional molding certainly has its place, premium kits offer compelling advantages that are hard to ignore. The primary distinction lies in the material composition. Most high-quality kits utilize medium-density fiberboard or high-density polyurethane, materials that resist warping, cracking, and expansion that can plague natural wood in varying humidity levels. Furthermore, the precision engineering behind these kits means every piece is manufactured to exact specifications, eliminating the margin for human error that comes with manual cutting. Perhaps most importantly, the all-in-one nature of a kit simplifies project planning. Instead of calculating linear footage, accounting for waste, and sourcing separate adhesives and fasteners, everything arrives in one box, ready to be installed. This holistic approach transforms what could be a stressful renovation into an enjoyable weekend project, allowing you to focus on the creative aspects rather than the logistical nightmares.

The Architectural Styles You Can Achieve
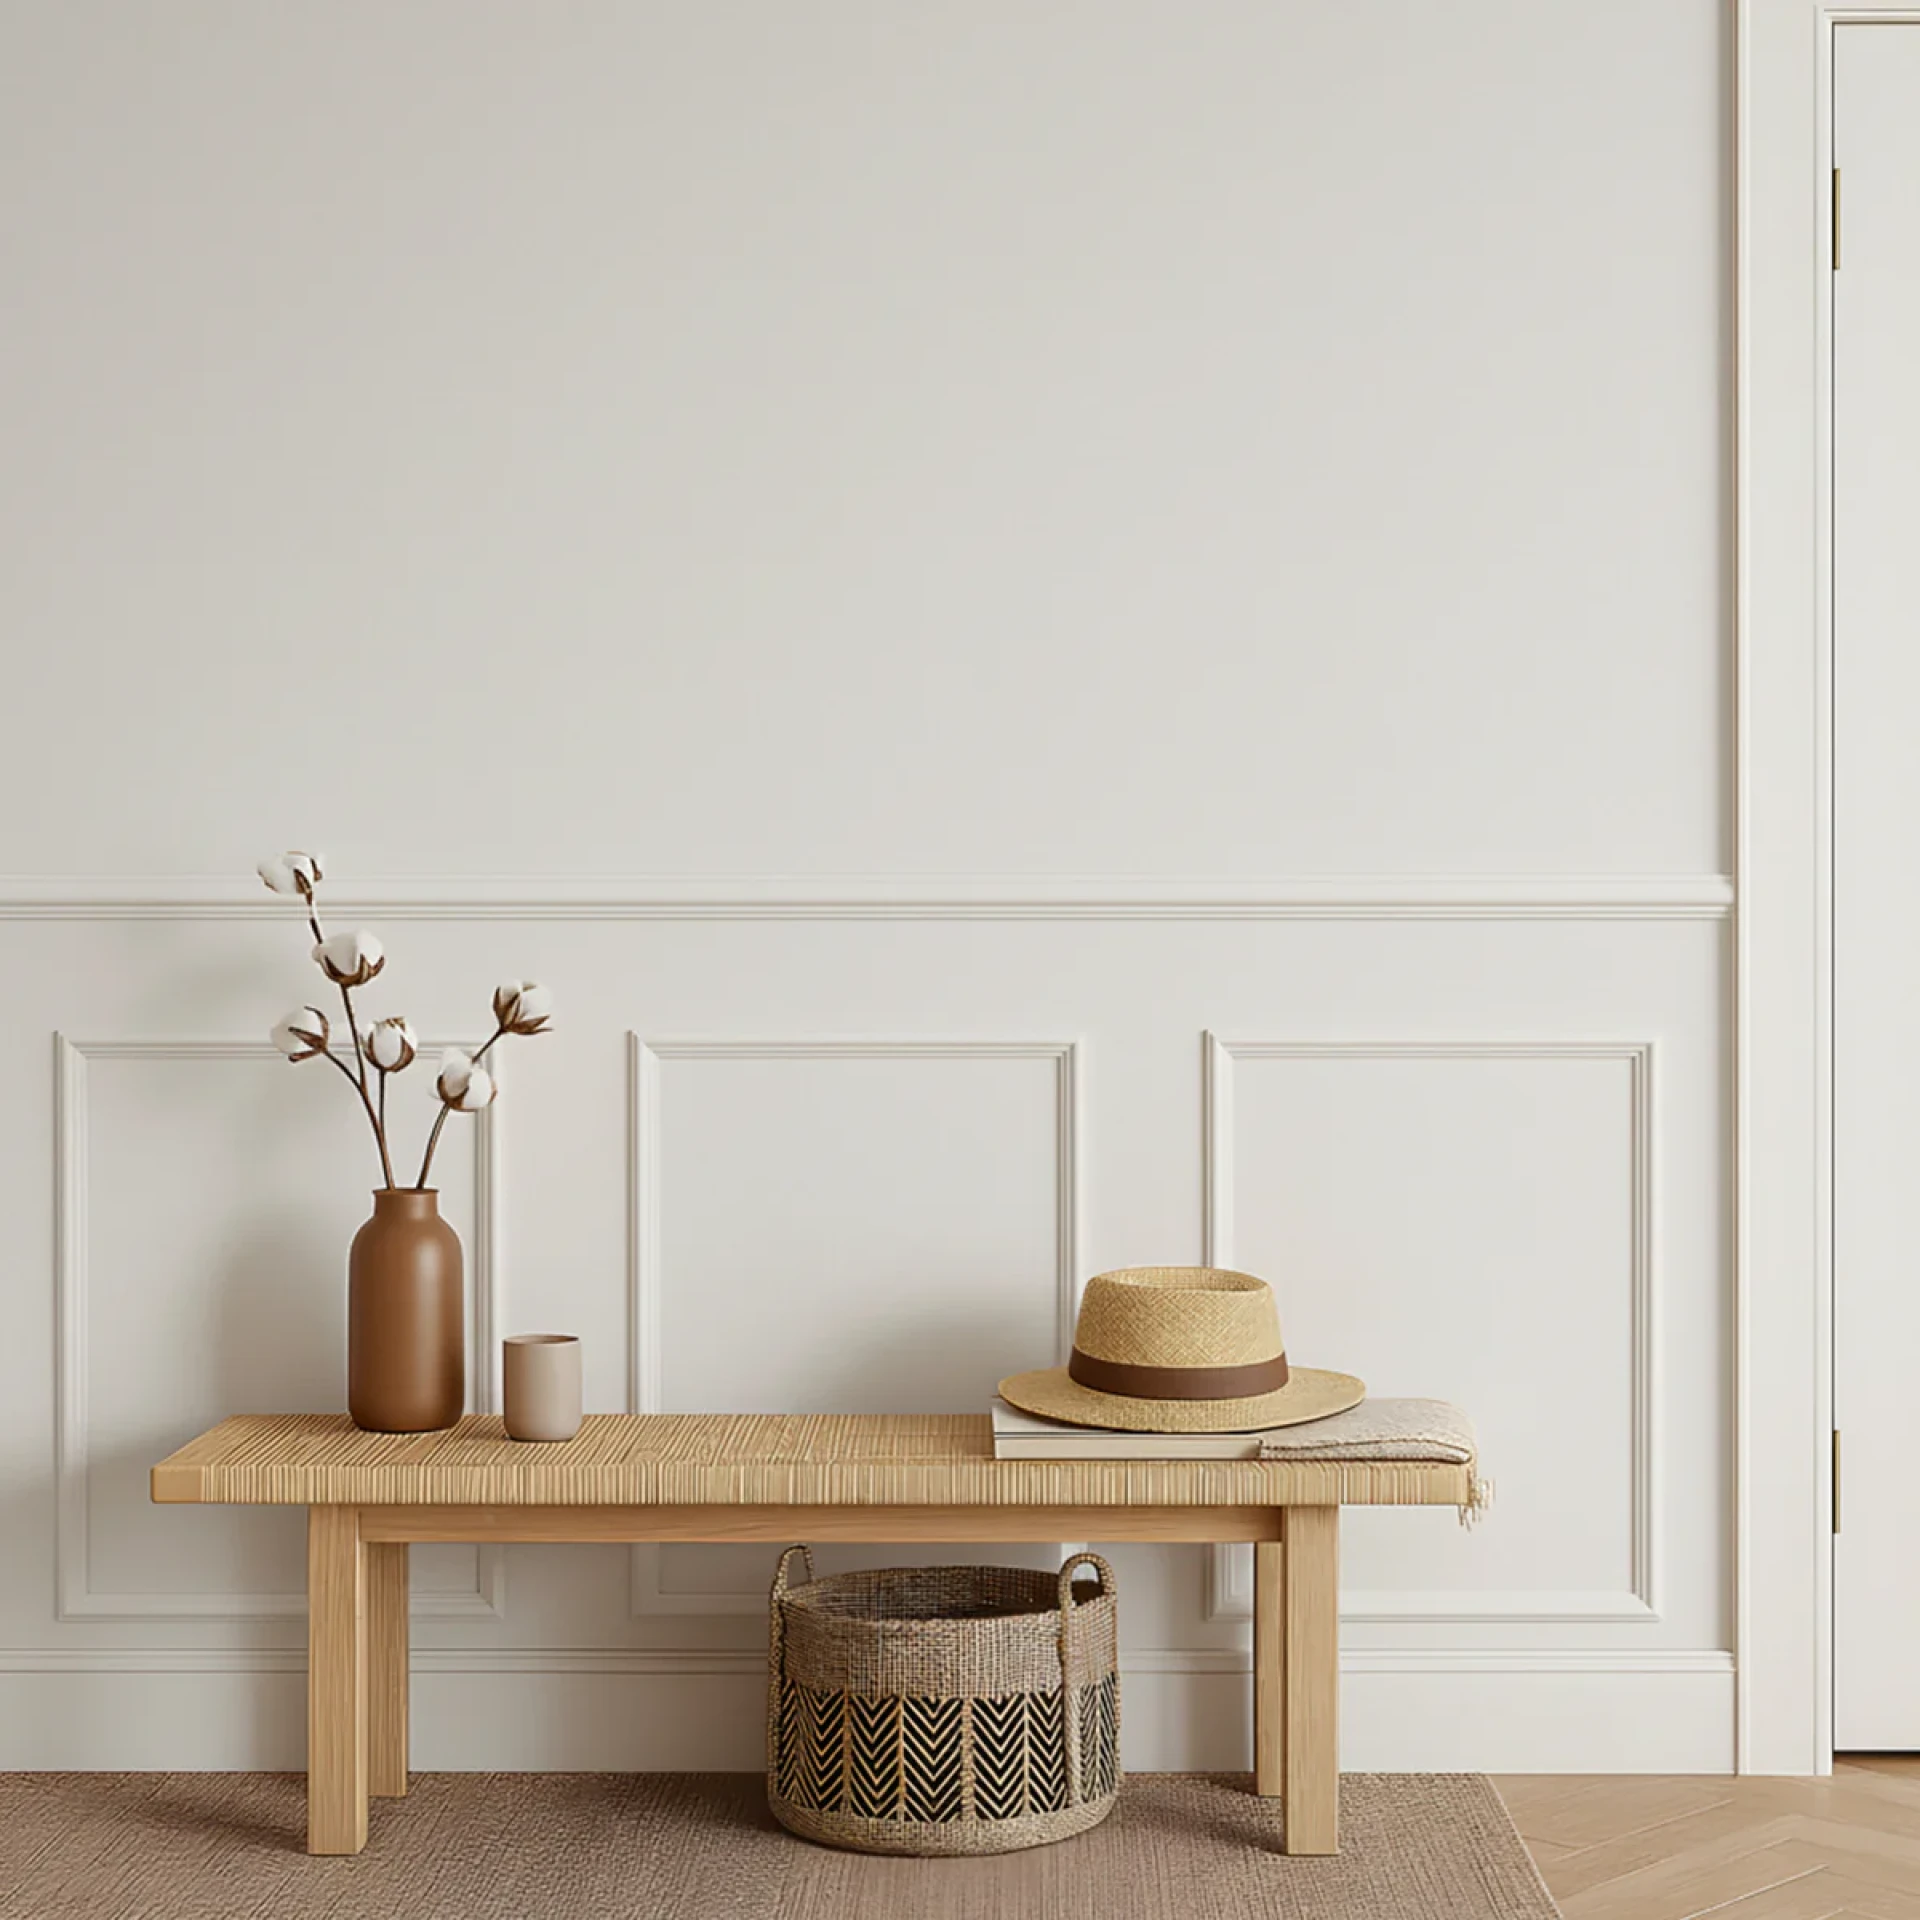
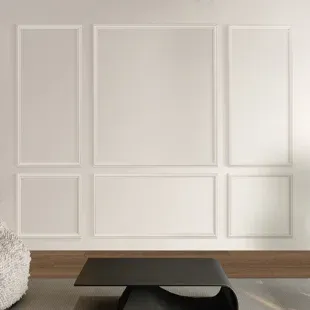
One of the most exciting aspects of premium wall molding kits is their incredible versatility in replicating various architectural styles. Whether your home leans toward classic elegance or modern minimalism, there's a kit designed to bring your vision to life. For those drawn to traditional aesthetics, panel molding kits can recreate the look of classic wainscoting or Georgian-style grid work, adding depth and formality to dining rooms or entryways. Alternatively, homeowners with contemporary tastes might opt for clean-lined, geometric designs that create stunning feature walls in living rooms or bedrooms. Many kits even offer the flexibility to create custom layouts, allowing you to arrange panels in unique configurations that reflect your personal style. From simple picture frame molding that adds subtle sophistication to dramatic floor-to-ceiling installations that make a bold statement, the range of achievable looks continues to expand. This design flexibility means you're not just installing trim; you're essentially curating the architectural character of your space.
Essential Tools and Preparation Steps
Before diving into your molding installation, proper preparation and gathering the right tools will set the foundation for a smooth, successful project. Fortunately, one of the selling points of premium kits is their minimal tool requirements. Unlike traditional woodworking, you likely already own most of what you'll need. A reliable tape measure, a level (preferably a laser level for precision), a fine-tooth saw if any custom cuts are required, and a caulking gun for adhesive application typically cover the basics. Many kits recommend using construction adhesive rather than nails, which means no nail gun or compressor is necessary. Surface preparation is equally crucial for achieving that seamless, built-in look. Your walls should be clean, dry, and smooth—fresh paint is ideal, but at minimum, they should be free of dust and debris. It's also wise to map out your design on the wall using a pencil and level before breaking any seals on your kit. This planning phase allows you to visualize the final result and make any necessary adjustments while everything is still easily movable, ensuring your installation day proceeds without unexpected surprises.
A Step-by-Step Installation Overview
Installing a premium wall molding kit follows a logical sequence that, while straightforward, rewards patience and attention to detail. The process typically begins with marking your reference lines, establishing a level baseline from which all other measurements will follow. From there, you'll usually install any baseboard or chair rail elements first, creating a frame for the rest of the design. The individual molding panels then attach to the wall using the recommended adhesive, with many kits incorporating alignment features that help maintain consistent spacing. As you work, it's important to periodically step back and check your progress, ensuring everything remains level and aligned. Once all pieces are in place and the adhesive has fully cured according to the manufacturer's instructions, the finishing touches begin. This involves filling any minor gaps or seams with paintable caulk, which creates that seamless, custom-milled appearance. After the caulk dries, a light sanding with fine-grit paper smooths everything to perfection, preparing your new molding for its final coat of paint.
Painting and Finishing for a Seamless Look
The finishing phase is where your wall molding truly transforms from a collection of attached pieces into an integrated architectural feature. Paint has the remarkable ability to unify the molding with the wall, creating either a subtle, tone-on-tone texture or a striking contrast that highlights the dimensional details. Before painting, proper caulking is essential—running a thin bead along all edges where the molding meets the wall creates a professional, seamless transition that hides any minor imperfections. Once the caulk is smoothed and dried, a quality primer helps ensure even coverage and proper adhesion, particularly if you're working with materials like polyurethane or MDF. When selecting paint, consider the sheen carefully; while flat or matte finishes on the wall create a modern, understated backdrop, many designers recommend a semi-gloss or satin finish on the molding itself. This subtle sheen difference catches light beautifully, emphasizing the dimensional details and adding a touch of refinement that elevates the entire space. Two thin coats typically provide better coverage and a smoother finish than one thick coat, rewarding your patience with professional-grade results.
Transforming Different Rooms in Your Home
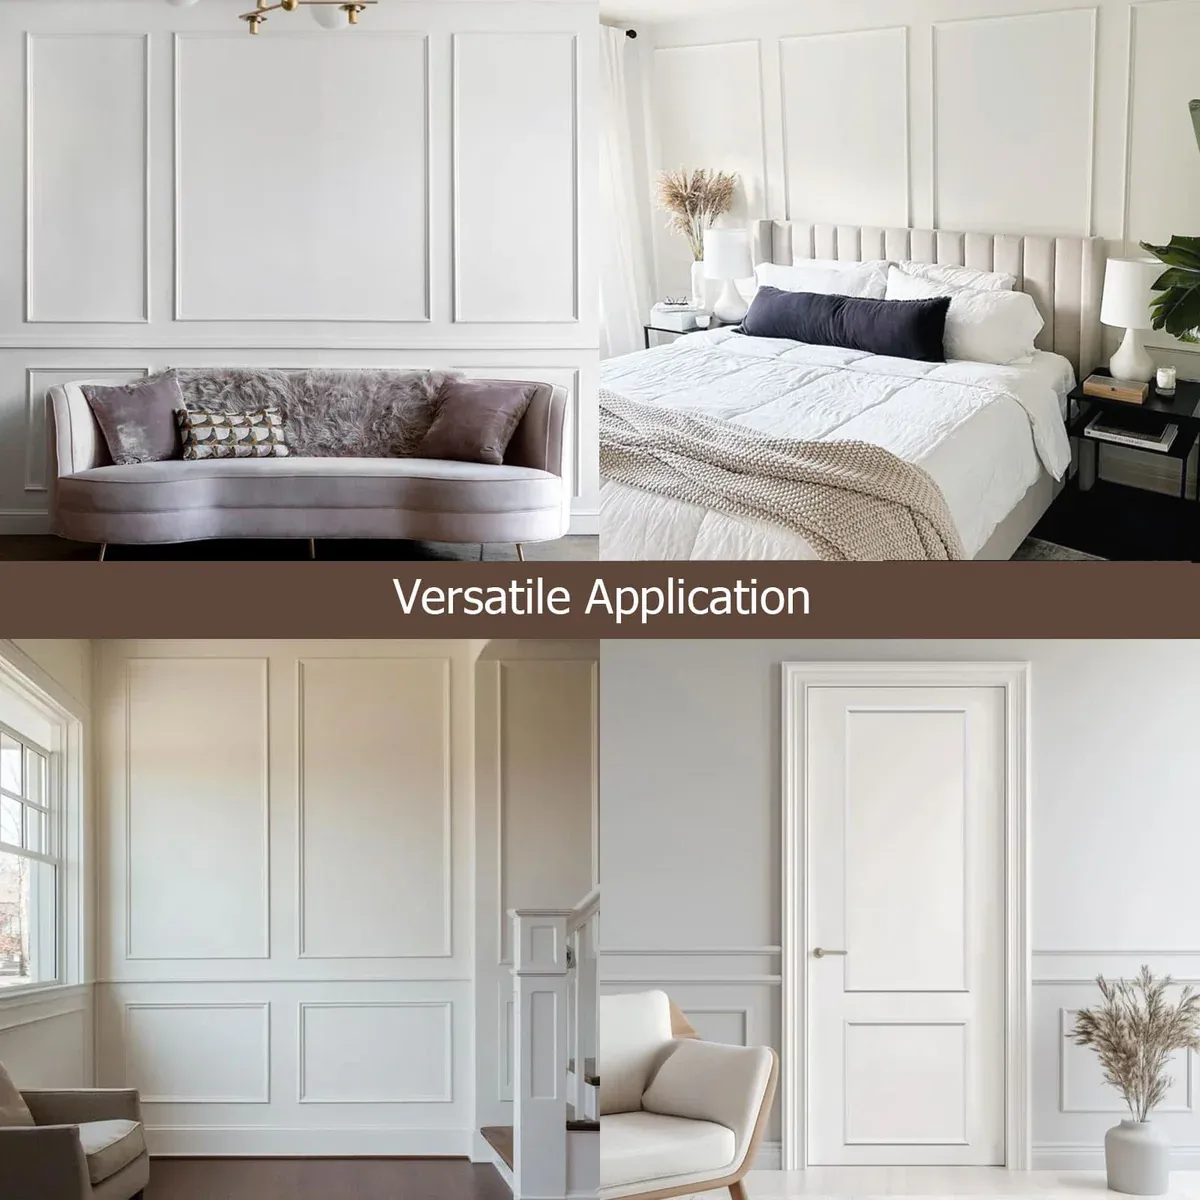
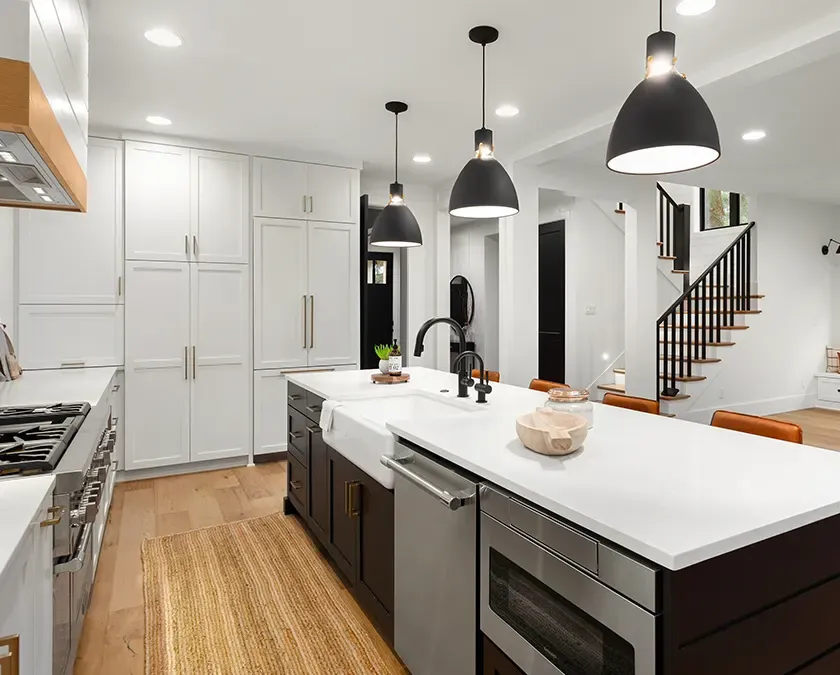
While living rooms and dining areas are classic choices for wall molding, the versatility of premium kits means they can enhance virtually any room in your home. In entryways and hallways, molding creates an immediate impression of thoughtful design, turning transitional spaces into curated experiences. Bedrooms benefit tremendously from the warmth and texture that panel molding adds, particularly when installed as a headboard accent wall that anchors the room without requiring bulky furniture. Even bathrooms, traditionally challenging for wood products due to humidity, can safely embrace the look with polyurethane-based kits that resist moisture and warping. Home offices gain a sense of permanence and professionalism with paneled walls, creating an environment that feels conducive to focus and creativity. The key to success across different spaces lies in scale—larger patterns suit expansive walls, while smaller, more intricate designs complement intimate spaces. By considering the unique characteristics of each room, you can use molding kits to solve design challenges, highlight architectural strengths, and create cohesive flow throughout your entire home.
Maintenance and Long-Term Durability
One of the most practical benefits of investing in a premium wall molding kit is the minimal maintenance required to keep it looking fresh for years to come. Unlike traditional wood molding that may require periodic sanding and refinishing due to dings or wear, the engineered materials in quality kits are designed for everyday living. A simple dusting during regular cleaning routines, perhaps with a microfiber cloth or the brush attachment on your vacuum, typically suffices to keep profiles crisp and clean. For occasional deeper cleaning, a slightly damp cloth with mild soap works well, though it's wise to avoid excessive moisture or harsh chemical cleaners that could damage the finish. Should scuffs or marks appear over time, the paintable surface makes touch-ups remarkably simple—a small dab of leftover paint from your original project, and the imperfection disappears. This durability extends to structural integrity as well; because these materials resist expansion and contraction with temperature changes, you're far less likely to see unsightly gaps appear at seams over time, preserving that just-installed look well into the future and making your DIY investment truly worthwhile.


Sign in to leave a comment.