

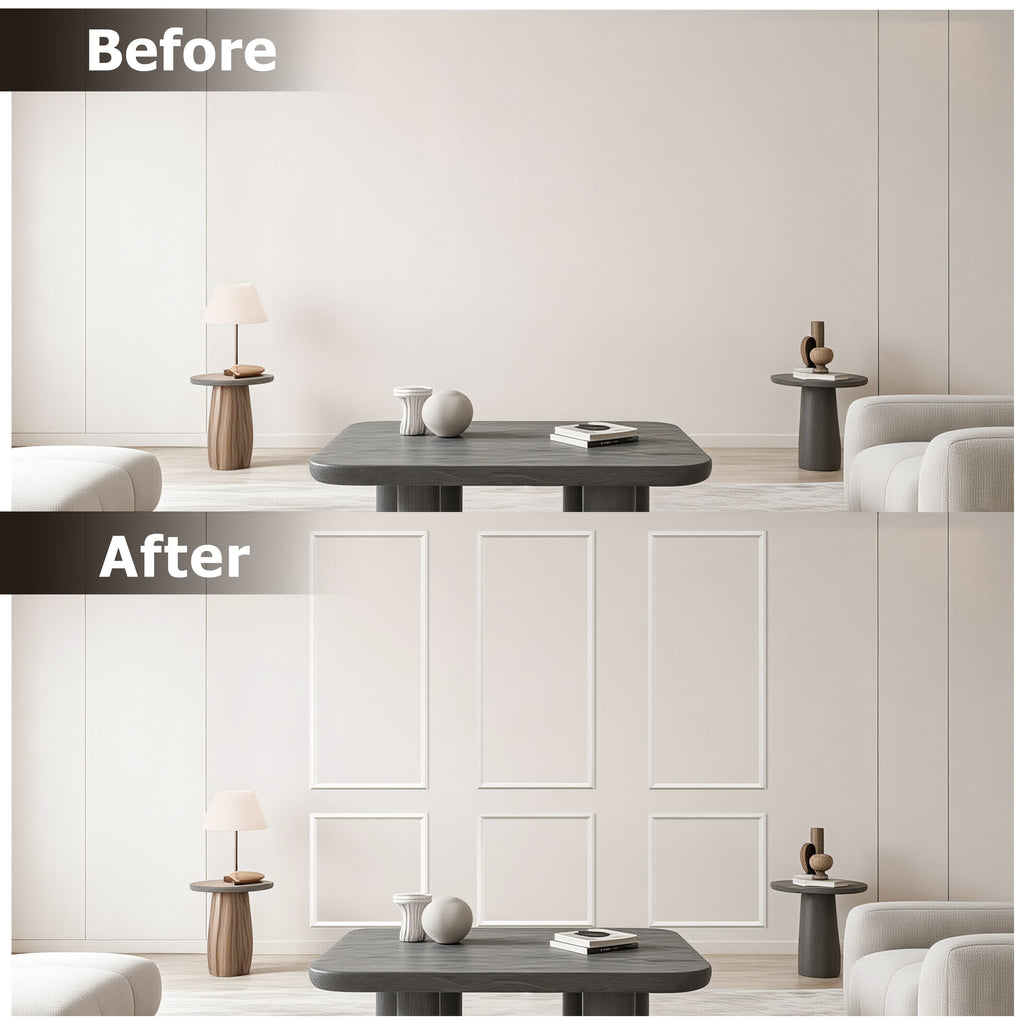
Transforming a plain, flat wall into a stunning architectural feature no longer requires years of carpentry experience or a workshop full of expensive tools. The premium wall molding kit has emerged as a game-changer for homeowners and renters alike who crave that high-end, custom look without the traditional headaches. These all-in-one packages include pre-cut lengths of lightweight polyurethane or MDF molding, along with corner blocks, adhesive, and detailed instructions. What makes them truly special is the precision engineering behind each piece—every angle is mitered, every joint is designed to fit snugly, so you can skip the measuring, sawing, and frustrating trial-and-error that often comes with DIY paneling projects. Suddenly, that elegant Georgian or Craftsman-style wall you’ve pinned on Instagram feels genuinely achievable over a single weekend.
Why Choose a Kit Over Traditional Molding Methods
Traditional molding installation often feels like opening a door to chaos—endless trips to the hardware store, renting a miter saw, and praying your corners line up at 45 degrees. Premium kits eliminate nearly all of those pain points by providing components that are already cut to specific lengths for common wall sizes. You also avoid the weight and fragility of real wood, which can warp, crack, or split when nailed. Most kits use high-density polyurethane that resists moisture, won’t swell in humid bathrooms, and takes paint beautifully. Additionally, you’re not left guessing which adhesive or caulk works best; the kit supplies designer-recommended products that bond strongly without damaging drywall. For anyone who values their weekend sanity and wants professional-grade results, this pre-packaged approach is a revelation.
Breaking Down the Components of a Quality Kit
When you open a premium wall molding kit, you should find several key items that work in harmony. The primary pieces are the decorative molding strips—usually two to three inches wide—with pre-cut profiles like raised panel, shaker, or picture frame styles. Then come the corner blocks, which serve as elegant medallions where horizontal and vertical pieces meet, covering any minor alignment gaps. Many kits also include a layout template or a simple paper grid to help you position the design symmetrically around light switches and outlets. A high-strength, low-odor construction adhesive is standard, along with sanding sponges for smoothing cut edges and a small tube of flexible caulk for sealing seams. Some luxury kits even throw in paint samples or a foam roller sleeve designed specifically for detailed moldings. Knowing what’s inside helps you compare products and avoid budget versions that skimp on essential components.
Step-by-Step Installation Without the Stress
You don’t need to be a seasoned contractor to pull this off—just patience and a level. Start by marking your wall’s centerline and deciding on the pattern (a single large rectangle, a grid of smaller boxes, or a chair rail combination). Most kits recommend dry-fitting the pieces first, holding them against the wall with painter’s tape to check spacing. Then apply the adhesive in a zigzag pattern on the back of each molding strip, press firmly into place, and secure with a few 18-gauge pin nails if your kit includes them (or just use the tape overnight). The corner blocks act as forgiving connectors, so if your wall isn’t perfectly square, the blocks absorb those tiny errors. After the adhesive cures, fill any gaps with the included caulk, wipe away excess with a damp cloth, and you’re ready to prime and paint. The whole process typically takes six to eight hours over two days—most of that being drying time.
Design Ideas to Match Your Home’s Personality
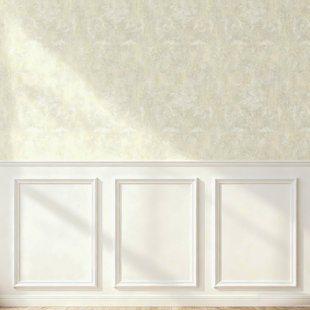
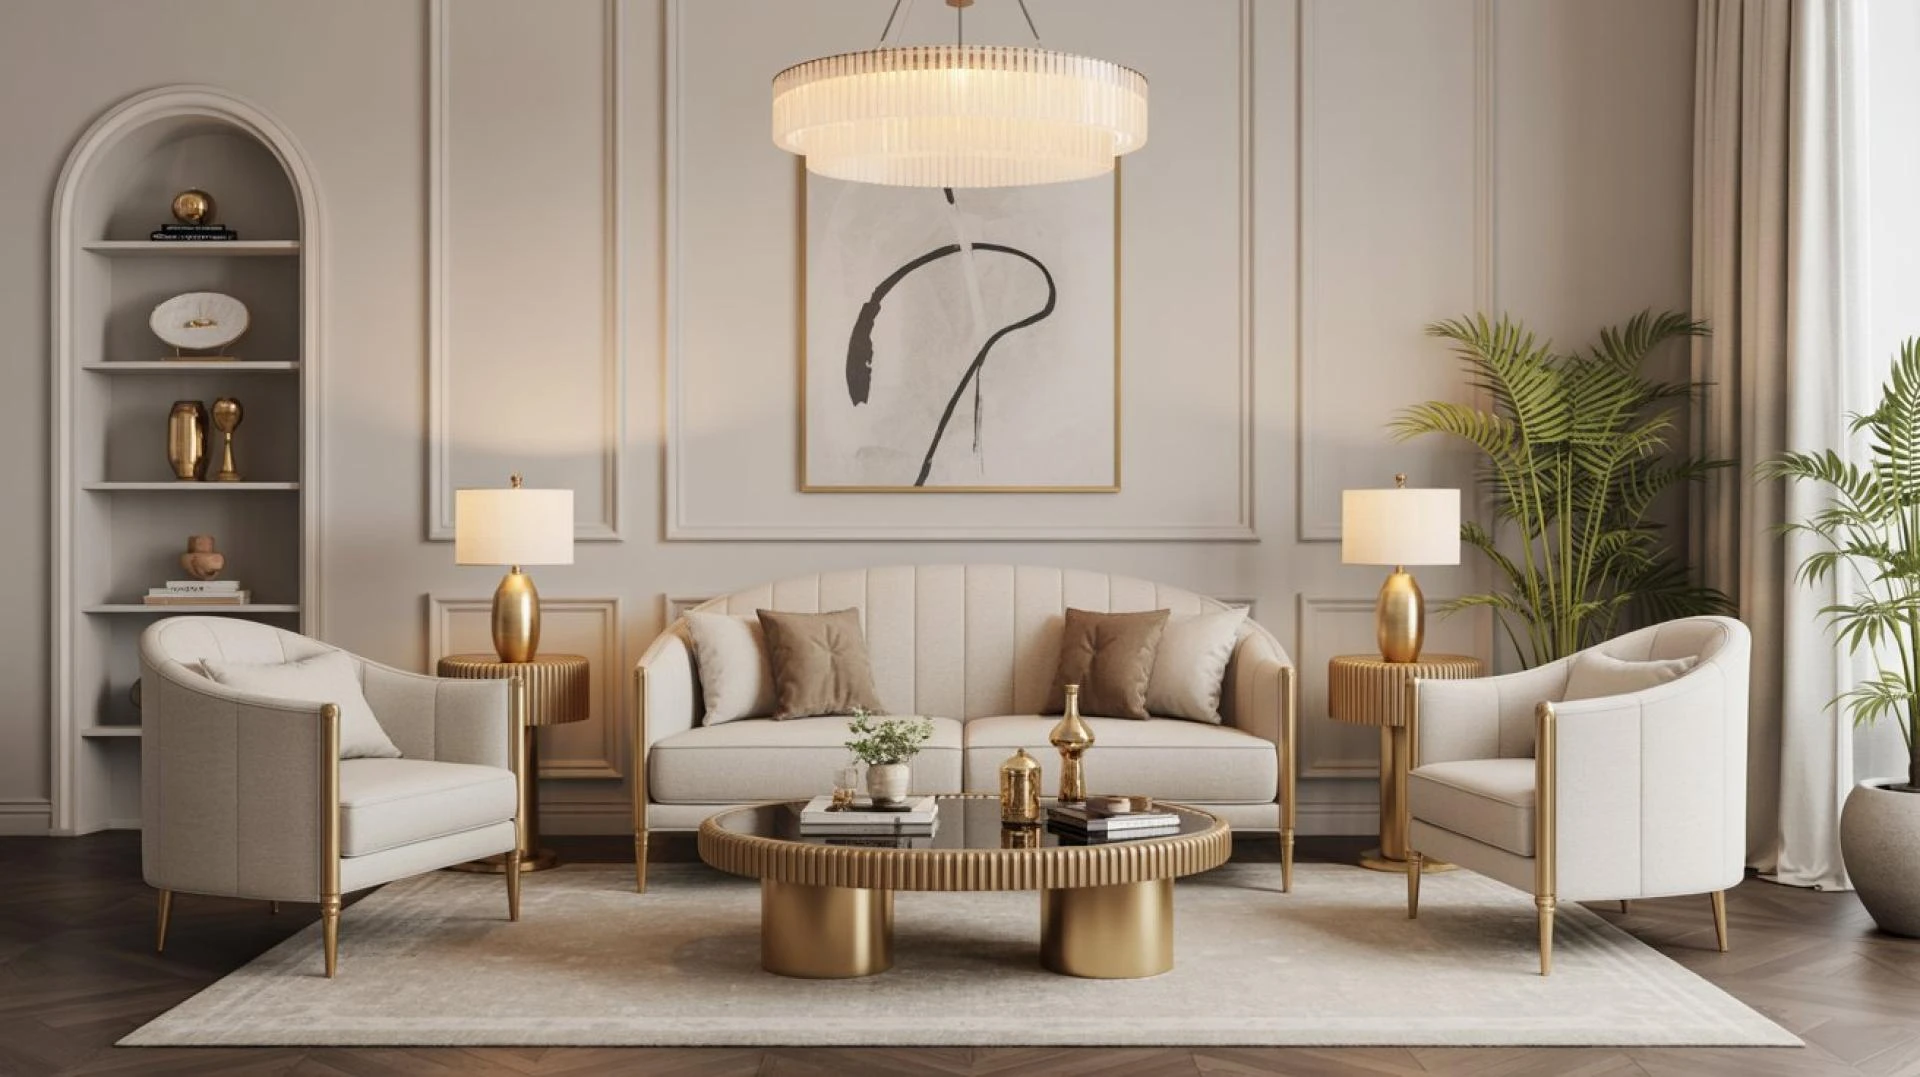
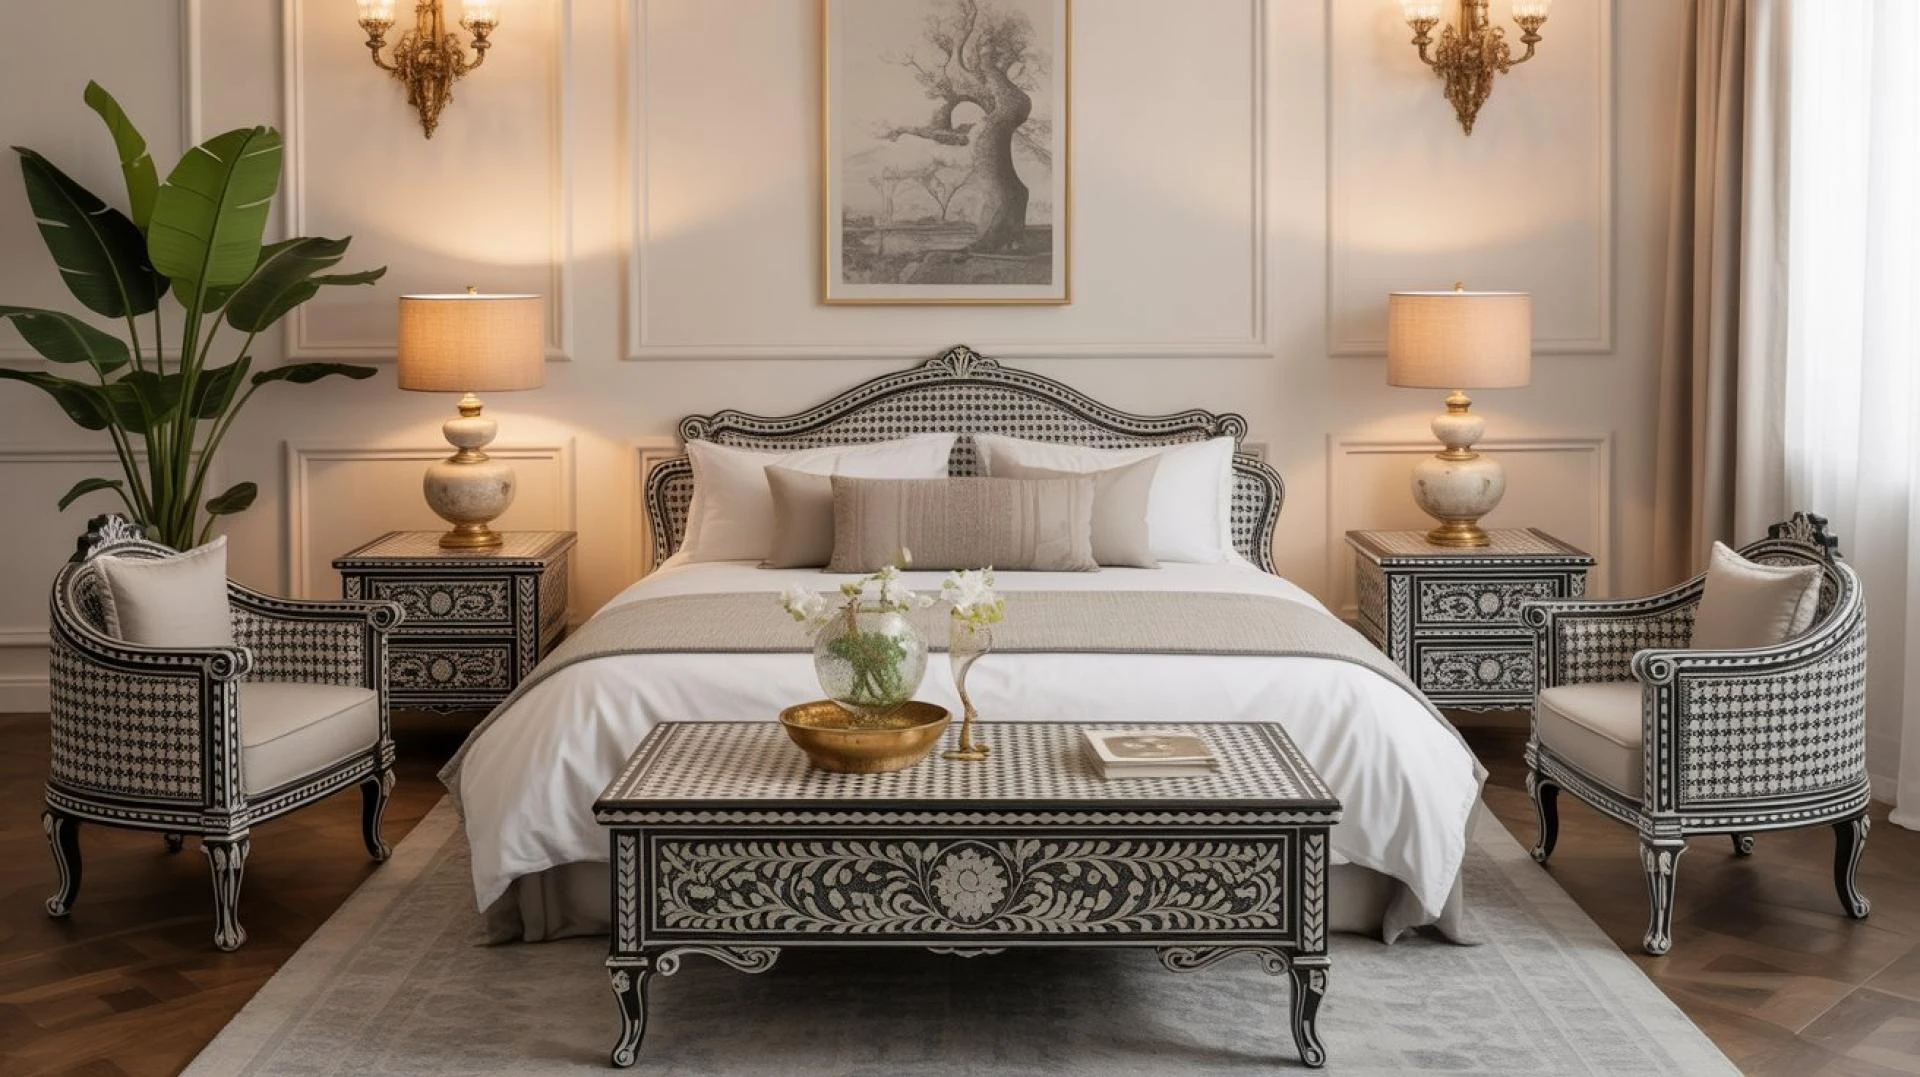
One of the joys of these kits is how adaptable they are to different interior styles. For a traditional dining room, arrange tall vertical panels with ornate corner blocks and pair them with a deep navy or emerald green paint. In a modern farmhouse entryway, keep the molding simple—flat shaker-style strips in a white or cream finish against a warm gray wall. If you’re renting or want a temporary change, some kits are designed with removable adhesive strips that peel off cleanly without damaging paint. You can even get creative by applying molding only to the lower third of the wall as a wainscoting effect, then wallpapering the upper section. The key is consistency: choose one molding profile for the entire room to avoid visual chaos, and always paint the molding the same color as the wall for a seamless built-in look, or a contrasting shade for dramatic definition.
Maintaining and Caring for Your Molded Walls
Once your premium wall molding is installed and painted, upkeep is refreshingly simple. Because polyurethane and high-density MDF resist moisture and dust, you can clean the profiles with a soft microfiber cloth or the brush attachment of your vacuum. Avoid soaking the molding with liquid cleaners, as water can seep into the seams over time. If you notice hairline cracks where the molding meets the wall, a quick touch-up with acrylic caulk and a small artist’s brush will restore the finish in minutes. Unlike real wood, these materials won’t need periodic sanding or resealing. However, do keep an eye on areas near baseboard heaters or direct sunlight; extreme heat can soften some adhesives, and UV rays may slightly yellow cheaper polyurethanes after several years. A high-quality, UV-resistant paint as your topcoat solves that problem entirely.



















Sign in to leave a comment.