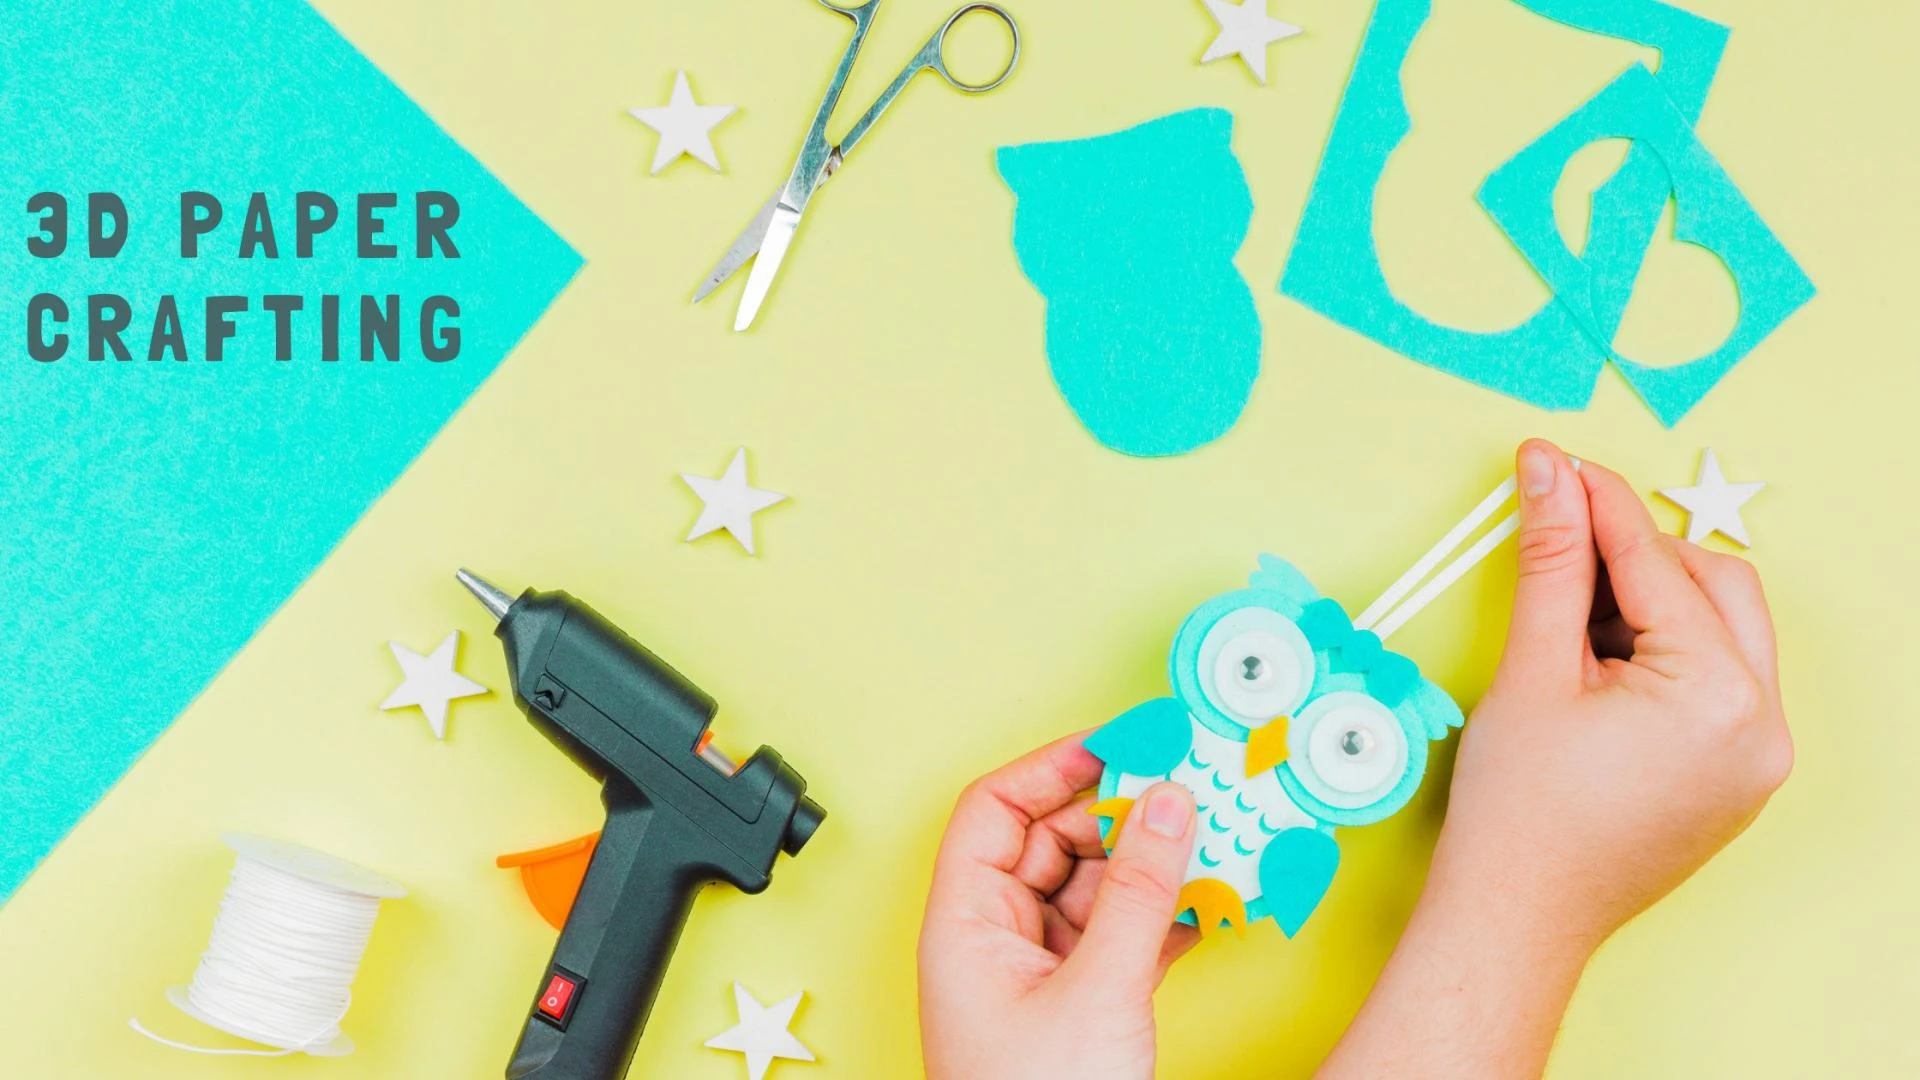
Have you ever considered the hidden benefits of arts and crafts for your child's development? 3D paper crafts help kids use their imagination, complete tasks, and be creative. It is an educational way to help them improve their creativity and fine motor skills. With Silhouette machines, they can develop accurate 3D designs. Kids can start with simple templates and then go for more complex designs. During project assembling, it improves their imagination along with an understanding of design and structure. In this blog, we will focus on a step-by-step guide to 3D paper crafting for kids.
Steps to Follow for Fun 3D Paper Crafting with a Silhouette Machine
We will now go through the steps to follow for 3D paper crafting using a Silhouette Machine:
Materials Required
- Silhouette Machine (Portrait, Cameo, or Curio)
- Free version of Silhouette Studio software for the basics
- Cardstock or construction paper with measurements of 8.5'' x 11'' or 12'' x 12''
- Non-toxic craft glue or glue stick
- Compatible cutting mat
- Stickers, foam tape, markers, and googly eyes for decoration purposes
- Scraper tool or spatula
- Sketch pens or foil quill for detailing purposes
Step 1: Pick a Suitable 3D Project in Silhouette Studio
Users have to open Silhouette Studio Designs first. They can search the Silhouette Design store for kid-friendly projects like 3D animals (bunny, dinosaur, frog, etc.), pop-up cards, or simple box-shaped characters, too. You may search for things like '3D' or 'easy assembly tags'. It is also possible to import free SVG files from kid-friendly craft sites or safe.
Step 2: Load and Resize the Template
Users may either open or import 3D designs in Silhouette Studio and consider resizing elements if necessary. Ensure that the design aligns with the material dimensions. Plus, use the ungroup tool to separate elements for coloring purposes or layered assembly.
Pro Tip: Color code layers to assist kids in organizing and understanding the structure.
Step 3: Prepare the Cutting Mat
Stick the cardstock on the Silhouette Mat and align it properly. Use bright and contrasting colors for vivid crafts. Besides, you must ensure that the paper is smooth and wrinkle-free.
Step 4: Send to Cut
After clicking 'Send,' pick the proper material type like cardstock in Silhouette Studio. Then, adjust blade depth and cut settings if needed. Press 'Send' again to begin the cutting process.
Kid Engagement Tip: Allow kids to view the machine cut process–most of them find it exciting!
Step 5: Weed and Sort the Pieces
Take pieces off the mat with a spatula/scraper tool. Weeding eliminates excess paper fragments. You must also sort pieces by size or layer for children. Put small pieces in trays or cups to avoid losing them.
Step 6: Fold and Shape the Pieces
Score lines are a part of 3D files and the machine either cuts or marks them lightly. You may assist kids in folding along mountain and valley lines. Shape curved parts gently with a pencil.
Step 7: Assemble with Glue
Help kids with applying glue—preferably on the tabs. If needed, use foam tapes for raised elements. Work in layers by starting from the base and building upward. Hold those parts together until secure. Certain projects often have numbered tabs for easier assembly.
Step 8: Decorate the Craft
Draw patterns, place googly eyes, or use Silhouette sketch pens to draw textures or faces. Decorations and stickers make the final product look more playful. Kids may use glitter pens or crayons to personalize their creations. Plus, you can also cut custom stickers using Silhouette.
Step 9: Display or Gift
Allow the final craft to dry completely. Set them up as part of a themed display (zoo animals, fairytale castles, or outer space). Encourage kids to either gift it or use them for show-and-tell at school.
3D Paper Crafting Tips
Some of the general 3D paper crafting tips are as follows:
- Begin with basic shapes and projects, such as cones, cubes, or simple animals. It helps boost confidence and skills a lot.
- Use 65-80 lb cardstock for promising results. Avoid using standard printer paper for complex 3D projects, as it may get torn.
- Prevent cracks by using a scoring tool or bone folder.
- Pre-fold each piece initially to visualize the fitting.
- Dry fit pieces before gluing to confirm everything fits as intended. Adjust things if required.
- Never use heavy liquid glue since it makes the paper warp. Use quick-dry glue or glue sticks only.
- Work in layers. Layered crafting aids in maintaining structure and avoiding smudging. Assemble the pieces from bottom to top/inside out.
- Tweezers help you place tiny parts, such as eyes, ears, or complicated decorations with ease.
- Decorate pieces before you start to assemble. Use colors, patterns, sketches, or stickers to simplify things.
- Preserve cutouts safely in a container, tray, or ziplock bag.
Check out some additional tips for Silhouette machine users:
- Consider grouping similar colors to minimize paper swapping.
- Maintain your blade in a clean and sharp condition. Replace it whenever necessary.
- Adjust cut settings for various materials. Use test cuts for new paper types like foil, glitter, or textured cardstock.
- Save customized designs and projects for future purposes.
- Ensure that the designs are simple and bold for kids.
Advantages of 3D Paper Crafting for Children
Now let us focus on the advantages of 3D paper crafting for kids at a glance:
Builds Patience and Focus
With 3D paper crafting, parents see an increase in their kid's attention span. Paper crafting draws their attention to the present moment. These projects usually contain steps like folding and cutting. Even high-energy children would wind down somewhat when a project takes shape. They will learn fairly fast that hurrying won't produce great outputs. 3D crafting helps reduce anxiety and improves concentration levels of children.
Improves Creativity and Imagination
You may give kids a blank piece of paper and let them draw. Hand them the same paper, a few folds, and a glue stick, and they would start building dragons, houses, or even outer space environments. 3D crafting enhances the creativity of a child. Plus, it makes it easier to understand many colors and shapes. After a while, they will develop their own special designs.
Intensifies Spatial Reasoning Skills
Kids can understand how different shapes fit together by developing 3D models out of flat paper. In design, engineering, and architecture, the spatial thinking is crucial. Moreover, it provides the basis for future problem-solving and visual thought.
Strengthens Fine Motor Skills
Cutting along lines, folding tabs, and placing glue dots are small tasks yet they help develop fine motor skills. These skills are important for kids to write, tie shoes, or button a shirt. 3D crafting strengthens their small hand muscles and improves finger dexterity.
Teaches Planning and Problem-Solving
Most of the 3D paper projects need precise planning. Children learn to interpret instructions, organize pieces, and pick assembly orders. Errors like gluing a piece incorrectly are common. 3D crafting helps kids detect mistakes and try again. These problem-solving moments boost confidence. It teaches them that mistakes are part of a learning process. These skills are important in their schoolwork and day-to-day life.
Provides a Sense of Accomplishment
Projects won't be as planned during the early days. But children will have that sense of pride when they finally transform a flat piece of paper into a 3D model. Crafting raises self-esteem and encourages them to explore something new. In addition, it fills them with pride after creating a complicated model.
Gives a Break from Screens
Nowadays, most kids waste a lot of time with phones. Excessive usage is bad, as it causes overstimulation and detachment from the actual world. 3D paper crafting is a healthy alternative to electronics. Crafting enables children to take a break from electronics. They focus on working with their hands to relax and stay engaged. Besides balancing their screen time properly, 3D crafting helps manage their emotions.
Supports Learning at School
Paper crafting aids kids to improve their academic skills. Children practice reading and basic maths by following instructions and measuring folds. Crafting also involves shapes and spatial awareness. Teachers often use them for storytelling and geometry as well. For example: a pop-up book project blends art, writing, and science.
Creates Opportunities for Bonding
Crafting is a group activity that includes parents, siblings, or friends. So, families will be able to interact and bond while creating something together. 3D crafting also helps parents support their kid's creativity without taking control.
Reduces Costs and Increases Accessibility
One does not require multiple fancy supplies to begin 3D crafting. Scissors, paper glue, or a cutting machine like Silhouette is more than enough. Today, several free templates are available online. Recycled magazines or cereal boxes are useful, too. This makes it affordable for budget-conscious families or schools with fewer resources.
Conclusion
3D paper crafting is a great activity for children to improve their creativity and skills. Crafting inspires them to use their imagination to the fullest. Kids can develop wonderful paper models, bringing their ideas to life by following the above-mentioned steps. Besides learning new skills, children gain confidence as their projects take shape. Go grab some paper, scissors, glue, and your Silhouette machine to begin your crafting adventure!


Sign in to leave a comment.