

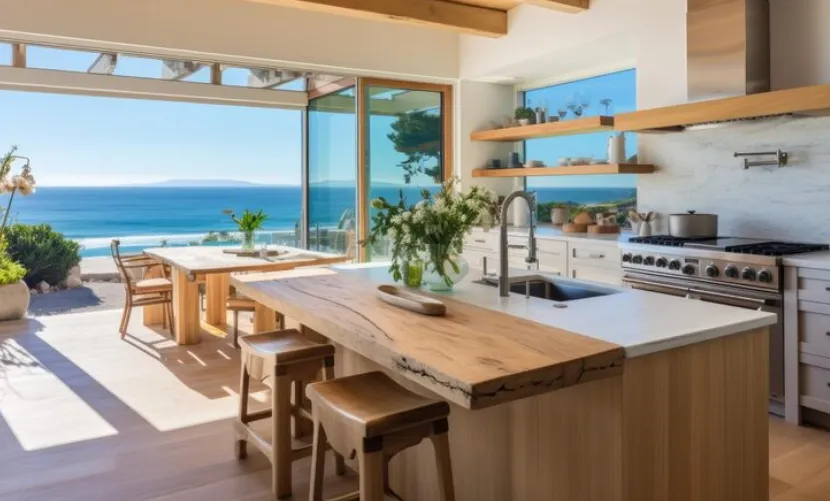
A kitchen remodel is one of the highest-value projects a contractor or painter can take on. However, when homeowners look at the price tag of a full rip-and-replace renovation, they increasingly turn to a high-end alternative: hiring a professional painting company for Kitchen cabinet painting St.Albert.
For painters and construction professionals, cabinet refinishing is incredibly lucrative—but it is also unforgiving. If you treat a kitchen cabinet like a drywall surface, the coating will chip, peel, or scratch within months.
Below is an insider’s look at the exact technical methodology, critical pivot points, and hidden pitfalls of delivering a factory-grade cabinet finish that lasts for years.
The Reality of Factory-Grade Refinishing
Many general contractors treat cabinet painting as an afterthought, throwing standard latex paint on doors with a brush and roller. An expert painting company knows that cabinets require an industrial coatings mindset, not a residential house painting mindset.
Why Standard Wall Paint Fails on Cabinets
- Thermoplasticity: Standard latex paints remain somewhat flexible and soft even after curing. When cabinet doors slam or fingers constantly press against the edges, the paint wears away or sticks to the face frame.
- Chemical Resistance: Kitchens are harsh environments. Cabinet doors are blasted with cooking oils, steam, grease, and acidic food splatters. Wall paints lack the chemical cross-linking required to resist these substances, leading to premature softening and peeling.
Step-by-Step Technical Blueprint
Achieving a flawless, durable finish requires a rigorous multi-step process. Skipping a single step—especially in prep—guarantees eventual coating failure.
1. Deconstruction and Labeling
Never paint doors while they are hanging.
- Remove all doors, drawer fronts, and hardware (hinges, pulls, latches).
- Expert Tip: Use a systematic numbering system. Write a number inside the hinge cup of the door and place a corresponding piece of tape inside the cabinet box cavity. This saves hours during re-installation.
2. The Multi-Stage Clean (Crucial Step)
Cabinet doors accumulate years of invisible grease, hand oils, and wax.
- Clean every surface thoroughly with a heavy-duty degreaser or TSP (Trisodium Phosphate) substitute.
- Scrub with a maroon Scotch-Brite pad to begin breaking the surface tension.
- Rinse completely with clean water to ensure no chemical residue interferes with the primer.
3. Grain Filling and Mechanical Abrasion
If you are painting oak or other open-grain woods, the deep grain will show through the paint unless it is filled.
- Apply a high-quality aqua-coat or solvent-based grain filler, squeegee it flat, and let it dry.
- Sand all surfaces using an orbital sander with 150-grit to 220-grit sandpaper. The goal isn't to strip the wood bare, but to create a uniform "scratch profile" for the primer to mechanically bond to.
4. Priming: The Barrier Coat
The choice of primer depends entirely on the substrate.
- For MDF or Raw Wood: Use a high-build, post-catalyzed lacquer primer or a premium oil-based primer. Water-based primers will raise the wood grain or swell MDF edges.
- For Pre-finished/Laminate Cabinets: Use an extreme-bond urethane or shellac-based primer to lock down old finishes and prevent bleed-through from tannins or wood dyes.
5. The Spray Application
To achieve a smooth, brush-mark-free surface, use an airless sprayer with a Fine Finish Low Pressure (FFLP) tip (typically a 310 or 312 tip) or an HVLP (High Volume Low Pressure) system for maximum control.
- Apply two coats of a premium urethane alkyd enamel or a waterborne pre-catalyzed lacquer.
- Sand lightly with 320-grit to 400-grit paper between coats to knock down any airborne dust nibs.
Material Comparison: Choosing Your Coating
| Coating Type | Pros | Cons | Best Used For |
|---|---|---|---|
| Urethane Alkyd Enamel | Easy to apply, excellent leveling, highly durable, water-based cleanup. | Longer dry time (re-coat in 4–16 hours), takes up to 30 days to fully cure. | Standard residential turnarounds where shop space is limited. |
| Waterborne Pre-Cat Lacquer | Dries incredibly fast (minutes), extreme chemical resistance, factory-hard finish. | Requires professional spray equipment, steep learning curve, less forgiving on vertical surfaces. | Dedicated shop setups demanding maximum durability and rapid production. |
💡 Expert Tip for Professionals
To completely eliminate the risk of tannin bleed-through on stubborn wood species like Oak or Cherry, always use a shellac-based primer as your first coat. While water-based primers are easier to clean up, they dissolve the natural water-soluble tannins in the wood, causing yellow or brown stains to migrate through the topcoat weeks after the job is finished. Shellac creates an absolute barrier that water and oils cannot penetrate.
Key Takeaways for Contractors
When offering kitchen cabinet painting as part of a renovations package, success relies on managing client expectations and environmental control.
Keep your workspace dust-free by setting up a temporary zip-wall spray booth with proper exhaust ventilation on-site, or transport doors to a dedicated shop environment. By prioritizing chemical cleaning, mechanical sanding, and specialized coatings over speed, you can deliver a factory-equivalent finish that adds immense value to any renovation project.





















Sign in to leave a comment.