Building connected devices may sound simple, but IoT hardware prototyping is often one of the hardest stages of product engineering. A prototype must sense accurately, connect reliably, manage power well, stay secure, and work in real environments.
The demand is also rising fast. Ericsson estimates that total IoT connections will reach 22.3 billion in 2025 and grow to 47.1 billion by 2031. At the same time, security risks are increasing. Fortinet reported that 86% of organizations faced at least one cyber breach in 2024, while IBM said the average data breach cost in India reached INR 220 million in 2025. These numbers show why strong IoT hardware development needs careful planning from the start.
Why IoT Hardware Prototyping Is Harder Than It Looks
A basic embedded board can be built quickly. A real IoT prototype is much more complex. It combines electronics, firmware, connectivity, mechanics, security, compliance, and manufacturing.
Because of this, even a small design choice can cause bigger problems later. A weak antenna layout can reduce range. Poor sensor placement can affect accuracy. An exposed debug port can create a security risk. That is why successful IoT hardware development needs system-level thinking from the start.
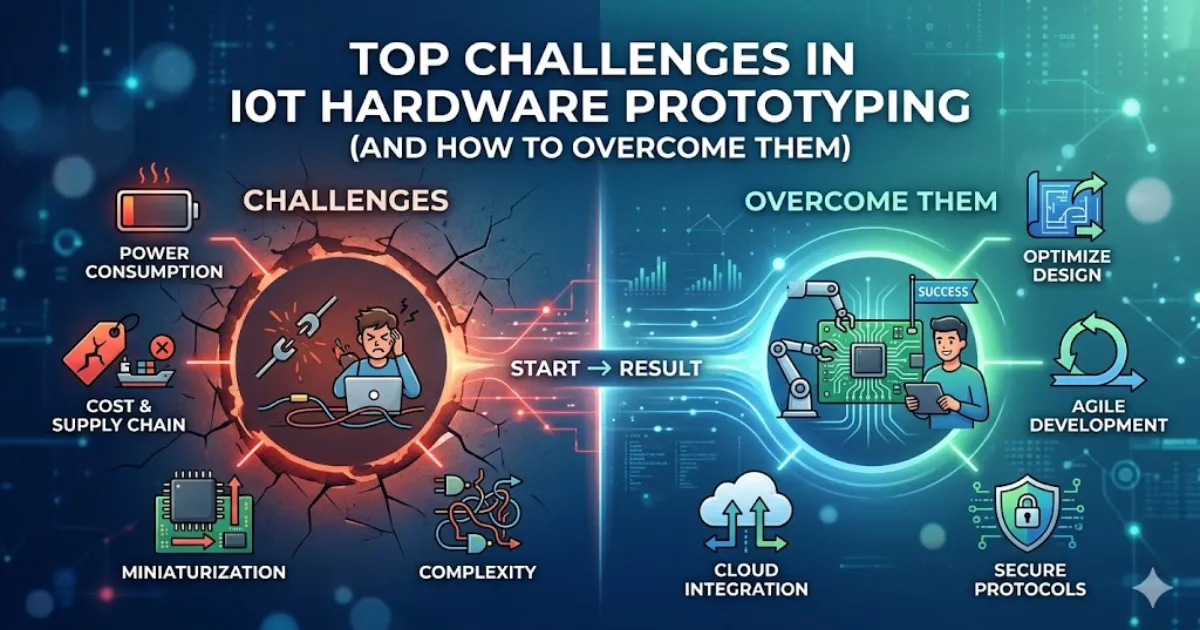
Top Challenges in IoT Hardware Prototyping
Here are some of the most common challenges faced in IoT hardware prototyping. Each one can affect performance, cost, reliability, and product readiness.
1) Choosing the Wrong Hardware Architecture
A common issue in IoT hardware prototyping is selecting parts that are easy to source instead of parts that truly fit the product. Many teams begin with a standard dev board and extra modules for speed. That works for early testing, but it often creates size, cost, and power problems later.
Common mistakes include:
- Using an overpowered MCU
- Choosing a high-power radio
- Adding too many modules
- Ignoring future memory or interface needs
How to Overcome It
Start with a simple requirements list before choosing hardware. Define the sensor needs, connectivity, battery target, processing load, memory, and product life. Then select the architecture around those needs.
Best Practice
Use two stages:
- Functional prototype for quick testing
- Engineering prototype for production-like design
2) Power Design Problems
Power is a common weak point in IoT hardware prototyping. A device may run well on USB but fail on battery or lose charge too fast in the field. This often affects remote and battery-powered devices.
How to Overcome It
Test actual power use in every state, including sensing, transmission, sleep, and wake-up. Datasheets alone are not enough.
Best Practice
Use a simple power budget and improve battery life through small fixes such as:
- Deep sleep
- Fewer transmissions
- Efficient regulators
In IoT hardware development, better battery life usually comes from many small improvements.
3) Wireless Connectivity Instability
Wireless is a common failure point in IoT hardware prototyping. A device may work well in the lab but lose performance in real conditions. This often happens because teams treat connectivity as a software issue when it is also a hardware and RF design issue.
Common causes include:
- Poor antenna layout
- RF noise or PCB interference
- Wrong protocol choice
How to Overcome It
Choose the radio based on range, power, and data needs. Then make sure the RF design follows layout guidelines and antenna clearance rules.
Best Practice
Always test connectivity in the final enclosure and in real deployment conditions, not only on the bench. This helps avoid expensive redesigns later.
4) Sensor Accuracy and Data Quality Issues
In IoT hardware prototyping, good connectivity means little if the sensor data is wrong. Many sensor issues come from poor placement, electrical noise, heat from nearby parts, or weak calibration. These problems can reduce accuracy and make the device unreliable.
Common causes include:
- Poor sensor placement
- Noise or heat interference
- Lack of calibration
How to Overcome It
The sensing path should be designed carefully from the start. Sensors should be placed based on real operating conditions, not only PCB space. It is also important to reduce noise and test the device in different environments.
Best Practice
Use a simple sensor validation plan that covers:
- Accuracy targets
- Calibration checks
- Environmental testing
This helps improve data quality before the product moves further.
5) Firmware and Hardware Mismatch
In many projects, hardware and firmware do not progress together. This often creates issues during IoT hardware prototyping, especially when the PCB is finalized before firmware behavior is fully tested. The result can be unstable or hard-to-debug prototypes.
Common problems include:
- Pin conflicts
- Boot or sleep issues
- Interface or timing errors
How to Overcome It
Hardware and firmware should be developed side by side. Teams should align early on pin usage, interfaces, and boot behavior to avoid integration issues later.
Best Practice
Every prototype should include basic debug support, such as:
- UART or SWD access
- Recovery mode
- Status LEDs or logs
Without proper debug access, troubleshooting becomes much harder.
6) Security Gaps at the Hardware Level
Security is often added too late in IoT hardware prototyping. That creates risk because some hardware decisions are difficult to fix later. Weak security at the board level can expose the device from the start.
Common risks include:
- Open debug ports
- Insecure key storage
- Weak boot or update process
How to Overcome It
Security should be reviewed during hardware design, not after the prototype is built. Basic protections should be planned early so they become part of the product architecture.
Best Practice
Add core controls such as:
- Secure boot
- Encrypted key storage
- Signed firmware updates
It also helps to keep separate development and production security settings. This makes testing easier while reducing deployment risk.
7) Mechanical and Environmental Failures
A prototype may work well in the lab but still fail in real conditions. In IoT hardware prototyping, electronics alone are not enough. The full device must also handle heat, dust, humidity, vibration, and outdoor exposure.
Common failures include:
- Loose connectors
- Enclosure issues
- Sensor or antenna blockage
How to Overcome It
Test the complete device, not only the PCB. The enclosure, mounting, airflow, and connector strength all affect real-world performance.
Best Practice
Run simple field-style checks such as:
- Thermal testing
- Vibration testing
- Humidity or dust exposure
Good IoT hardware development always includes environmental validation before production.
8) Compliance and Certification Delays
Many teams think about compliance too late in IoT hardware prototyping. That often leads to delays, added cost, and redesign work. Even small hardware issues can cause certification failure.
Common risk areas include:
- RF and EMC issues
- Poor shielding
- Unsafe power or charging design
How to Overcome It
Compliance should be considered early in the design stage. Teams should plan for the required standards based on the product type and target market.
Best Practice
Use practical steps such as:
- Pre-certified modules
- Proper RF and EMC layout
- Early ESD protection
Pre-compliance testing before final release can catch problems early and reduce costly fixes later.
9) Supply Chain and Component Risk
A strong prototype can still fail as a product if key components become hard to source. In IoT hardware prototyping, part availability matters as much as technical performance.
Common risks include:
- Long lead times
- Part obsolescence
- Price or sourcing issues
How to Overcome It
Choose components with supply stability in mind, not only performance. It is also important to check lifecycle status and identify alternatives early in the design process.
Best Practice
Maintain a simple approved vendor list and avoid relying on single-source parts where possible. This gives more flexibility when the design moves toward production.
10) Poor Transition from Prototype to Production
Many prototypes work well in the lab but are not ready for manufacturing. In IoT hardware prototyping, this becomes a problem when the design is difficult to assemble, test, or repeat at scale.
Common issues include:
- Weak test access
- Assembly-sensitive layout
- No production planning
How to Overcome It
Production should be considered during the prototype stage, not after it. This includes planning for manufacturability and testability from the beginning.
Best Practice
Add simple production-ready features such as:
- Test pads
- Clear labels
- Assembly-friendly layout
A small pilot run before full production can reveal issues early and reduce costly mistakes later.
A Practical Workflow for Better IoT Hardware Prototyping
If you want fewer failures, use a structured path.
Recommended Prototype Flow
1. Define the field problem clearly: Write down the exact job the device must do.
2. Build a fast proof of concept: Validate sensing, compute, and connectivity first.
3. Measure real-world behavior: Test power, range, accuracy, and stability.
4. Move to an engineering prototype: Reduce size, cost, and design risk.
5. Add security and test access: Do not leave them for the end.
6. Validate in the target environment: Bench success does not equal field success.
7. Prepare for manufacturing early: Prototype for scale, not only function. This process reduces expensive redesign cycles.
Final Thoughts
IoT hardware prototyping is challenging because it brings together electronics, firmware, RF, power, sensing, security, and mechanical design in one system. Even a small issue in one area can affect the entire product.
Still, many prototype failures can be avoided with the right approach. Strong teams test early, measure real-world performance, and design with production in mind from the start.
That is what makes IoT hardware development more reliable and practical. A good prototype is not just a demo. It proves that the product can perform in real conditions and scale with fewer surprises later.


Sign in to leave a comment.